
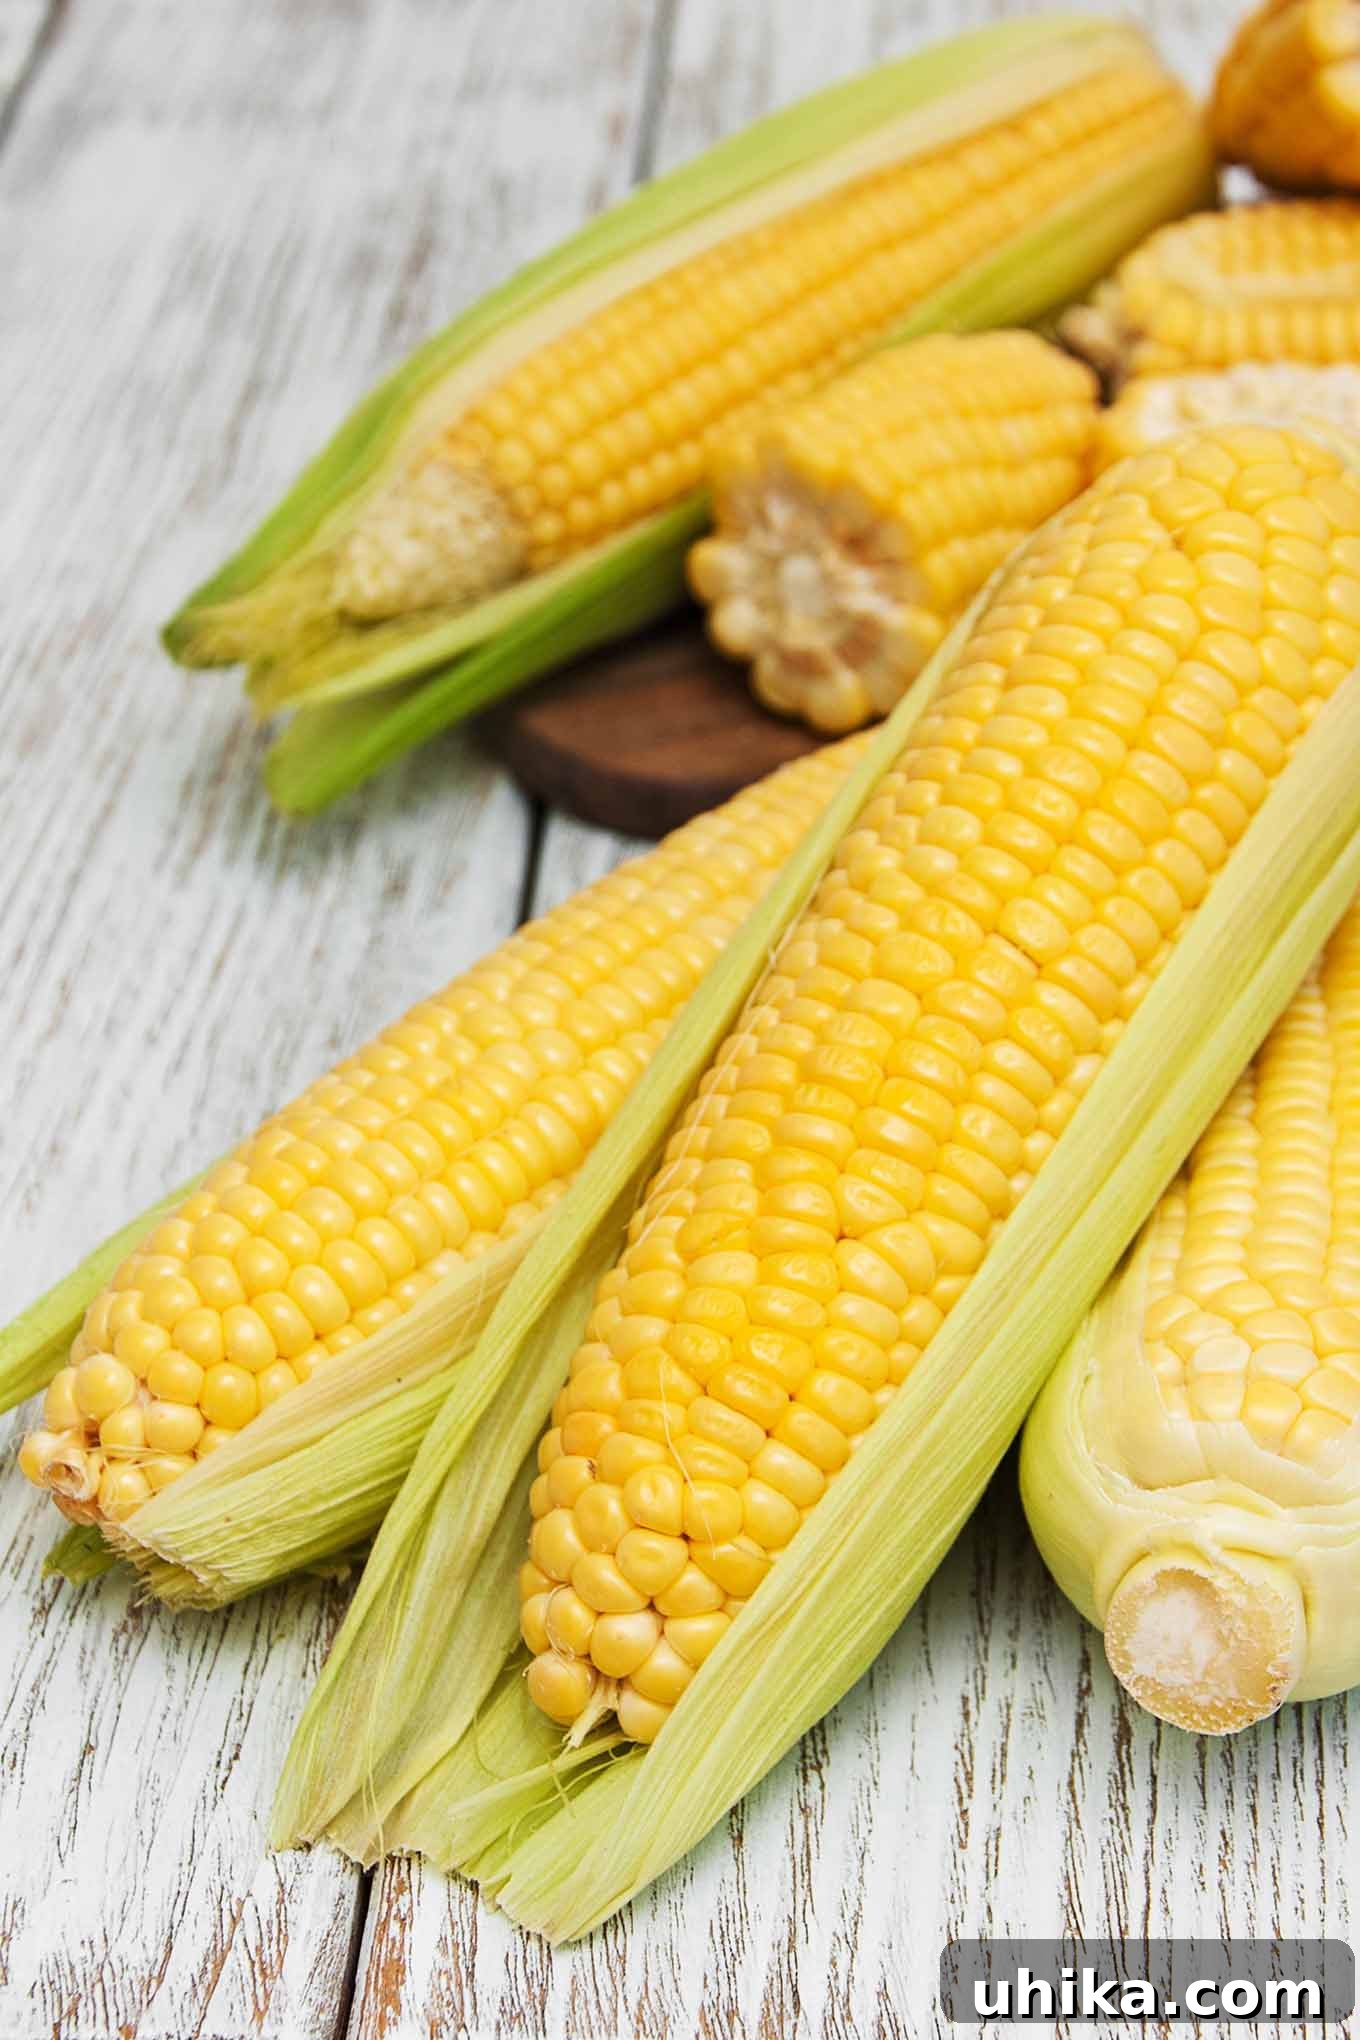
Mastering Corn on the Cob: Your Ultimate Guide to Perfect Summer Sweetness
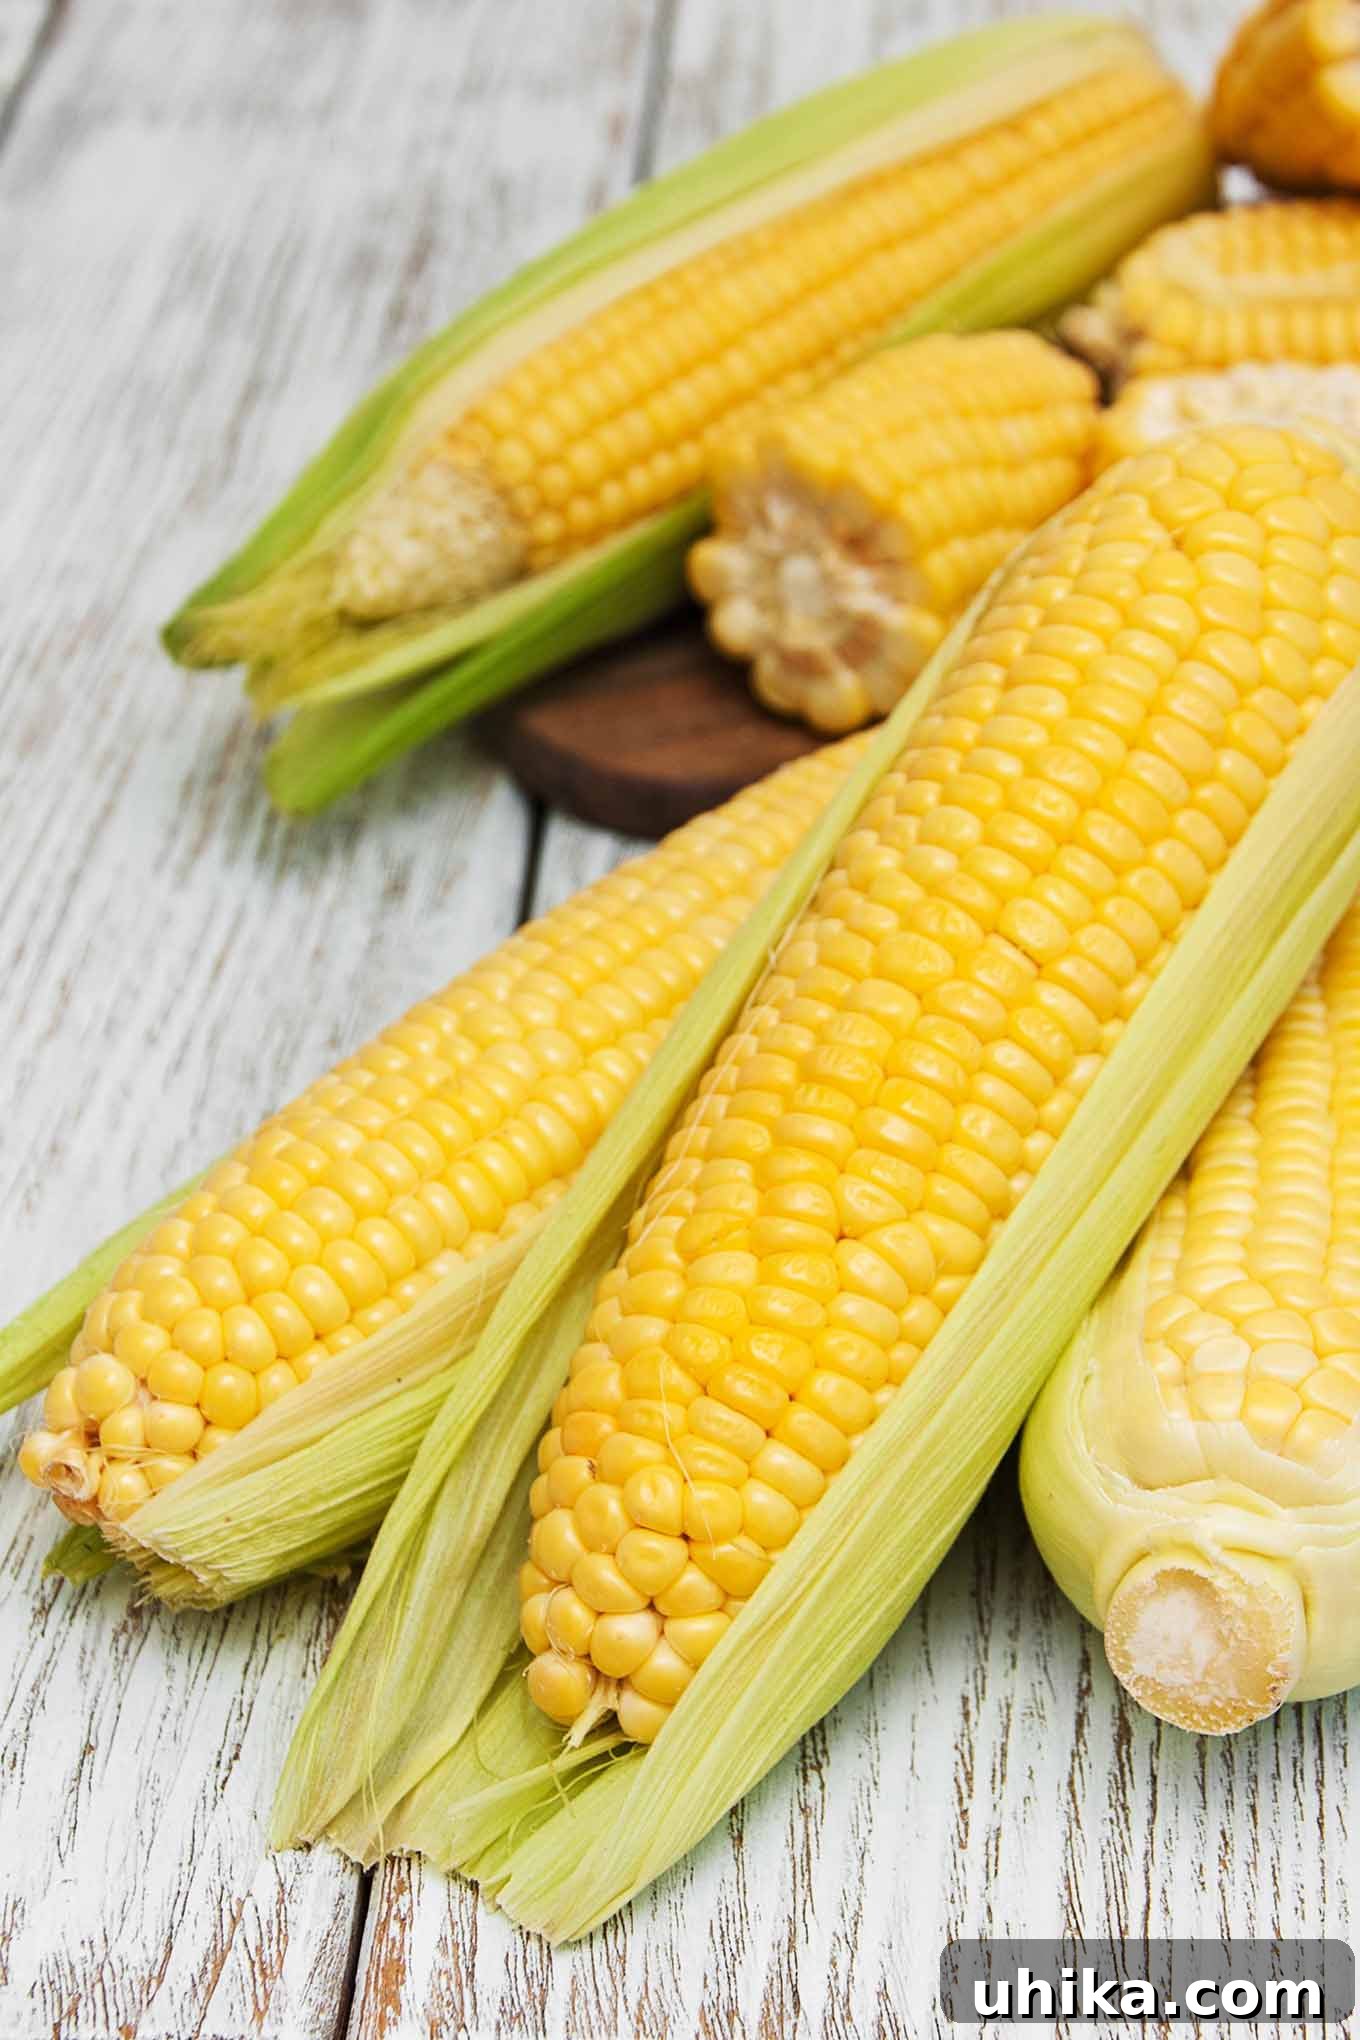
There’s an undeniable magic to fresh corn on the cob, especially when summer is in full swing. While readily available throughout the year, nothing quite compares to the vibrant flavor and tender sweetness of corn harvested at its peak. This versatile vegetable isn’t just a delicious side dish; it’s a celebration of seasonal bounty, bringing joy to countless meals, from backyard BBQs to quiet weeknight dinners. From classic boiling to innovative microwaving, there are numerous ways to prepare this beloved staple, each offering a unique texture and taste experience.
This comprehensive guide explores four popular methods for cooking corn on the cob: steaming, boiling, microwaving, and grilling. We’ll delve into step-by-step instructions, essential tips for selecting and storing the freshest ears, and creative ideas for elevating your corn with delicious flavored butters. Our goal is to equip you with all the knowledge needed to consistently achieve perfectly cooked, flavorful corn, ensuring every bite is a memorable one. Remember that cook times can vary based on the corn variety, kernel size, and freshness, so always keep a close eye and test for ideal doneness.
Buying and Storing Fresh Corn for Optimal Flavor
The journey to perfect corn on the cob begins even before cooking, with careful selection and proper storage. Choosing the freshest ears ensures maximum sweetness and tenderness.
- Look for Bright Green Husks: The outer leaves should be vibrant green and tightly wrapped around the ear. Avoid corn with dry, yellowing, or loose husks, as these indicate older corn. A slight dampness on the husk is also a good sign of freshness.
- Check for Plump, Smooth Kernels: Gently peel back a small section of the husk at the top to expose the kernels. They should be full, plump, and tightly packed, with a shiny appearance. If the kernels look shriveled, dented, or sparse, the corn is past its prime.
- Few Blemishes and Intact Silks: While a few minor imperfections are natural, steer clear of ears with excessive blemishes, wormholes, or black spots. The silks at the top should be slightly damp, sticky, and brownish-gold. Avoid dry, brittle, or black silks.
- Cook Promptly for Best Flavor: Corn begins to lose its sweetness almost immediately after being picked as its sugars convert to starch. For the most delicious experience, plan to cook your corn on the same day you purchase it.
- Proper Storage for Freshness: If immediate cooking isn’t possible, store fresh corn unhusked in plastic bags. This helps retain moisture and prevents the kernels from drying out.
- Refrigerate for Sweetness: Place the bagged corn in the coldest part of your refrigerator, ideally the crisper drawer. This slows down the sugar-to-starch conversion. Aim to use it within two days to enjoy its peak sweetness.
Husking and Cleaning Corn Effortlessly
Before you can enjoy your delicious corn, a quick prep is needed to remove the husks and silks. This process is straightforward and ensures a clean eating experience.
- The Classic Peel: Hold the corn firmly at the stem end. Starting from the top, firmly pull the green husks and attached silks downwards towards the stem. Work your way around the ear, peeling off all the layers until the kernels are fully exposed. This method often leaves some stubborn silks behind.
- Removing Stubborn Silks: For those lingering strands of silk, a damp paper towel is your best friend. Wrap the ear of corn in a slightly damp paper towel and twist gently. The dampness helps the silks cling to the towel, making them easier to remove. You can also rinse the corn under cool running water and rub off any remaining silks. Don’t fret over a few stray strands – they are harmless and won’t affect the taste.
- Trimming the Ends (Optional): Once husked, you can trim both ends of the cob if desired, making it neater for serving or fitting into smaller pots.
Prep Overview
Exploring the Best Ways to Cook Corn on the Cob
The beauty of corn on the cob lies in its adaptability. The recipe below provides detailed instructions for four different cooking methods, each with its own advantages, making it easy to choose the perfect approach for any occasion or preference.
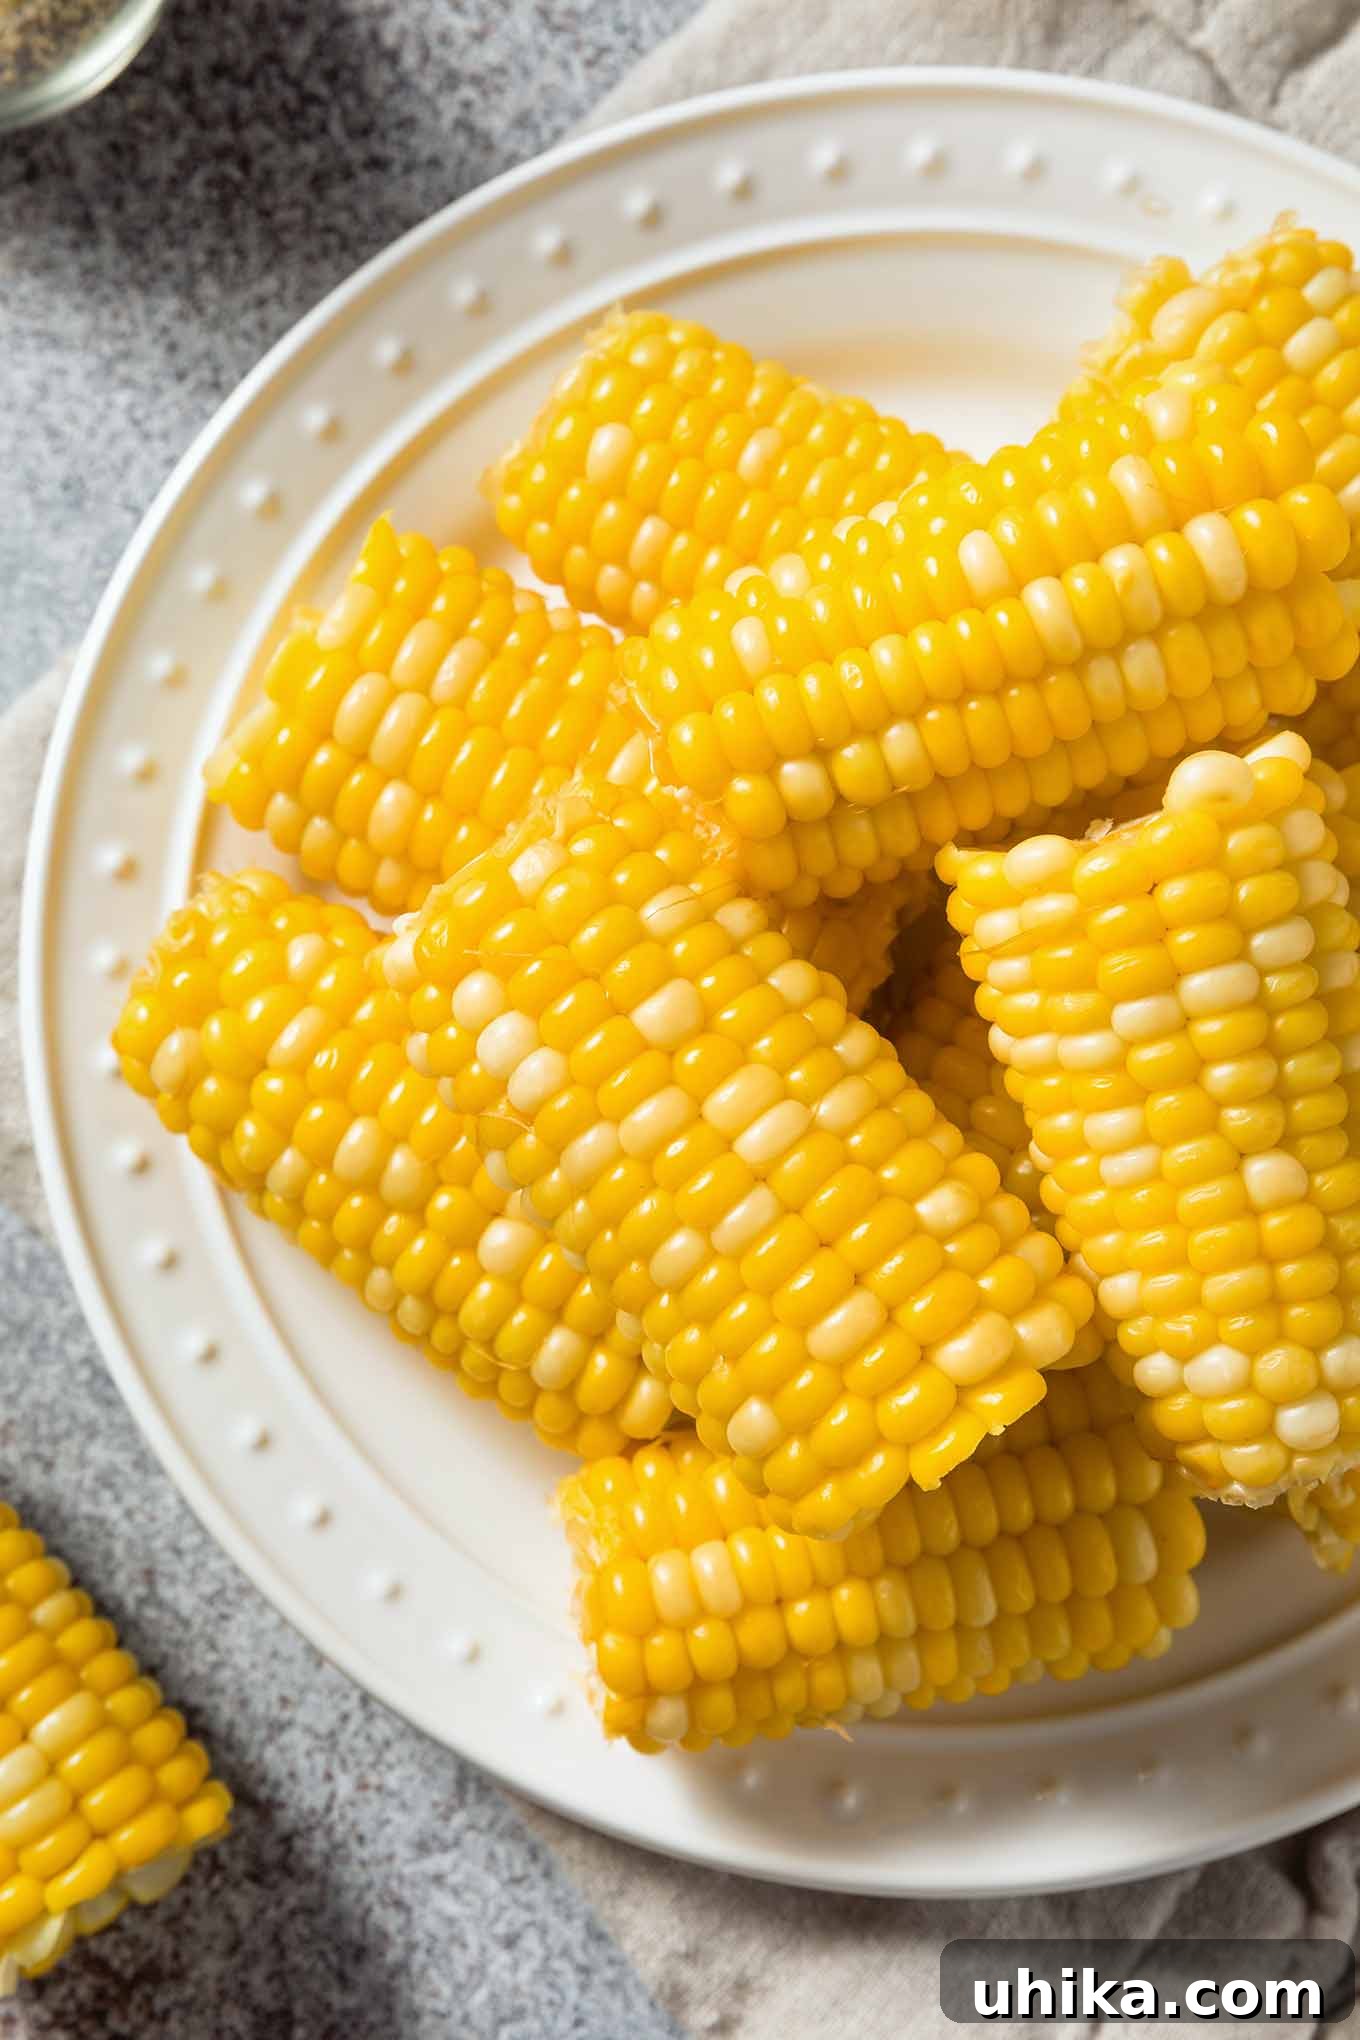
BOILING: The Traditional Choice for Crowds
Boiling is arguably the most classic and straightforward method for cooking corn on the cob. It’s particularly well-suited for feeding a large gathering, provided you have a pot big enough to accommodate multiple ears. This simple technique requires no special equipment beyond a large pot and water, ensuring evenly cooked, tender kernels every time. The simplicity of boiling makes it a go-to for many home cooks seeking reliable results.
STEAMING: Preserving Pure Corn Flavor
Steaming offers a gentler cooking approach compared to boiling, which helps to preserve more of the corn’s natural sweetness and vibrant flavor. By avoiding direct contact with water, the kernels retain their essential nutrients and juicy texture. While it does require a steamer pot or basket, steaming is an excellent choice for those who appreciate the subtle nuances of fresh corn. For larger quantities, you might need to cook in batches, but the superior taste is often worth the extra effort.
GRILLING: Achieving Smoky, Caramelized Perfection
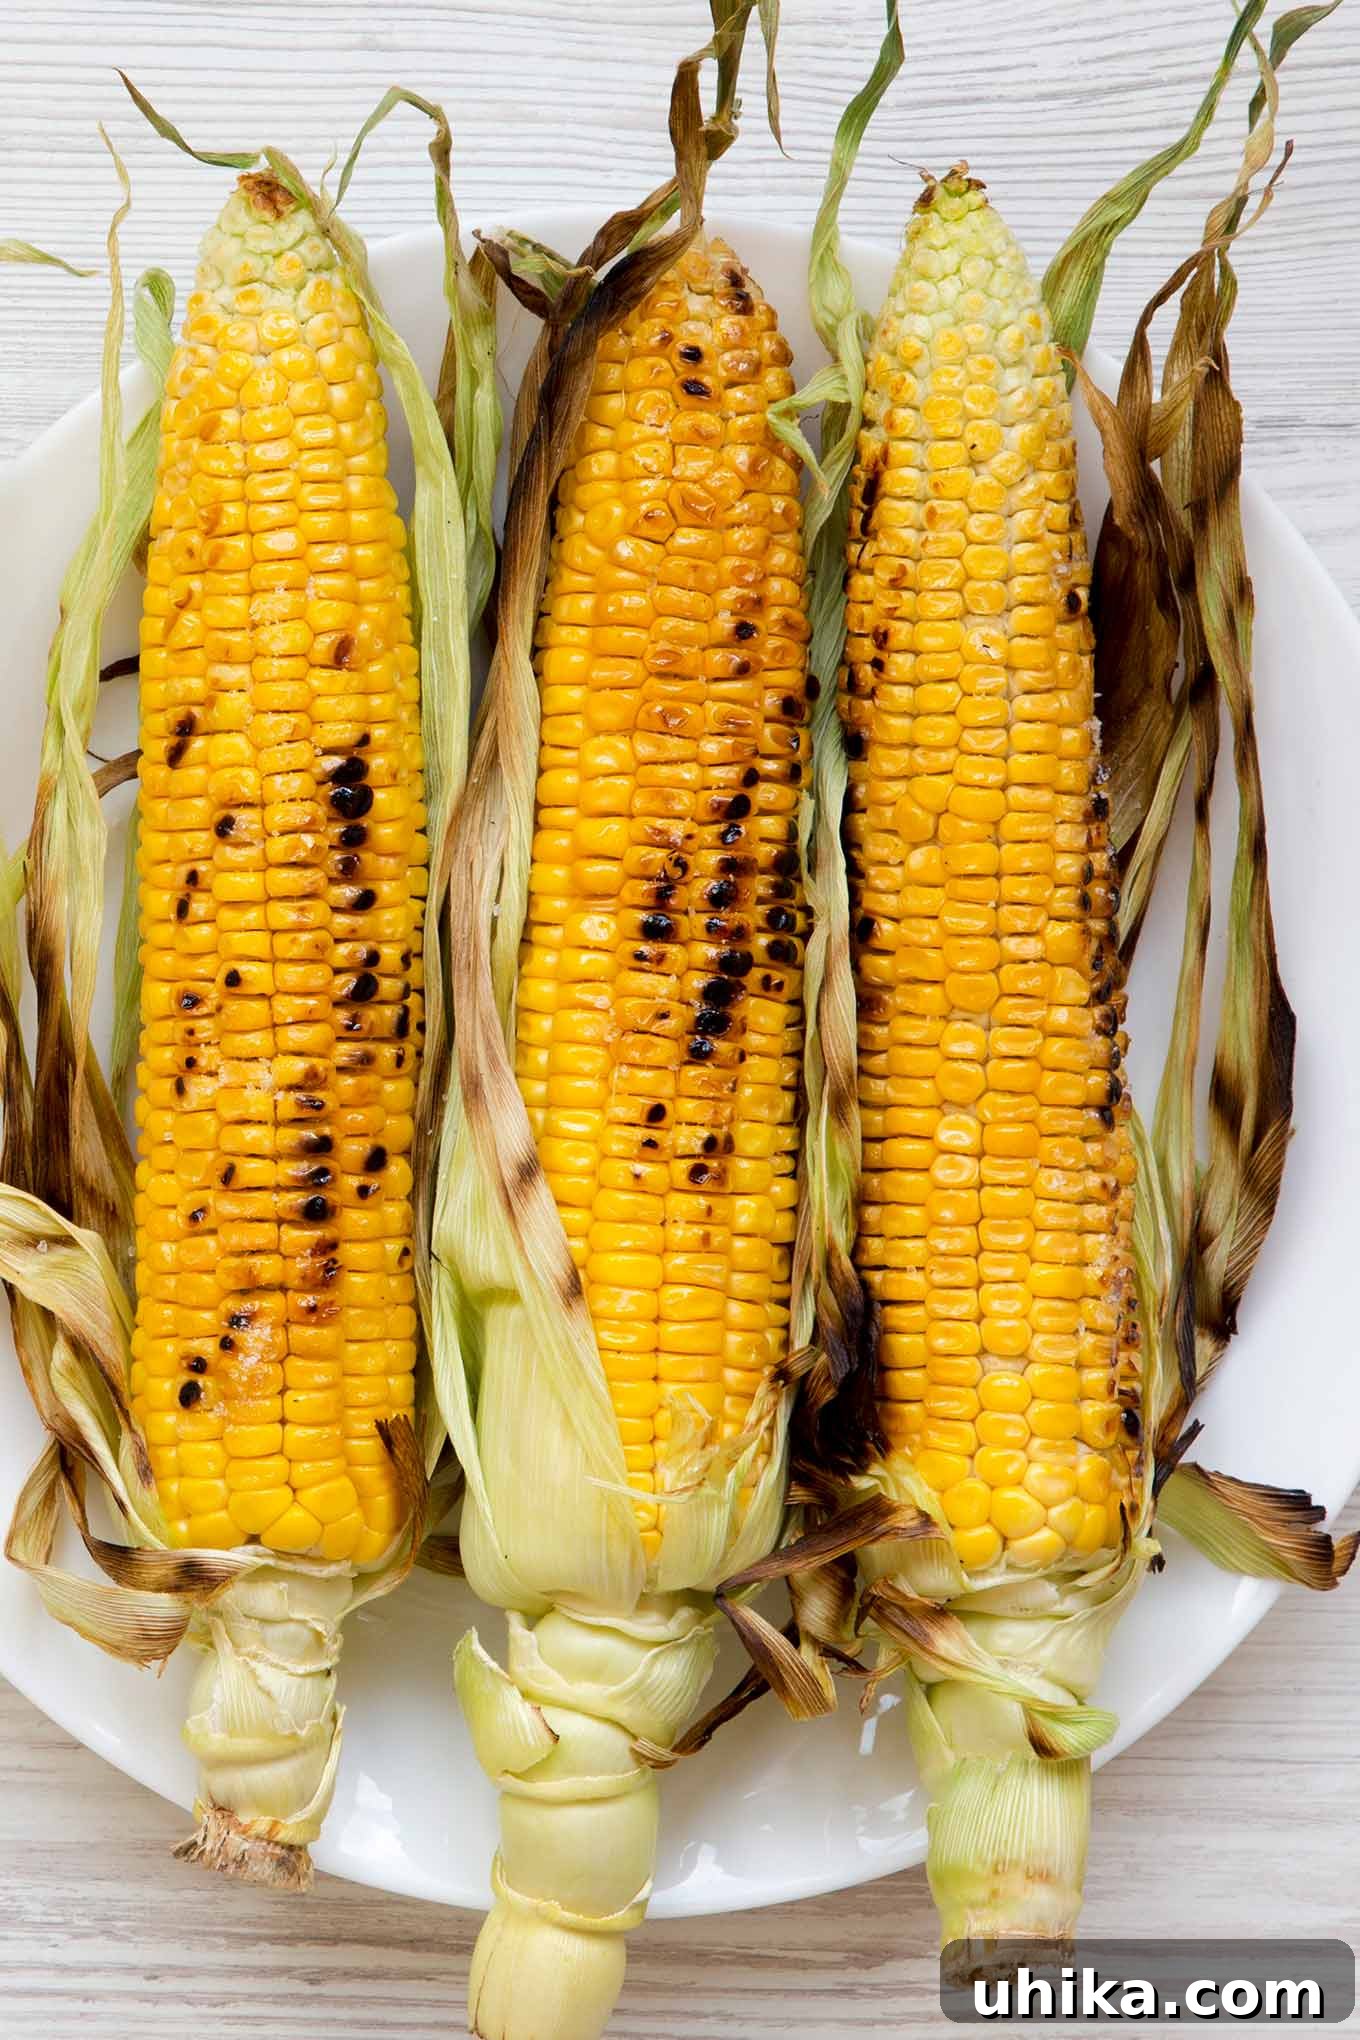
For an unforgettable flavor profile, grilling corn on the cob is unparalleled. This method infuses the corn with a delightful smoky aroma and creates slightly caramelized, charred kernels that can’t be replicated by other techniques. Grilling in the husk also offers a rustic, appealing presentation, making it perfect for backyard cookouts, picnics, and any outdoor entertaining. The interplay of smoky notes with the corn’s inherent sweetness is a true summer delight.
MICROWAVING: The Ultimate in Speed and Convenience
Our personal favorite method for cooking corn on the cob, especially when done in the husk, is microwaving. It stands out for its incredible speed, ease of preparation, and minimal cleanup. Microwaving is ideal for cooking just a couple of ears for a quick snack or side dish, or when you plan to remove the kernels for use in salads, salsas, or other recipes. The steam trapped within the husk tenderizes the corn beautifully, and the husks peel away effortlessly after cooking.
Elevate Your Corn: Quick and Easy Flavored Butters
While corn on the cob is delicious on its own, a simple compound butter can transform it into an extraordinary culinary experience. These flavored butters are incredibly easy to make and add a burst of complementary taste. Simply combine softened butter with your chosen ingredients, form it into a log, refrigerate until firm, and slice into pats when ready to serve with your hot corn.
- PARMESAN Garlic Herb: Combine grated Parmesan cheese, a pinch of Italian seasoning, and a hint of minced garlic for a savory, cheesy topping that melts beautifully onto warm corn.
- OLD BAY Lemon Honey: Mix Old Bay Seasoning with a generous squeeze of fresh lemon juice and a touch of honey. This blend offers a delightful sweet and savory zest, perfect for seafood lovers.
- FRESH Herb Garden: Choose your favorite fresh herbs – finely chopped chives, parsley, tarragon, or basil – and blend them into the softened butter. The fresh, aromatic notes will brighten the corn’s natural flavor.
- CHILE Lime Cilantro: For a spicy kick, combine chipotle hot sauce, a squeeze of fresh lime juice, and chopped cilantro. This vibrant and zesty butter adds a delicious Southwestern flair.
Don’t be afraid to experiment with other flavor combinations like smoked paprika, finely chopped jalapeños, or even a dash of nutritional yeast for a cheesy umami boost. The possibilities are endless!
More Delicious Corn Ideas to Explore
Now that you’ve mastered the basics of how to cook corn on the cob, you’re ready to explore even more delectable corn-centric dishes. These recipes showcase the incredible versatility of fresh corn beyond just a simple side.
- Creamy Corn Chowder with Bacon and Tomatoes – A hearty and comforting chowder where sweet corn truly shines as the star ingredient, complemented by smoky bacon and juicy tomatoes.
- Mexican Street Corn (Elote) – A vibrant and flavorful grill-friendly favorite, featuring charred corn slathered in a creamy, tangy sauce with cotija cheese, chili powder, and fresh lime.
- Light and Creamy Corn Bisque – A sophisticated yet simple bisque that’s smooth, satisfying, and can be prepared in under 30 minutes, perfect for an elegant starter.
- Fresh Corn and Tomato Salad – A celebration of summer produce, this simple, seasonal, and super flavorful salad combines the sweetness of corn with ripe tomatoes and a light dressing.
- Mexican Street Corn Flatbread – Take the irresistible flavors of elote and transform them into a cheesy, tangy, and totally delicious flatbread, perfect for an appetizer or light meal.
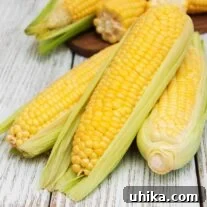
How to Cook Corn on the Cob: Four Essential Methods
Lynne Webb
10 minutes
15 minutes
4
servings
Rate Recipe
Print Recipe
Ingredients
- 4 ears fresh corn
- Butter, for serving
- Salt and freshly ground black pepper, to taste
Instructions
Method 1: Steamed Corn on the Cob
-
First, husk and silk the corn thoroughly. Pour about 1½ inches of water into the bottom of a large pot equipped with a steamer insert. Bring the water to a rolling boil over high heat, ensuring the water level is below the steamer basket so the corn doesn’t sit in the water.
-
Carefully place the prepared corn ears into the steamer basket in a single layer if possible. If you are cooking more than your basket can hold in a single layer, cook them in batches to ensure even steaming. Cover the pot tightly and steam the ears until they are tender and bright yellow, typically 6 to 8 minutes.
Tip: To keep previously steamed corn warm while cooking additional batches, wrap them in aluminum foil and place them in a preheated 200°F (93°C) oven.
Method 2: Boiled Corn on the Cob
-
Begin by husking and silking the corn completely. Fill a large stockpot about two-thirds full with water and bring it to a vigorous boil over high heat. Using sturdy tongs, gently place the ears of corn into the boiling water one at a time, ensuring all ears are fully submerged.
-
Once the water returns to a boil, cook the corn for 3 to 7 minutes, or until the kernels are tender and appear plump and bright. Avoid overcooking, as this can make the corn tough. Carefully remove the cooked corn from the pot using tongs, blot any excess water with a kitchen towel, and transfer to a serving platter.
Method 3: Grilled Corn on the Cob (in the Husk)
-
To prevent the husks from burning on the grill, soak the unhusked ears of corn in water for 30 to 45 minutes. This step helps create a steamy environment inside the husks, resulting in tender corn. Thoroughly drain the ears before placing them on the grill. Preheat your grill to a medium-high heat, aiming for around 400°F (200°C).
-
Just before adding the corn, lightly oil the grill grates to prevent sticking. Place the soaked corn directly onto the hot grill grates, close the lid, and cook for 12 to 15 minutes. Turn the ears with tongs every 5 minutes to ensure even cooking and a slight char on all sides. Once cooked through and tender, remove from the grill and let cool slightly before carefully peeling back the husks to reveal the smoky, sweet kernels.
Method 4: Microwaved Corn on the Cob (in the Husk)
-
For this quick and mess-free method, lightly rinse each ear of unhusked corn under cool running water to remove any surface dirt from the husks, then pat dry with paper towels. Arrange a maximum of 4 ears directly on your microwave turntable, ensuring there is a little space between each ear for even cooking. If you need to cook more than 4 ears, work in batches.
-
Microwave on high power for 4 minutes for the first ear of corn. For each additional ear, add 2 minutes to the total cooking time, up to a maximum of 10 minutes total for 4 ears.
Note: Microwave wattages vary significantly, so you may need to experiment slightly with the timing to achieve your desired tenderness.
-
Once the corn is cooked, allow it to cool for a minute or two until it’s safe to handle. Carefully cut off the stem end of each ear about ½ inch above the base. Then, grasp the ear from the top (tassel end) and shake it downwards. The cooked corn, along with the silks, should effortlessly slip out of the husk, leaving you with perfectly clean corn on the cob.
Notes for Perfect Corn
Testing Corn for Doneness
Regardless of the cooking method, perfectly cooked corn will have plump, juicy kernels with a vibrant yellow color. To confirm doneness, you can carefully pierce a kernel with the tip of a knife or a fork; it should feel tender and release a milky liquid. The most crucial tip is to avoid overcooking corn, as this can quickly cause the kernels to become tough, chewy, and less flavorful. Aim for tender-crisp.
Serving Suggestions
Serve your perfectly cooked corn on the cob immediately, while it’s still hot. Offer a variety of toppings, from classic butter, salt, and pepper to any of the flavored butters mentioned above, or a sprinkle of chili-lime seasoning for a zesty kick. Fresh herbs, crumbled cheese, or a drizzle of olive oil are also excellent additions. Enjoy this seasonal delight!
Nutrition
Serving:
1
ear
,
Calories:
77
,
Total Fat:
1
g
,
Sodium:
14
mg
,
Carbohydrates:
17
g
,
Fiber:
2
g
,
Sugar:
6
g
,
Protein:
3
g
Nutrition information is automatically calculated and should only be used as an approximation. Actual values may vary based on ingredients and preparation methods.
Enjoyed this recipe? Share your thoughts below!
Your feedback helps us improve and inspires other home cooks.