
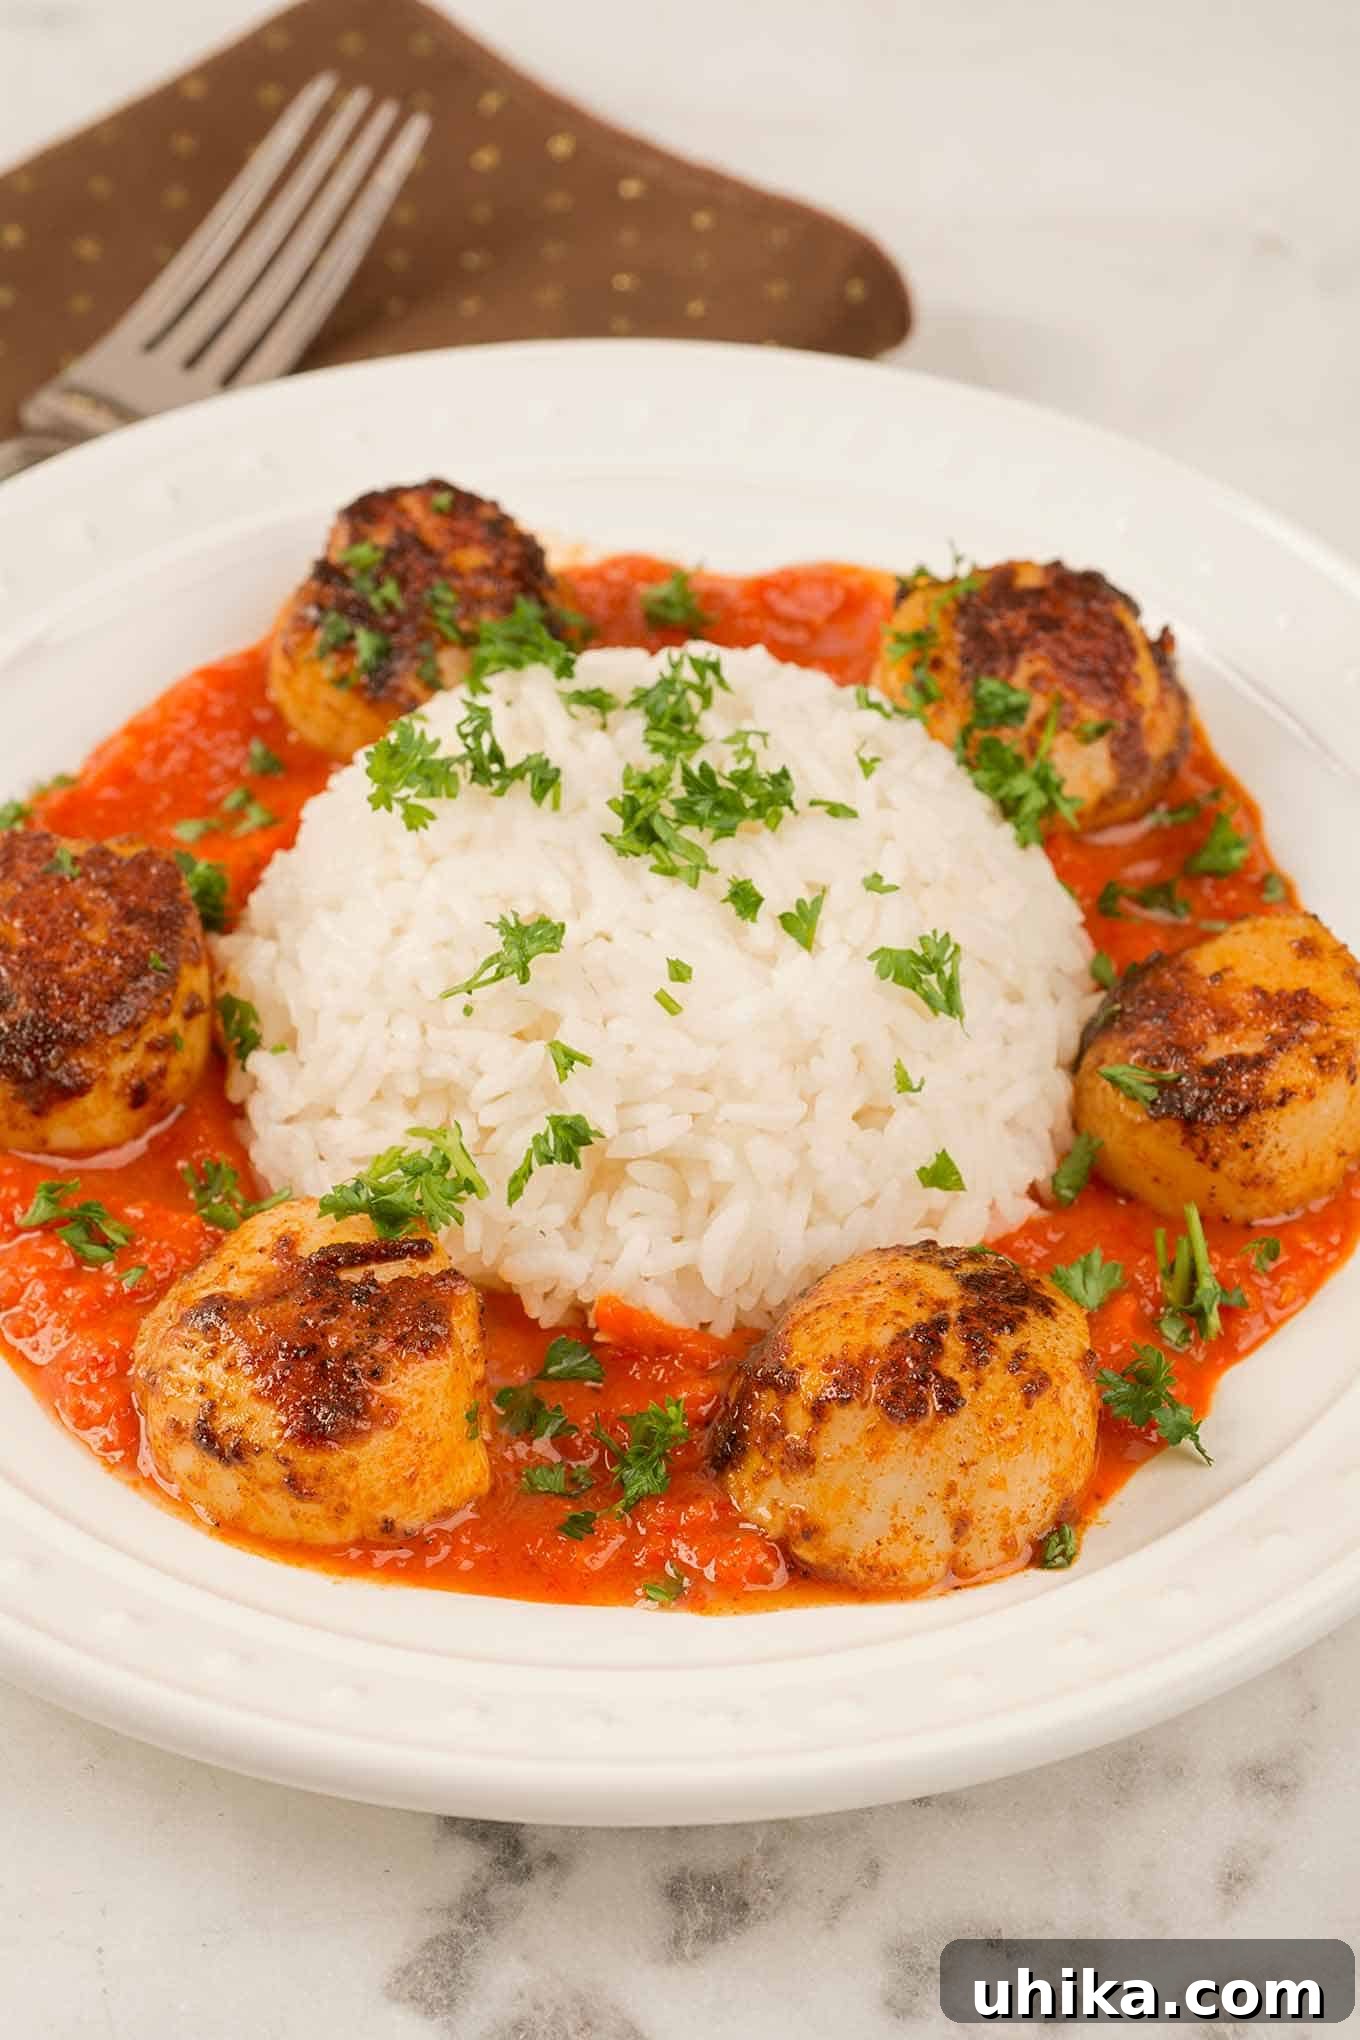
Mastering Pan-Seared Scallops with Robust Roasted Red Pepper Sauce: A Spanish Culinary Journey
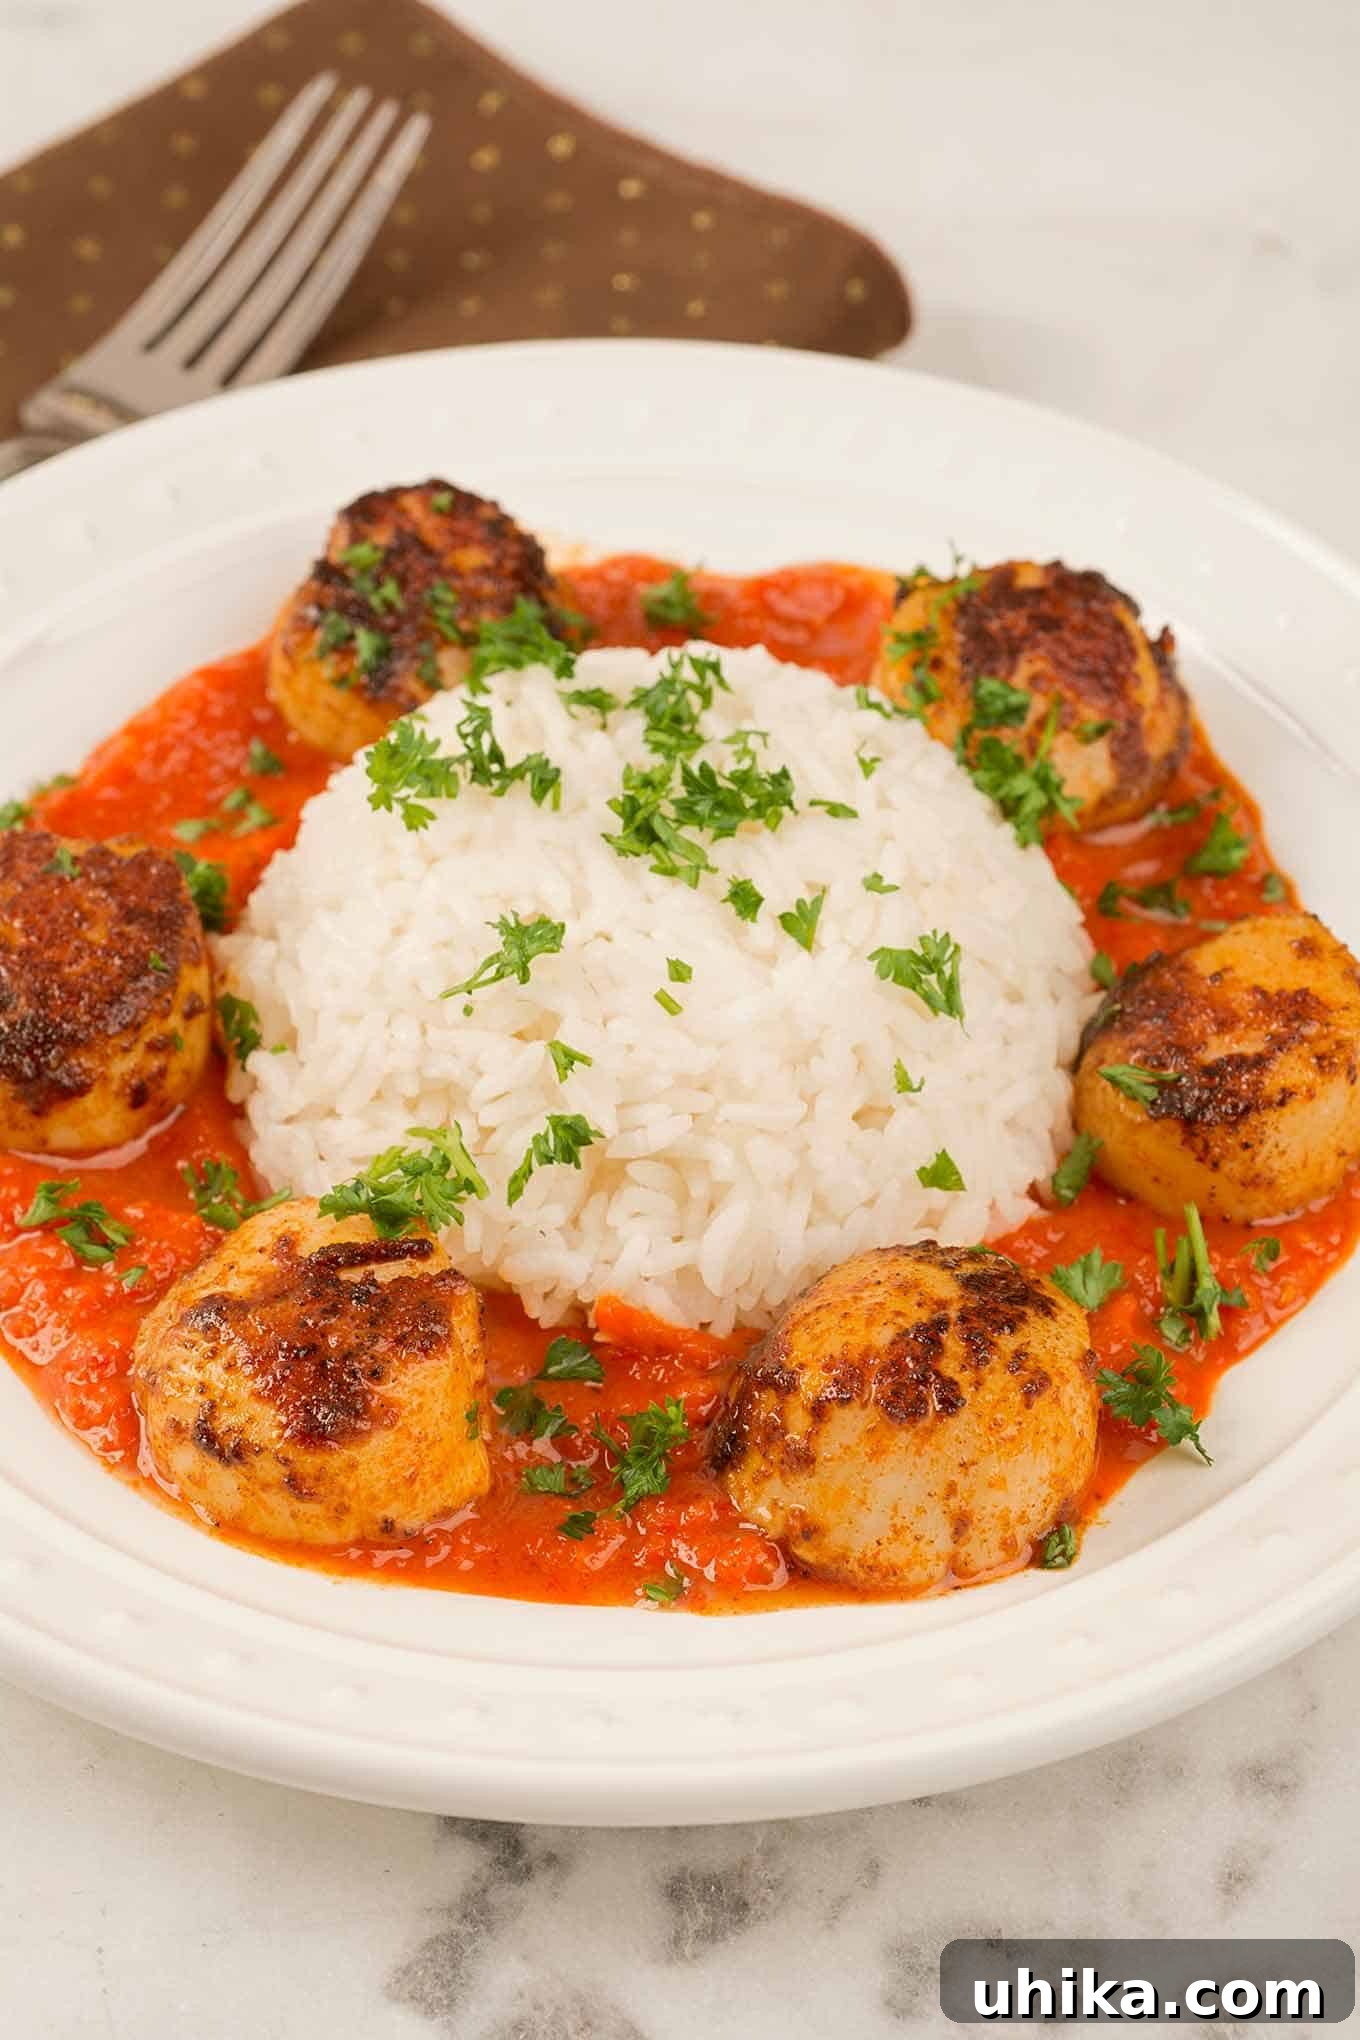
Embark on a culinary adventure with this exquisite recipe for pan-seared scallops bathed in a rich roasted red pepper sauce. Drawing inspiration from the vibrant flavors of Spanish cuisine, this dish combines the delicate sweetness of perfectly seared sea scallops with the smoky depth of paprika and the lusciousness of roasted red peppers. It’s a surprisingly simple yet elegant meal that promises to impress, whether it’s a quick weeknight dinner or a sophisticated weekend treat. We’ll guide you through every step, ensuring your scallops are cooked to golden-brown perfection, achieving that irresistible caramelized crust and tender, melt-in-your-mouth interior.
Unlocking the Secret to Perfect Scallops: Choosing “Dry” for Pan-Searing
The foundation of an exceptional pan-seared scallop dish lies not just in the cooking technique, but critically, in the selection of your scallops. For that enviable golden-brown crust and sweet, succulent interior, you must seek out what are known as “dry” scallops. This distinction is paramount and often overlooked by home cooks, yet it makes all the difference in achieving culinary perfection.
When you’re at the fish counter, make sure to look for good-sized sea scallops, ideally fewer than 20 per pound, indicating a larger, meatier scallop perfect for searing. The most important characteristic to verify is that they are explicitly labeled as dry, dry pack, diver, or day boat. These terms are not mere marketing buzzwords; they signify that the scallops have been handled in a way that preserves their natural integrity. If these terms aren’t immediately visible, don’t hesitate to engage your fishmonger. A knowledgeable fishmonger is your best ally in sourcing premium seafood, and they should be able to confirm if the scallops have been treated.
So, what exactly is a “dry pack” scallop, and why does its designation matter so much? The term signifies that the scallops have not undergone a common industry practice of being soaked in a phosphate solution, often referred to as a “brine” or STP (sodium tripolyphosphate). This solution is used to preserve the scallops’ natural moisture and plump them up, increasing their weight and shelf life. While this might sound beneficial from a commercial standpoint, it’s detrimental to the pan-searing process.
Scallops that have been soaked in this solution, commonly called “wet” scallops, retain an excess amount of water. During cooking, this liquid will continually leach out into your hot pan. Instead of achieving a beautiful, caramelized sear through the Maillard reaction – the chemical process responsible for that desirable browned crust and complex flavor – your scallops will essentially steam in their own juices. This prevents the surface from drying out and reaching the high temperatures necessary for browning, resulting in rubbery, grey, and bland scallops, a far cry from the tender, sweet gems you’re aiming for. Furthermore, the added phosphates can alter the natural flavor, often leaving an unpleasant, slightly soapy aftertaste.
Beyond the label, there are visual cues to help you distinguish between dry and wet scallops. Dry-packed scallops typically have a creamy, slightly off-white or light tan hue, and their texture is firm and almost sticky to the touch, indicating natural protein content. They should smell subtly sweet, like a fresh ocean breeze, but not fishy. In contrast, wet scallops often appear unnaturally white, almost bleached, and will be sitting in a milky puddle of liquid in their container. Their texture might feel slippery or somewhat mushy, and they may have a faint chemical odor if phosphates were used. Always prioritize those with a natural color and firm texture, as this is your first step towards truly magnificent pan-seared scallops.
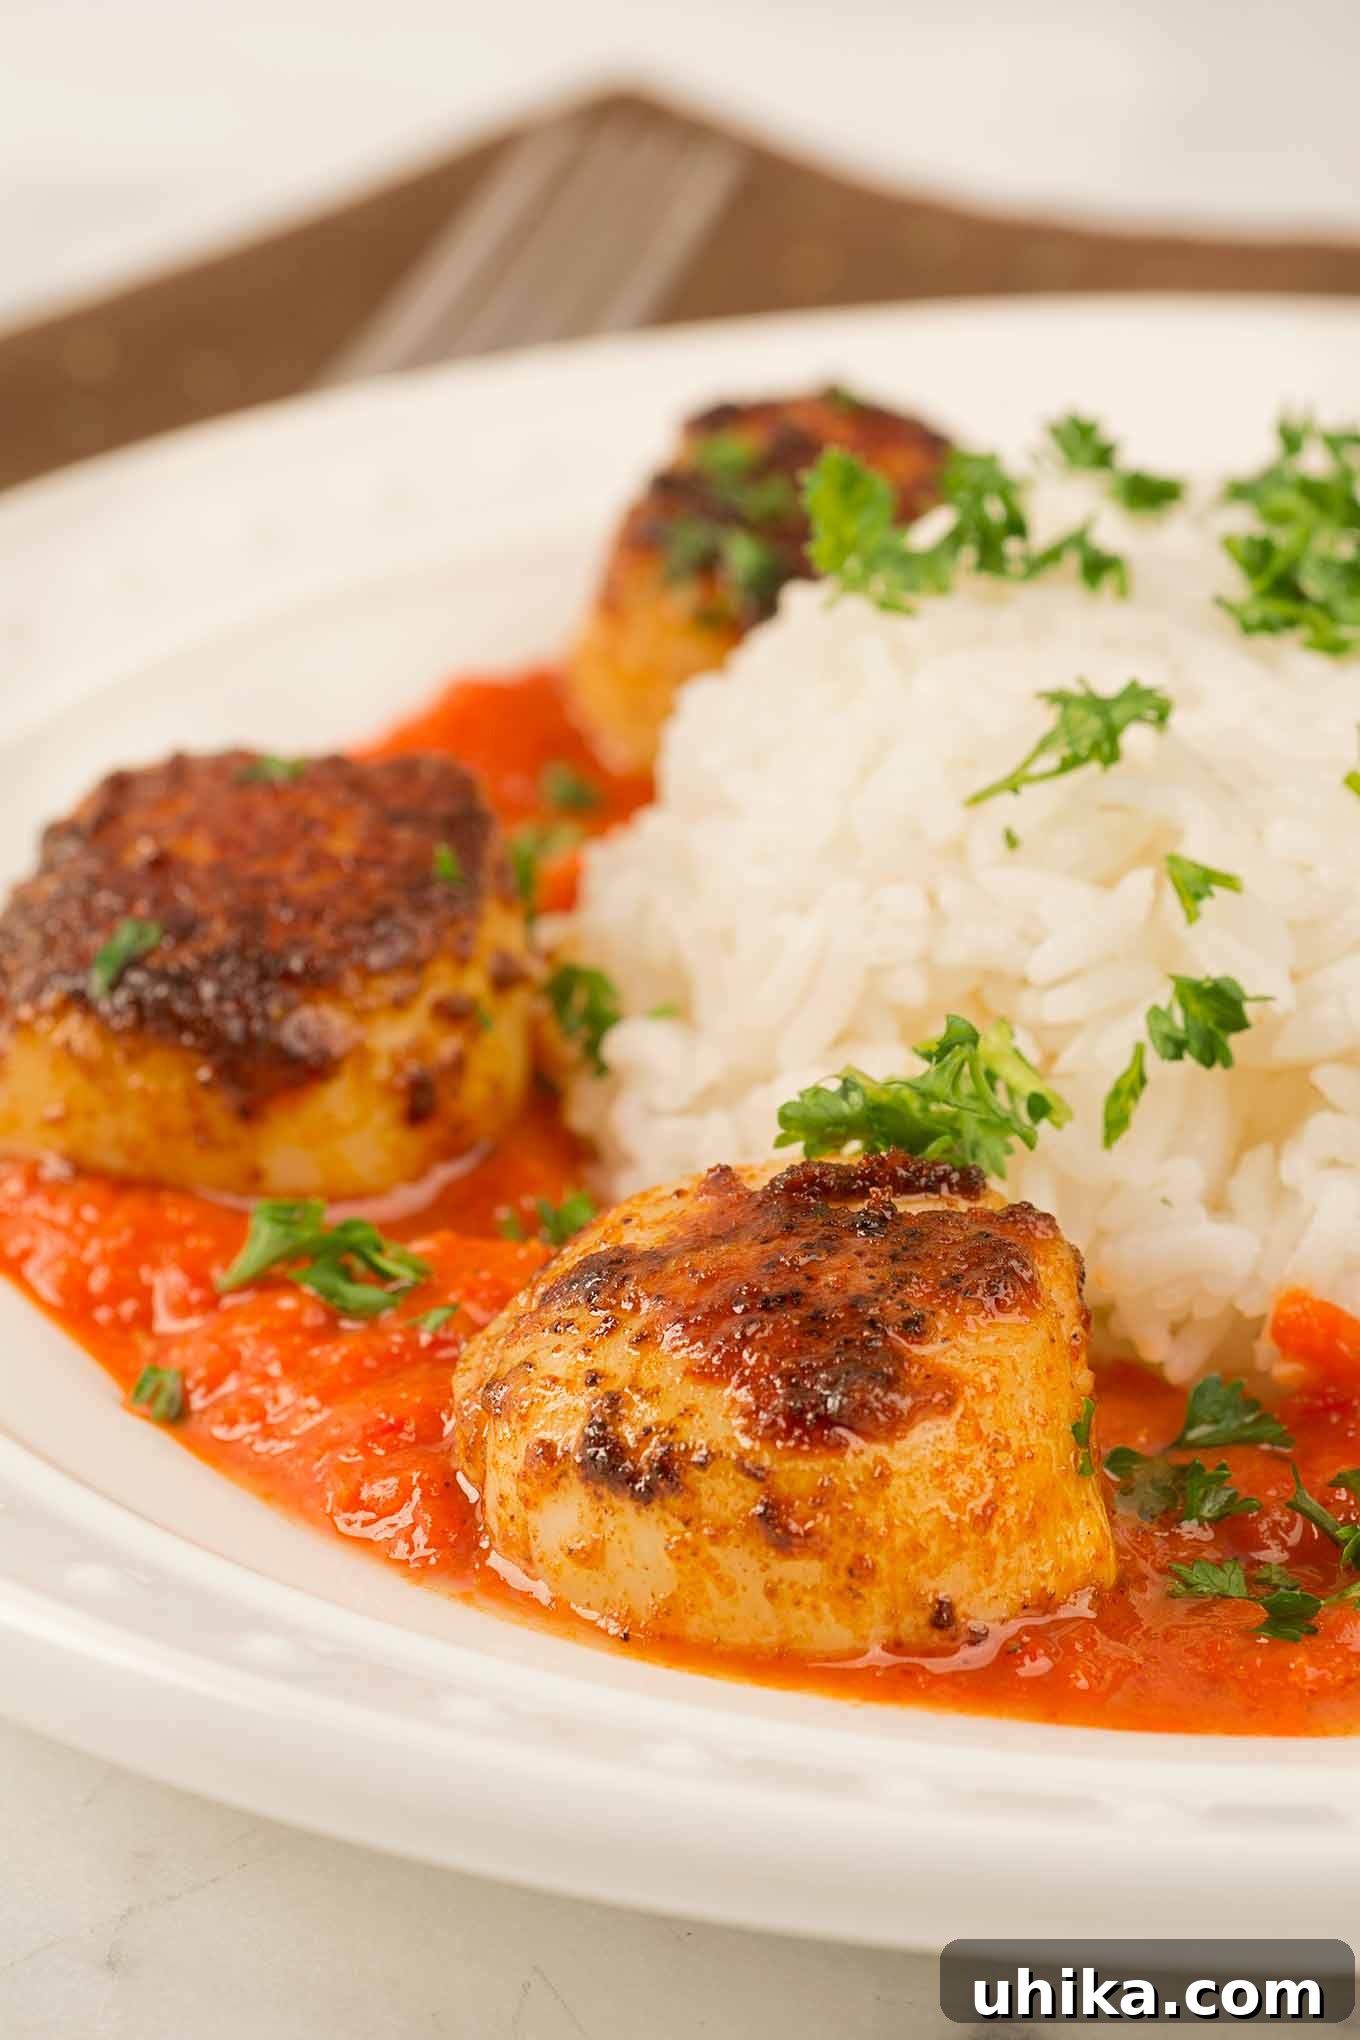
Mastering the Art of Pan-Searing Scallops for Culinary Perfection
Once you’ve secured your high-quality dry scallops, the next step is to execute the pan-searing technique flawlessly. This method, while seemingly simple, requires attention to detail to achieve that highly sought-after caramelized exterior and succulent interior. Follow these expert tips for truly perfect scallops every time:
- Bring to Room Temperature and Blot Thoroughly: Approximately 10 to 15 minutes before you intend to cook, remove the scallops from the refrigerator. Allowing them to come closer to room temperature promotes more even cooking throughout the scallop, preventing a cold center. Arrange them in a single layer on a plate lined with several layers of paper towels. Gently but firmly blot them on all sides with additional paper towels. This step is critical; any residual moisture on the surface will hinder proper searing and prevent that beautiful crust from forming. The dryer the scallop, the better the sear you will achieve.
- Season Just Before Cooking: For this exquisite dish, we’ll create a vibrant paprika-based seasoning blend, but regardless of your chosen flavors, always apply seasonings just before the scallops hit the pan. Salt, in particular, draws out moisture. Applying it too early can reverse the diligent drying process you just performed, leading to a less-than-ideal sear. A last-minute seasoning ensures maximum flavor penetration without compromising the delicate texture or crust development.
- Choose the Right Pan and Heat: Select a heavy-bottomed frying pan – cast iron or stainless steel are excellent choices for their superior ability to retain and distribute heat evenly across the cooking surface. Ensure the pan is large enough to accommodate all your scallops in a single layer, with at least a half-inch of space between each. Overcrowding the pan will dramatically lower the temperature, causing the scallops to steam rather than sear, which we want to avoid. Place the pan over medium-high heat and allow it to preheat thoroughly for several minutes. You want the pan to be very hot, almost shimmering, but not smoking excessively.
- Add the Fat and Watch for the Sizzle: Once your pan is adequately hot, add your chosen fat. Unsalted butter is highly recommended for its rich flavor and its ability to create a golden-brown, crispy crust through browning milk solids. For a higher smoke point or if you prefer, you might consider a blend of butter and a neutral oil like grapeseed or avocado oil. As soon as the fat begins to sizzle and lightly shimmer – indicating it’s hot enough but not burning – it’s the perfect moment to introduce the scallops.
- Strategic Placement in the Pan: Using tongs, carefully transfer the scallops to the pan, one at a time. A useful trick for maintaining order and ensuring even cooking is to place them in a clockwise pattern, starting at the 12 o’clock position. This method helps you keep track of which scallops were added first, making it easier to know which ones need to be turned first for consistent results. Ensure they are placed flat-side down directly onto the hot, oiled surface.
- The Perfect Sear: Resist the urge to move or peek at them during this initial searing phase. Most large sea scallops will require no more than 1 1/2 to 2 minutes per side to cook. This amount of time should produce a deep golden-brown, irresistible crust on the outside. Once the first side has developed its beautiful caramelization, gently turn each scallop with tongs. Cook the second side for another 1 1/2 to 2 minutes. The goal is a beautiful, caramelized exterior and a creamy, slightly translucent center. Overcooking is the most common mistake, leading to tough, chewy scallops, so watch them closely!
- Serve Immediately: Scallops cook very quickly and, unfortunately, lose their heat and tenderness just as fast. For the absolute best culinary experience, it is crucial to have all other elements of your meal (like the roasted red pepper sauce and steamed rice) ready and warm before you even start searing the scallops. Work swiftly from pan to plate, serving individual portions piping hot to savor their exquisite texture and flavor at their peak.
More Delicious Scallop Recipes to Explore
Scallops are an incredibly versatile seafood, capable of being the star of many different culinary creations, from elegant appetizers to satisfying main courses. If you’ve enjoyed mastering this Spanish-inspired dish, you might be interested in exploring other delightful ways to prepare these sweet bivalves and bring their unique flavor to your table. Here are a few more recipes to inspire your next seafood meal, showcasing the diverse applications of scallops in various cuisines:
- Scallops and Pasta with White Wine Butter
- Scallops in Tomato Lime Butter
- Seared Scallops in Lemon and Garlic Pan Sauce
- Thai Sweet Chili and Orange Scallops

Pan-Seared Scallops with Roasted Red Pepper Sauce
Lynne Webb
15 minutes
5 minutes
20 minutes
4
servings
Rate Recipe
Print Recipe
Ingredients
-
1-1/4
lbs
dry-pack sea scallops -
3
teaspoons
paprika,
see notes for blend suggestions -
Salt and freshly ground black pepper -
1/2
teaspoon
onion powder -
2
tablespoons
unsalted butter -
Steamed white rice,
for serving -
Chopped fresh parsley for garnish,
optional
For the Roasted Red Pepper Sauce:
-
1
12-ounce jar whole, roasted red peppers,
thoroughly drained (see notes) -
1/2
teaspoon
minced garlic,
approximately 1/2 fresh clove, finely minced -
2
teaspoons
extra virgin olive oil -
2
teaspoons
sherry vinegar,
or high-quality red wine vinegar for a similar tang
Instructions
-
1. Prepare the Scallops: Remove your dry-pack sea scallops from the refrigerator about 10-15 minutes before you plan to cook them, allowing them to come closer to room temperature for more even cooking. Arrange them in a single layer on a plate lined with several layers of paper towels. Gently but thoroughly blot them on all sides with additional paper towels to remove as much surface moisture as possible. This critical step ensures a superior sear and prevents steaming. Set them aside while you prepare the seasoning and sauce.
-
2. Make the Paprika Seasoning Blend: In a small bowl, combine the 3 teaspoons of paprika (following the notes for blending sweet and smoked varieties), 1/2 teaspoon of salt, a generous few grinds of freshly ground black pepper, and 1/2 teaspoon of onion powder. Mix well until all spices are evenly distributed, creating an aromatic blend. Spread this seasoning mixture onto a clean, flat plate or shallow dish, ready for coating the scallops just before searing.
-
3. Prepare the Roasted Red Pepper Sauce: Ensure the 12-ounce jar of whole, roasted red peppers is thoroughly drained; excess liquid will dilute the sauce. Transfer the drained peppers to the work bowl of a food processor or a high-speed blender. Add the 1/2 teaspoon of finely minced garlic, 2 teaspoons of extra virgin olive oil, and 2 teaspoons of sherry vinegar (or a high-quality red wine vinegar for a similar tang). Process until the mixture is completely smooth and creamy, almost like a thick purée.
-
4. Finish the Sauce: Taste the freshly blended roasted red pepper sauce and adjust the seasoning with salt and pepper as needed. You might find it benefits from a little extra tang from the vinegar or a pinch more salt to enhance the vibrant flavors. Transfer the silky smooth sauce to a clean serving dish or individual ramekins. Cover it lightly and set it aside, or keep it gently warm if serving immediately. The sauce is now ready to complement your perfectly seared scallops.
-
5. Season the Scallops: Working with one scallop at a time, lightly press each flat side into the prepared spice mixture, ensuring it’s evenly coated but not overly caked. Gently shake off any excess seasoning so that the crust forms beautifully without burning. Transfer the seasoned scallops to a separate dry plate, making sure they are not touching each other too much. This careful preparation is key for their final sear.
-
6. Preheat the Pan: Place a large frying pan (preferably a heavy-bottomed pan like cast iron or stainless steel for optimal heat retention) over medium-high heat. It’s crucial to use a pan large enough to hold all the scallops in a single layer with sufficient space (at least 1/2 inch) between them. Heating the pan thoroughly ensures an even sear and prevents the temperature from dropping when scallops are added. Allow the pan to heat for 3-5 minutes until it is very hot, almost shimmering, but not smoking excessively.
-
7. Sear the Scallops: Add the 2 tablespoons of unsalted butter to the hot pan. As soon as the butter begins to sizzle and melt, swirl it around to coat the bottom of the pan evenly. Using tongs, carefully place the seasoned scallops into the pan one at a time, ensuring they are flat-side down. For optimal results and ease of turning, place them in a consistent pattern, such as clockwise starting from the 12 o’clock position. This helps track cooking times.
-
8. Cook to Golden Perfection: Cook the scallops undisturbed for approximately 1 1/2 minutes on the first side. Resist the temptation to move or flip them prematurely; this allows a beautiful golden-brown crust to form through the Maillard reaction. Once the first side is nicely caramelized, use tongs to gently turn each scallop. Continue to cook for an additional 1 1/2 to 2 minutes on the second side, or until they are golden brown and cooked through, with a slightly opaque, yet still tender, center. Be vigilant to avoid overcooking, which can lead to a rubbery texture.
-
9. Serve Immediately: As soon as the scallops are perfectly seared, transfer them directly to plates. To serve this elegant dish, arrange four generous servings of warm steamed white rice on each plate. Spoon a vibrant amount of the roasted red pepper sauce artistically around the rice, creating a colorful bed. Carefully place the hot, seared scallops on top of or next to the sauce. For a final flourish, garnish with a sprinkle of fresh chopped parsley if desired. Serve immediately to enjoy the scallops at their peak tenderness and flavor.
Notes
About the Roasted Red Peppers: A standard 12-ounce jar of whole, roasted red peppers typically contains the equivalent of about two medium-sized red bell peppers that have been expertly cored, seeded, roasted until tender, and then peeled. Ensure they are thoroughly drained before blending to avoid a watery sauce that lacks intensity. Patting them dry with paper towels briefly can also help concentrate their flavor.
Nutrition
Nutrition information is automatically calculated and provided for informational purposes only. It should be used as an approximation, as ingredient variations, preparation methods, and serving sizes can affect final values.
Enjoyed this recipe? Share your thoughts and leave a comment below!