
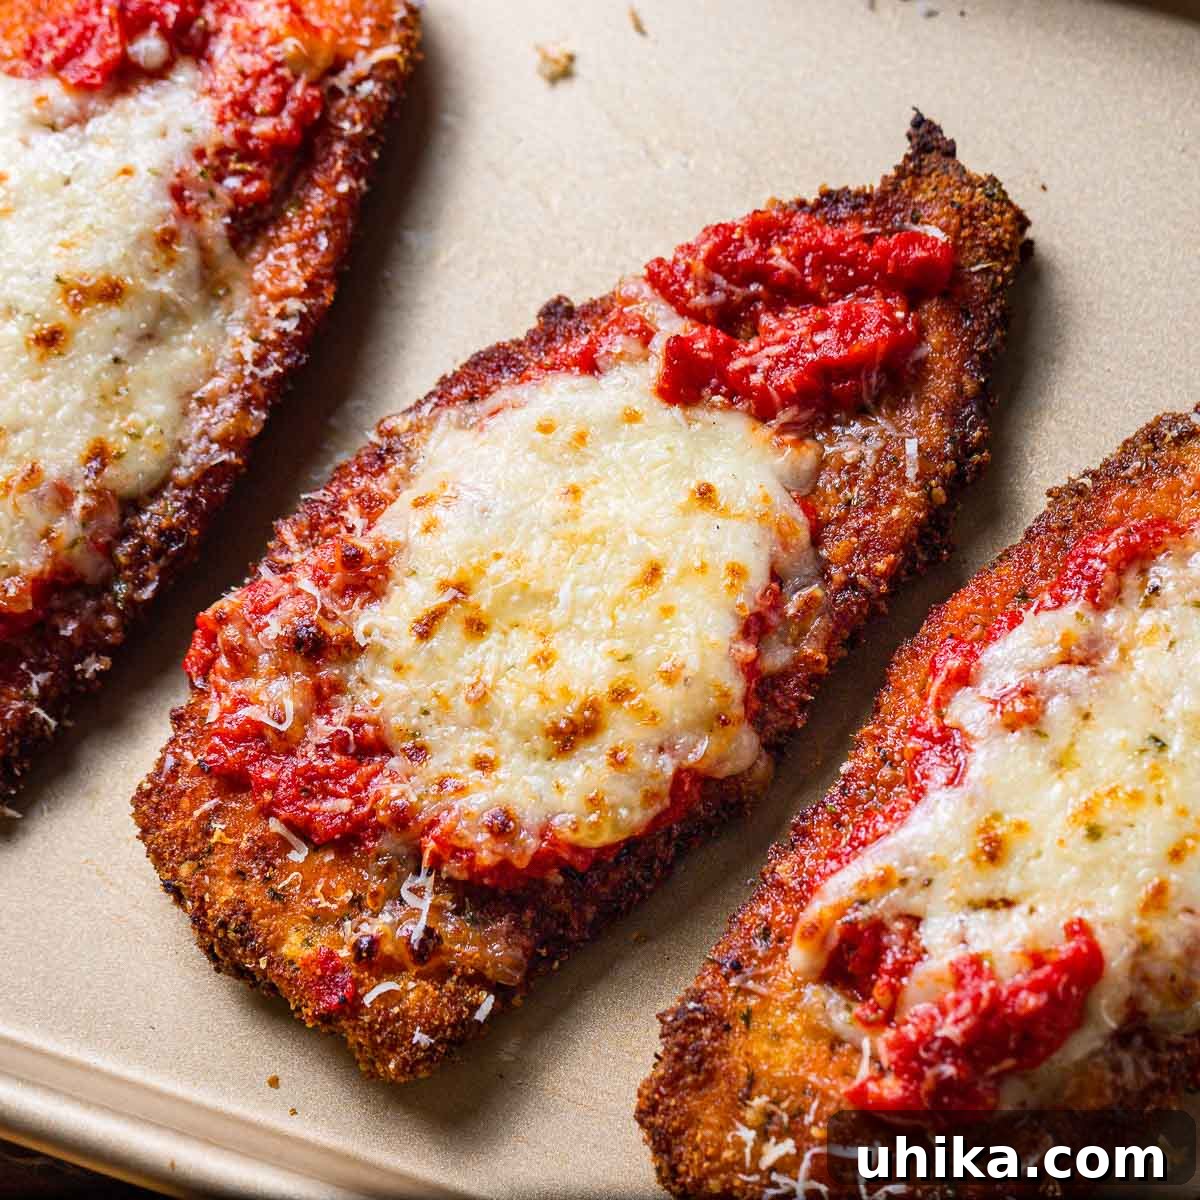
Chicken Parmigiana: The Ultimate Italian-American Comfort Food
Few dishes evoke the same warmth, nostalgia, and sheer satisfaction as Chicken Parmigiana, affectionately known as Chicken Parm or Chicken Parmesan. This beloved culinary creation stands as a testament to Italian-American ingenuity, transforming classic Italian ingredients into a hearty, irresistible meal that has captured hearts across the United States and beyond. Imagine perfectly breaded and pan-fried chicken cutlets, generously smothered in a vibrant tomato sauce, then blanketed with a luscious layer of melted mozzarella and a sprinkle of sharp Parmigiano Reggiano cheese, all baked to golden perfection. It’s a symphony of textures and flavors – crispy, tender, tangy, and cheesy – making it an undisputed king of comfort food.
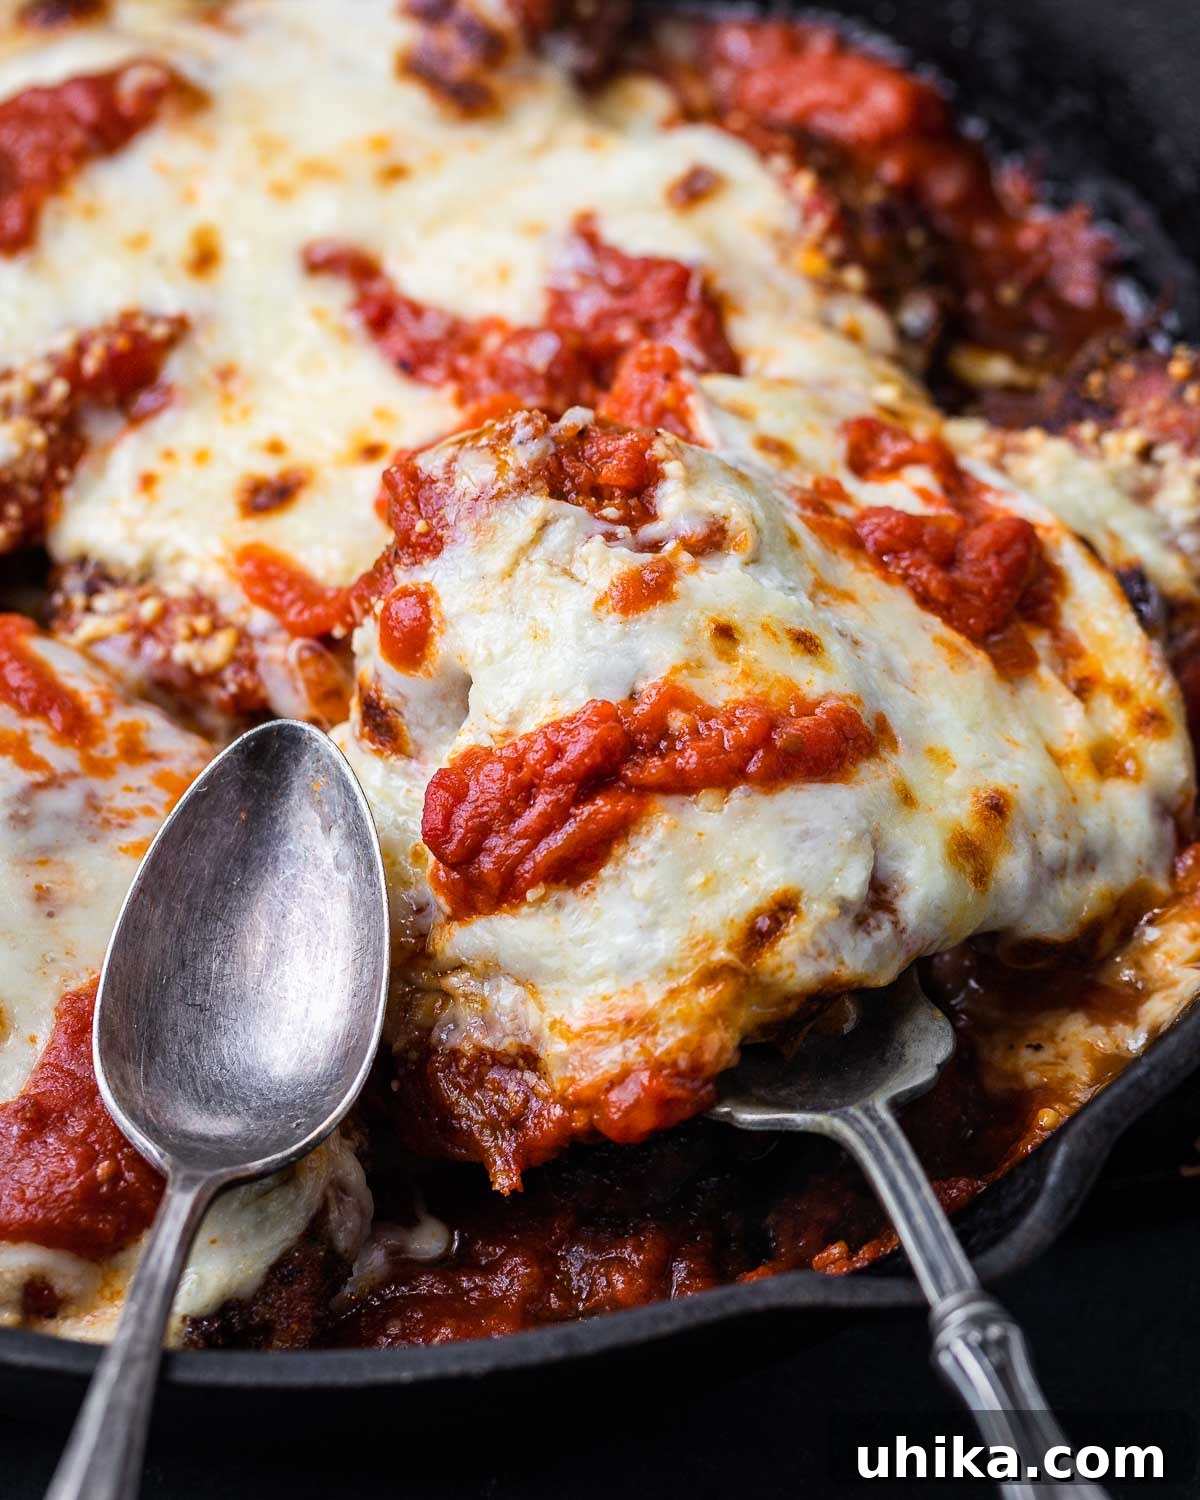
In bustling metropolitan areas like New York, Chicken Parmigiana isn’t just a dish; it’s a cultural staple. From family-owned Italian restaurants and bustling delis to local pizzerias and classic diners, you’d be hard-pressed to find an establishment that doesn’t offer its own cherished version. Every Italian-American nonna (grandmother) holds a secret recipe, passed down through generations, ensuring this culinary tradition thrives. Beyond its American stronghold, Chicken Parmigiana has even found a second home in Australia, where it’s a popular pub dish known simply as “parma” or “parmi,” often served with chips and salad.
Interestingly, despite its widespread association with Italian cuisine, Chicken Parmigiana is largely an American invention. While Italy boasts its own revered parmigiana di melanzane (eggplant parm), a classic dish featuring baked eggplant slices with tomato and cheese, chicken was not traditionally prepared this way in Italy. The Italian-American community ingeniously adapted the concept, substituting eggplant with chicken cutlets, creating a dish that resonated deeply with the American palate. It’s a beautiful example of culinary evolution, where tradition meets innovation to create something new and wonderful.
Traditionally, Chicken Parmesan is served alongside a generous portion of pasta with marinara sauce, allowing the rich flavors to meld together. However, its versatility means it pairs equally well with lighter options such as crisp garlic sautéed broccoli rabe or a fresh green salad. This article will guide you through crafting the perfect Chicken Parmigiana, from preparing the crispy cutlets and simmering a robust marinara to assembling and baking this iconic dish. For an even deeper dive into the fascinating history and cultural significance of this dish, consider listening to episode 17 of The Sip and Feast Podcast – Chicken Parmigiana.
Table of Contents
- Essential Recipe Ingredients
- Crafting the Perfect Marinara Sauce
- Preparing Golden-Crisp Chicken Cutlets
- Assembling and Baking Your Chicken Parm
- Expert Tips for Success
- More Delightful Italian-American Recipes
- Chicken Parmigiana Recipe Card
Essential Recipe Ingredients for Authentic Chicken Parmigiana
Creating an exceptional Chicken Parmigiana begins with selecting high-quality ingredients. Each component plays a vital role in achieving that perfect balance of flavor and texture. Below, you’ll find a detailed look at the core ingredients needed for this recipe, along with important notes to guide your choices.
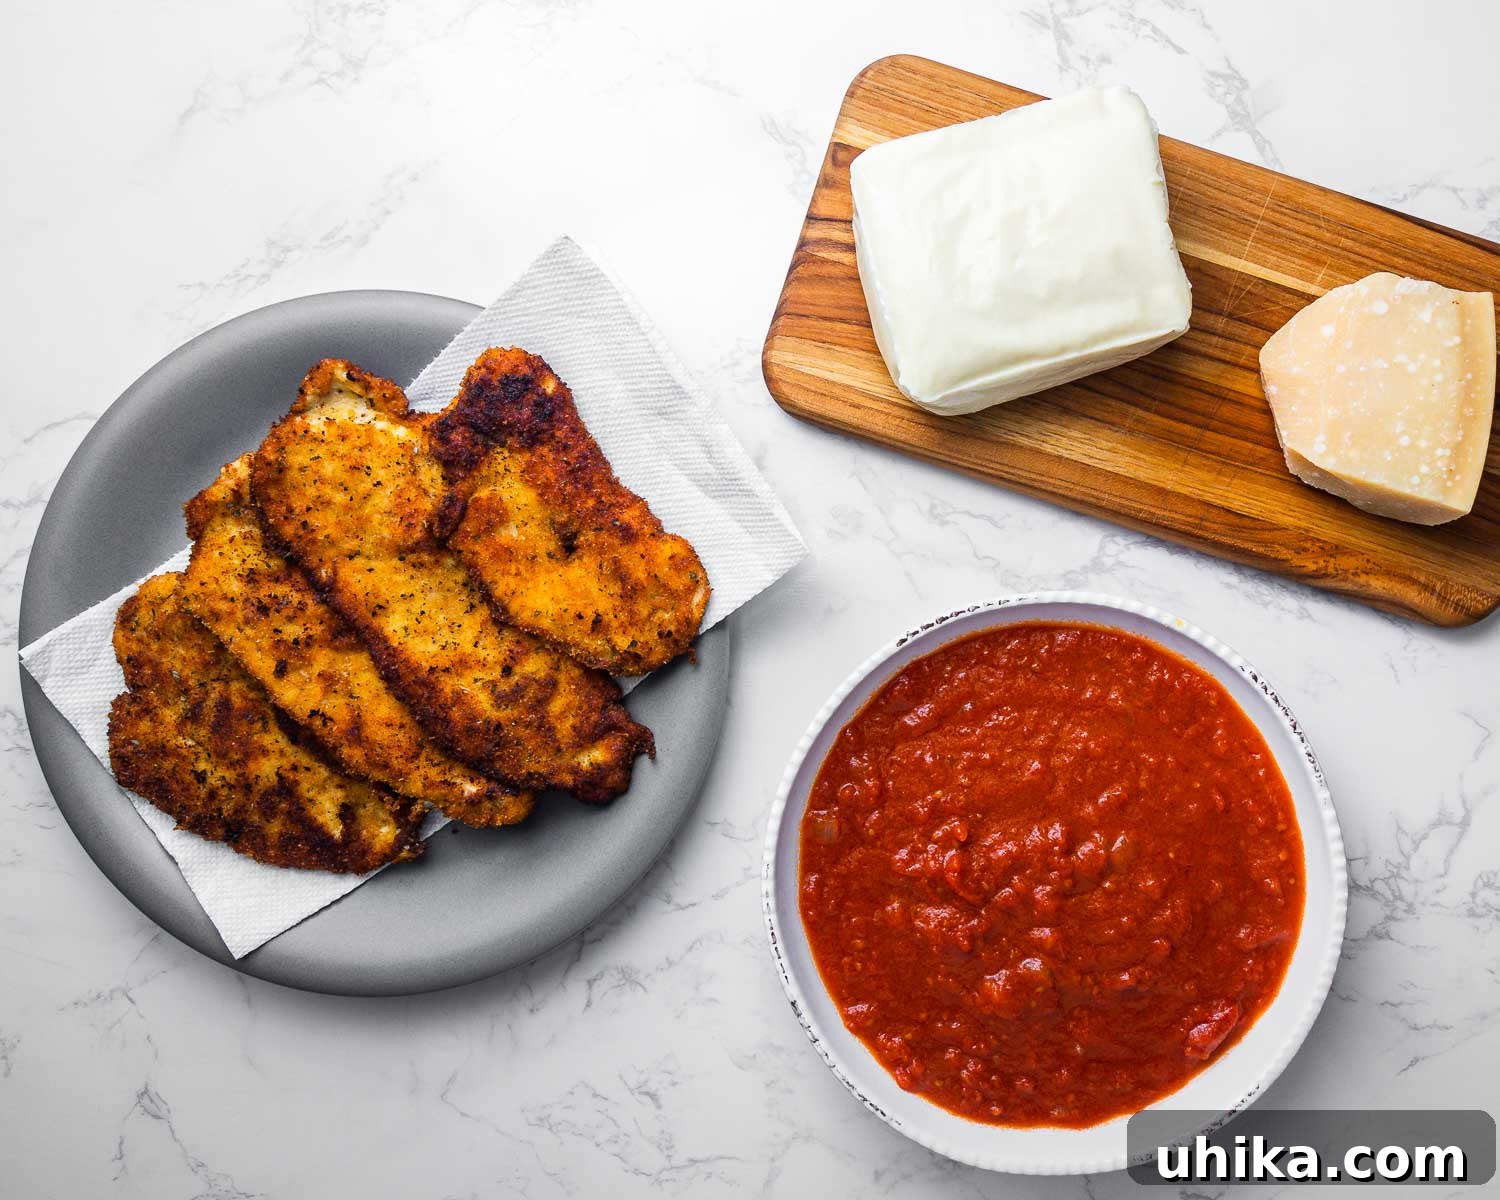
- Chicken Cutlets: For the most tender and evenly cooked Chicken Parm, thinly sliced chicken cutlets are paramount. You can purchase them already thin, or butterfly thicker chicken breasts and pound them to about 1/4 to 1/2 inch thick. This ensures quick and even cooking, as well as a great breading-to-chicken ratio.
- Flour, Eggs, and Breadcrumbs: These three ingredients form the classic breading station, creating the irresistible crispy coating on your chicken. All-purpose flour provides the initial dry layer, ensuring the egg adheres properly. Large, beaten eggs act as a binder, while Italian seasoned breadcrumbs deliver that essential savory, herbaceous crunch. For an extra layer of flavor, consider making your own breadcrumbs from day-old Italian bread.
- Olive Oil (for frying): A good quality olive oil or a neutral vegetable oil is crucial for shallow frying the chicken cutlets. The oil needs to be hot enough to create a golden, crispy crust without overcooking the chicken, giving it that characteristic “fried” flavor.
- Marinara Sauce: The heart of any great Chicken Parmigiana is its sauce. A simple homemade marinara, crafted from sweet plum tomatoes, fresh garlic, and quality olive oil, provides a rich, tangy base that perfectly complements the fried chicken. While store-bought options can work in a pinch, a homemade sauce elevates the dish significantly.
- Mozzarella Cheese: For that iconic gooey, stretchy melt, full-fat block mozzarella is highly recommended. Avoid pre-shredded mozzarella, which often contains anti-caking agents that hinder a smooth melt. Freshly grated mozzarella will deliver superior results.
- Parmigiano Reggiano: This hard, salty Italian cheese adds a crucial layer of umami and depth. Finely grated Parmigiano Reggiano is sprinkled both within the layers and on top, contributing to the dish’s signature flavor profile and a beautifully browned crust.
Refer to the full recipe card below for precise information on ingredients and quantities needed to create this delightful dish.
Crafting the Perfect Marinara Sauce: The Heart of Your Chicken Parm
A truly outstanding Chicken Parmigiana begins with an equally outstanding marinara sauce. While convenient store-bought options exist, investing a little time in a simple homemade sauce will pay dividends in flavor. This recipe features a quick, vibrant 15-minute marinara that’s both easy to prepare and incredibly flavorful. Feel free to use your favorite homemade sauce recipe or a high-quality store-bought alternative if time is a constraint.
- Prepare the Garlic: Begin by slicing or mincing 5 cloves of fresh garlic. Garlic is a cornerstone of Italian flavor, so don’t be shy – if you adore garlic, feel free to add an extra clove or two for a bolder taste. This aromatic foundation will infuse your sauce with its signature fragrance.
(Photo #1: Sliced garlic and hands crushing tomatoes)
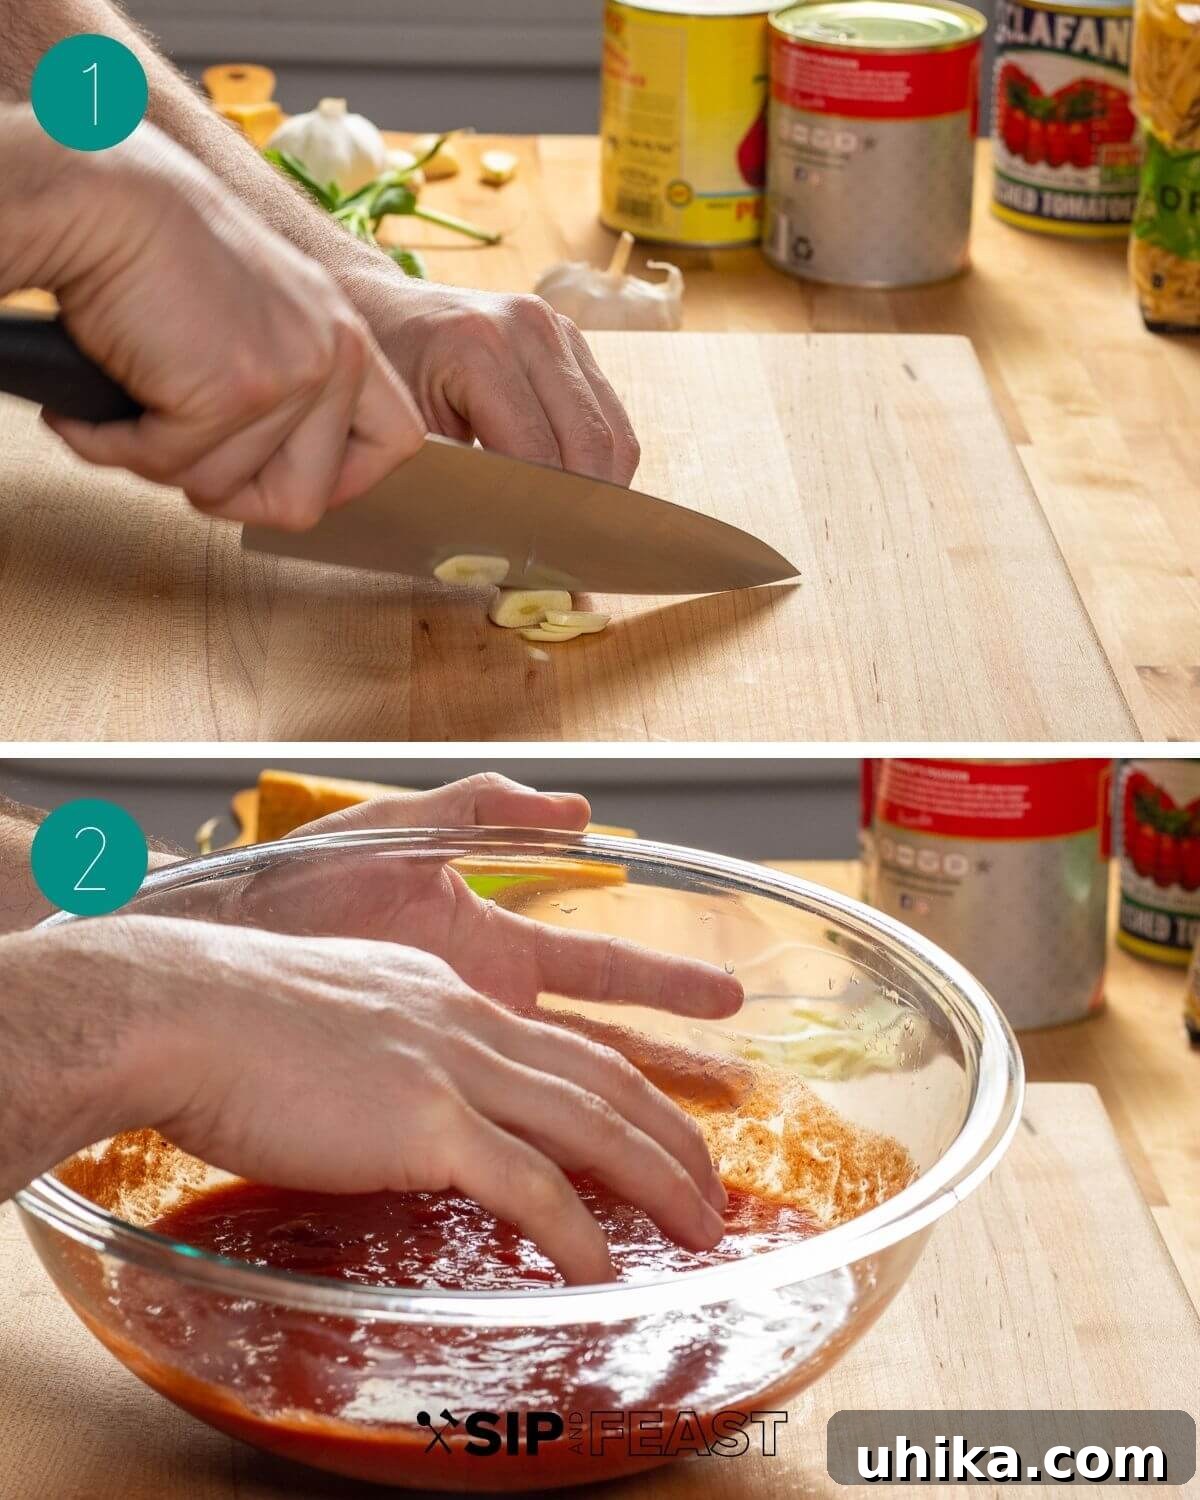
- Crush the Tomatoes: Open one 28-ounce can of whole plum tomatoes. The best way to achieve a rustic texture is to hand-crush them directly into a bowl. This method allows you to control the consistency, leaving some chunks for body. Alternatively, if you prefer a smoother sauce, you can pulse them briefly in a blender or food processor.
(Photo #2: Hand-crushing tomatoes) - Sauté the Garlic: Heat a large, heavy-bottomed pan or pot over medium-low heat for about 2 minutes. Add 1/4 cup of good quality olive oil. Once shimmering, add the prepared garlic and sauté gently until it turns a light golden color and becomes fragrant, typically 2-3 minutes. Be careful not to burn the garlic, as burnt garlic can turn bitter and ruin the sauce’s flavor.
(Photo #3: Garlic gently sizzling in olive oil)
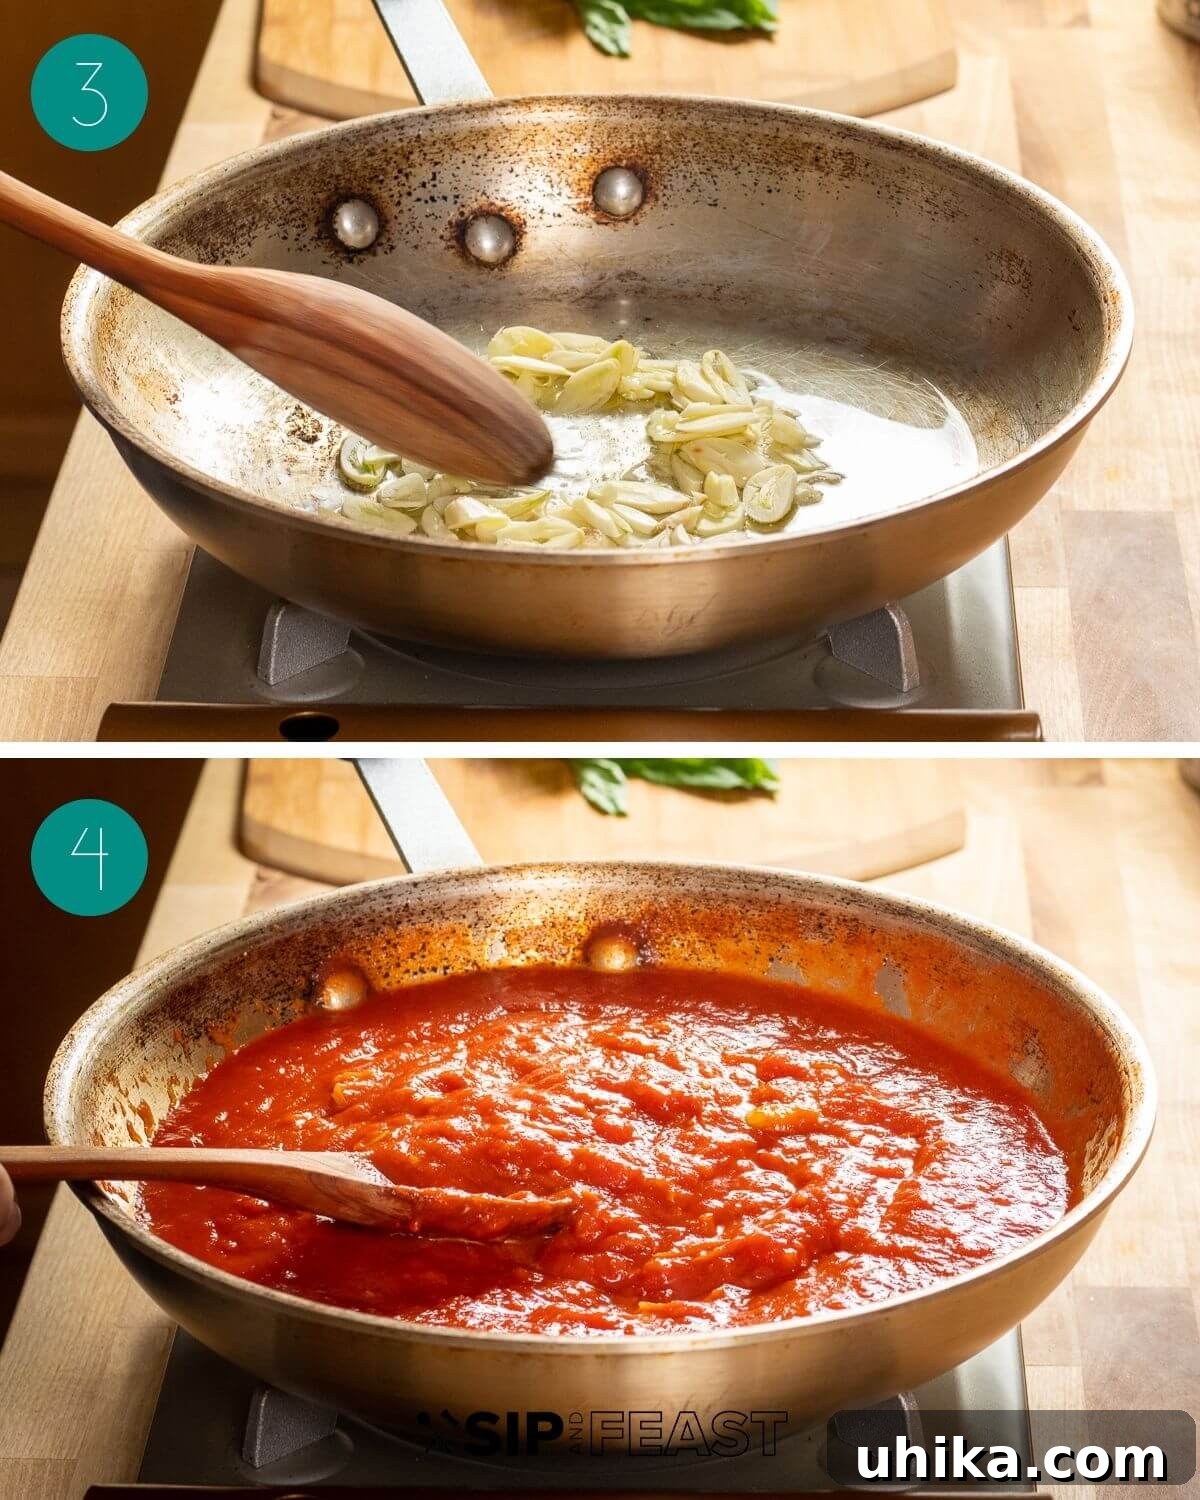
- Simmer and Season: Pour the crushed tomatoes into the pan with the sautéed garlic and olive oil. Stir everything together well and bring the sauce to a gentle simmer. Allow it to cook for at least 10 minutes, allowing the flavors to meld and deepen. After simmering, taste the sauce and adjust the seasoning with salt and freshly ground black pepper as needed. This is also the perfect time to add optional enhancements like a pinch of dried oregano for an earthy note or a few fresh basil leaves (torn or whole) for brightness. Once satisfied with the flavor, remove the sauce from the heat and set it aside. It’s now ready to bring your Chicken Parmigiana to life while you prepare the chicken cutlets.
(Photo #4: Sauce simmering in the pan)
Preparing Golden-Crisp Chicken Cutlets: The Foundation of Your Parm
The chicken cutlets are undeniably the star of Chicken Parmigiana. Achieving that perfect golden, crispy exterior and tender, juicy interior is key to an exceptional dish. This section walks you through preparing the cutlets from scratch. If you have pre-made or store-bought cutlets, you can skip ahead, but for the best flavor and texture, we highly recommend following these steps.
- Pound and Prepare Breading Station: Begin by pounding your thinly sliced chicken cutlets to an even thickness of about 1/4 to 1/2 inch. This ensures uniform cooking and tenderness. Create your breading station by setting up three shallow bowls. In the first, combine 1 cup of all-purpose flour with 1 teaspoon of kosher salt and 1/4 teaspoon of black pepper. In the second, whisk 3 large eggs until well beaten. In the third, place 1 1/2 cups of Italian seasoned breadcrumbs. This assembly line will make the breading process efficient and mess-free.
(Photo #1: Pounded cutlets and three bowls for breading) - Flour the Cutlets: Take each chicken cutlet and dredge it thoroughly in the seasoned flour, ensuring both sides are coated. Gently shake off any excess flour. This step helps the egg adhere better, forming a solid base for the breadcrumbs.
(Photo #2: Dredging chicken cutlet in seasoned flour)
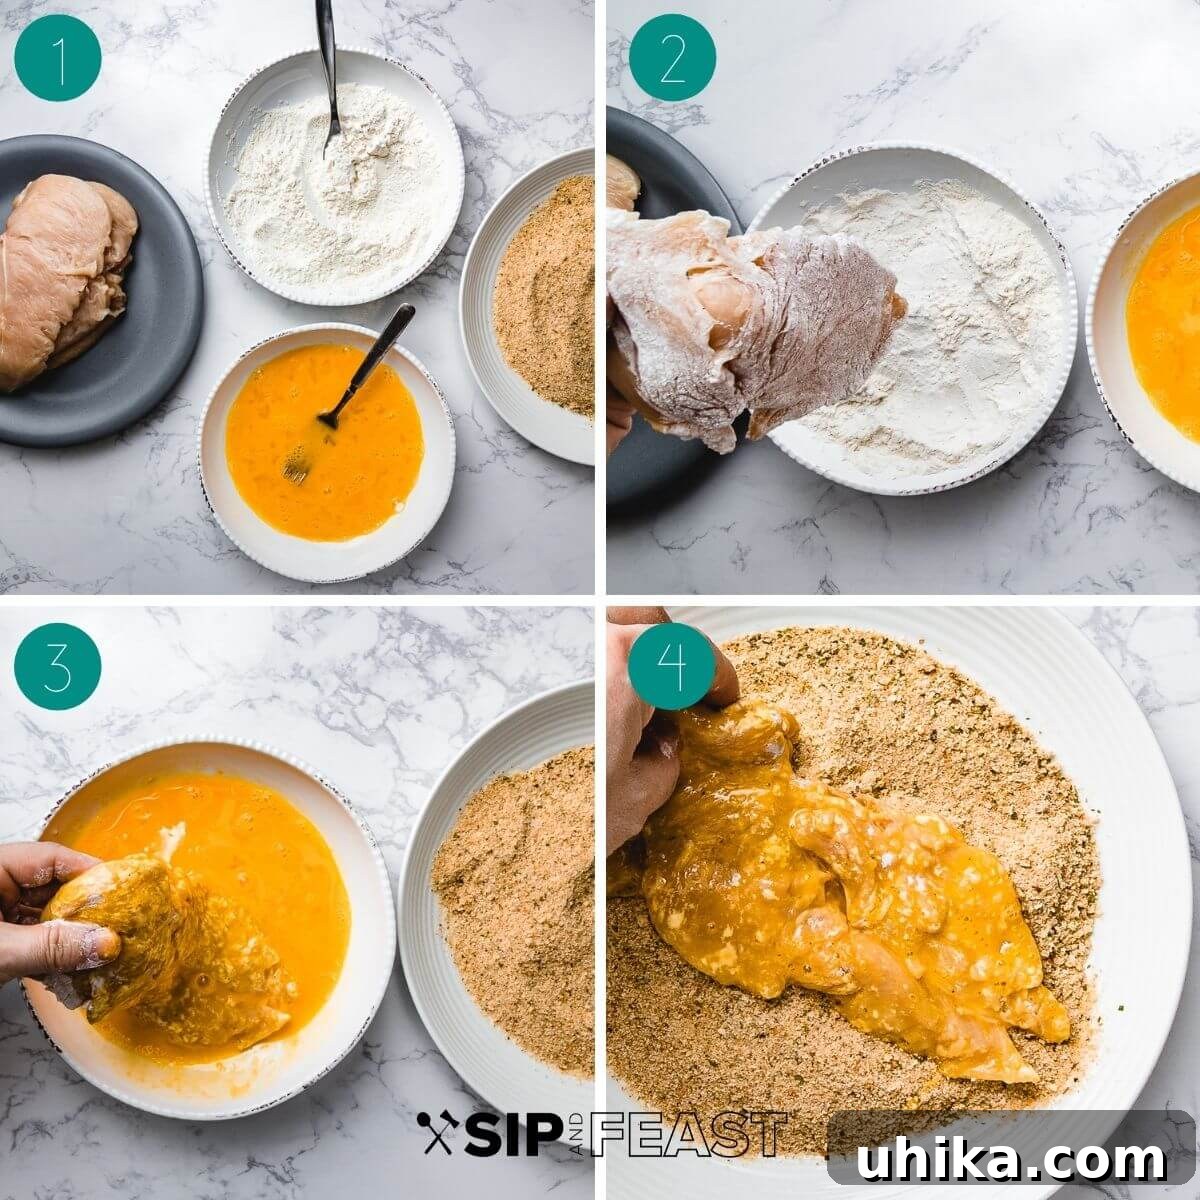
- Egg Dip: Next, carefully transfer the floured cutlet into the beaten egg mixture. Ensure it’s fully coated, then lift it, allowing any excess egg to drip back into the bowl. This acts as the “glue” for the breadcrumbs.
(Photo #3: Dipping floured cutlet in beaten egg) - Breadcrumb Coating: Place the egg-coated cutlet into the Italian seasoned breadcrumbs. Press gently to ensure the breadcrumbs adhere firmly to both sides. Once fully coated, transfer the breaded cutlet to a parchment paper-lined baking sheet. Repeat this entire process for all remaining chicken cutlets, arranging them in a single layer without overcrowding.
(Photo #4: Coating cutlet in breadcrumbs) - Heat the Oil for Frying: Heat a large, heavy-bottomed pan, such as a cast iron skillet or Dutch oven, with at least 1 inch of olive oil or vegetable oil. The choice of pan is important as it retains heat well, leading to more consistent frying. Allow the oil to heat gradually until it reaches a temperature of 350-370°F (175-185°C). Using a kitchen thermometer is highly recommended for accuracy; if you don’t have one, a small piece of breadcrumb should sizzle immediately upon contact with the oil.
(Photo #5: Oil heating in a cast iron pan) - Fry in Batches: Once the oil is at the correct temperature, gently lower the breaded chicken cutlets into the hot oil. It’s crucial to work in batches, frying only 2-3 cutlets at a time, depending on the size of your pan. Overcrowding the pan will drastically lower the oil temperature, resulting in greasy, soggy cutlets rather than golden-crisp ones.
(Photo #6: Frying cutlets in batches)
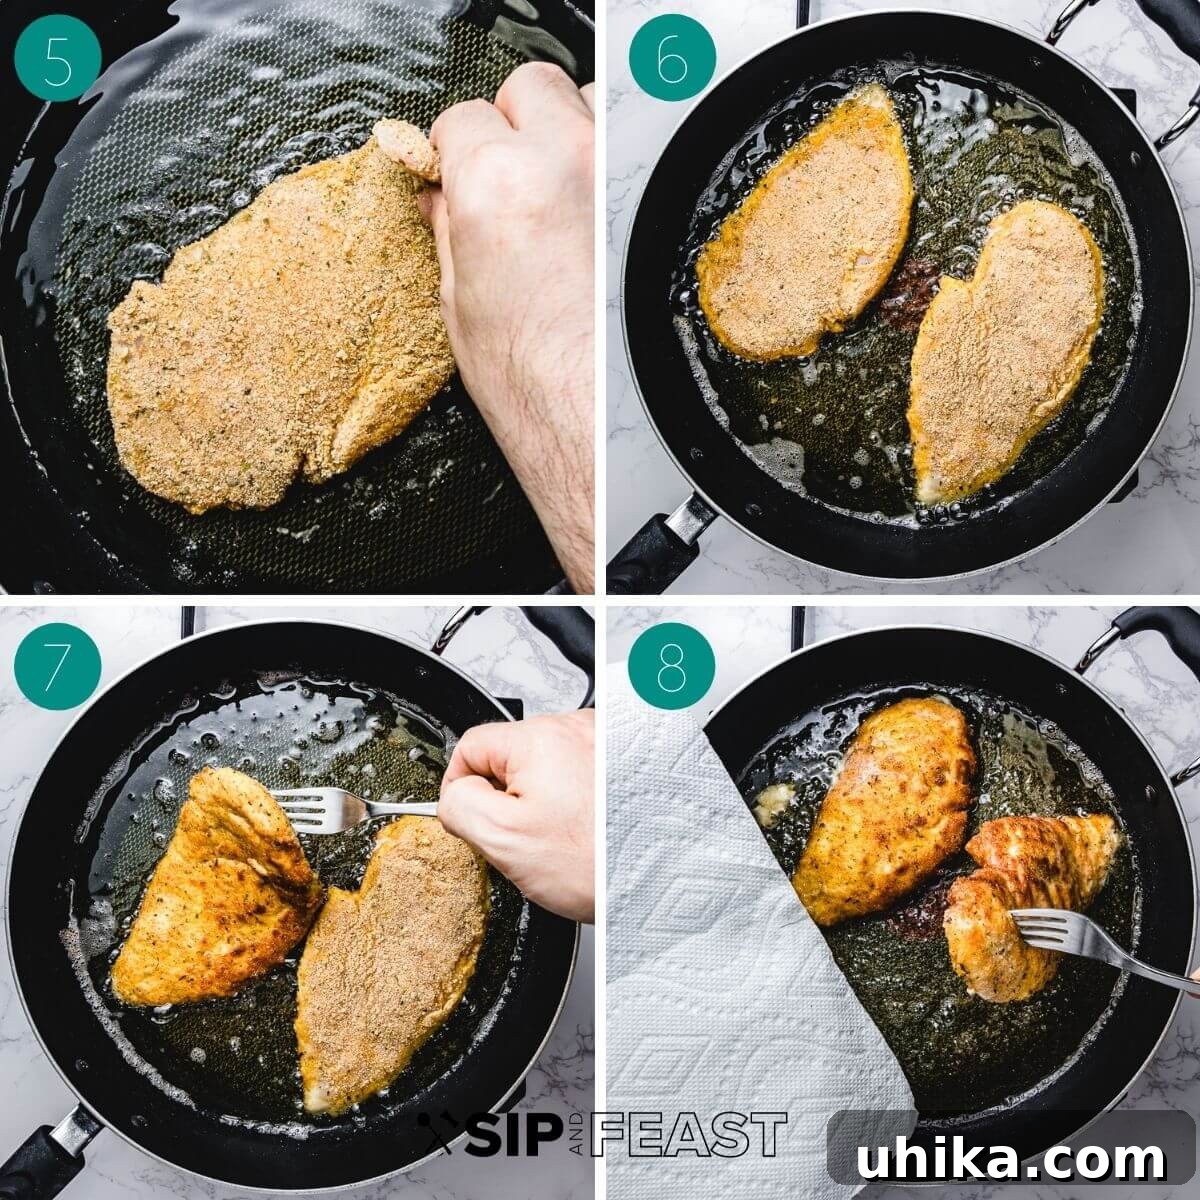
- Cook to Golden Perfection: Cook each cutlet for approximately 3 minutes per side, or until it reaches a beautiful golden-brown color and is cooked through. The exact time may vary slightly based on thickness and oil temperature.
(Photo #7: Golden-brown cutlets frying) - Drain Excess Oil: Once cooked, carefully remove the cutlets from the oil and place them on a wire rack set over paper towels. This allows excess oil to drip off, ensuring the cutlets remain as crispy as possible. Avoid stacking them, as this can trap steam and make them soggy. Set the fried cutlets aside while you prepare for assembly.
(Photo #8: Cooked cutlets draining on a wire rack)
Assembling and Baking Your Chicken Parmigiana: The Grand Finale
With your rich marinara sauce simmering and your chicken cutlets fried to golden perfection, it’s time to bring all the elements together for the final bake. The assembly process is straightforward but offers a crucial choice: do you prefer your Chicken Parm swimming in sauce for maximum juiciness, or with less sauce on the bottom to preserve crispiness? The choice is entirely yours and can significantly impact the final texture. For a visual guide on these options, you can refer to this chicken parmigiana YouTube video.
- Prepare Your Baking Dish and Cheeses: Preheat your oven to a robust 400°F (200°C). If you’re opting for the traditional “sauce-on-bottom” method, spread a generous layer of marinara sauce across the bottom of a large baking dish or oven-safe pan. While a cast iron pan works, a traditional baking or casserole dish is often more practical for serving multiple cutlets. Next, prepare your cheeses: grate about 1 1/2 cups of fresh mozzarella cheese and 1/2 cup of Parmigiano Reggiano cheese, then set them aside, ready for layering.
(Photo #1: Layer of sauce in a baking pan)
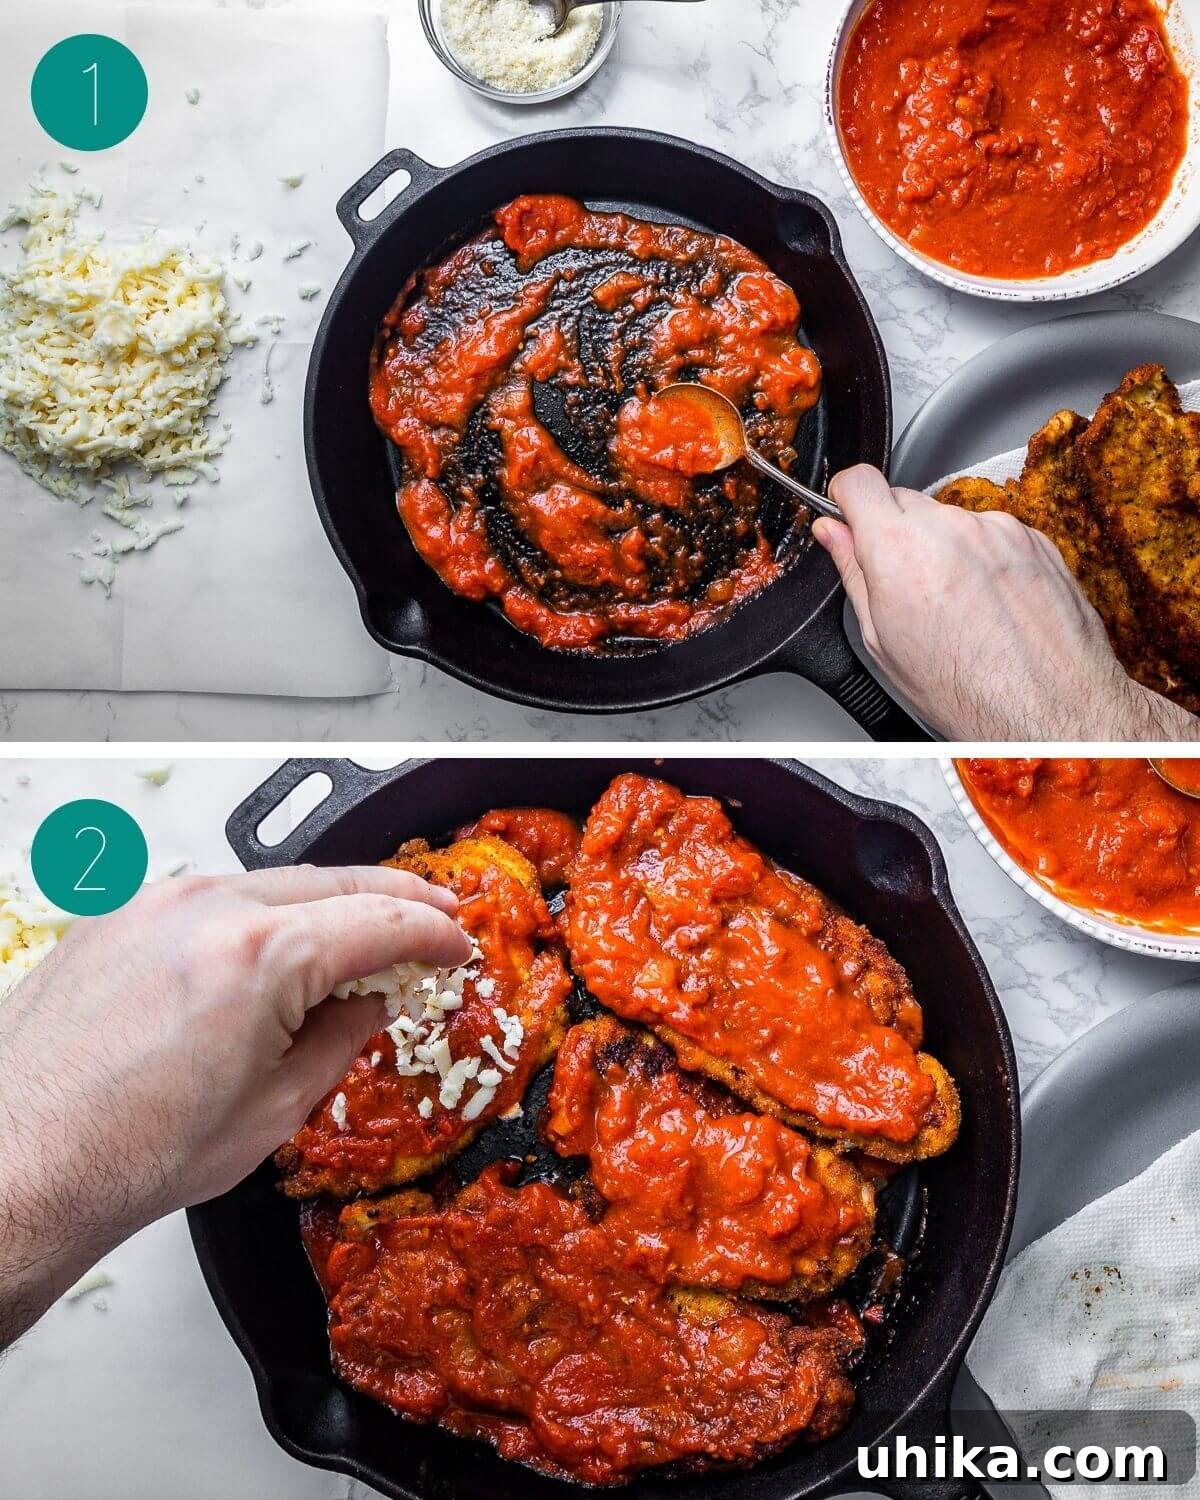
- Layer the Chicken and More Sauce: Carefully arrange the fried chicken cutlets in a single layer over the marinara sauce in the pan. Ensure they fit snugly without too much overlap. Once the cutlets are in place, spoon enough marinara sauce over each piece to completely cover them. Don’t drown them, but make sure each cutlet is well coated, allowing the flavors to meld beautifully during baking.
(Photo #2: Chicken cutlets layered with sauce) - Add Mozzarella: Now comes the cheesy goodness! Evenly sprinkle the grated mozzarella cheese over all the chicken cutlets. Aim for an even layer that will melt into a luscious blanket. This mozzarella will become gloriously bubbly and browned, creating a delightful crust.
(Photo #3: Mozzarella cheese layered over chicken and sauce)
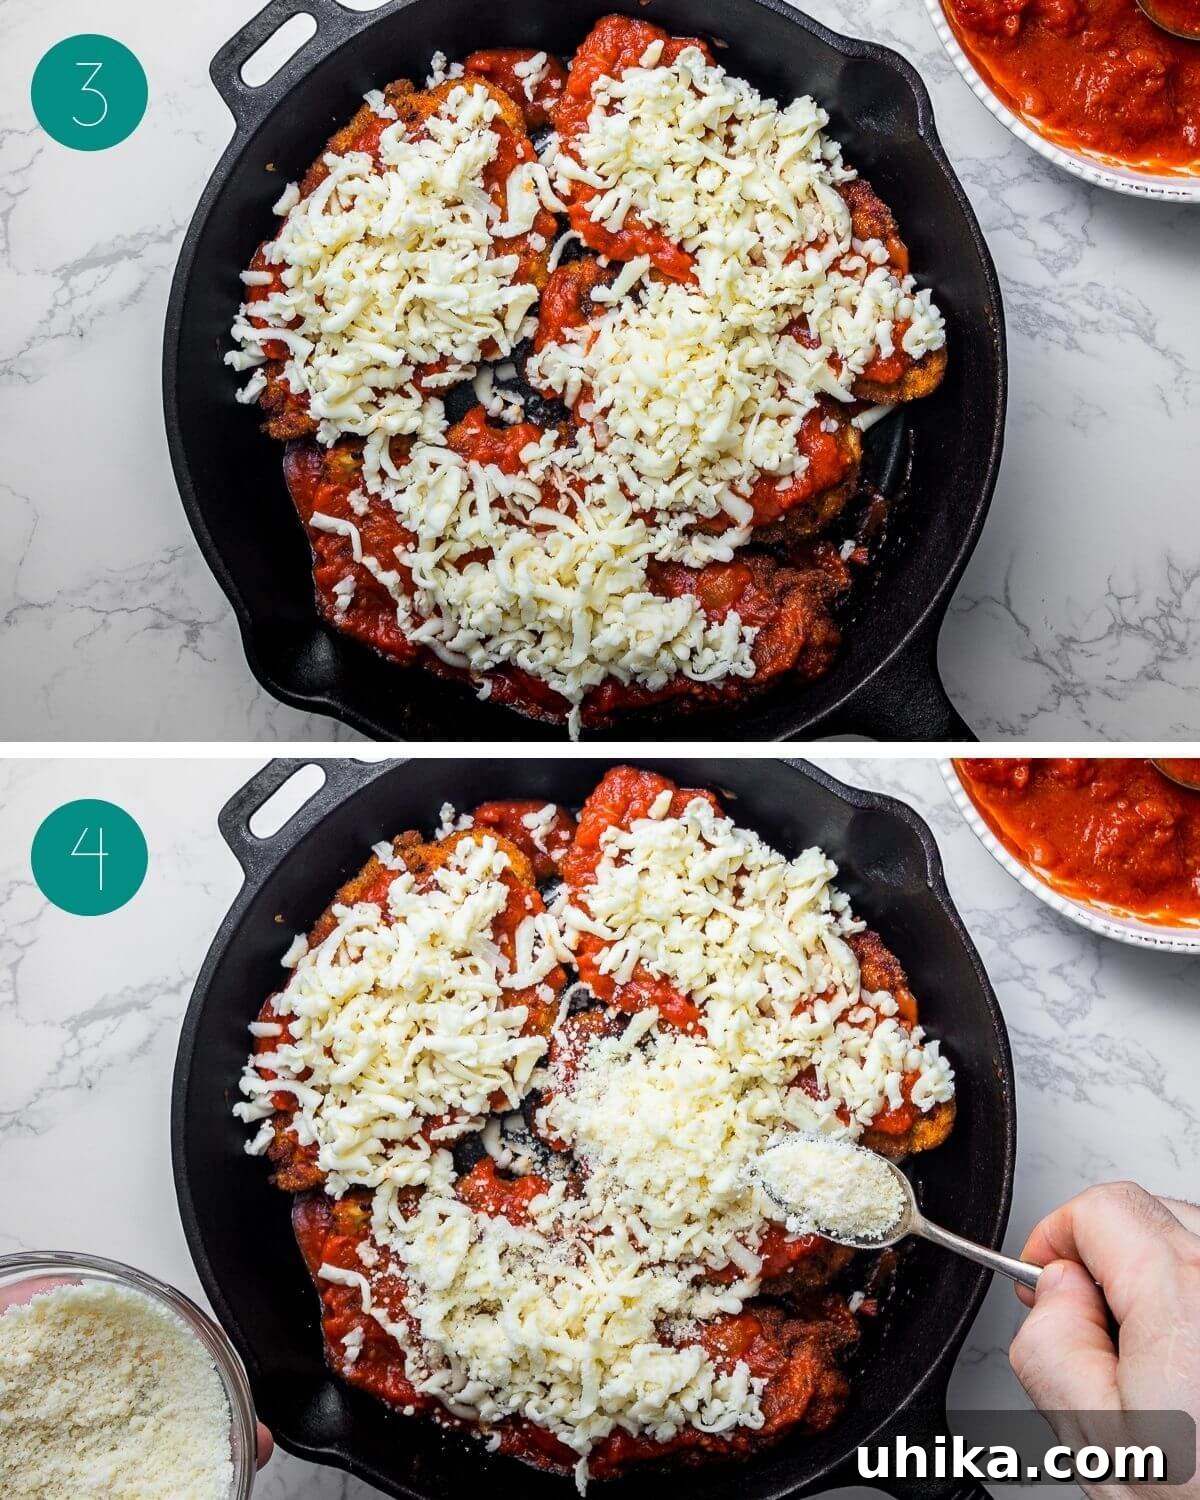
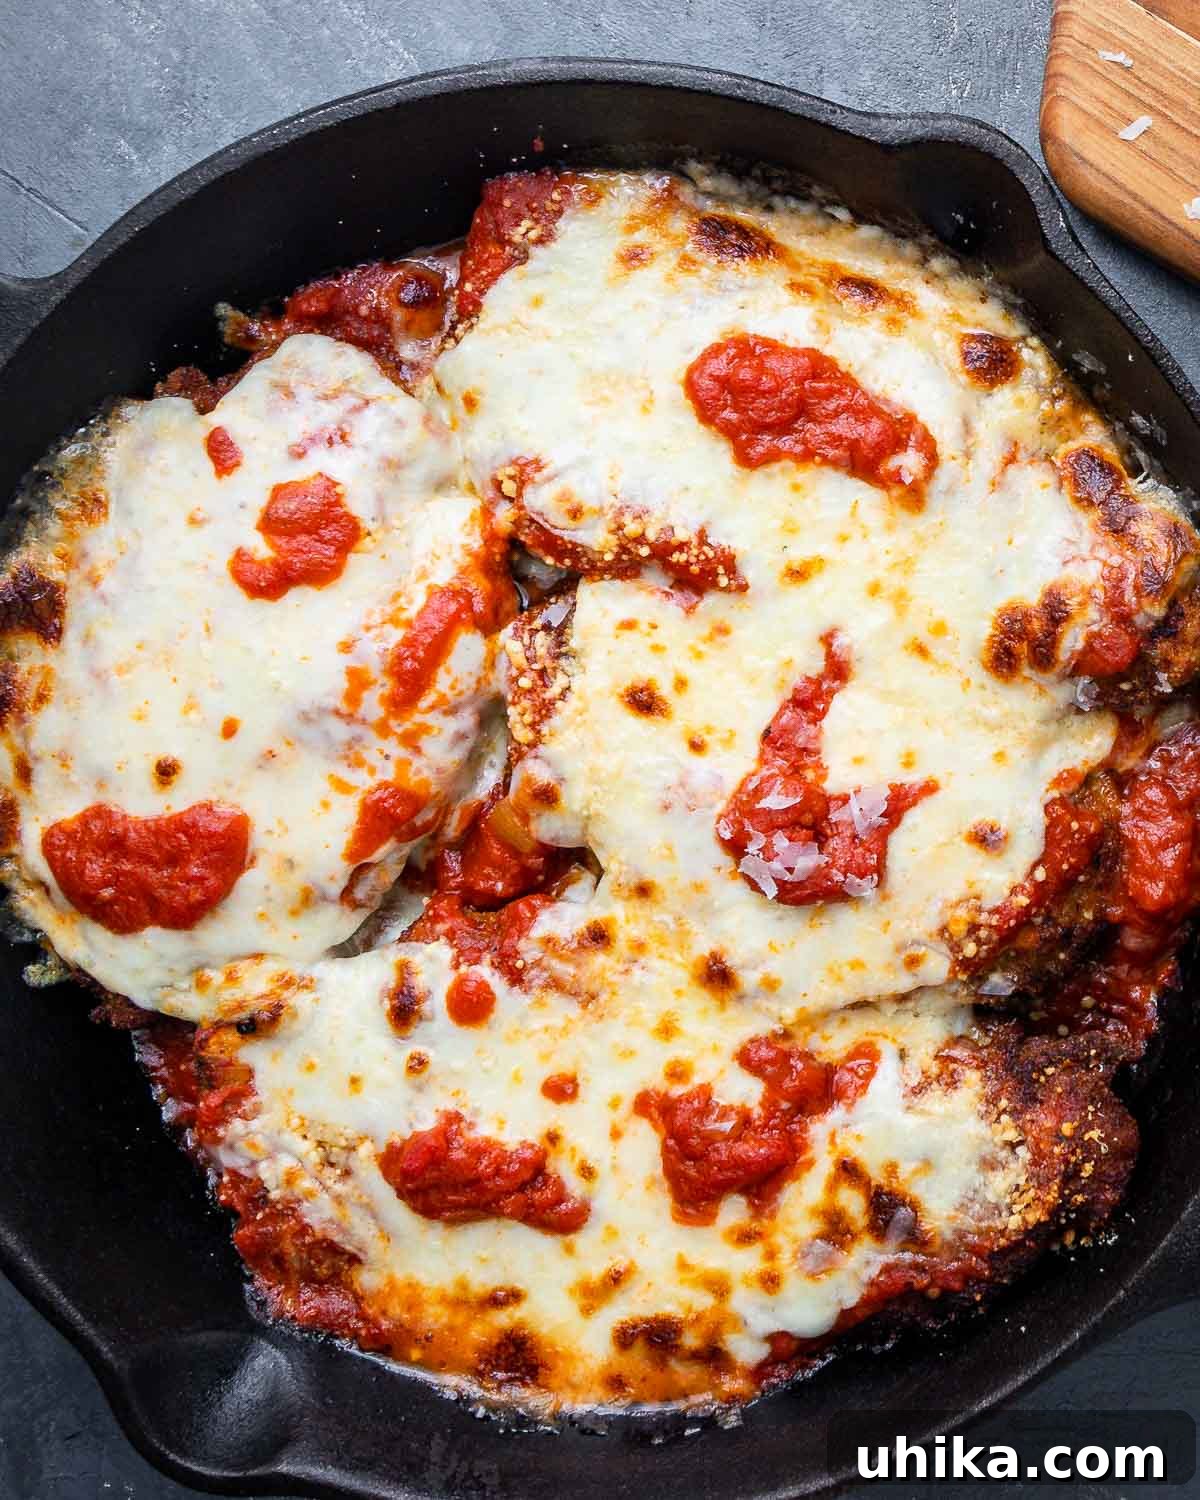
- Parmesan and Bake to Perfection: Sprinkle about half of the grated Parmigiano Reggiano cheese over the mozzarella. Now, place your assembled Chicken Parmigiana in the preheated oven. The baking time will vary depending on the temperature of your chicken cutlets. If you’ve just fried them and they are still warm, they’ll only need about 5 minutes in the oven to heat through and start melting the cheese. If you’re using cutlets that were prepared in advance and have been refrigerated, they will require 12-15 minutes to heat through completely. Once heated, turn on the broiler and broil for a quick 30-60 seconds. This crucial step will achieve that irresistible golden-brown, bubbly cheese crust. Watch carefully during broiling, as cheese can burn quickly. Remove the pan from the oven, sprinkle the remaining Parmigiano Reggiano over the top for a final flourish, and let it rest for 5 minutes before serving. This brief rest allows the cheese to set and the flavors to settle. Serve with extra marinara on the side for dipping or drenching, and savor every bite of your homemade masterpiece!
(Photo #4: Cooked Chicken Parmigiana with melted and browned cheese)
Expert Tips for Crafting the Best Chicken Parmigiana
- Customizing Your Sauce Level: The amount of sauce is a matter of personal preference. Some adore a “wet” Chicken Parm, where the cutlets are generously coated and sit in a pool of marinara. Others prefer a “drier” version to maximize crispiness. If you fall into the latter camp, consider placing the breaded cutlets on a baking sheet, topping them with just enough sauce and cheese, rather than layering sauce on the bottom of the pan. You can always serve extra sauce on the side for those who desire more.
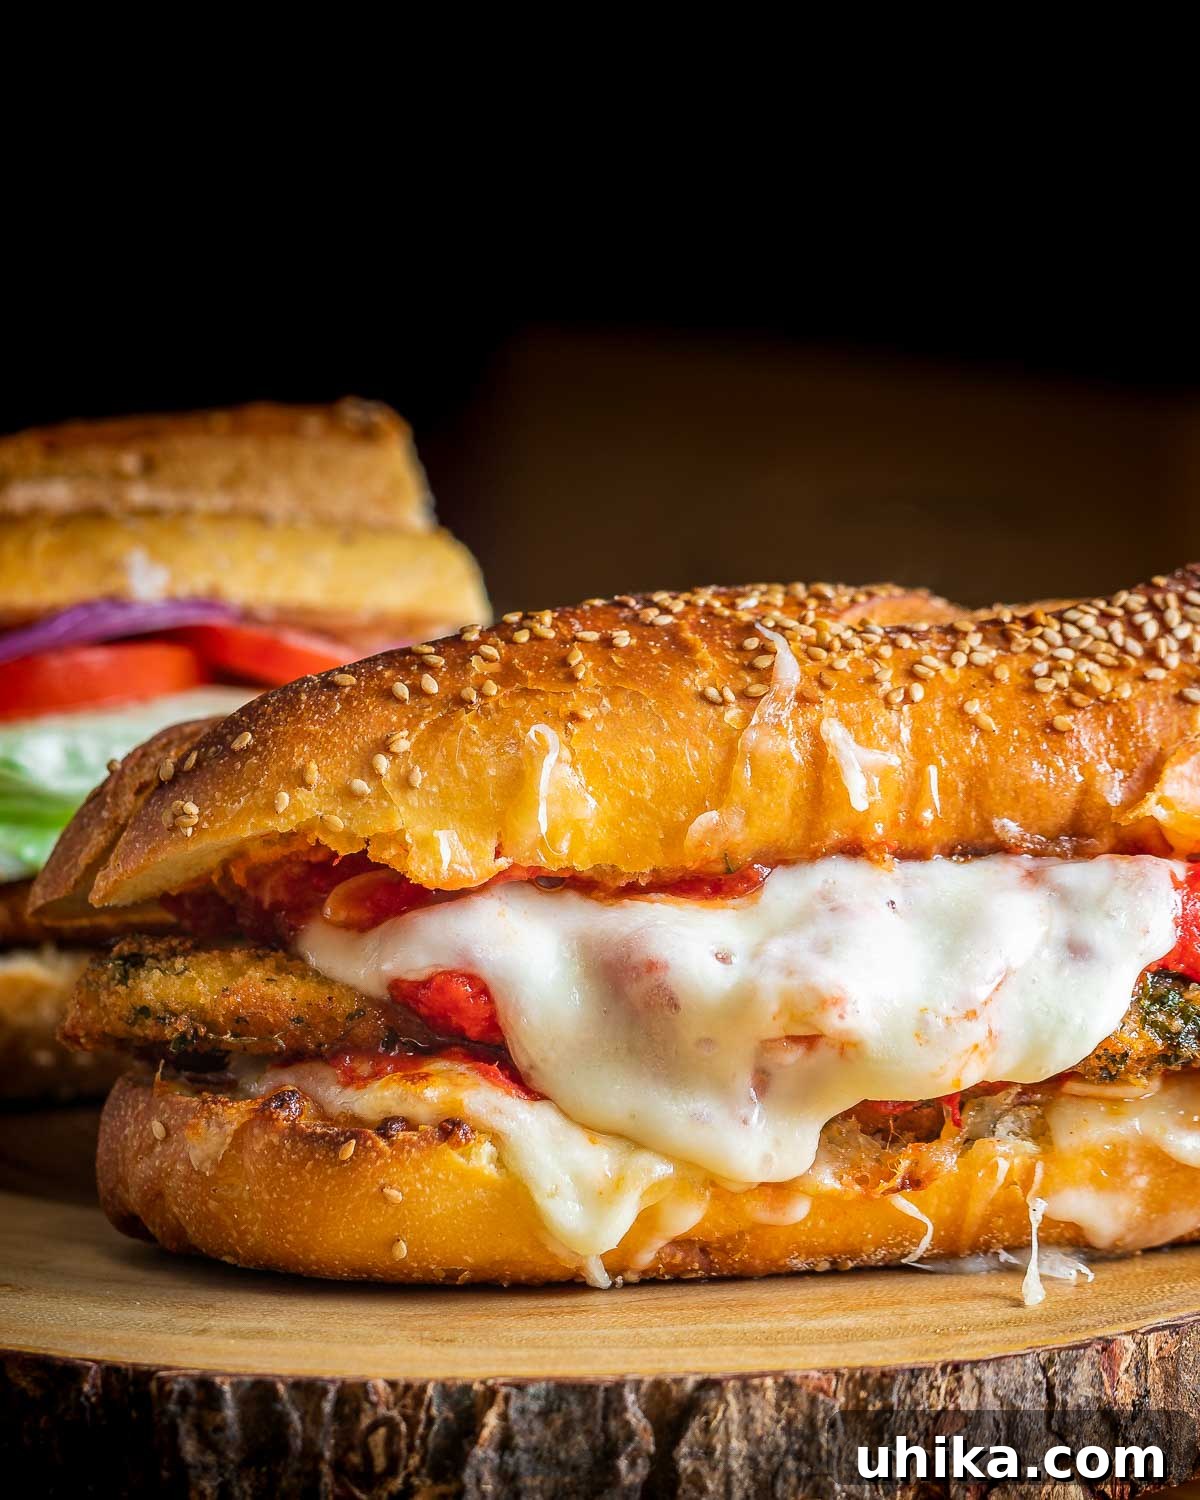
- Transforming into Chicken Parm Heroes: Chicken Parmigiana makes an incredible sandwich! To create a delicious hero, hoagie, or sub, remember that the bread will absorb some of the sauce, so don’t be shy with it. Load up crusty Italian bread with warm cutlets, plenty of marinara, and melted mozzarella. Bake until the cheese is bubbly and golden, much like the method used in a classic meatball parm hero.
- Embrace Homemade for Superior Flavor: While convenience often dictates using store-bought ingredients like pre-made cutlets and jarred marinara, the most authentic and flavorful Chicken Parmigiana truly comes from homemade components. Taking the extra step to fry your own chicken cutlets and simmer a fresh marinara, as detailed in this recipe, makes an incomparable difference in taste and quality.
- Achieve Optimal Crispness with Draining: After frying, always place your chicken cutlets on a wire rack over paper towels, not directly on paper towels or a flat surface. This allows air to circulate around the entire cutlet, preventing steam buildup and ensuring they remain beautifully crispy.
- Don’t Overcrowd the Pan: When frying your chicken cutlets, resist the urge to cram too many into the pan at once. Overcrowding lowers the oil temperature, leading to soggy, greasy chicken. Fry in batches to maintain consistent heat and achieve that perfect golden-brown crust.
- Resting Period is Key: After removing your Chicken Parmigiana from the oven, allow it to rest for about 5 minutes before slicing and serving. This resting period allows the cheese to set slightly, making it easier to serve and preventing all the glorious melted cheese from sliding off the moment you cut into it.
- Make Ahead Options: You can prepare the marinara sauce a day or two in advance and store it in the refrigerator. Fried chicken cutlets can also be made ahead and refrigerated; simply add a few extra minutes to the baking time when assembling the final dish (12-15 minutes for cold cutlets).
Explore More Delicious Italian-American Recipes
If you’ve fallen in love with the comforting flavors of Chicken Parmigiana, then you’re sure to enjoy these other fantastic Italian-American culinary creations. These dishes share the same spirit of hearty, flavorful cooking that makes Chicken Parm so special:
- Sausage and Peppers: A true classic, often found at Italian-American festivals. Sweet or hot Italian sausage with colorful bell peppers and onions, slow-cooked in a savory tomato sauce.
- Chicken Milanese with Tomato, Mozzarella, and Basil: For those who appreciate crispy cutlets, this lighter option features pan-fried chicken topped with fresh tomatoes, mozzarella, and aromatic basil, offering a refreshing twist.
- Chicken Francese: Elegant and flavorful, this dish features thinly sliced chicken cutlets dipped in egg batter, sautéed, and then finished in a delicate buttery lemon white wine sauce.
For an intriguing combination that marries two iconic dishes, you might also be fascinated by Chicken Eggplant Parm, which ingeniously brings together the best of both chicken and eggplant Parmesan into one delightful meal!
If you’ve enjoyed this Chicken Parmigiana Recipe or any recipe on this site, please give it a 5-star rating and share your experience in the comments below.
We believe in catering to various learning styles. If you prefer to learn by watching, you can find most of our recipes and cooking demonstrations on our YouTube channel and our Facebook Page.
Chicken Parmigiana
Pin
Ingredients
For the sauce
- 1 28-ounce can plum tomatoes hand crushed or blender pulsed
- 5 cloves garlic sliced
- 1/4 cup olive oil
- salt and pepper to taste
- 1/2 teaspoon crushed hot red pepper flakes optional, see notes below
- 1/2 teaspoon dried oregano optional
For the chicken
- 1 pound chicken cutlets thin-sliced, about 6 cutlets
- 1 cup flour for dredging, will not need all flour
- 1 teaspoon kosher salt
- 1/4 teaspoon black pepper
- 3 large eggs beaten
- 1 1/2 cups Italian seasoned breadcrumbs
- 1-2 cups olive oil or vegetable oil for frying
- 1 1/2 cups mozzarella cheese shredded
- 1/2 cup Parmigiano Reggiano finely grated
Instructions
Making the sauce
-
In a saucepan, sauté the garlic in a ¼ cup of olive oil over medium-low heat for 2-3 minutes or until lightly golden. Add in the hot red pepper flakes (optional) and cook for 30 seconds more.
-
Add the tomatoes, stir together, and bring the sauce to a simmer for 10 minutes. Season with salt and oregano (optional).
-
Taste test the sauce, and adjust salt and pepper if required. When satisfied, set the sauce aside.
Frying the cutlets
-
Mix 1 teaspoon kosher salt and a 1/4 teaspoon pepper into the flour.
-
Dredge the cutlets in the flour and shake off excess, then dip into the egg, and then into the breadcrumbs. Place the breaded cutlets onto parchment paper and set them aside.
-
Pour the olive oil about ¾” high into a large heavy frying pan and heat oil to 350 to 370°F. The burner should be set to about medium heat and take about 5-7 minutes to get to ~350°F.
-
When the oil reaches frying temp, add the cutlets into the pan and fry in batches. The cutlets will take approximately 3 minutes per side. Place finished cutlets on a wire rack to cool.
Assembling the chicken parmigiana
-
Preheat oven to 400°F (200°C).
-
Place a thick layer of sauce (about a 1/4″) on the bottom of a large baking dish. Space out the chicken cutlets in the dish and cover them with another thick layer of sauce. Note: You do not have to use all of the sauce.
-
Next, sprinkle on the mozzarella cheese, dividing evenly between all the chicken cutlets. Sprinkle half of the Parmigiano Reggiano cheese on top.
-
Bake the chicken parmigiana in the oven for 5 minutes (12-15 minutes if starting with cold cutlets) then broil for 30-60 seconds to brown the top.
-
Remove the pan from the oven and sprinkle the remaining parmesan cheese all over. Let the chicken parmigiana settle for 5 minutes before eating. Enjoy!
Notes
- If you follow the full recipe for the sauce, cutlets, and assembly, the chicken will only need 5 minutes to bake before broiling, due to the cutlets still being warm. If using cold cutlets the baking time will need to be increased to 12-15 minutes before final broiling.
- Any extra sauce can be served on the side.
- Leftovers can be saved for up to 3 days and can be reheated in the oven at 350°F (175°C) until warm.
- SAUCE/NO SAUCE: As mentioned in the body of this post, chicken parmigiana can be served “wet” with the sauce on the bottom and top of the chicken. It can also be enjoyed with just a bit of sauce on top to retain the cutlet’s crispiness factor. This is 100% a personal choice.
Nutrition
Nutrition information is automatically calculated, so should only be used as an approximation.