
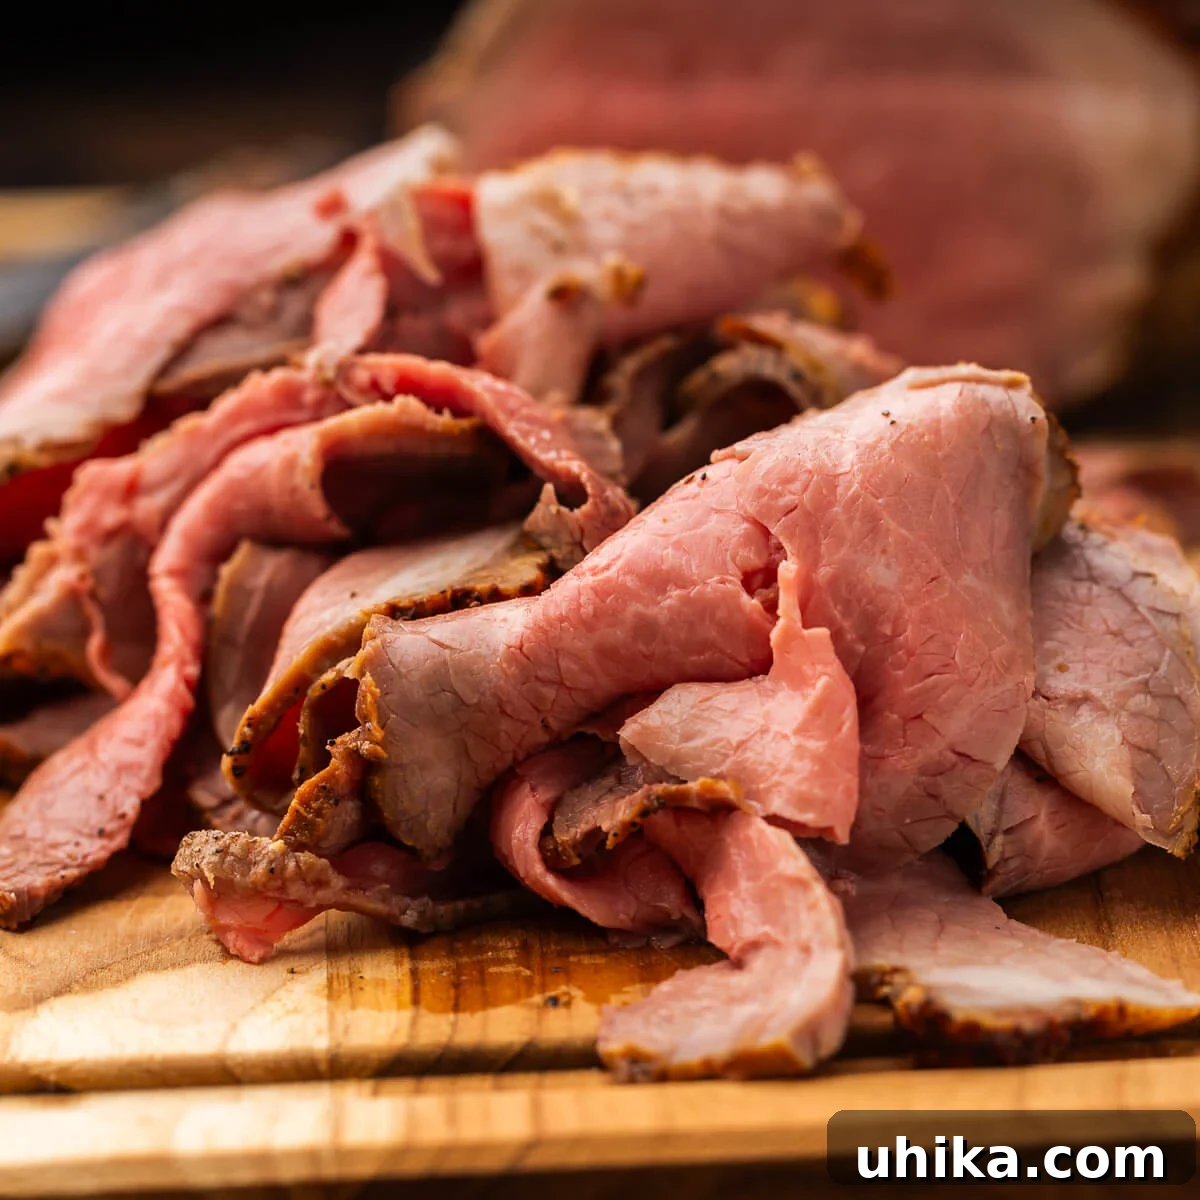
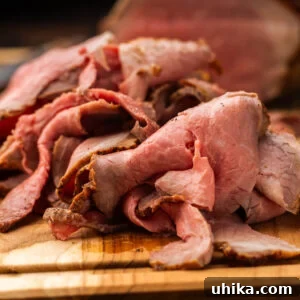
There’s an undeniable charm to thinly sliced, perfectly cooked roast beef, whether it’s piled high in a classic French dip sandwich, starring in an American-style deli hero, or simply enjoyed by the slice. This guide empowers you to create exceptional homemade deli-style roast beef that’s not only bursting with rich, beefy flavor but also incredibly budget-friendly. Say goodbye to expensive cold cuts and hello to a gourmet experience from your own kitchen.
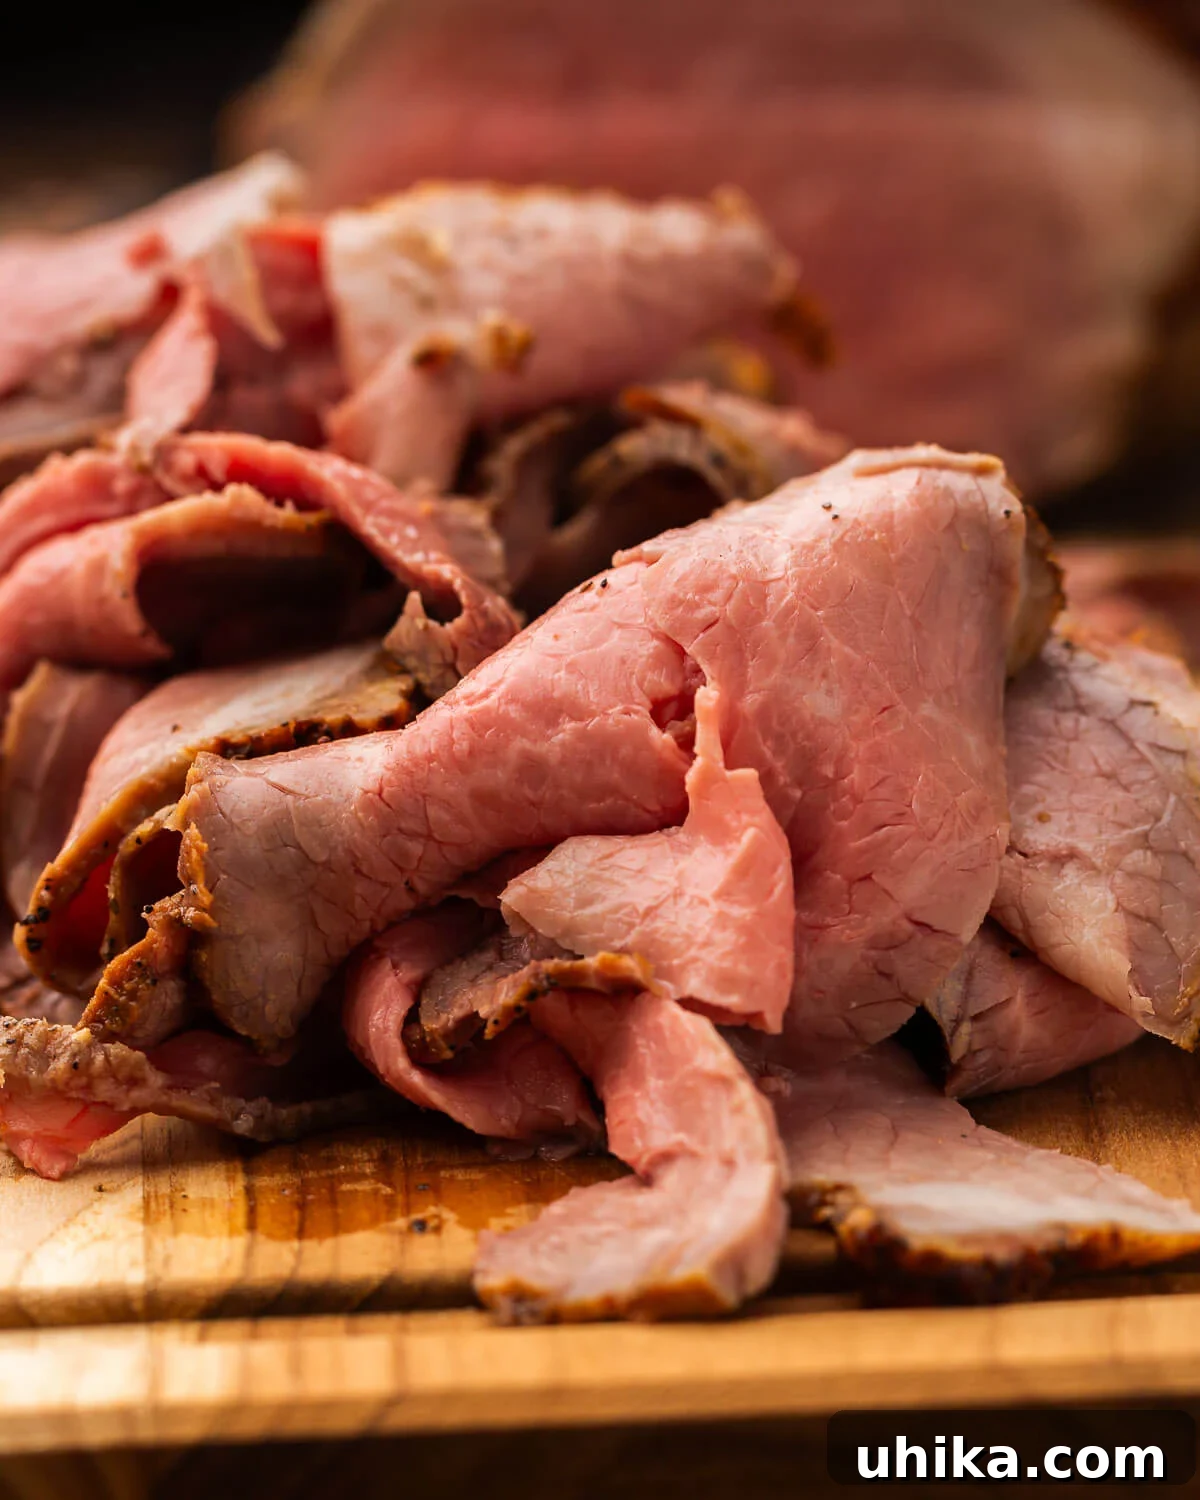
While premium deli brands offer convenience, the rising cost of pre-packaged cold cuts can be prohibitive. The good news is that crafting your own deli roast beef is surprisingly simple, far more economical, and yields a superior product. With just a little time and effort, you can transform a humble cut of beef into succulent, flavorful slices that rival any high-end deli counter.
Beyond the cost savings, making roast beef at home allows for complete control over ingredients, seasonings, and doneness. Plus, you get to keep all those delicious pan drippings, which are the secret to a sublime au jus – the perfect accompaniment for your freshly sliced beef and any sandwich creation you can dream of.
Why Make Your Own Deli Roast Beef?
The decision to make your own deli roast beef is a simple one once you weigh the benefits. Firstly, it’s a significant cost saver. Deli cold cuts, especially high-quality ones, come with a hefty price tag. By purchasing a whole roast and preparing it yourself, you drastically reduce the per-pound cost, allowing you to stock your fridge with delicious sandwich meat without breaking the bank.
Secondly, homemade means superior flavor and quality. You control the cut of meat, the exact seasoning blend, and the cooking method, ensuring a result that perfectly suits your palate. No more bland, overly processed slices; instead, enjoy tender, juicy beef with a robust, natural flavor. You can also avoid unwanted additives, preservatives, and excessive sodium often found in commercial products.
Finally, the process itself is incredibly rewarding. There’s a sense of accomplishment in serving your family and friends a meal made from scratch, especially one as impressive as thinly sliced roast beef. The aroma filling your kitchen, the anticipation of that first bite, and the versatility of having homemade cold cuts on hand make it a worthwhile endeavor.
Essential Ingredients for Perfect Deli Roast Beef
Crafting delicious deli roast beef requires just a few key ingredients. The quality of your beef and the precise application of seasoning are paramount for achieving that authentic deli flavor. Here’s a closer look at what you’ll need.
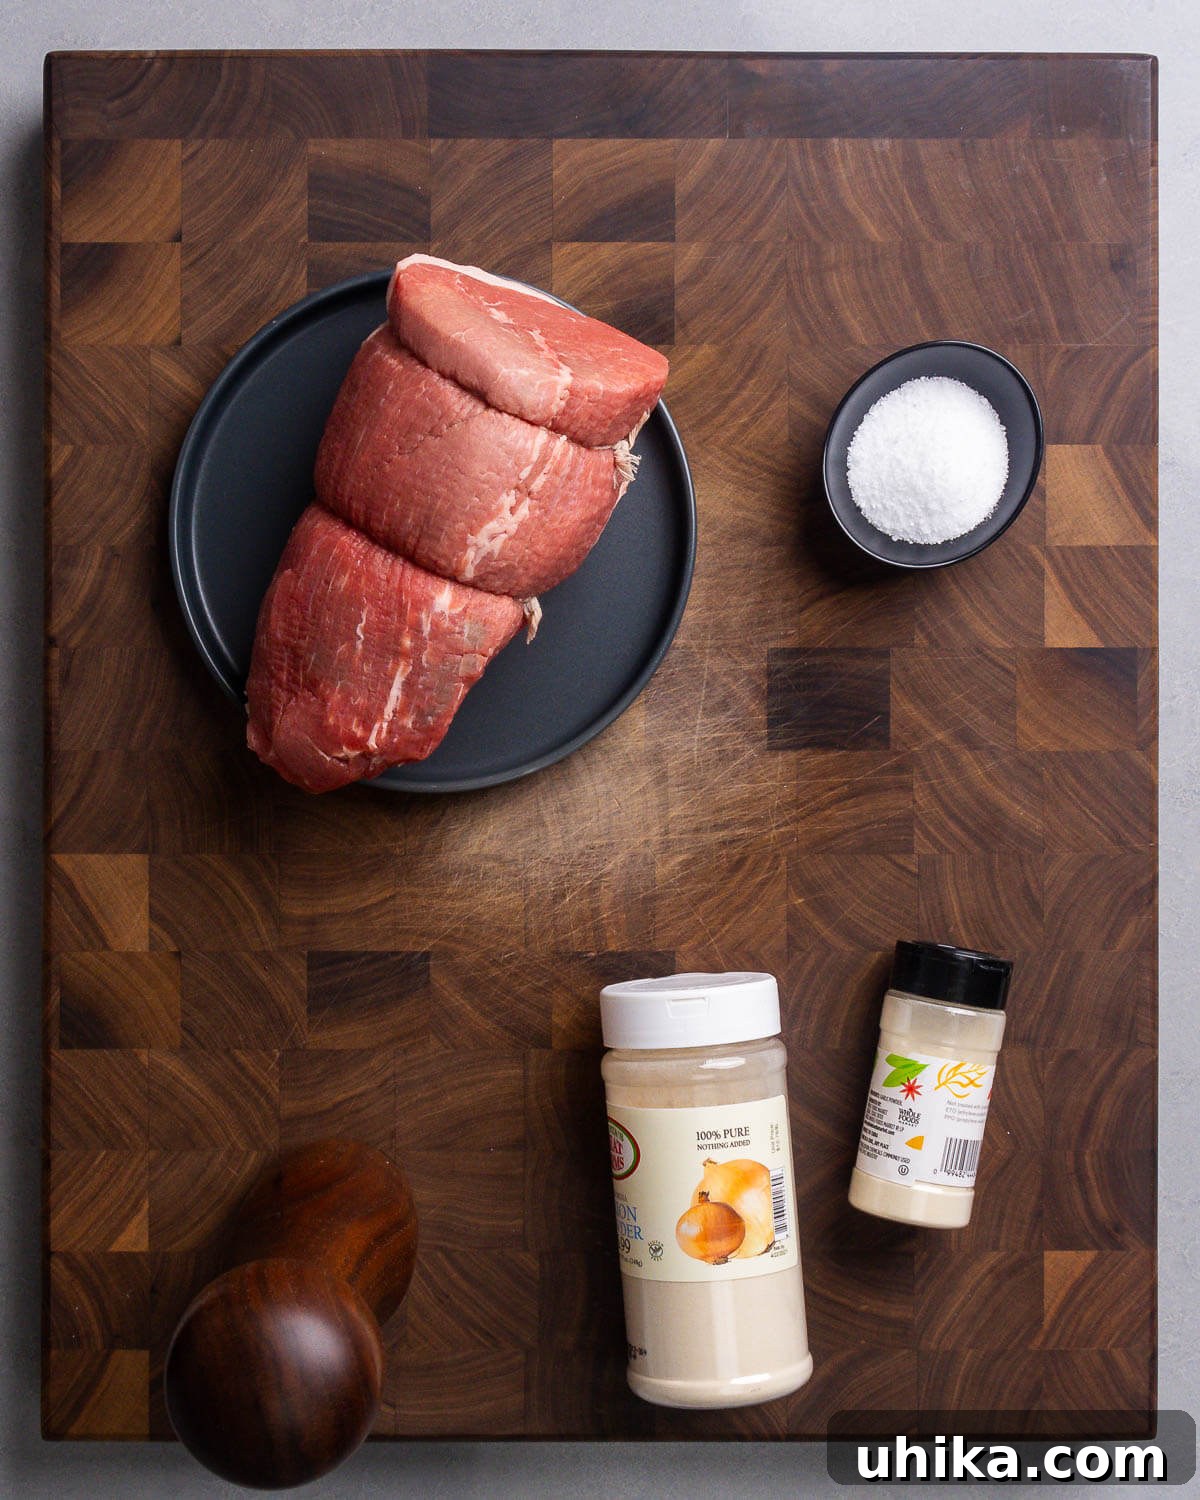
- Beef: For classic deli roast beef, the eye of round roast is an excellent choice. It’s lean, flavorful, and incredibly budget-friendly. Typically sold as 3-4 lb roasts, its uniform shape makes for even cooking and easy slicing. If an eye of round isn’t available, top round or rump roast are fantastic alternatives that will yield similarly great results. These cuts are naturally lean and benefit from the high-heat then low-heat roasting method to achieve tender, juicy results.
- Salt: This ingredient is absolutely crucial for dry brining the roast beef, which enhances flavor and promotes a tender texture. I highly recommend using Diamond Crystal kosher salt because its coarser grain makes it easier to distribute evenly over the beef, ensuring a consistent brine. While the recipe lists 1 1/2 tablespoons, this specific measurement corresponds to the volume of Diamond Crystal kosher salt due to its lower density. If using other types of salt (like table salt or fine sea salt), it’s best to measure by weight – aim for 15 grams of salt. This typically translates to roughly 1.25% salt by weight to the meat, a perfect ratio for optimal flavor penetration without over-salting.
- Seasoning Blend: Beyond salt, a simple yet powerful combination of garlic powder, onion powder, and freshly ground black pepper is all you need. This trio creates that quintessential savory depth that defines authentic deli roast beef. I’ve found this specific blend works exceptionally well to replicate the familiar and beloved flavor profile you’d expect from your favorite local deli. These powdered spices adhere well to the beef during the dry brining process and contribute to a fantastic crust.
For precise quantities and a complete overview, please refer to the detailed recipe card below.
Step-by-Step Guide to Homemade Deli Roast Beef
Follow these detailed steps to create your own perfectly cooked, thinly sliced deli roast beef at home.
- Prepare and Season the Roast: Begin by placing a roughly 3-pound eye of round roast on a wire rack, which is then set over a baking sheet or roasting pan. This setup allows air to circulate around the roast, promoting even cooking and a beautiful crust. Season the roast generously and evenly on all sides with 1 1/2 tablespoons (15g) of Diamond Crystal kosher salt, 1 teaspoon of garlic powder, 1 teaspoon of onion powder, and 1 teaspoon of freshly ground black pepper. Ensure the entire surface of the beef is covered for maximum flavor. Once seasoned, allow the roast to sit at room temperature for at least 90 minutes. This dry brining period is essential; it allows the salt to draw out moisture from the beef’s surface, mix with the spices, and then reabsorb back into the meat, leading to a more tender and flavorful final product. For reference, I’m aiming for a roughly 1.25% salt to meat ratio. A 3-pound roast is approximately 1362 grams, so 1% would be 13.6g and 1.25% would be about 17g. Adjust salt amount if your roast is larger, simply multiply the total grams of beef by 0.0125 for the ideal salt weight.
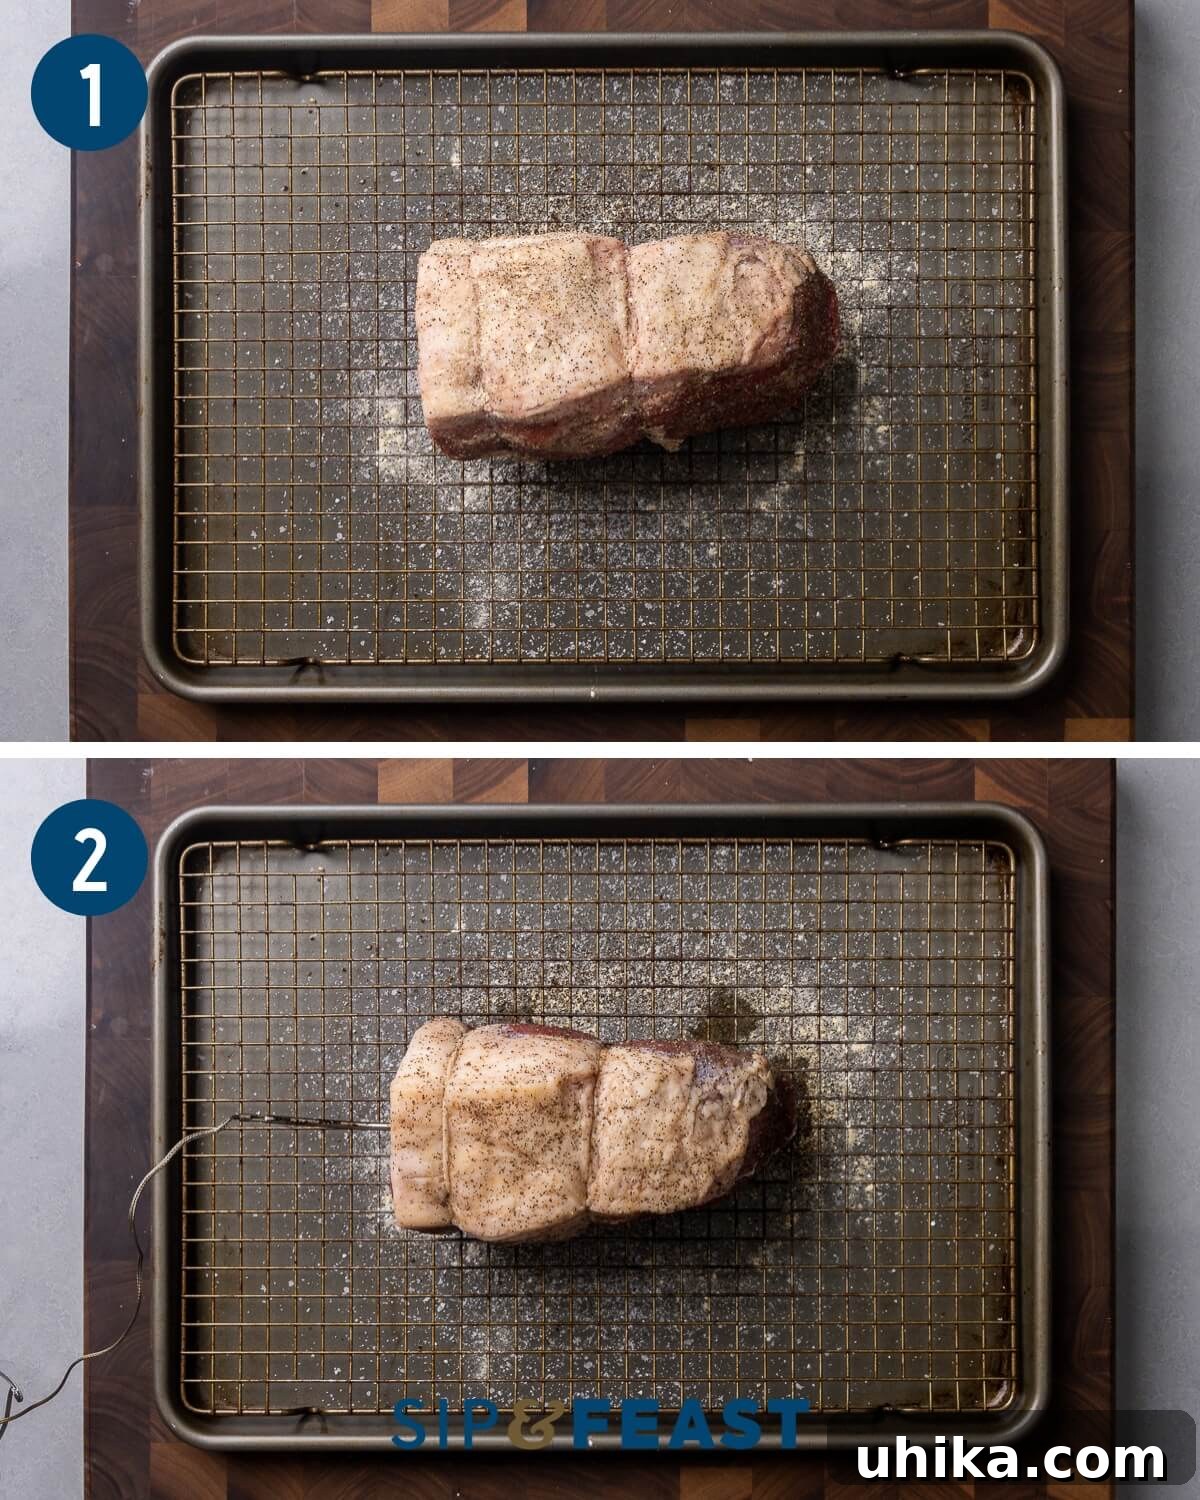
- Initial High-Heat Roast: Preheat your oven to a blazing 500°F (260°C). This initial high-heat blast is crucial for developing a beautiful, savory crust on the exterior of the roast. Before placing it in the oven, ensure the fat cap (if present) is facing upwards; this allows the fat to render and baste the roast as it cooks. Insert an oven-safe digital thermometer into the absolute center of the roast, making sure it’s not touching any bone or fat pockets, which could give an inaccurate reading. Just before putting it in the oven, give the roast a final pat dry with paper towels to remove any surface moisture that may have wicked to the top during brining. Place the roast into the preheated oven and cook for exactly 15 minutes at 500°F, then immediately drop the oven temperature to 300°F (150°C) and continue cooking. Do not open the oven door during this transition.
- Slow Finish and Monitor Temperature: Continue cooking the roast at 300°F, closely monitoring its internal temperature with your digital thermometer. This is the “reverse sear” method, which promotes even cooking from edge to edge. The target internal temperatures are:
- Rare: 110-115°F (43-46°C)
- Medium-Rare: 125°F (52°C)
- Medium: 135°F (57°C)
Remember that the roast’s internal temperature will rise by several degrees (known as carryover cooking) after it’s removed from the oven. For rare, remove it at the lower end of the range. Once your desired temperature is reached, carefully remove the roast from the oven and transfer it to a clean, room-temperature wire rack (not the warm one from the oven) to cool. Allow it to rest undisturbed for a full hour. This resting period is vital, allowing the juices to redistribute throughout the meat, ensuring a moist and tender roast.
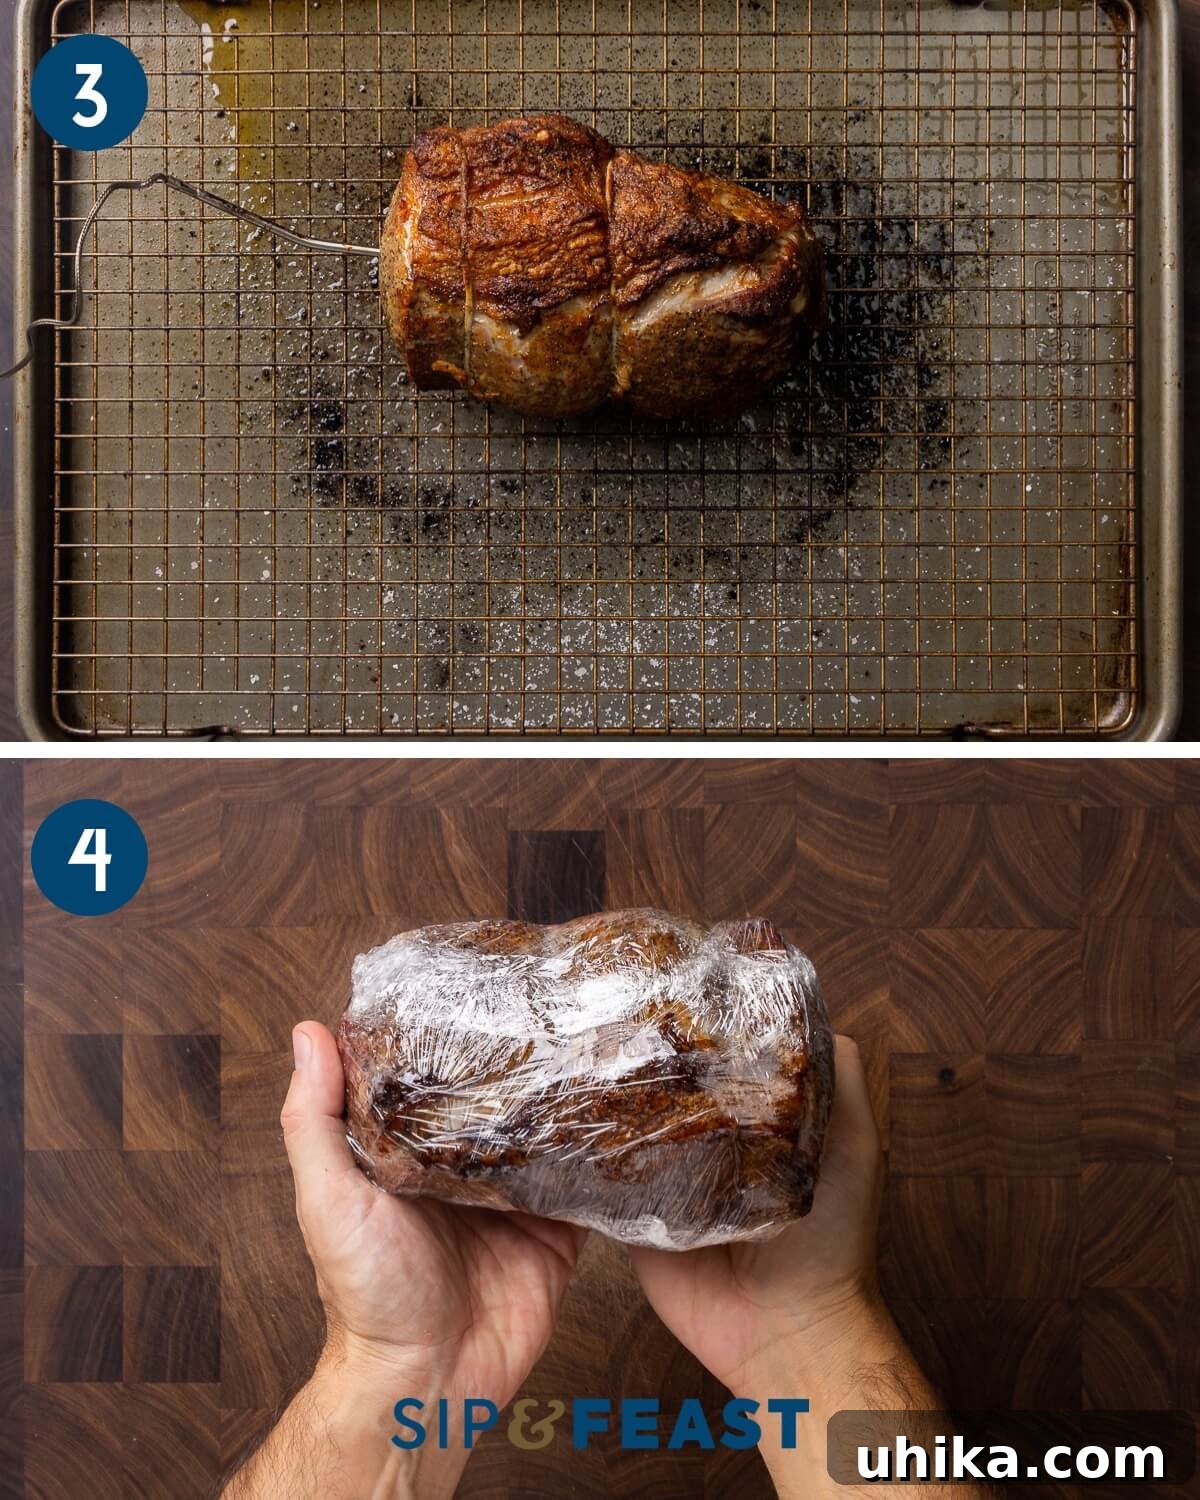
- Chill for Perfect Slicing: After the roast has rested for 1 hour, it’s time for the crucial chilling step. Tightly wrap the cooled roast with plastic wrap, ensuring it’s completely sealed. Transfer the wrapped roast to the refrigerator and chill for at least 2 hours, but ideally overnight. This extended chilling period is fundamental for two reasons: firstly, it allows the roast to reabsorb any remaining delicious pan juices, maximizing its flavor and moisture; and secondly, a thoroughly chilled roast is much firmer and significantly easier to slice paper-thin, which is the hallmark of true deli-style roast beef. While you can technically speed up the process by placing it in the freezer for 1 hour, the overnight refrigeration yields the best texture and flavor absorption.
- Optional Au Jus Preparation: While your roast is chilling, you have the perfect opportunity to make a simple, flavorful au jus using the pan drippings. Place the baking sheet or roasting pan directly onto a stovetop burner over medium heat. Add 1 tablespoon of all-purpose flour to the drippings, whisking continuously until no white spots of flour remain (this usually takes 1-2 minutes). This creates a roux that will thicken your jus. Next, gradually whisk in 1 1/2 cups of low-sodium beef stock. Use a wooden spoon to scrape the bottom of the pan, dislodging any browned bits (fond) – these bits are packed with flavor and will enrich your jus. Simmer the jus for a few minutes until it thickens slightly and tastes balanced. You likely won’t need to add any salt, as the drippings will be seasoned enough. For a more detailed guide on making the perfect au jus, you can refer to my prime rib au jus recipe.
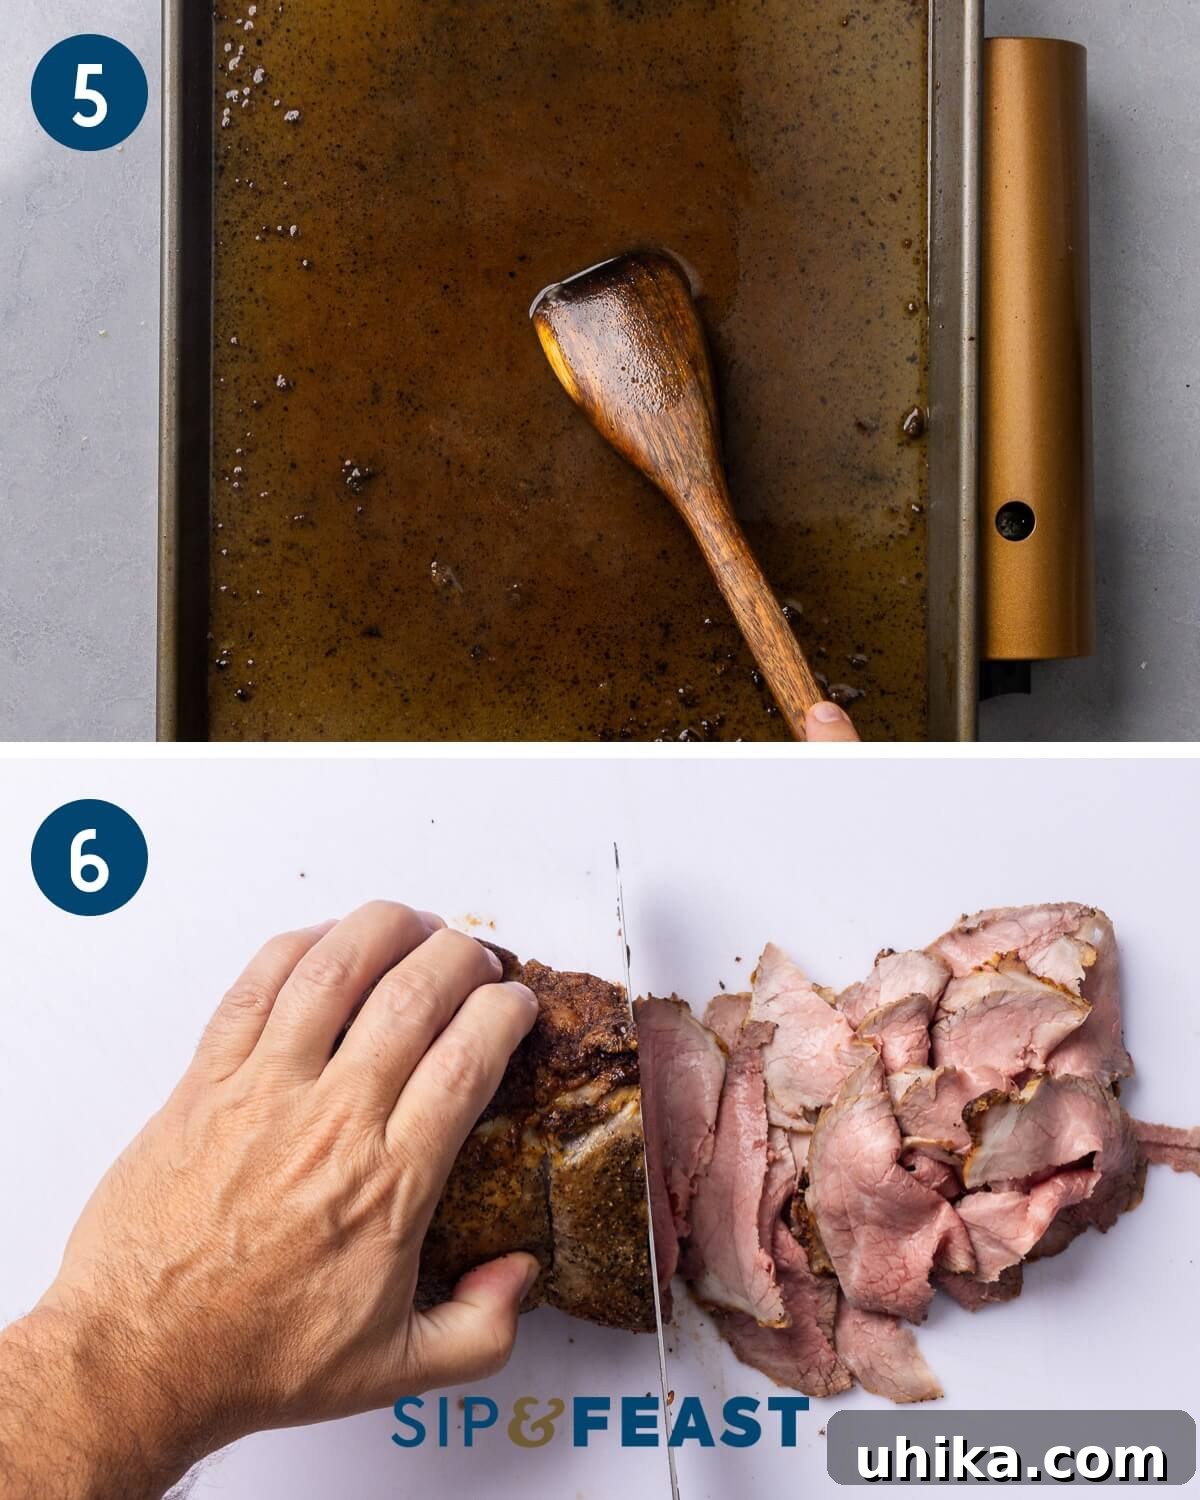
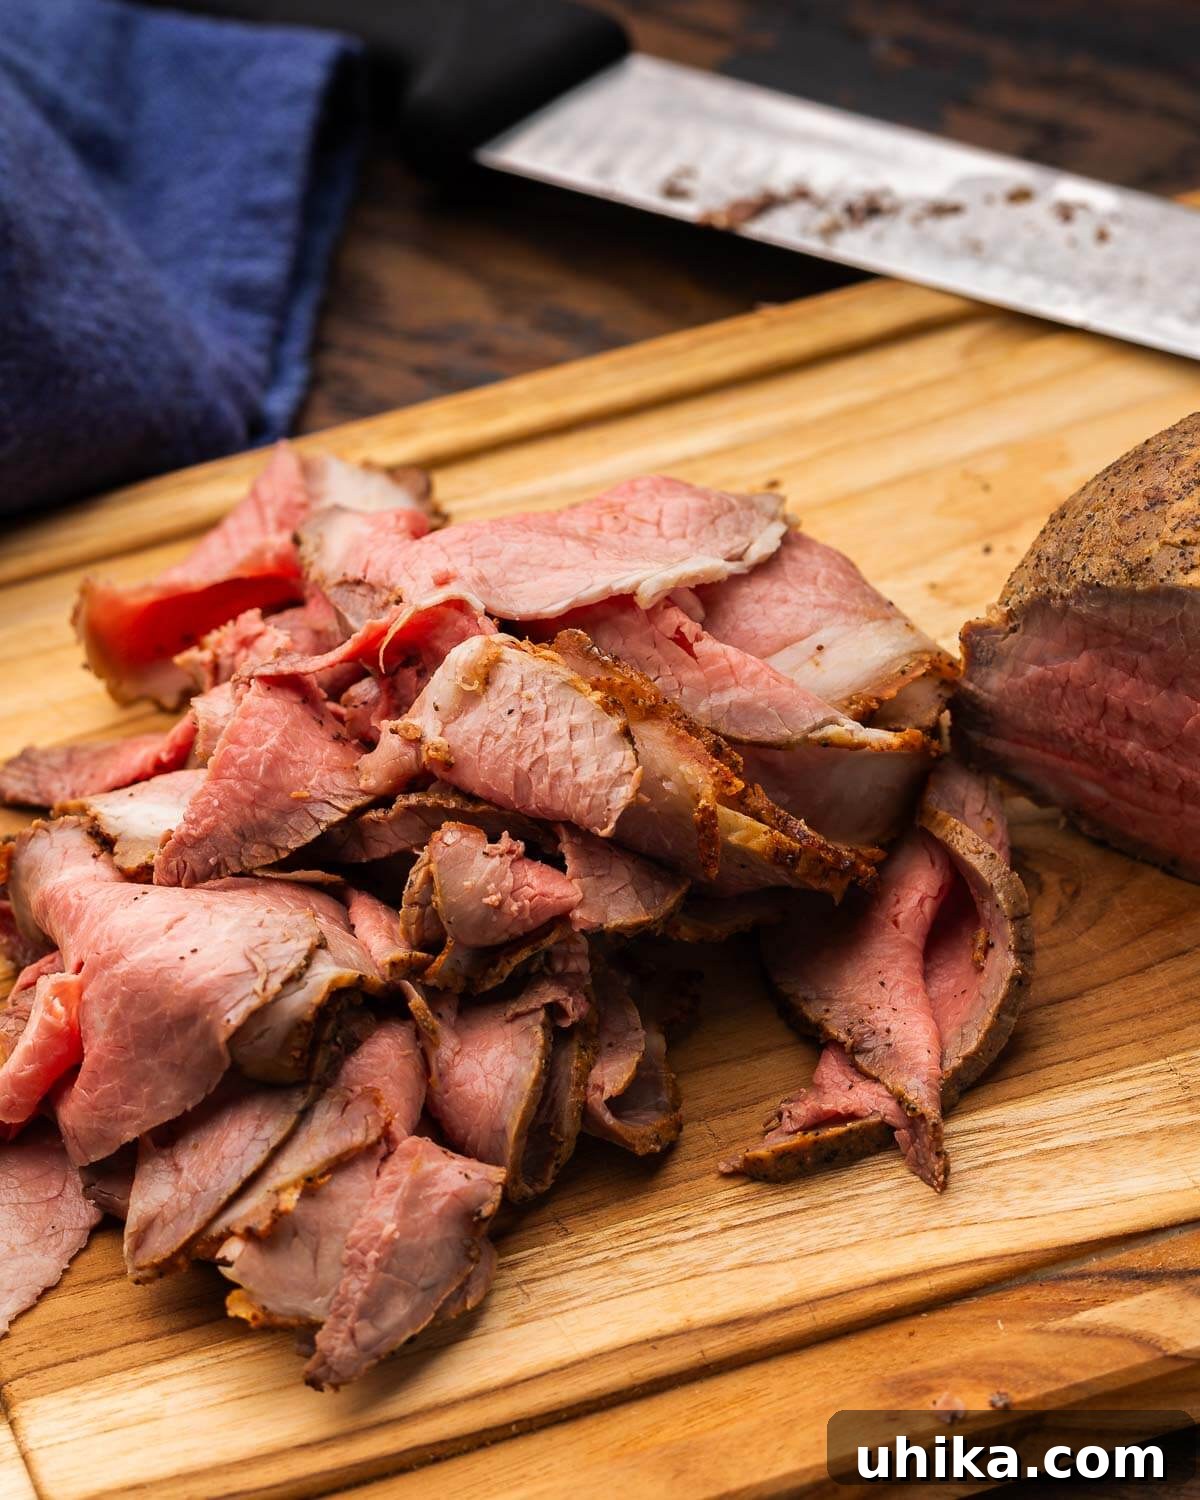
- Slice and Serve: Once your roast beef has been thoroughly chilled in the refrigerator, remove it from the plastic wrap. Place the firm roast on a sturdy cutting board. For truly deli-thin slices, a very sharp slicing knife or, ideally, a dedicated meat slicer is recommended. The key to tender slices is to always cut the beef against the grain. Look at the muscle fibers; you want to cut perpendicular to them. This shortens the fibers, making each slice incredibly tender. Now your homemade deli roast beef is ready to enjoy! Use it to create your favorite sandwiches, such as a hearty hot roast beef sandwich with onion jam, a classic French dip served with your freshly made au jus, or a flavorful roast beef with horseradish sauce sandwich. The possibilities are endless. Enjoy the fruits of your labor!
Tips for Success: Achieving Deli-Quality Roast Beef
To ensure your homemade deli roast beef is nothing short of perfection, keep these expert tips in mind:
- Prioritize Refrigeration: This is arguably the most crucial step for achieving truly deli-style roast beef. After cooking and cooling for an hour, the roast absolutely needs to be wrapped tightly in plastic and refrigerated for at least 2 hours, but preferably overnight. This chilling period allows the meat to firm up significantly, making it much easier to slice into those desirable paper-thin cuts. It also gives the juices ample time to redistribute and fully reabsorb, resulting in a moister and more flavorful slice.
- Invest in a Quality Slicing Knife: While a very sharp Chef’s knife can get the job done, a dedicated slicing knife (also known as a carving knife) is a game-changer. Its long, thin blade allows for long, even strokes, making it much easier to achieve super thin, uniform slices characteristic of deli meat. Keep your knife impeccably sharp for the best results.
- Consider the Fat Cap: Depending on the specific cut of beef and where it was purchased, your roast may or may not have a significant fat cap. If your roast has one, you have the option to trim it off before slicing, or you can leave it on for additional flavor and moisture. For a leaner, more traditional deli experience, trimming the cap off before slicing is usually preferred.
- Use an Oven-Safe Meat Thermometer: Precision is key when cooking roast beef to your desired doneness. An oven-safe digital thermometer inserted into the thickest part of the roast will provide real-time temperature readings, preventing over or undercooking. This tool ensures you hit that perfect rare, medium-rare, or medium internal temperature every time, leading to consistently tender and juicy results.
- Slicing Against the Grain: Always remember to slice the roast beef against the grain. The “grain” refers to the direction of the muscle fibers. Cutting perpendicular to these fibers shortens them, making the meat much more tender and easier to chew. This is a fundamental technique for any roast, especially leaner cuts like eye of round.
- Costco is Your Friend: While not sponsored, I’ve consistently found that stores like Costco offer exceptional value on quality meat, including eye of round and other roasts perfect for deli beef. Shopping in bulk can further reduce your costs. You might even find vacuum-sealing machines there, which are fantastic for preserving your homemade roast beef, keeping it fresh for longer.
Delicious Serving Suggestions
Once you’ve mastered homemade deli roast beef, the culinary possibilities are endless! Here are some ideas to make the most of your delicious creation:
- Classic Deli Sandwiches: The most obvious and perhaps most satisfying use. Layer thin slices on rye or sourdough bread with Swiss cheese, spicy mustard, and pickles for a traditional deli experience.
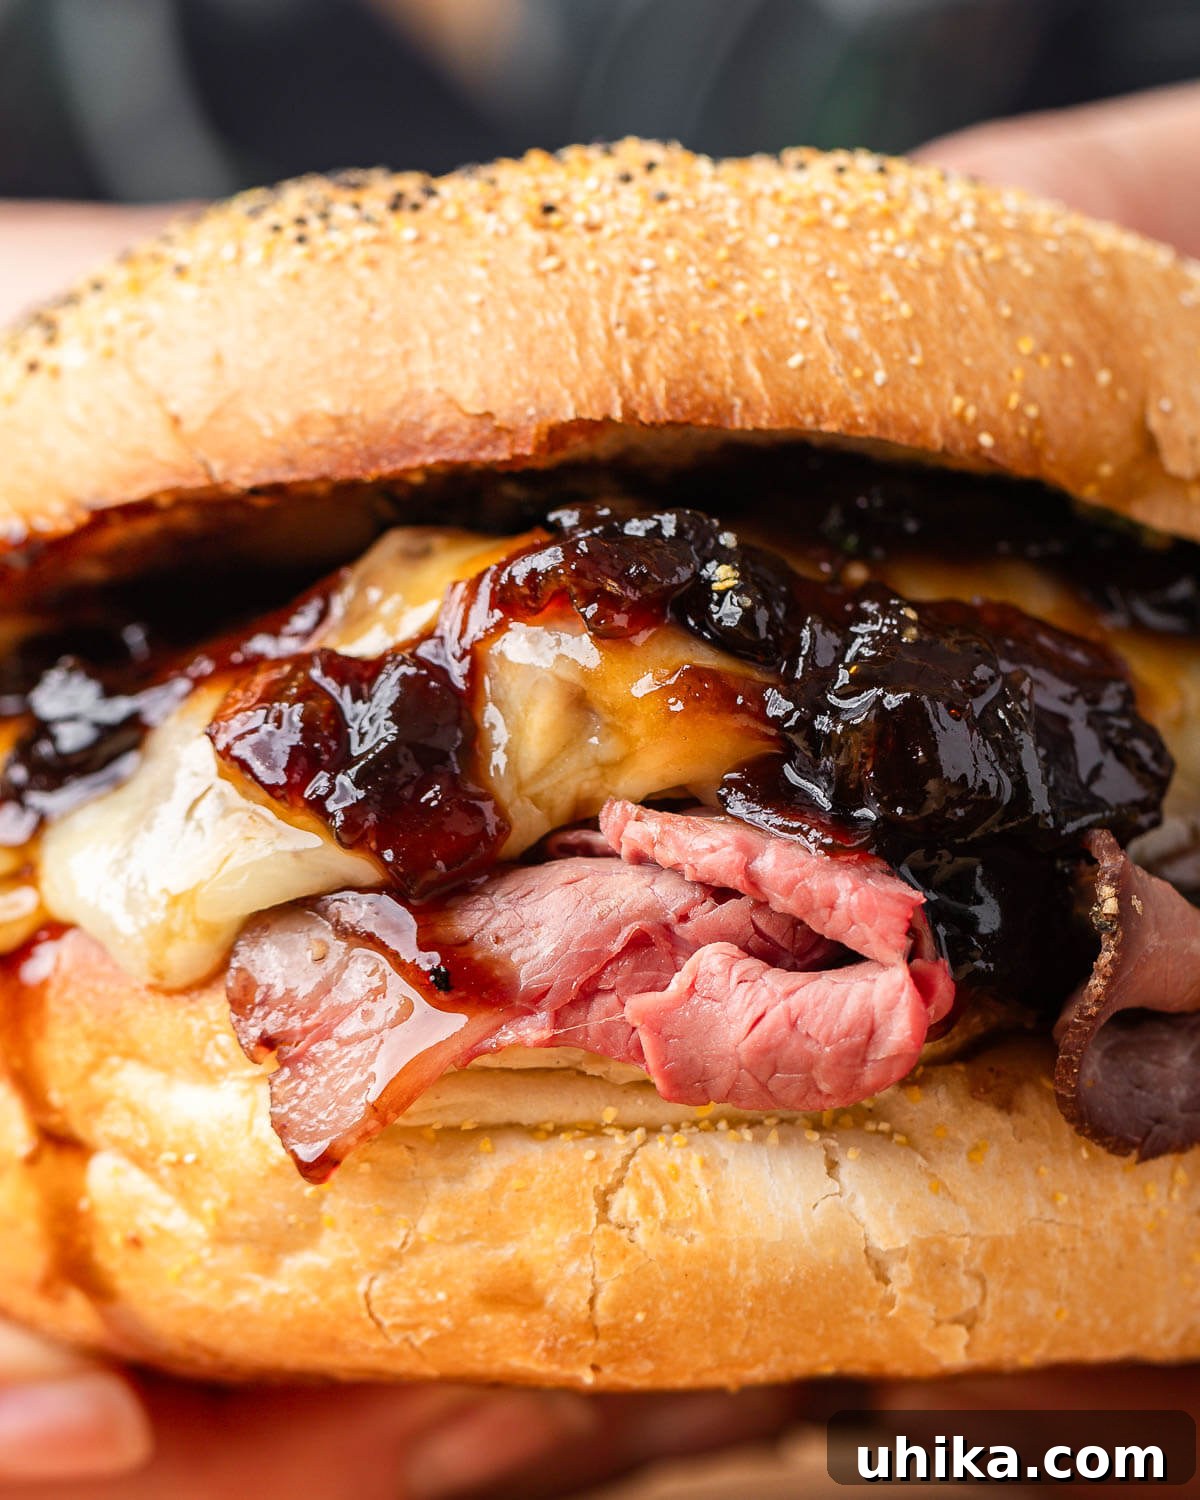
- Hot Roast Beef Sandwiches: Serve warmed slices on a toasted bun with melted provolone and a generous drizzle of your homemade au jus. Add caramelized onions for an extra touch of sweetness.
- French Dip: A timeless favorite! Pile roast beef onto a crusty baguette, toast it with provolone, and serve with a hot bowl of the au jus for dipping.
- Roast Beef Wraps: For a lighter option, wrap slices of roast beef with lettuce, tomato, cucumber, and a creamy horseradish sauce in a large tortilla.
- Roast Beef Salads: Top a fresh green salad with thinly sliced roast beef for a protein-packed and flavorful meal. A balsamic vinaigrette or a creamy blue cheese dressing would pair beautifully.
- Appetizers: Roll slices of roast beef with cream cheese and chives, or wrap them around asparagus spears for elegant, easy appetizers.
- Deli Platter: Arrange your homemade roast beef on a platter with other cold cuts, cheeses, olives, and crusty bread for an impressive spread.
Complete Your Deli Experience with These Sides
To truly recreate the authentic deli experience at home, complement your homemade roast beef with these tried-and-true classic deli side dishes:
- New York Deli Coleslaw: Crisp, creamy, and perfectly tangy.
- New York Deli Macaroni Salad: A comforting classic with a savory dressing.
- New York Deli Potato Salad: Rich, creamy, and bursting with flavor.
If you’ve enjoyed this Deli Roast Beef Recipe or any recipe on this site, please consider giving it a 5-star rating and sharing your feedback in the comments below. Your input helps us improve and grow!
We believe in catering to various learning styles. If you prefer visual learning, you can find most of our recipes on our YouTube channel and our Facebook Page. For exclusive, never-before-seen FULL MEAL RECIPE VIDEOS, consider becoming a Patreon member today!
Deli Roast Beef
Pin
Equipment
-
Oven-Safe Meat Thermometer
-
Slicing Knife
Ingredients
- 1 3-pound eye of round roast or top round or rump roast
- 1 1/2 tablespoons (15g) Diamond Crystal Kosher salt
- 1 teaspoon garlic powder
- 1 teaspoon onion powder
- 1 teaspoon black pepper
Instructions
-
Remove the roast from the fridge and place it on a wire rack set on a baking sheet or roasting pan. Season evenly on all sides with salt, pepper, garlic, and onion powder. Allow the roast to sit at room temperature for at least 90 minutes for the dry brine.
-
Preheat the oven to 500°F (260°C). Ensure the fat cap (if present) is facing up. Insert an oven-safe digital thermometer into the exact center of the roast.
-
Pat the roast dry to remove any surface moisture. Place the roast in the preheated oven and cook for 15 minutes. After 15 minutes, immediately drop the oven temperature to 300°F (150°C) and continue cooking until the center of the roast reaches 110-115°F (43-46°C) for rare, 125°F (52°C) for medium-rare, or 135°F (57°C) for medium. This will take an additional 30-50 minutes, depending on desired doneness. Be aware that the internal temperature will increase slightly from carryover heat after removal from the oven.
-
Once the roast has reached your desired internal temperature, transfer it to a separate, room-temperature wire rack to cool for 1 hour.
-
After 1 hour of cooling, wrap the roast tightly with plastic wrap and refrigerate for at least 2 hours, but preferably overnight, before slicing. A cold roast is significantly easier to slice thinly. Always slice the roast beef against the grain for maximum tenderness. Enjoy!
Notes
- Eye of round is highly recommended for its lean profile and ideal shape, but top round and rump roast also work exceptionally well for this recipe.
- For perfect, uniformly thin slices, it is essential to refrigerate the entire roast after cooking. This firms up the meat, making it much easier to cut. A sharp 12-inch slicing knife will greatly assist in achieving desired thinness.
- The fat cap, if present, can be trimmed off before slicing if you prefer a leaner result. The amount of fat can vary based on the specific cut and its source.
- Leftovers of your delicious homemade deli roast beef can be stored in an airtight container in the refrigerator for up to 5 days.
Nutrition
Nutrition information is automatically calculated, so should only be used as an approximation.
Like this? Leave a comment below!Check us out on Instagram at @sipandfeast or tag #sipandfeast!