
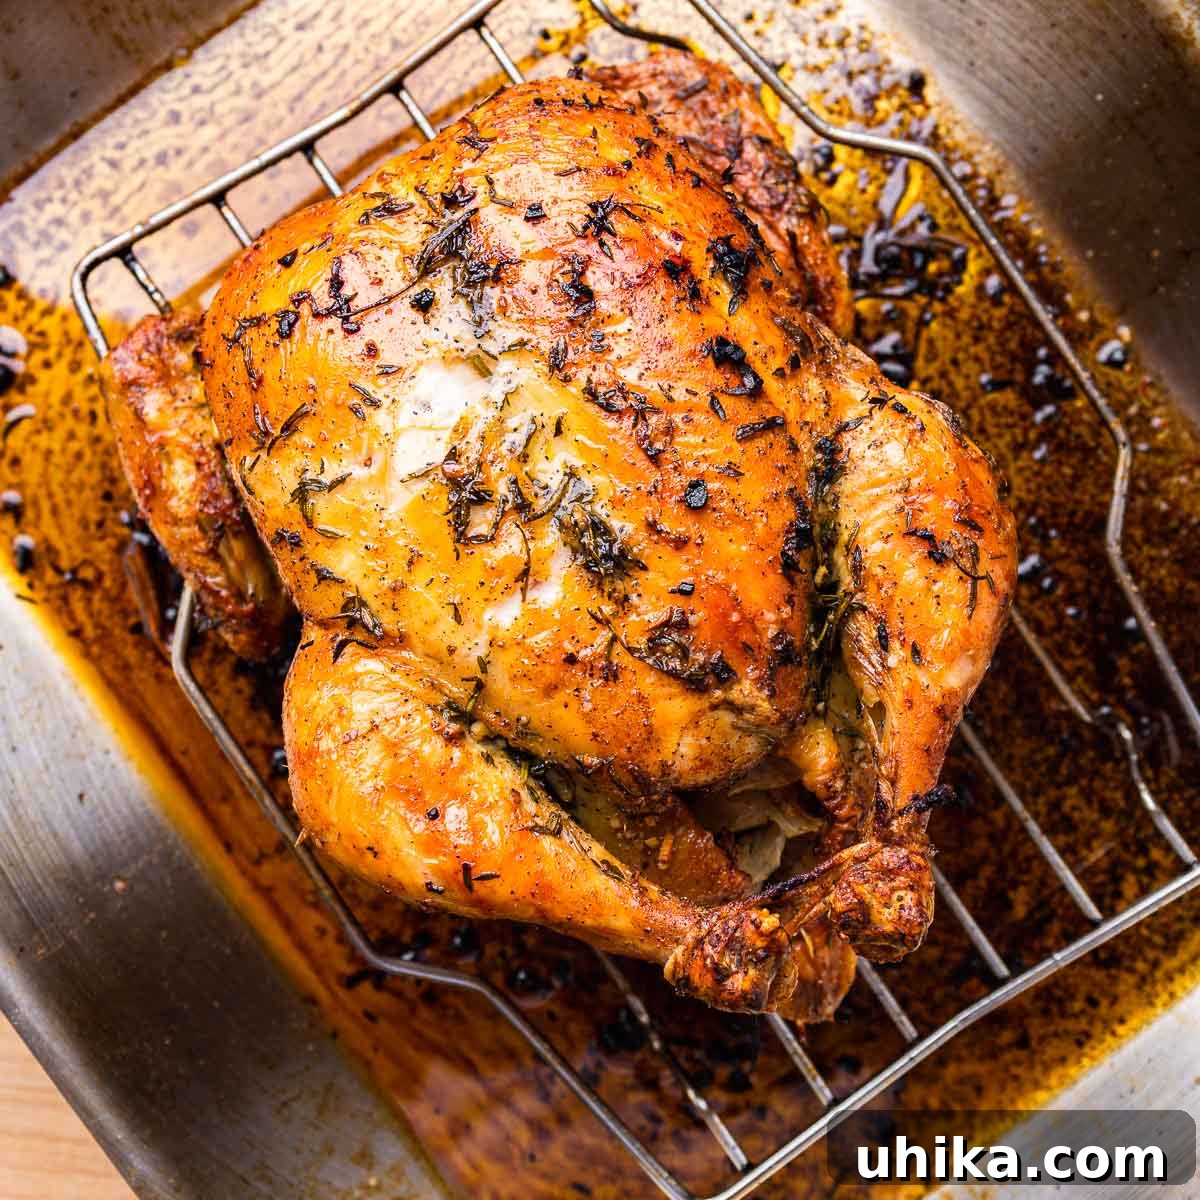
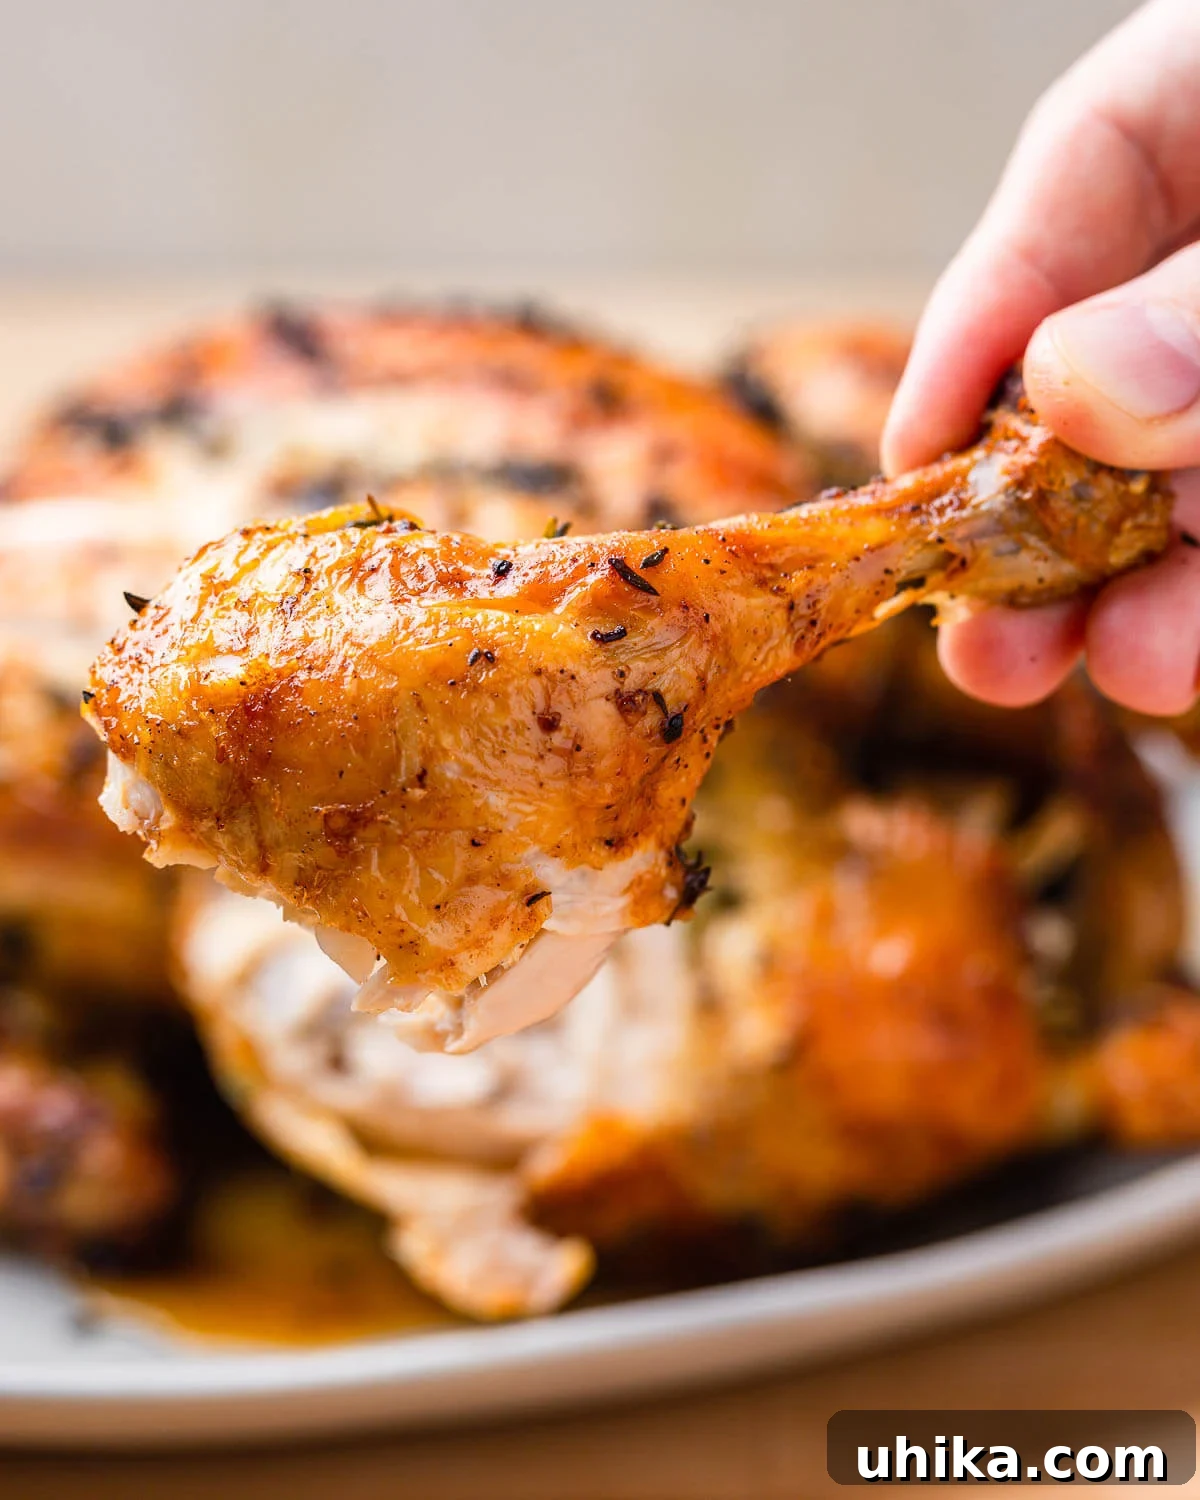
Discover the ultimate guide to crafting a spectacular **Garlic Butter Roast Chicken** – a dish that consistently delivers tender, juicy meat encased in gloriously crispy, golden skin. Infused with aromatic garlic, fresh rosemary, and fragrant thyme, this recipe is designed to impress with minimal effort, making it a perfect centerpiece for any meal.
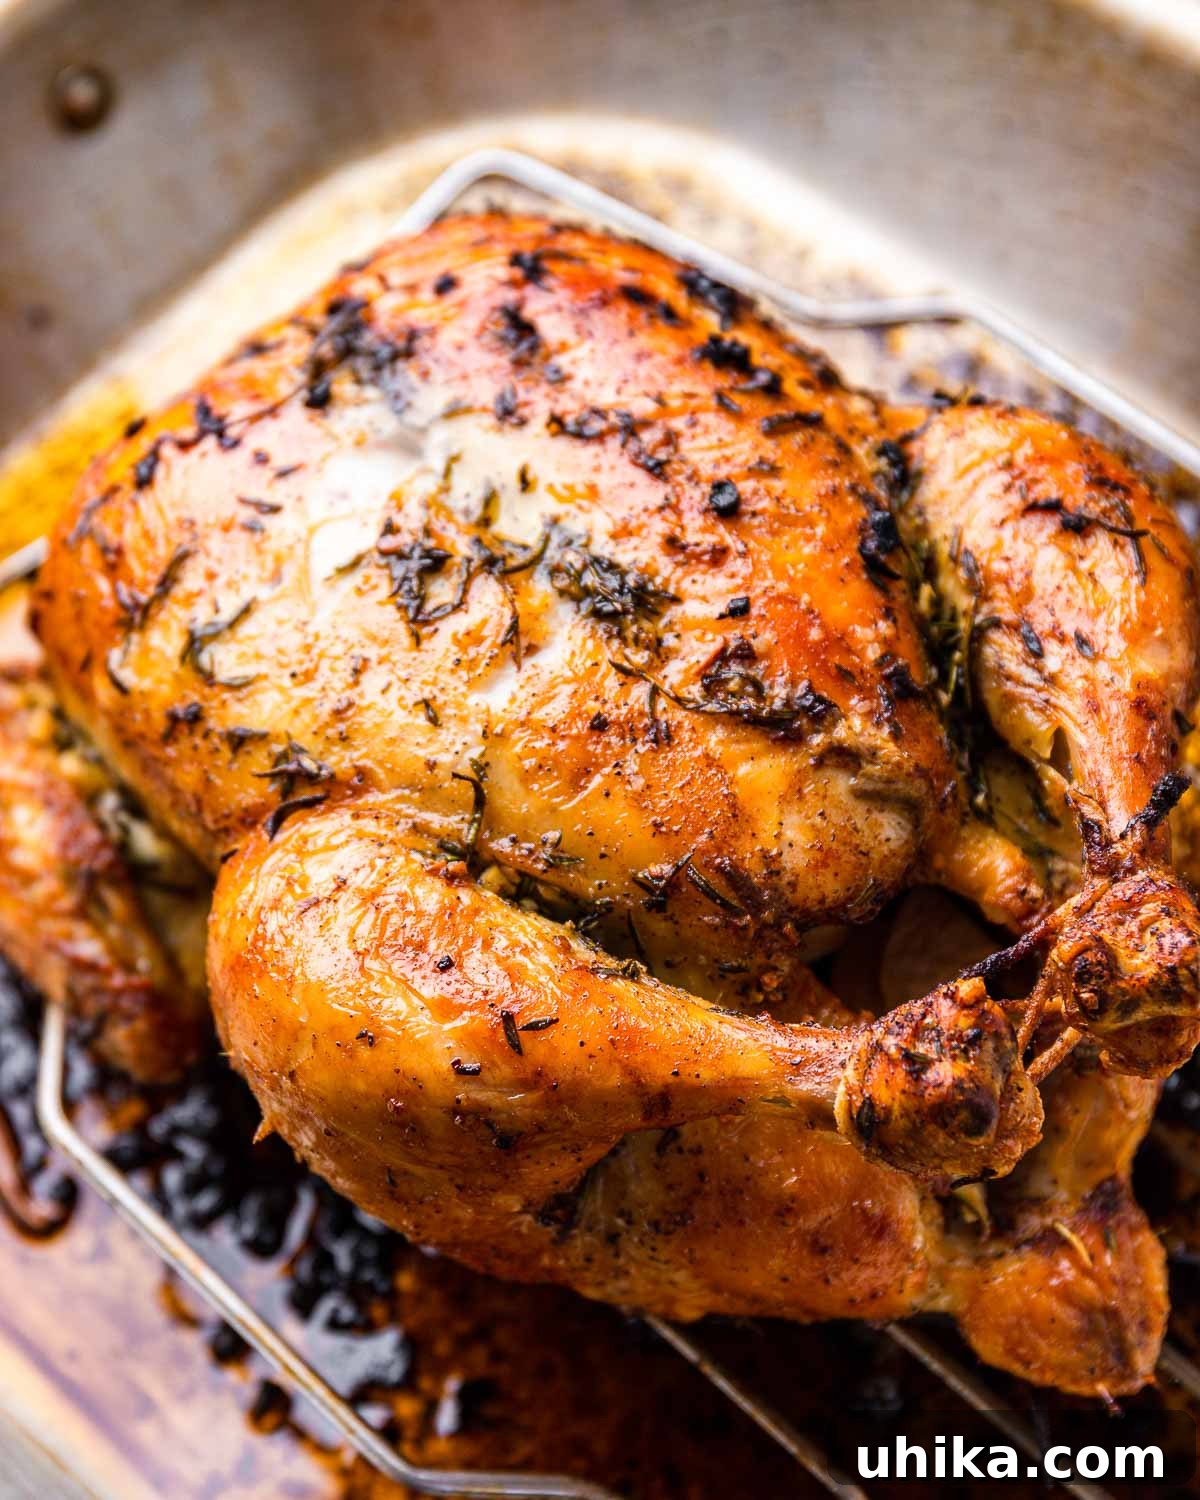
There are certain dishes that define comfort, warmth, and pure culinary satisfaction. For many, that dish is a perfectly roasted chicken. And when it comes to roasting a whole chicken, this Garlic Butter Roast Chicken recipe stands out as my go-to choice, a true family favorite that I return to time and again. It’s not just a meal; it’s an experience – filling your home with an irresistible aroma that promises a delicious feast.
One of the many reasons this recipe is a staple in my kitchen is its sheer convenience. I often have a whole chicken readily available, a versatile ingredient that forms the base for other beloved recipes like classic Chicken Cacciatore or hearty Italian Baked Chicken and Potatoes. This means fewer trips to the grocery store and more time enjoying the cooking process. Simplicity is key here, relying on straightforward ingredients to achieve extraordinary flavors.
This succulent roast chicken is incredibly easy to prepare, requiring only a handful of common ingredients, yet yielding profoundly flavorful results. It pairs beautifully with a variety of side dishes, transforming a simple dinner into a memorable occasion. Imagine it alongside creamy Scalloped Potatoes, zesty Greek Potatoes with Lemon and Oregano, or crisp Italian Green Beans. These combinations elevate the meal, creating a harmonious spread that everyone at the table will adore. My wife and children frequently request this roasted chicken, and their enthusiastic approval is the best testament to its undeniable deliciousness.
Crafting Your Perfect Garlic Butter Roast Chicken
Achieving a perfectly roasted chicken with crispy skin and moist meat is simpler than you might think. Follow these detailed steps to create a show-stopping meal that’s bursting with flavor.
1. Prepare Your Ingredients and Oven
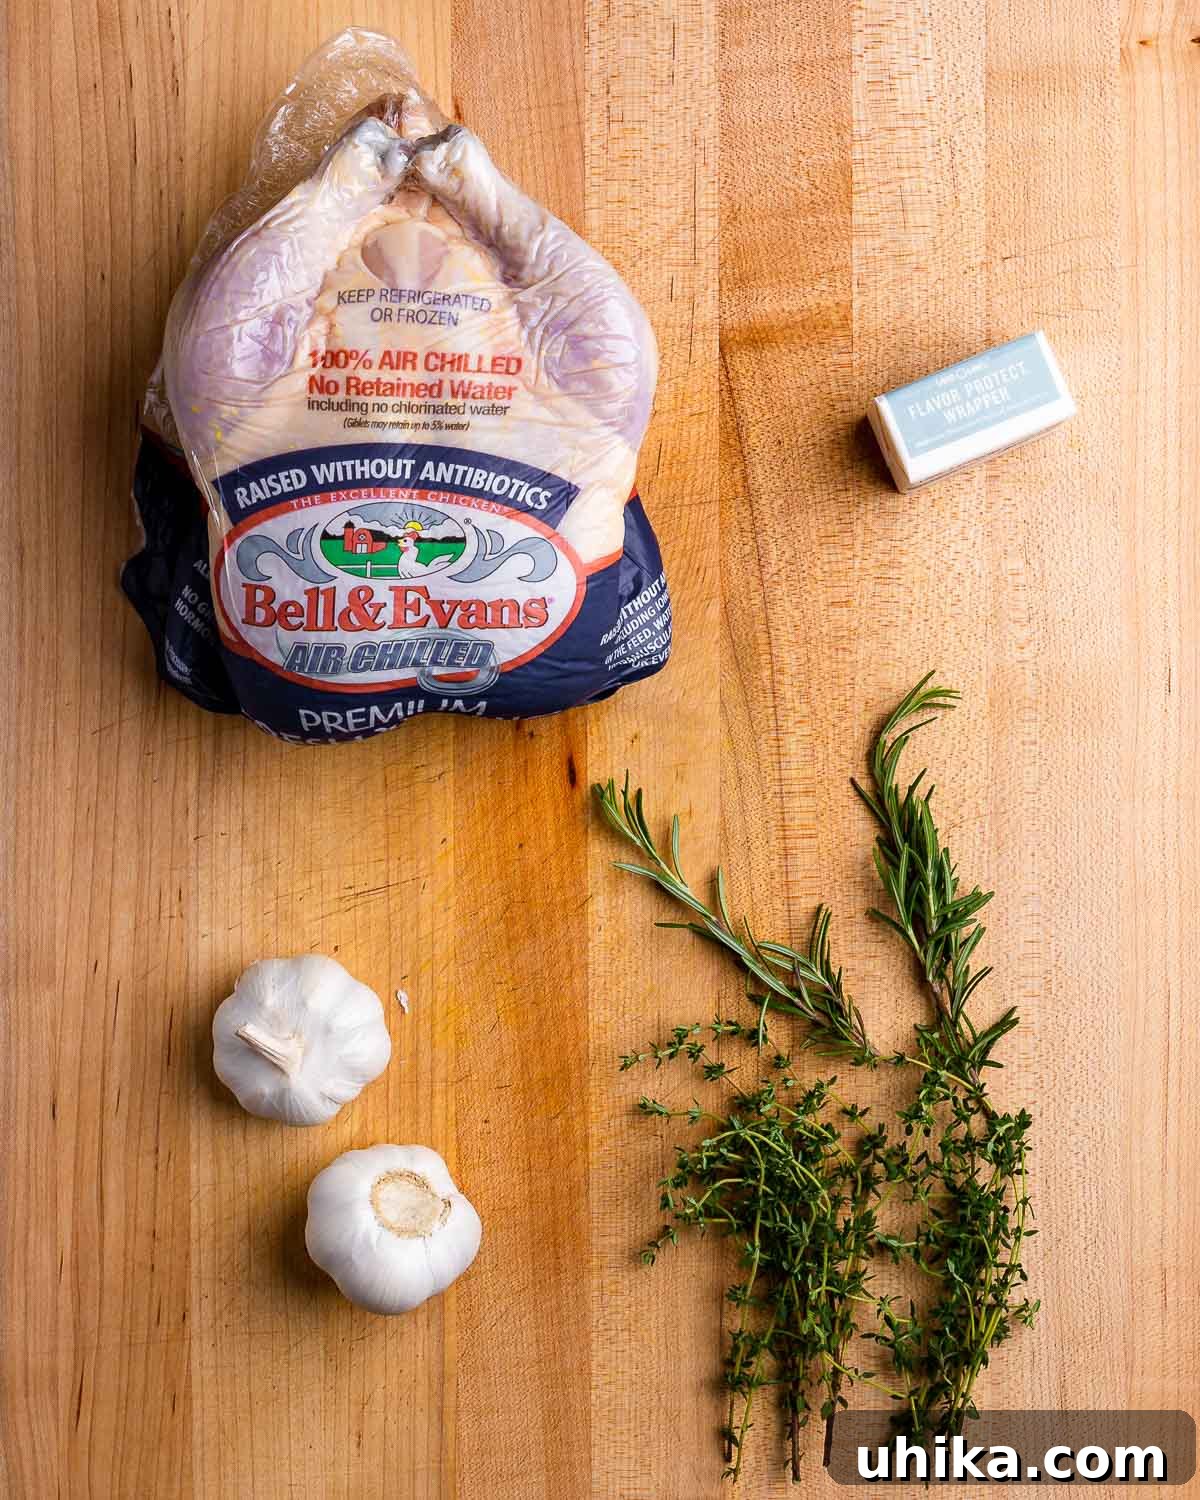
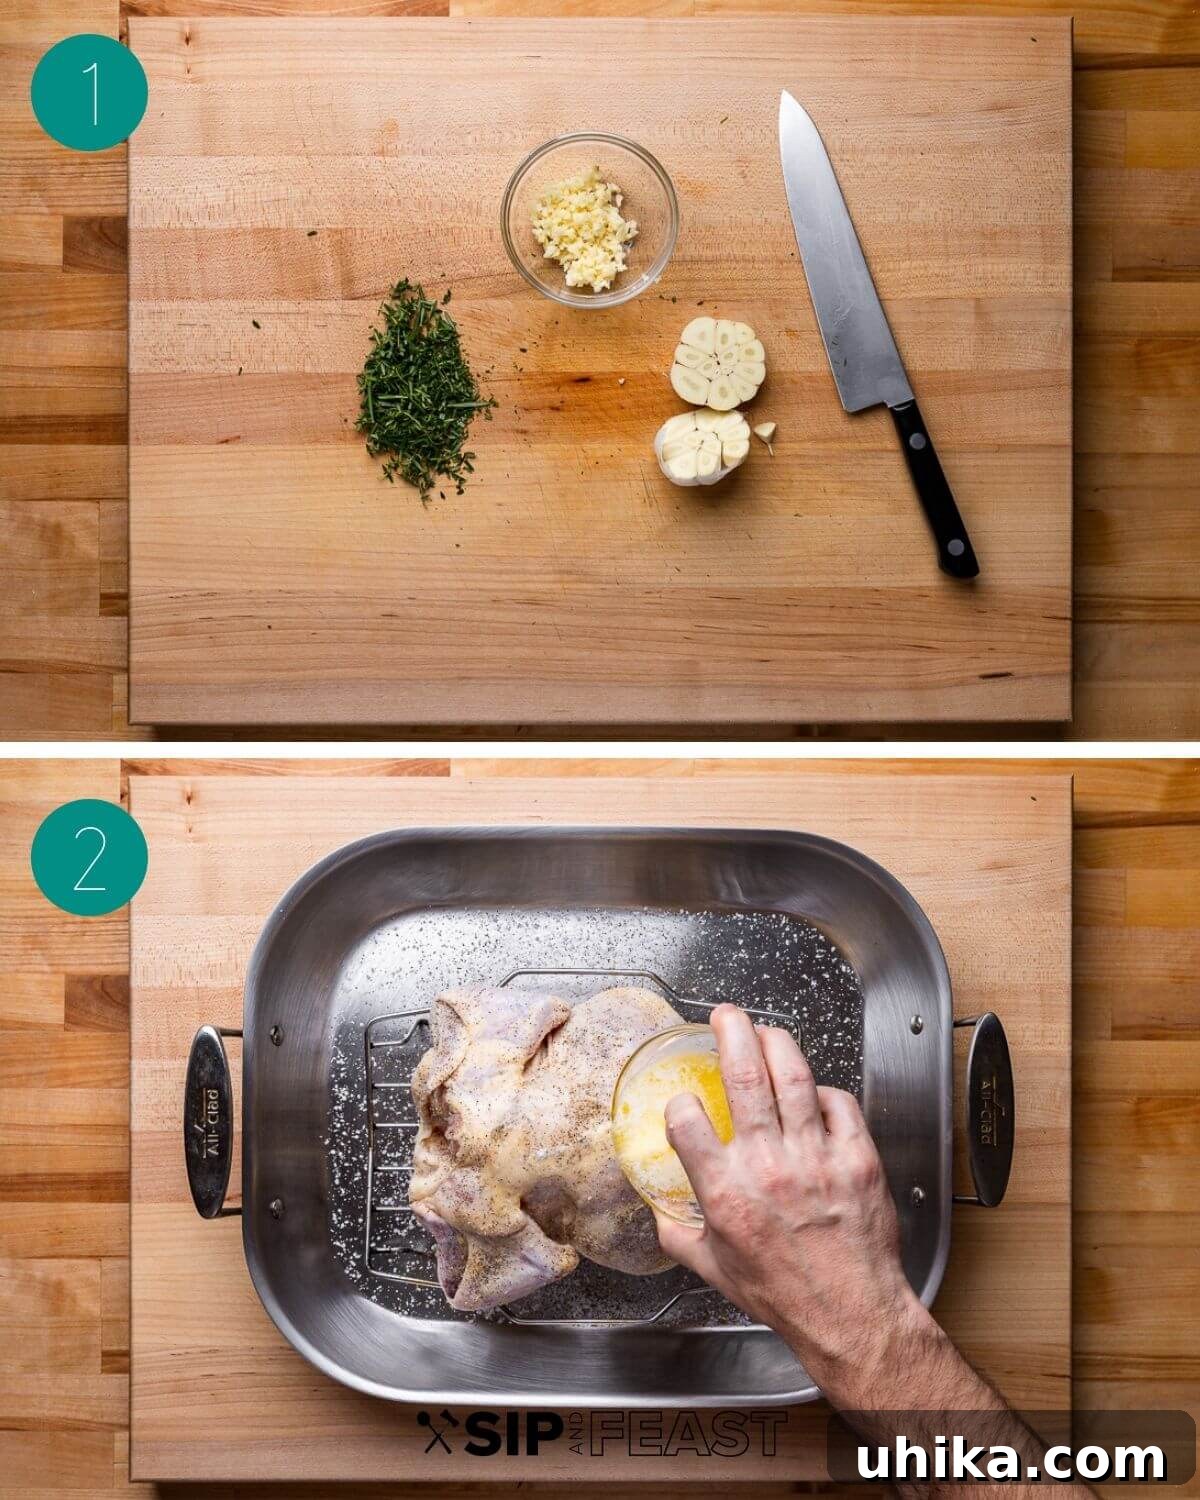
Begin by preheating your oven to a robust 450°F (232°C). This high initial temperature is crucial for crisping the skin quickly, locking in juices, and setting the stage for that beautiful golden-brown exterior. Position an oven rack in the middle level to ensure even cooking and browning. Next, turn your attention to the aromatics: finely mince 3 cloves of fresh garlic, chop 2 tablespoons of fresh thyme, and 3 tablespoons of fresh rosemary. The quality of your herbs makes a significant difference, so fresh is always recommended. Lastly, take one whole head of garlic, slice it horizontally through the middle, exposing the cloves. This will be placed inside the chicken to infuse it with a deep, mellow garlic flavor as it roasts.
2. Season and Prepare the Chicken
Thoroughly pat your whole chicken dry with paper towels, both inside and out. This step is non-negotiable for achieving truly crispy skin. Any moisture on the surface will steam the chicken rather than roast it, leading to a less desirable texture. Once dry, place the chicken in a sturdy roasting pan, ideally fitted with a wire rack to allow air circulation around the bird. In a small bowl, melt 3 tablespoons of butter and combine it with 2 tablespoons of olive oil. Drizzle this rich mixture generously all over the chicken. Don’t be shy – use your hands to massage the butter and oil into every crevice, ensuring an even coating that will promote browning and flavor.
Now for the seasoning. Sprinkle 1 teaspoon of kosher salt inside the chicken’s cavity. For the exterior, apply another 1 1/2 teaspoons of kosher salt all over, along with 1 teaspoon of freshly cracked black pepper. Take your minced rosemary, thyme, and garlic, and rub them meticulously over the entire surface of the chicken. For an extra layer of flavor and crispiness, gently lift the skin in areas like the breast and thighs, and try to get some of the seasoning mixture underneath. This ensures the meat itself is well-flavored. Finally, place the halved head of garlic inside the chicken’s cavity. This will impart a subtle, roasted garlic aroma to the entire bird as it cooks.
Expert Tip: If you plan to make a pan sauce or gravy from the drippings, consider using garlic powder instead of fresh minced garlic on the outside of the chicken. Minced fresh garlic can burn and become bitter at the bottom of the pan during the long roasting process, potentially affecting the flavor of your sauce.
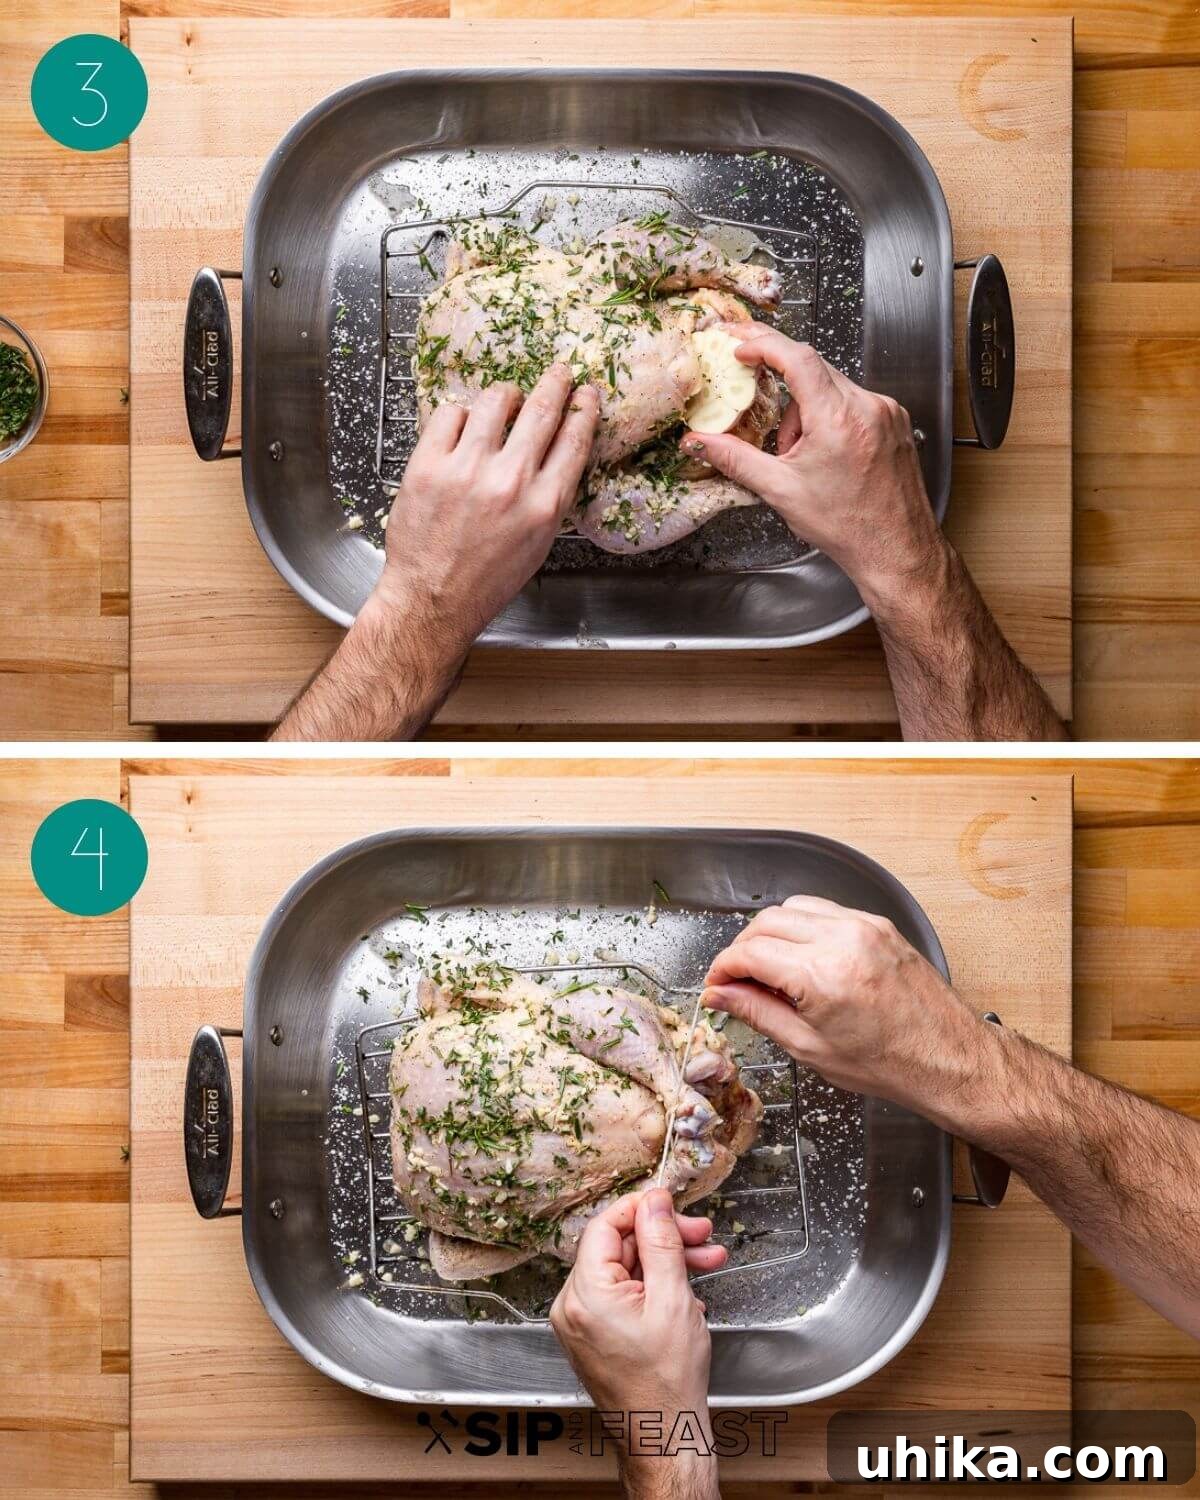
3. Trussing and Initial Roast
To ensure even cooking and a beautifully compact presentation, it’s beneficial to truss your chicken. Use kitchen twine to tie the legs together securely. Then, tuck the wing tips underneath the chicken’s body. This prevents the delicate wing tips from burning and keeps the chicken shapely throughout the roasting process.
Place the prepared chicken into the preheated oven, roasting it breast-side down for the initial 30 minutes. This technique allows the breast meat, which tends to dry out faster, to cook in the rendered fat, keeping it exceptionally moist. It also helps to achieve a more evenly browned and crispy skin on all sides.
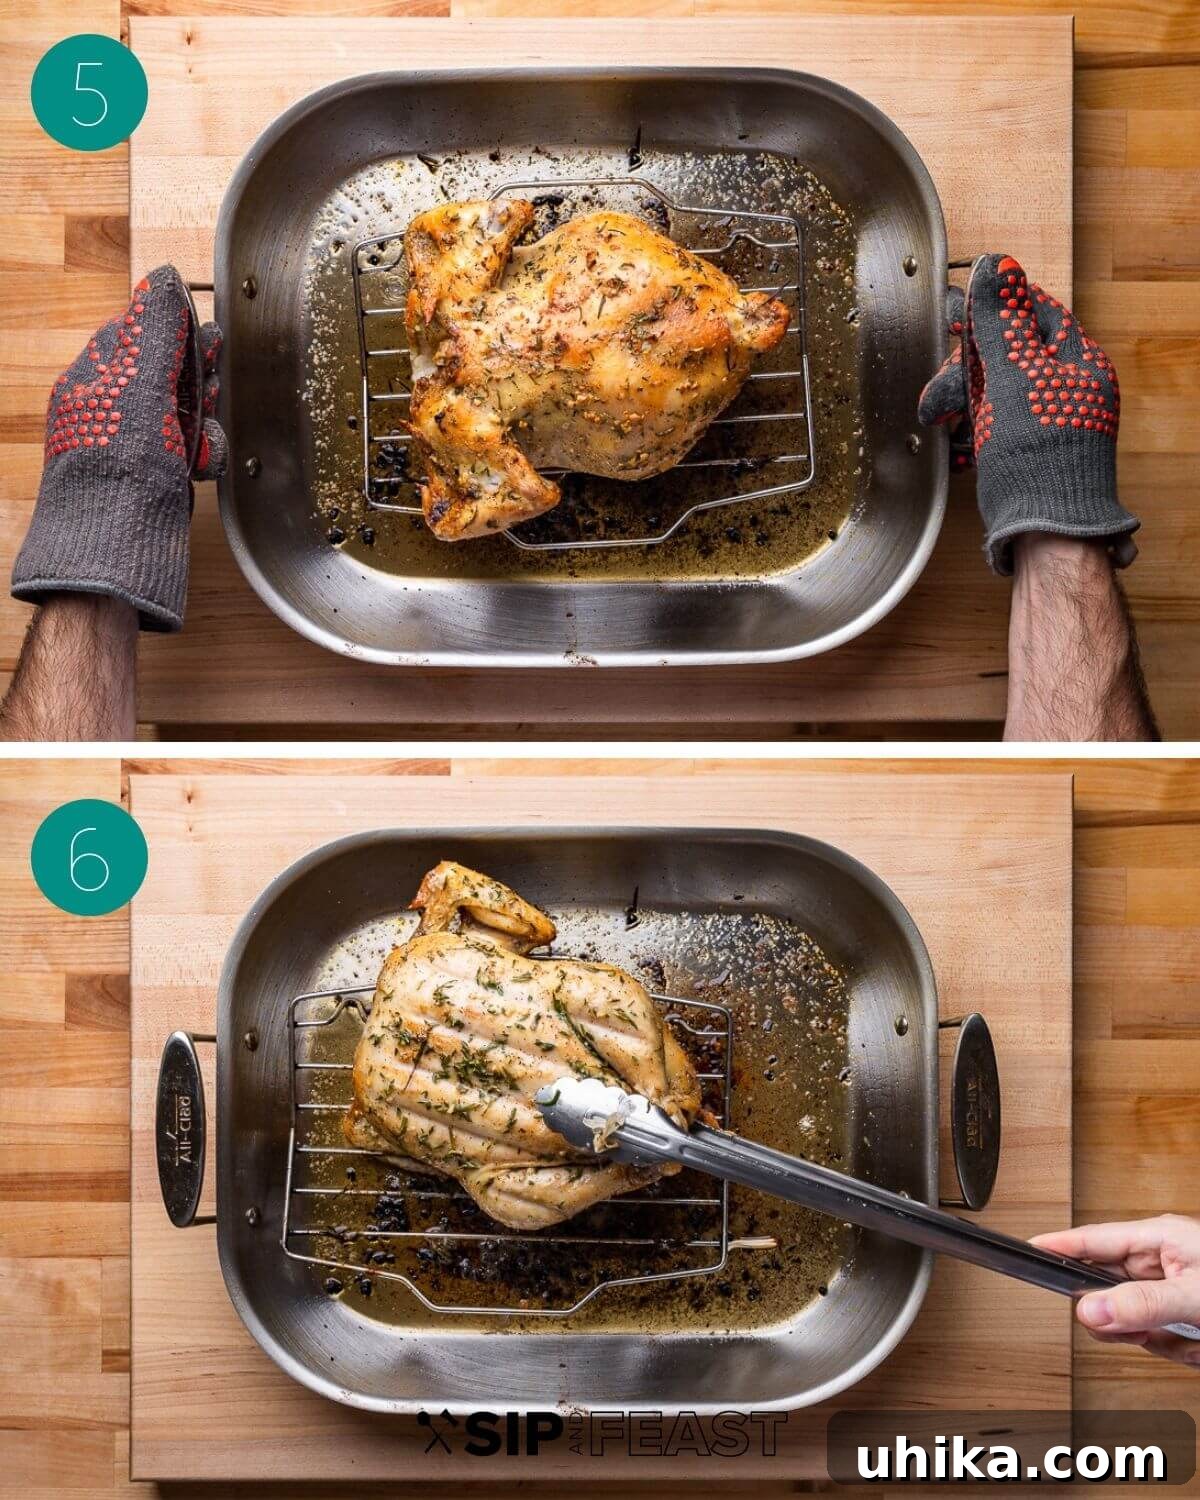
4. Flip, Baste, and Finish Roasting
After 30 minutes, carefully remove the chicken from the oven. Using sturdy tongs or oven mitts, flip the chicken over so it is now breast-side up. This position is ideal for the final stages of roasting, allowing the breast to brown beautifully. Once flipped, generously baste the chicken with the accumulated pan juices. This not only adds flavor but also helps to keep the skin moist and promote an even, deep golden color.
Return the chicken to the oven and continue cooking. The remaining cooking time will vary depending on the size of your chicken, but typically it will be another 30 minutes or so. The most accurate way to determine doneness is by using an instant-read meat thermometer. Insert the thermometer into the deepest part of the breast, ensuring it does not touch any bone. The chicken is cooked when the internal temperature reaches approximately 160°F (71°C).
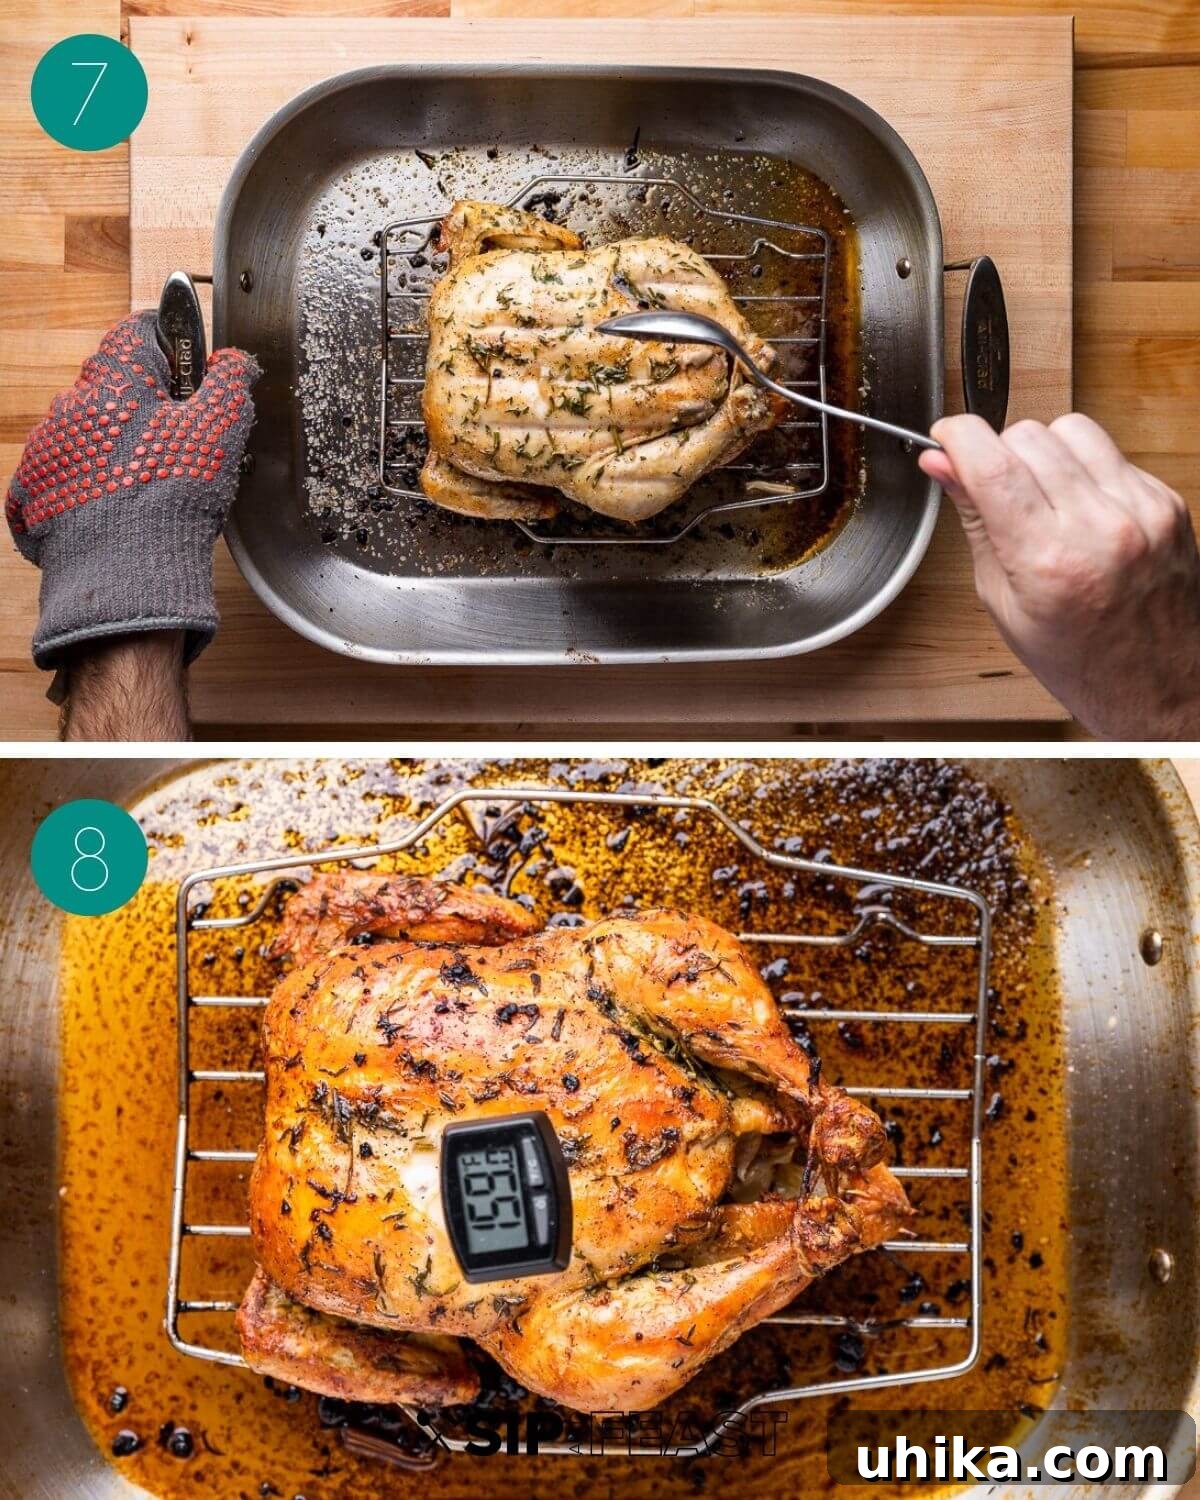
5. Achieving Golden Perfection and Resting
If, after the chicken has reached temperature, you desire an even crispier and more richly golden skin, you can broil the top for the last 1-2 minutes. Keep a very close eye on it during this step, as broilers can quickly go from golden to burnt. Once you achieve your desired color (as shown in image 8 above, where the breast reads 159°F), remove the chicken from the oven.
This next step is perhaps one of the most crucial for a truly juicy roast chicken: resting. Transfer the cooked chicken to a carving board and tent it loosely with aluminum foil. Allow it to rest for a minimum of 10-15 minutes before carving and serving. During this resting period, the juices, which have migrated to the center of the bird during cooking, will redistribute throughout the meat. This ensures every slice is incredibly moist and flavorful. Additionally, the internal temperature will continue to rise slightly (carryover cooking) to reach the food-safe temperature of 165°F (74°C) for chicken breast.
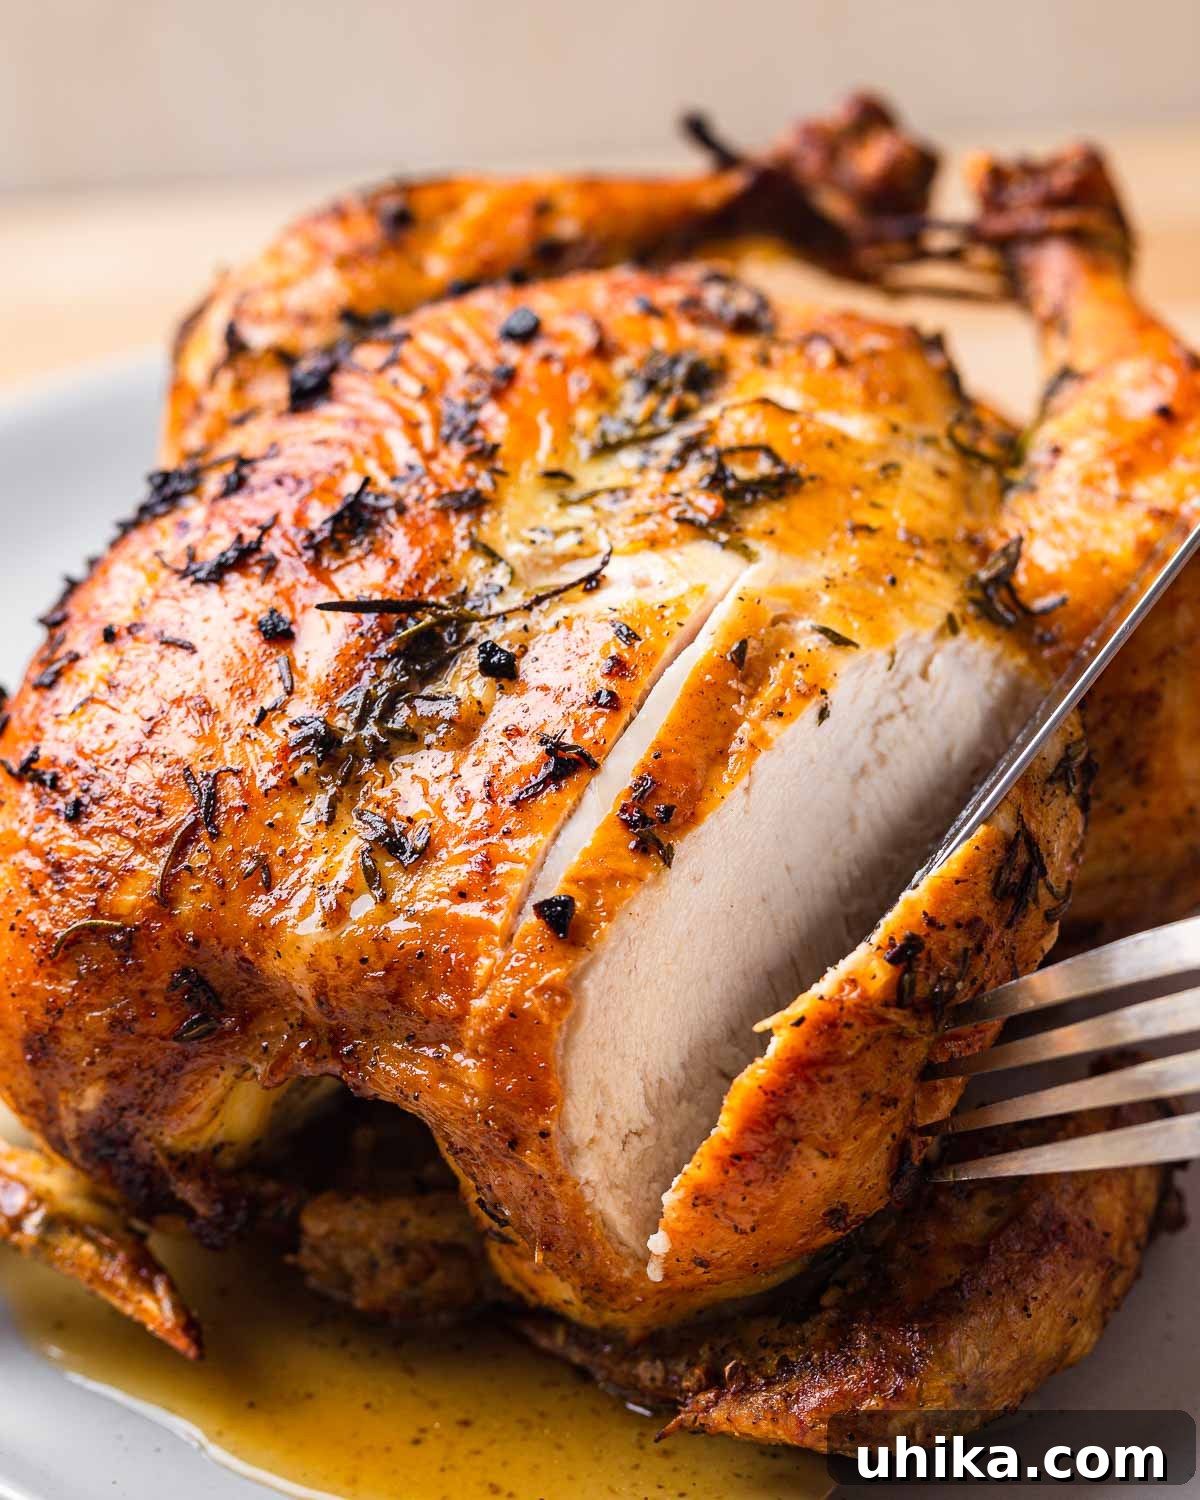
Top Tips for the Best Roast Chicken
- Really dry your chicken. I cannot emphasize enough the importance of thoroughly drying your chicken. Use paper towels to pat both the exterior and the interior cavity completely dry. Moisture on the surface will create steam, preventing the skin from crisping up and leading to a rubbery texture instead of that coveted crunchy, golden skin. This simple step is fundamental for achieving a truly roasted, not steamed, bird.
- Double down on the garlic. This recipe is called GARLIC butter roast chicken for a reason! We embrace garlic’s incredible flavor by using it in two key ways. First, minced garlic is rubbed over the skin along with the herbs, infusing the exterior. Second, and crucially, a whole head of garlic (sliced in half horizontally to expose the cloves) is placed inside the chicken’s cavity. As the chicken roasts, the garlic head gently steams and permeates the meat with a deep, mellow, roasted garlic essence, elevating the overall flavor profile immensely. Remember, as noted in the process shots, if you plan to make a pan sauce, use garlic powder on the exterior instead of minced fresh garlic, as the small pieces of fresh garlic can burn and become bitter in the pan drippings.
- Crispy golden skin. The hallmark of a perfect roast chicken is irresistibly crispy, beautifully golden-brown skin. While high heat roasting contributes greatly, the best way to ensure an impeccable finish is to utilize your oven’s broiler for the final 1-2 minutes of cooking. This intense, direct heat crisps the skin rapidly and develops that gorgeous deep golden color. Be vigilant during this stage – broilers work quickly, so watch carefully to avoid burning!
- Let it rest. Patience is a virtue, especially after roasting! To guarantee your chicken is as tender and juicy as possible, it is absolutely essential to let it rest after it comes out of the oven. Transfer the chicken to a cutting board and loosely tent it with aluminum foil for about 15 minutes. This resting period allows the muscle fibers to relax and the internal juices to redistribute evenly throughout the meat. If you carve it too soon, those precious juices will simply run out, leaving you with drier chicken. Your kitchen will smell absolutely incredible, tempting you to dive right in, but trust the process – the wait is well worth it!
Explore More Delicious Chicken Recipes
Chicken is an incredibly versatile ingredient, lending itself beautifully to a vast array of culinary creations. From hearty stews to flavorful roasts, there’s always a new way to enjoy this amazing bird. Here are a few more of our absolute favorite chicken recipes that we know you’ll love:
- 40 Clove Garlic Chicken: An intensely flavorful dish where chicken is slow-cooked with an abundance of garlic cloves, resulting in a rich and aromatic experience.
- Chicken Vesuvio: A Chicago classic, featuring roasted chicken, potatoes, and peas in a savory white wine and herb sauce.
- Chicken Scarpariello: A rustic Italian-American dish with tender chicken pieces, sweet and spicy peppers, and sausage in a light, tangy sauce.
- Spatchcock Rosemary Chicken and Potatoes: A fantastic method for cooking a whole chicken flat, ensuring even cooking and maximum crispiness, roasted with fragrant rosemary and potatoes.
If you’ve enjoyed preparing and tasting this Garlic Butter Roast Chicken recipe, we’d be thrilled if you could give it a 5-star rating below!
For more culinary inspiration and cooking tutorials, be sure to watch us on YouTube, follow along on our Facebook Page, and consider becoming a Patreon member for exclusive access to full-meal videos and additional content. Your support helps us create more amazing recipes for you!
Garlic Butter Roast Chicken
James Delmage
10 mins
1 hr
10 mins
1 hr
20 mins
4
Pin
Ingredients
- 1 4-5 pound whole chicken neck and giblets removed
- 3 cloves garlic minced, see notes below
- 1 head garlic cut in half
- 3 tablespoons butter melted
- 2 tablespoons olive oil
- 2 1/2 teaspoons kosher salt
- 1 teaspoon pepper
- 2 tablespoons thyme chopped
- 3 tablespoons rosemary chopped
Instructions
-
Preheat oven to 450°F (232°C) and set the oven rack to the middle level.
-
Thoroughly dry off the chicken with paper towels, both on the outside and inside of the bird. Place the chicken into a roasting pan with a wire rack insert. Drizzle the melted butter and olive oil all over the chicken, then use your hands to rub it in thoroughly.
-
Season the inside of the chicken with 1 teaspoon of kosher salt and the outside with the remaining salt. Season all over with pepper and rub in the minced herbs and garlic. Try to get the seasonings under the skin as well as on top. Place the cut head of garlic inside the chicken’s cavity.
-
Tie the legs together with kitchen twine and tuck the wing tips under the chicken to prevent burning and ensure even cooking.
-
Roast the chicken breast-side down for 30 minutes. Then, carefully flip it over to breast-side up and baste generously with the pan juices. Return the chicken to the oven and continue cooking until the internal temperature reaches 160°F (71°C) in the deepest part of the breast (about 30 more minutes). For an even crispier, more golden skin, broil the top for the last 1-2 minutes if desired, watching carefully.
-
Transfer the chicken to a carving board, tent it loosely with foil, and allow it to rest for 15 minutes prior to slicing. This resting period locks in the juices, ensuring a tender and moist final result.
Notes
- The exact cooking time will vary based on the size of the chicken. An internal temperature of 160°F (71°C) in the deepest part of the breast is considered fully cooked, as it will rise to 165°F (74°C) during resting.
- If you plan to use the pan juices for gravy or a pan-sauce, it is recommended to use garlic powder instead of fresh minced garlic on the chicken’s exterior. Fresh garlic can burn and turn bitter after an hour of high-heat cooking.
- Leftovers can be stored in an airtight container in the refrigerator for up to 3 days. Reheat gently in the oven or microwave until warmed through.
Nutrition
Calories: 558kcal
|
Protein: 36.8g
|
Fat: 45.4g
|
Saturated Fat: 15.2g
|
Cholesterol: 189mg
|
Sodium: 1655mg
|
Potassium: 3mg
|
Calcium: 3mg
Nutrition information is automatically calculated and should only be used as an approximation.
Like this? Leave a comment below!
Check us out on Instagram at @sipandfeast or tag #sipandfeast!