
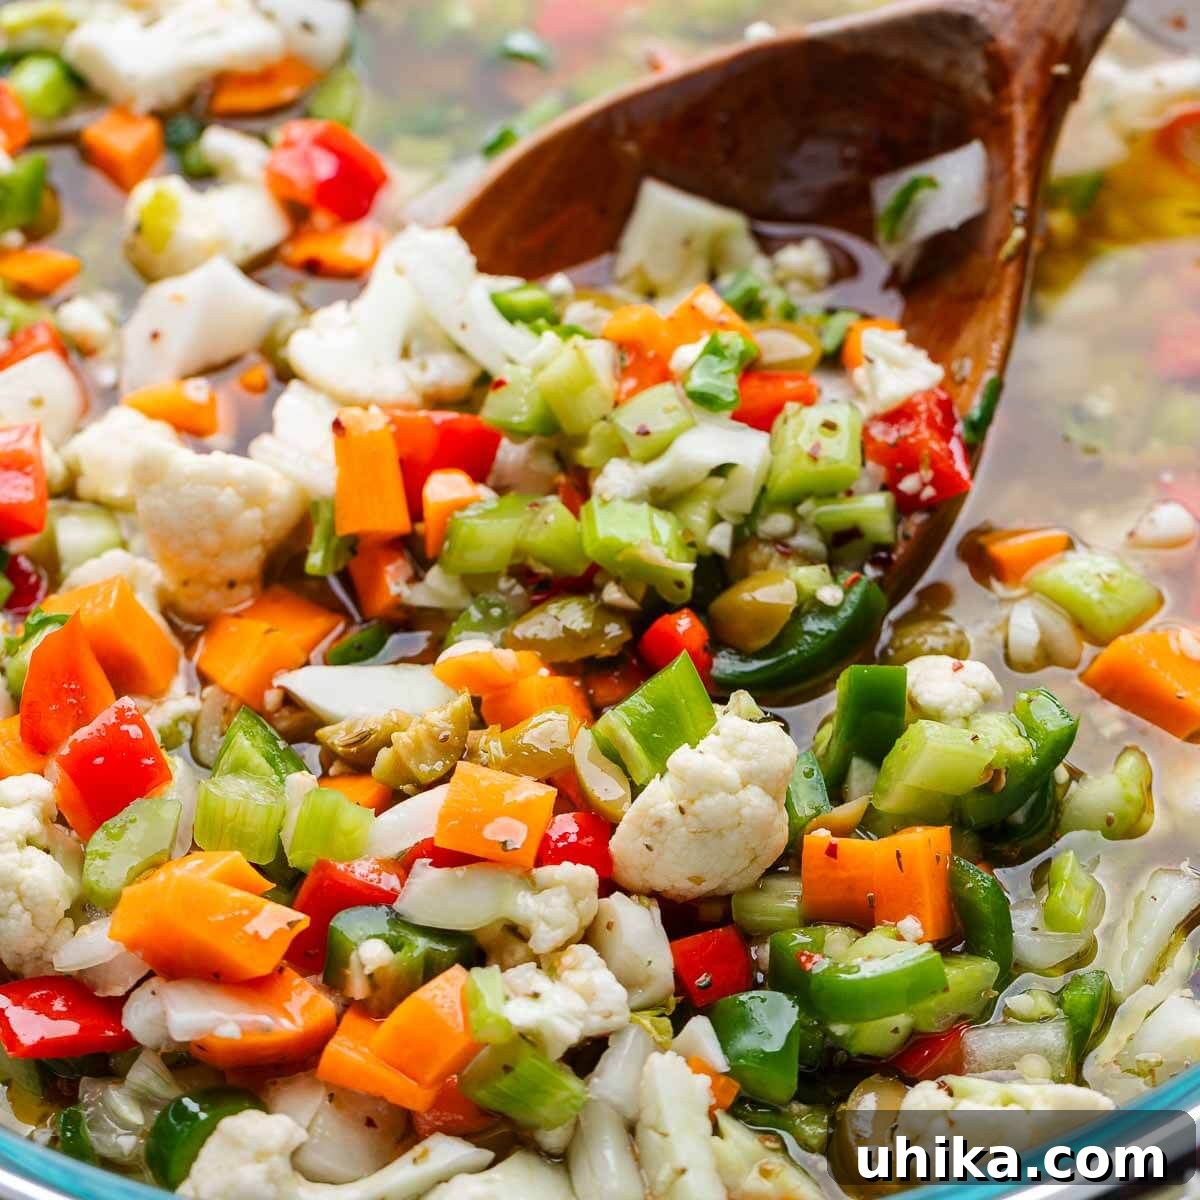
Giardiniera: The Ultimate Homemade Italian Pickled Vegetable Condiment
Elevate your meals with homemade Giardiniera, the vibrant and crunchy Italian pickled vegetable condiment that’s an absolute game-changer for sandwiches, burgers, salads, and so much more! This delightful medley of crisp carrots, tender celery, firm cauliflower, and flavorful peppers is surprisingly easy to prepare at home. Once you experience the unparalleled taste and texture of homemade giardiniera, you’ll likely never settle for store-bought versions again.
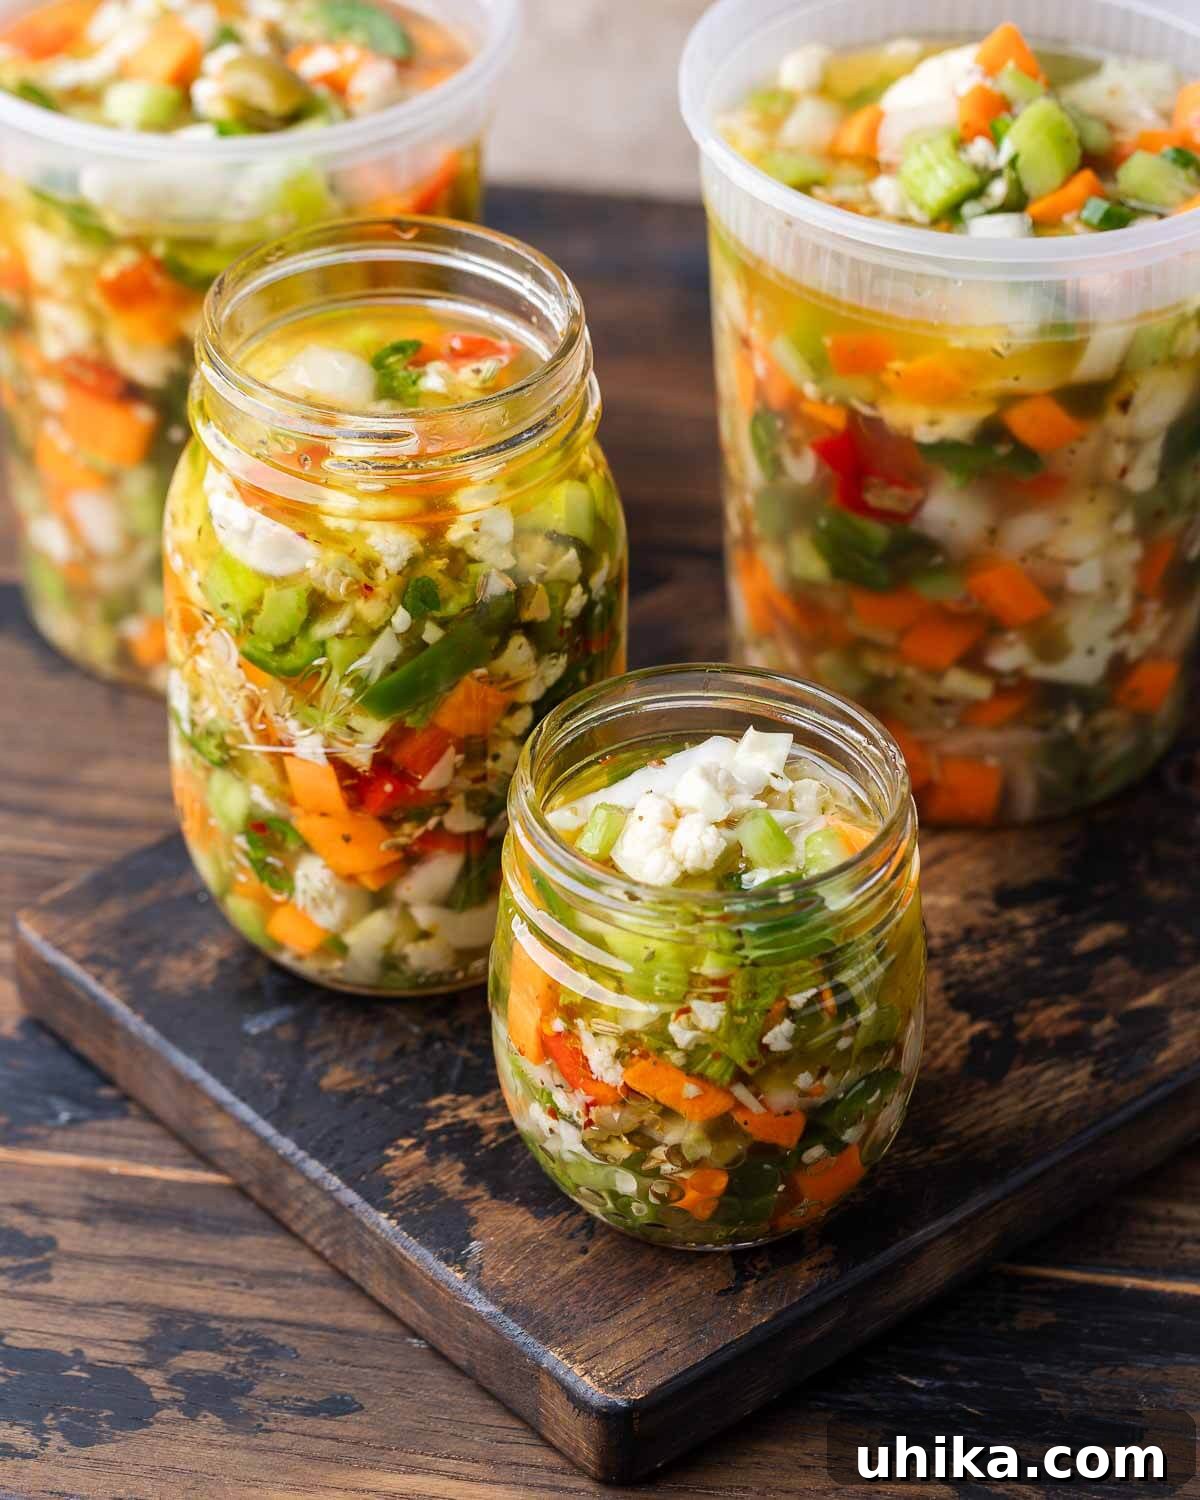
Why Homemade Giardiniera is a Must-Try
For years, I, like many others, relied on readily available store-bought giardiniera. While often satisfactory, it rarely delivered that unforgettable “wow factor” – that perfect balance of crunch, tang, and spice that makes a dish truly sing. That all changed the moment I decided to embark on the journey of making it from scratch. The revelation was immediate and profound, leading to a permanent shift in my condiment philosophy.
Crafting homemade giardiniera is not only incredibly easy, but it also offers unparalleled freedom for customization. This means you have complete control over every element, from the selection of vegetables to the intensity of the heat, allowing you to tailor it precisely to your palate. Whether you prefer a mild, subtly seasoned blend or a fiery, piquant concoction, the power is in your hands to create your perfect pickled masterpiece.
Beyond its traditional role as the quintessential accompaniment to Chicago-style Italian beef sandwiches, giardiniera boasts incredible versatility. Its bright, acidic notes and satisfying crunch make it an excellent addition to countless dishes. Imagine it diced finely and sprinkled over fluffy potato frittatas, adding a vibrant kick to pepper and egg sandwiches, or serving as a zesty counterpoint to rich, savory grilled steak. It even shines on pizza, charcuterie boards, antipasto platters, and in hearty pasta salads. Truly, giardiniera can enhance just about anything you can think of, adding a layer of complex flavor and texture that transforms ordinary meals into extraordinary culinary experiences.
The Humble Origins of Giardiniera
Giardiniera, meaning “from the garden” in Italian, has a rich history rooted in the preservation traditions of Italy. Historically, it was a practical way for Italian families to preserve their abundant garden harvests, ensuring a supply of vegetables during colder months. Over time, this simple method of pickling vegetables in vinegar and oil evolved into the beloved condiment we know today. When Italian immigrants settled in America, particularly in Chicago, they brought their culinary traditions with them. Here, giardiniera became inextricably linked with the iconic Italian beef sandwich, evolving to include a spicier profile that quickly became a local legend. While its roots are distinctly Italian, Chicago-style giardiniera has developed its own unique character, often featuring a generous amount of hot peppers in oil, a departure from some milder Italian versions. Understanding its origins only adds to the appreciation of this versatile and flavorful condiment.
Essential Giardiniera Ingredients
Crafting the perfect giardiniera begins with selecting fresh, high-quality ingredients. Below, you’ll find a detailed breakdown of what you’ll need, along with special considerations to help you achieve the best possible flavor and texture. The accompanying image provides a visual guide to all the components.
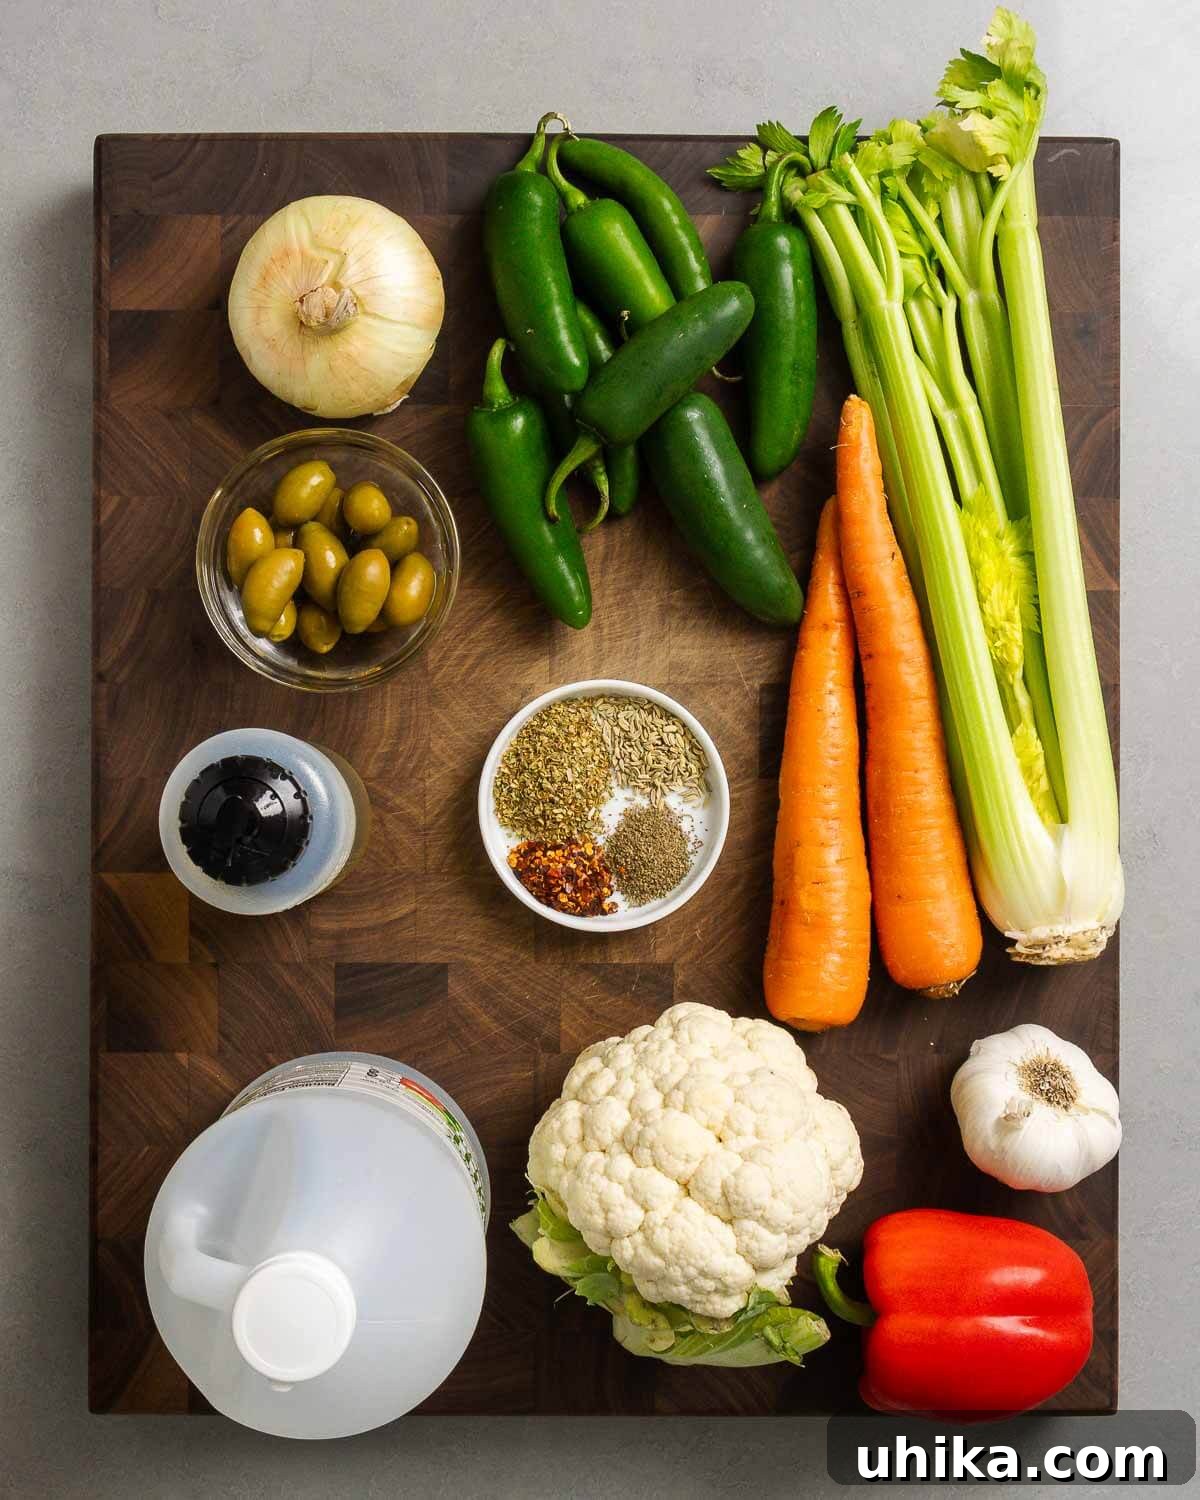
- Cauliflower, Carrots, and Celery: These three vegetables are the cornerstone of traditional giardiniera, providing the foundational crunch and mild, earthy flavors. When selecting, look for firm, unblemished vegetables. The cauliflower should be tightly packed, carrots crisp, and celery stalks rigid. Their varying textures are crucial to the condiment’s appeal.
- Jalapeños and Serranos: For those who appreciate a kick, spicy peppers are an excellent addition to giardiniera. Jalapeños offer a moderate heat, while serranos provide a more intense, sharp spiciness. If you prefer a milder giardiniera, you can easily omit them entirely or substitute them with an additional green bell pepper for flavor without the heat. Consider wearing gloves when handling hot peppers to avoid irritation.
- Green Olives: While not strictly mandatory for all giardiniera variations, pitted green olives contribute a wonderful briny, savory depth that beautifully complements the pickled vegetables. Their slightly salty flavor enhances the overall complexity of the condiment.
- Olive Oil: A good quality olive oil is essential for the giardiniera’s rich flavor and texture. You can use regular olive oil for a milder taste or extra virgin olive oil for a more robust, fruity note. The oil emulsifies with the vinegar, creating a luscious coating for the vegetables.
- White Vinegar: White vinegar is the preferred choice for giardiniera due to its clean, sharp acidity, which is crucial for both flavor and preservation. While some Chicago Italian beef establishments may occasionally use water in their pickling liquid (which we advise against for homemade versions), vinegar offers superior preservation qualities and a more authentic, zesty tang. Always opt for a high-quality white vinegar for the best results.
- Seasoning: The spice blend is what truly elevates homemade giardiniera. We recommend a harmonious combination of:
- Celery Seeds: Provide a distinctive, slightly bitter, and aromatic flavor that is characteristic of giardiniera.
- Dried Oregano: Adds a classic Italian herbaceous note, imparting warmth and depth.
- Fennel Seeds: Offer a subtle anise-like sweetness, complementing the other spices beautifully.
- Hot Red Pepper Flakes: Essential for adding that signature spicy kick. Adjust the quantity to suit your preferred level of heat.
For a comprehensive list of all ingredients and precise quantities, please refer to the recipe card provided below.
Step-by-Step Guide to Making Giardiniera
Creating your own giardiniera is a rewarding process, and following these steps will ensure a delicious and perfectly preserved condiment. Each numbered instruction corresponds to the process photos for clear guidance.
- Prepare Your Vegetables: Begin by precisely chopping your vegetables. You’ll need approximately 4 cups of cauliflower florets (roughly 3/4 of a head), 5 celery ribs diced, and 2 large carrots diced. Next, dice 1 large sweet onion and 1 large red bell pepper. Finally, chop 1/2 cup of pitted green olives. Uniformity in size is key here for consistent brining and a visually appealing finished product. (Photo #1)
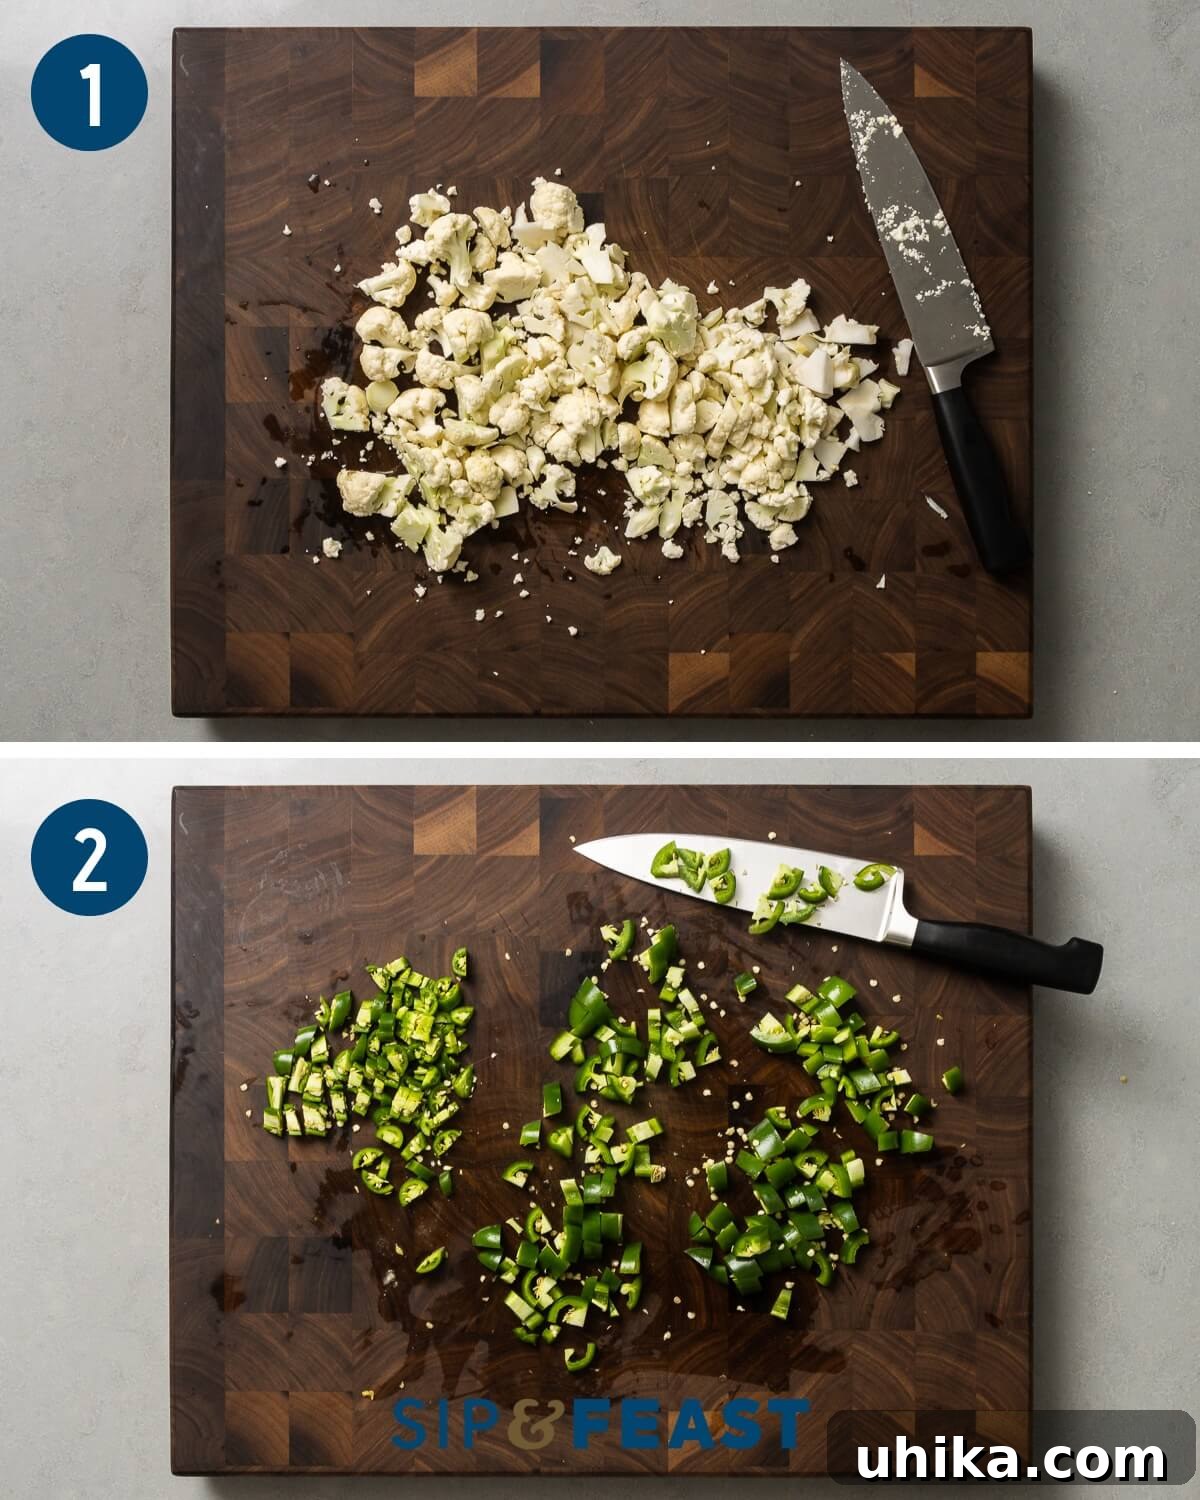
- Add the Heat (Optional): For a spicy giardiniera, dice 3 serrano peppers and 8 jalapeño peppers. If you prefer a milder version, you can omit these hot peppers entirely. Remember to adjust the quantity of hot peppers according to your heat preference. (Photo #2)
- Begin the Brining Process: Transfer all your chopped vegetables (cauliflower, celery, carrots, onion, bell pepper, olives, and hot peppers if using) into a large, sturdy bowl. Add 1/4 cup of salt and mix thoroughly to ensure the salt is evenly distributed among all the vegetables. This salting step is crucial as it draws out excess moisture, leading to a crisper final product and aiding in the preservation process. (Photo #3)
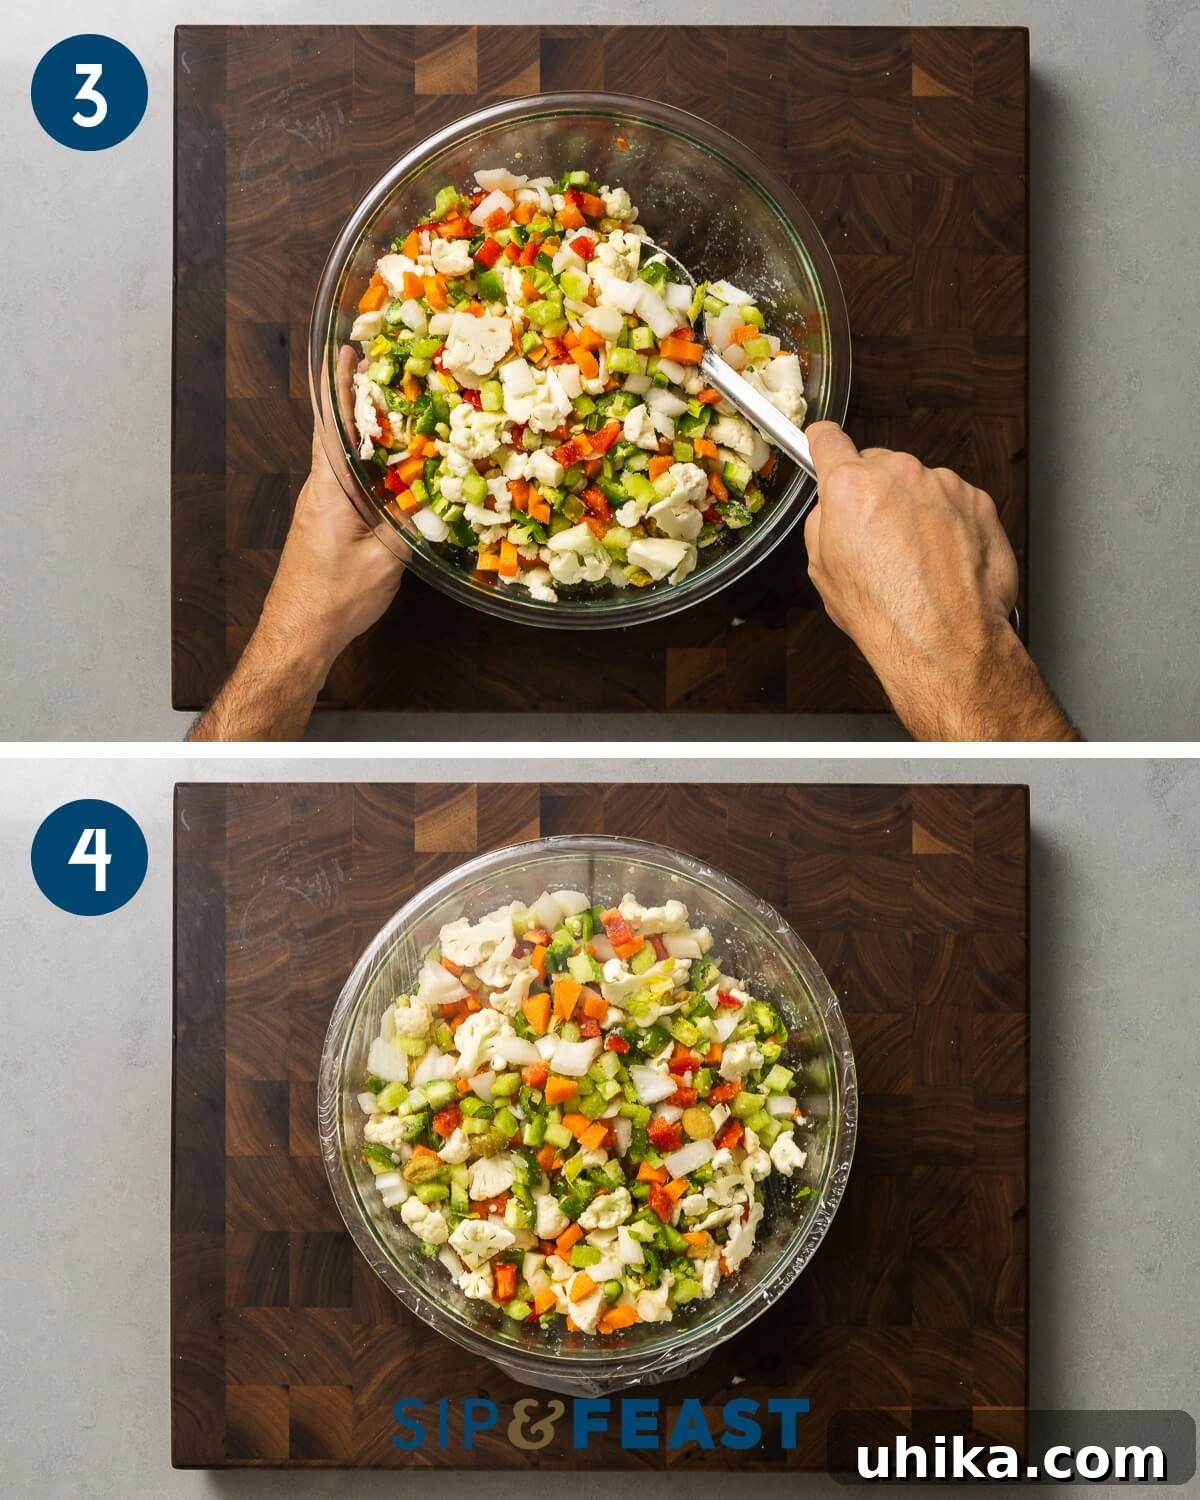
- Refrigerate for Brining: Once salted, cover the bowl tightly with a lid or plastic wrap. Place it in the refrigerator for at least 8 hours. For optimal results and a truly crunchy texture, allowing the vegetables to brine overnight or even up to 2 days is highly recommended. During this time, the salt will pull a significant amount of water from the vegetables. (Photo #4)
- Rinse and Drain: After the brining period, you’ll notice a considerable amount of liquid at the bottom of the bowl. Transfer the vegetables to a colander and rinse them very well under cold running water. This step is essential to remove the excess salt, preventing your giardiniera from being overly salty. Allow them to drain thoroughly, shaking the colander occasionally to release as much water as possible. While the vegetables are draining, take this time to mince 5 cloves of fresh garlic.
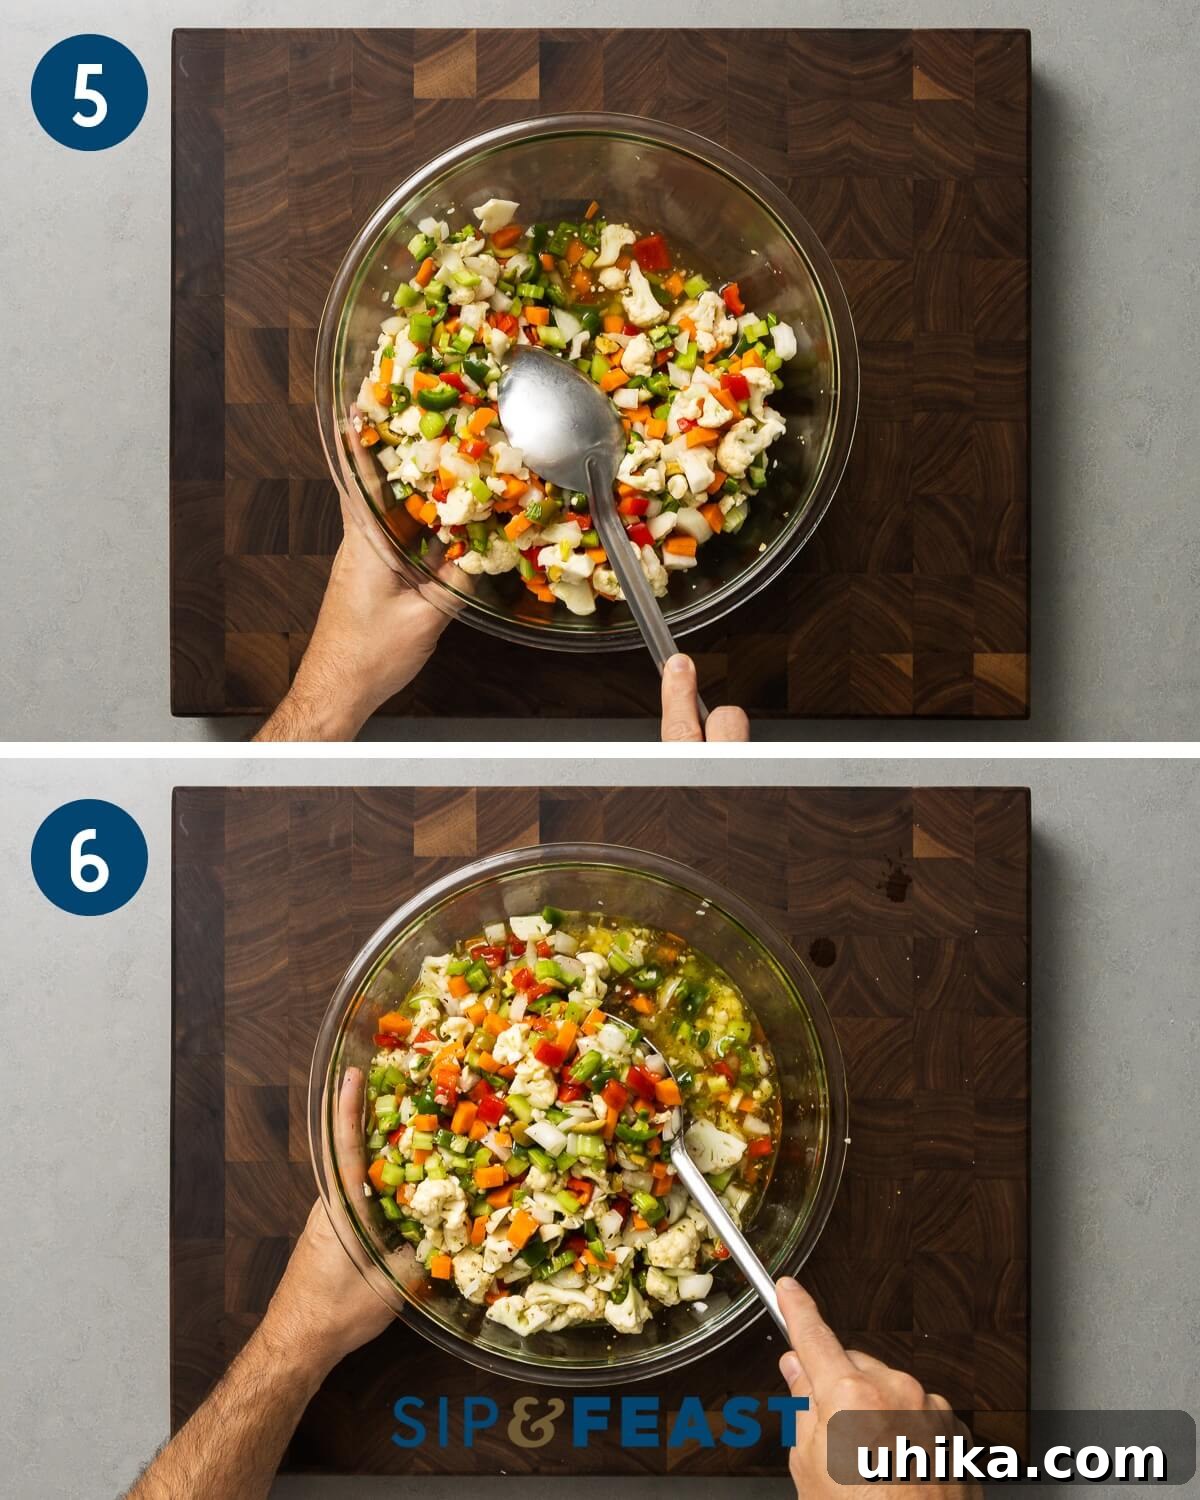
- Combine and Season: Once the vegetables are well-drained, transfer them to a clean, large mixing bowl. Add 2 cups of olive oil, 2 cups of white vinegar, the minced garlic, 1/2 teaspoon of celery seeds, 2 teaspoons of dried oregano, 1 teaspoon of hot red pepper flakes (adjust to taste), and 1/2 teaspoon of fennel seeds. Mix everything thoroughly until all the vegetables are evenly coated with the oil, vinegar, and spice mixture. Take a small taste test at this point; you may find that no additional salt or pepper is needed due to the initial brining, but adjust if necessary.
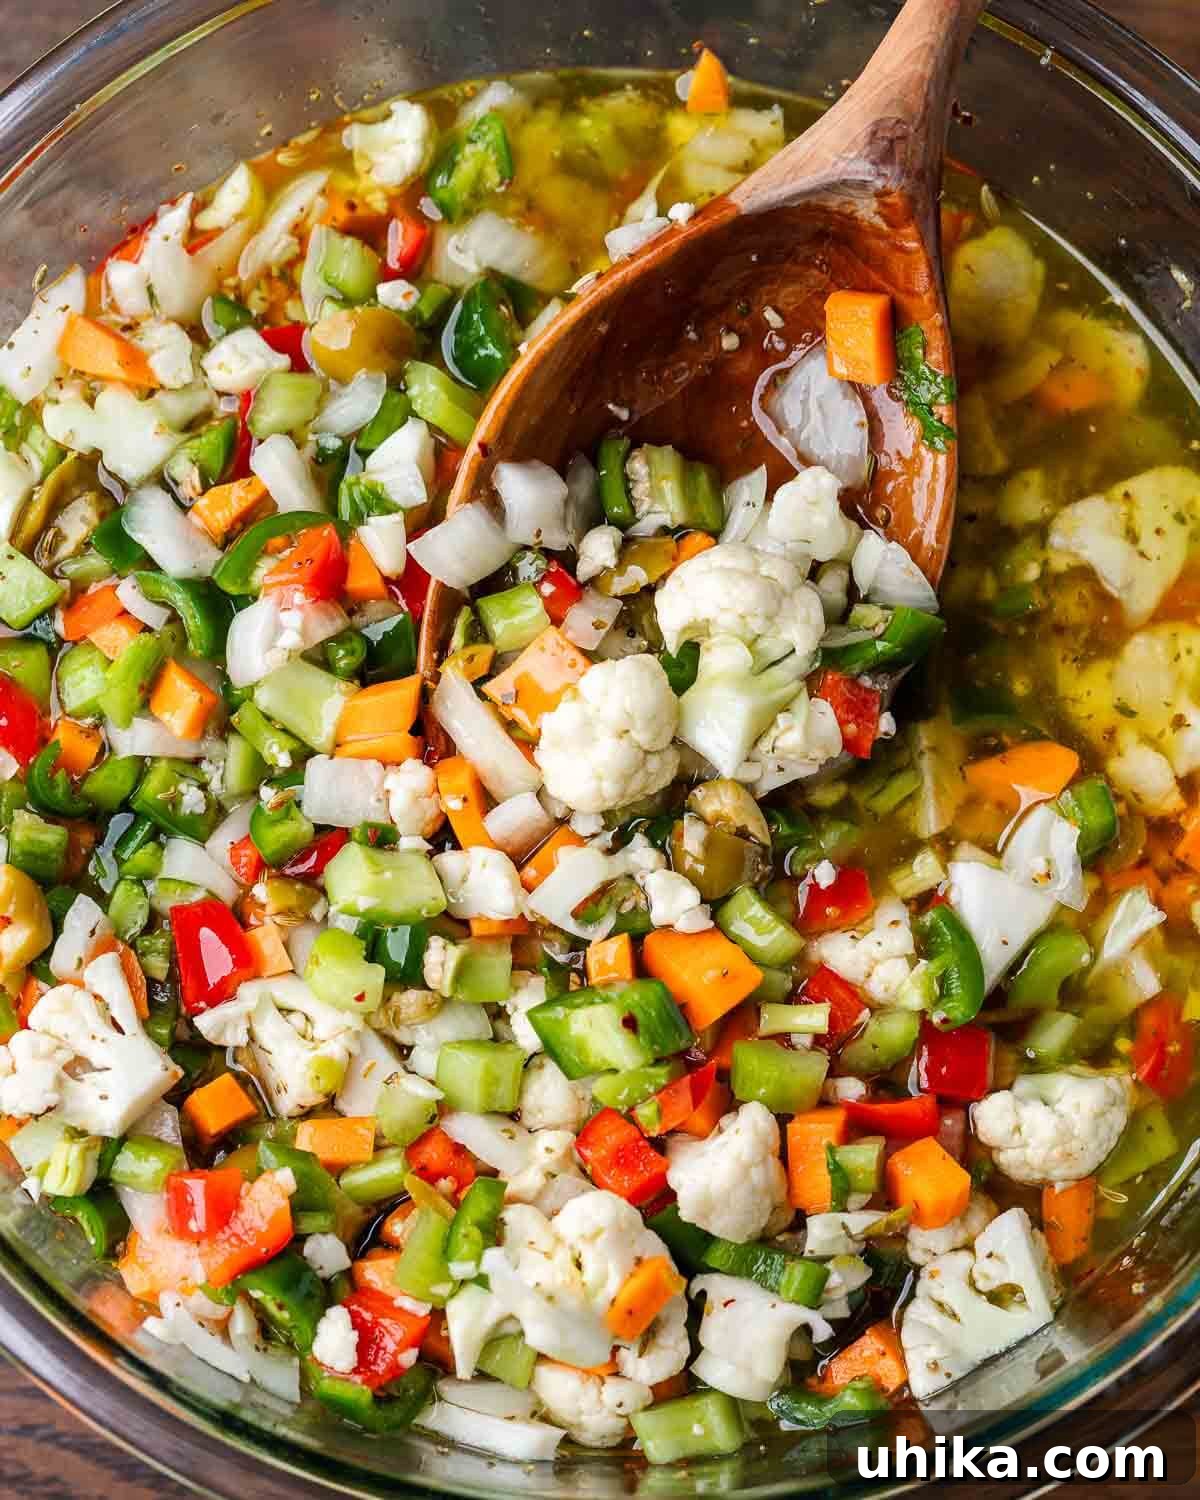
- Jar and Rest: Carefully transfer the prepared giardiniera into clean, sterilized jars, ensuring the vegetables are submerged in the liquid. If needed, top off the jars with a little extra white vinegar to ensure everything is covered. Seal the jars tightly and refrigerate. While it’s tempting to enjoy it immediately, allowing the giardiniera to rest in the refrigerator for at least 2 days (and preferably 3-5 days) before serving allows the flavors to truly meld and deepen, resulting in a more complex and satisfying taste. (Photo #6) Enjoy your delicious homemade giardiniera!
Expert Tips for Perfect Giardiniera
- Ingredient Size Matters: The suggested cut for giardiniera vegetables is an average dice. However, you have the flexibility to adjust this. For Italian beef sandwiches, a finer dice is often preferred as it allows the giardiniera to meld better with the meat and bread. For antipasto platters or salads, slightly larger pieces might be more appealing. Experiment to find your ideal chop size.
- The Importance of Brining: The salting and brining step is absolutely crucial for achieving the signature crunch of giardiniera and for proper preservation. While a minimum of 8 hours is sufficient, the vegetables will develop a far superior texture and flavor when brined overnight or for up to 2 full days. Just remember the golden rule: always thoroughly rinse the salt away from the vegetables before combining them with the vinegar, oil, and spice mixture. Skipping this rinse will result in an unpleasantly salty giardiniera.
- Patience is a Virtue: It can be incredibly tempting to dig into your freshly made giardiniera right away. However, for the most robust and harmonized flavors, it is highly recommended to let the giardiniera sit and “marinate” in the fridge for at least 2 to 3 days before serving. This resting period allows all the delicious spices and acidic liquid to penetrate the vegetables, deepening their flavor profile and creating a truly exceptional condiment.
- Customizing Your Heat Level: The beauty of homemade giardiniera lies in its adaptability. For a truly mild version, simply omit the jalapeño and serrano peppers entirely, as well as the hot red pepper flakes. If you prefer a moderate heat, start with the recommended amounts and taste test. For an extra spicy kick, you can increase the amount of hot peppers or red pepper flakes, or even add a pinch of cayenne pepper.
- Vegetable Variations: Don’t feel limited to the traditional vegetable lineup. Many regions and families have their own unique additions. Consider including bell peppers of different colors, green beans, pearl onions, zucchini, or even small broccoli florets. Just ensure all vegetables are cut to a similar size for even pickling.
Serving Suggestions and Storage
Creative Ways to Enjoy Your Giardiniera
Once your homemade giardiniera has sufficiently rested, it’s ready to transform a wide array of dishes. Here are some fantastic ways to enjoy this versatile condiment:
- Sandwiches & Burgers: This is giardiniera’s classic pairing. Spoon it generously onto hot Italian beef sandwiches, adding that essential spicy, tangy contrast. It also elevates grilled chicken, pork, or beef burgers, cutting through the richness with its bright flavors.
- Eggs & Breakfast Dishes: Brighten up your breakfast or brunch. Mix giardiniera into scrambled eggs, omelets, or frittatas for an unexpected burst of flavor. It’s also delicious alongside a simple fried egg and toast.
- Salads: Add a zesty crunch to your green salads, pasta salads, or potato salads. The pickled vegetables provide texture and a refreshing acidic kick that makes any salad more dynamic.
- Grilled Meats & Fish: Serve giardiniera as a vibrant relish for grilled steaks, roasted chicken, or flaky white fish. Its acidity helps to balance richer flavors and adds a gourmet touch.
- Pizza & Flatbreads: Sprinkle it over your favorite pizza or flatbread before or after baking for an extra layer of flavor and a welcome tang.
- Charcuterie & Antipasto: No Italian-inspired spread is complete without giardiniera. Arrange it alongside cheeses, cured meats, and other pickled items for a colorful and flavorful addition.
- Soups & Stews: A spoonful of giardiniera can add depth and brightness to hearty bean soups, minestrone, or even chili, especially if you enjoy a spicy finish.
Proper Storage for Longevity
Homemade giardiniera, when properly prepared and stored, can last for a good amount of time, allowing you to enjoy its flavors for weeks. Place your giardiniera in clean, airtight glass jars, ensuring that the vegetables are fully submerged in the oil and vinegar mixture. Store the sealed jars in the refrigerator. Your homemade giardiniera will stay fresh and flavorful for up to 3 weeks in the refrigerator. Always use a clean spoon when serving to avoid introducing contaminants, which can shorten its shelf life. If you notice any unusual smells, discoloration, or mold, it’s best to discard the batch to ensure safety.
Explore More Homemade Condiment Recipes
If you’ve enjoyed the rewarding experience of making your own giardiniera, we encourage you to delve into more homemade condiment creations. Discover how simple and satisfying it can be to craft your own flavor enhancers:
- Homemade Italian Vinaigrette: A vibrant dressing that will elevate any salad.
- Roasted Red Peppers: Sweet, smoky, and incredibly versatile.
- Cherry Pepper Spread: A delicious spread with a delightful balance of sweet and heat.
If you’ve found this giardiniera recipe helpful or enjoyed any other recipe on this site, we’d love to hear from you! Please consider giving it a 5-star rating and sharing your thoughts in the comments section below. Your feedback and ratings help us continue to provide high-quality content.
We strive to cater to a variety of learning preferences. If you are someone who prefers visual learning, you can often find our recipes demonstrated on our YouTube channel and our Facebook Page.
Giardiniera Recipe
Rated 4.86 from 7 votes

Pin Recipe
Ingredients
For Brining the Vegetables
- 4 cups cauliflower florets (about 3/4 head of cauliflower), chopped
- 5 ribs celery diced
- 2 large carrots diced
- 1 large sweet onion diced
- 1 large red bell pepper diced
- 8 jalapeno peppers diced (optional, for heat)
- 3 serrano chili peppers diced (optional, for extra heat)
- 1/2 cup pitted green olives chopped
- 1/4 cup salt
For Finishing the Giardiniera
- 2 cups olive oil
- 2 cups white vinegar
- 5 cloves garlic minced
- 1/2 teaspoon celery seeds
- 2 teaspoons dried oregano
- 1 teaspoon crushed hot red pepper flakes or to taste
- 1/2 teaspoon fennel seeds
Instructions
-
In a large bowl, combine all the chopped vegetables with the salt. Mix well to ensure the salt is evenly distributed. Cover the bowl and refrigerate for a minimum of 8 hours, or preferably overnight (up to 2 days) to allow the vegetables to brine and release moisture.
-
After brining, transfer the vegetables to a colander and rinse them thoroughly under cold running water to remove excess salt. Drain well, shaking off as much water as possible.
-
Place the rinsed and drained vegetables into a clean large mixing bowl. Add the olive oil, white vinegar, minced garlic, celery seeds, dried oregano, hot red pepper flakes (if using), and fennel seeds. Mix until all ingredients are well combined and the vegetables are coated.
-
Taste the giardiniera and adjust salt and pepper if necessary, though it’s likely perfectly seasoned from the brine. Carefully transfer the giardiniera into clean, sterilized jars, ensuring the vegetables are submerged in the liquid. If needed, top with a little extra white vinegar. Seal the jars and refrigerate for at least 2 days before serving to allow the flavors to meld beautifully. Enjoy!
Notes
- For the best flavor development and crunch, it is highly recommended to brine the vegetables overnight or for up to 2 days. Similarly, allow the finished giardiniera to rest in the refrigerator for 2-3 days before serving.
- This recipe is very flexible. Feel free to adjust the proportions of vegetables to your liking. If you prefer more cauliflower or bell pepper, make those adjustments!
- To make a mild giardiniera, simply omit the hot peppers (jalapeños and serranos) and the crushed hot red pepper flakes.
- Store homemade giardiniera in clean, airtight jars in the refrigerator for up to 3 weeks.
Nutrition Information
Nutrition information is automatically calculated, so should only be used as an approximation.
Enjoyed this recipe? Share your thoughts below!Connect with us on Instagram @sipandfeast and tag your creations with #sipandfeast!