
Table of Contents
- Introduction to Fresh Breadcrumbs
- Why Choose Homemade Breadcrumbs?
- Essential Ingredients and Equipment
- Step-by-Step Guide to Making Fresh Breadcrumbs
- Storing Your Freshly Made Breadcrumbs
- Creative Ways to Use Fresh Breadcrumbs
- Fresh Breadcrumb FAQs
- Inspiring Recipes with Fresh Breadcrumbs
- How to Make Fresh Breadcrumbs (Printable Recipe)
The Ultimate Guide to Making Fresh Homemade Breadcrumbs
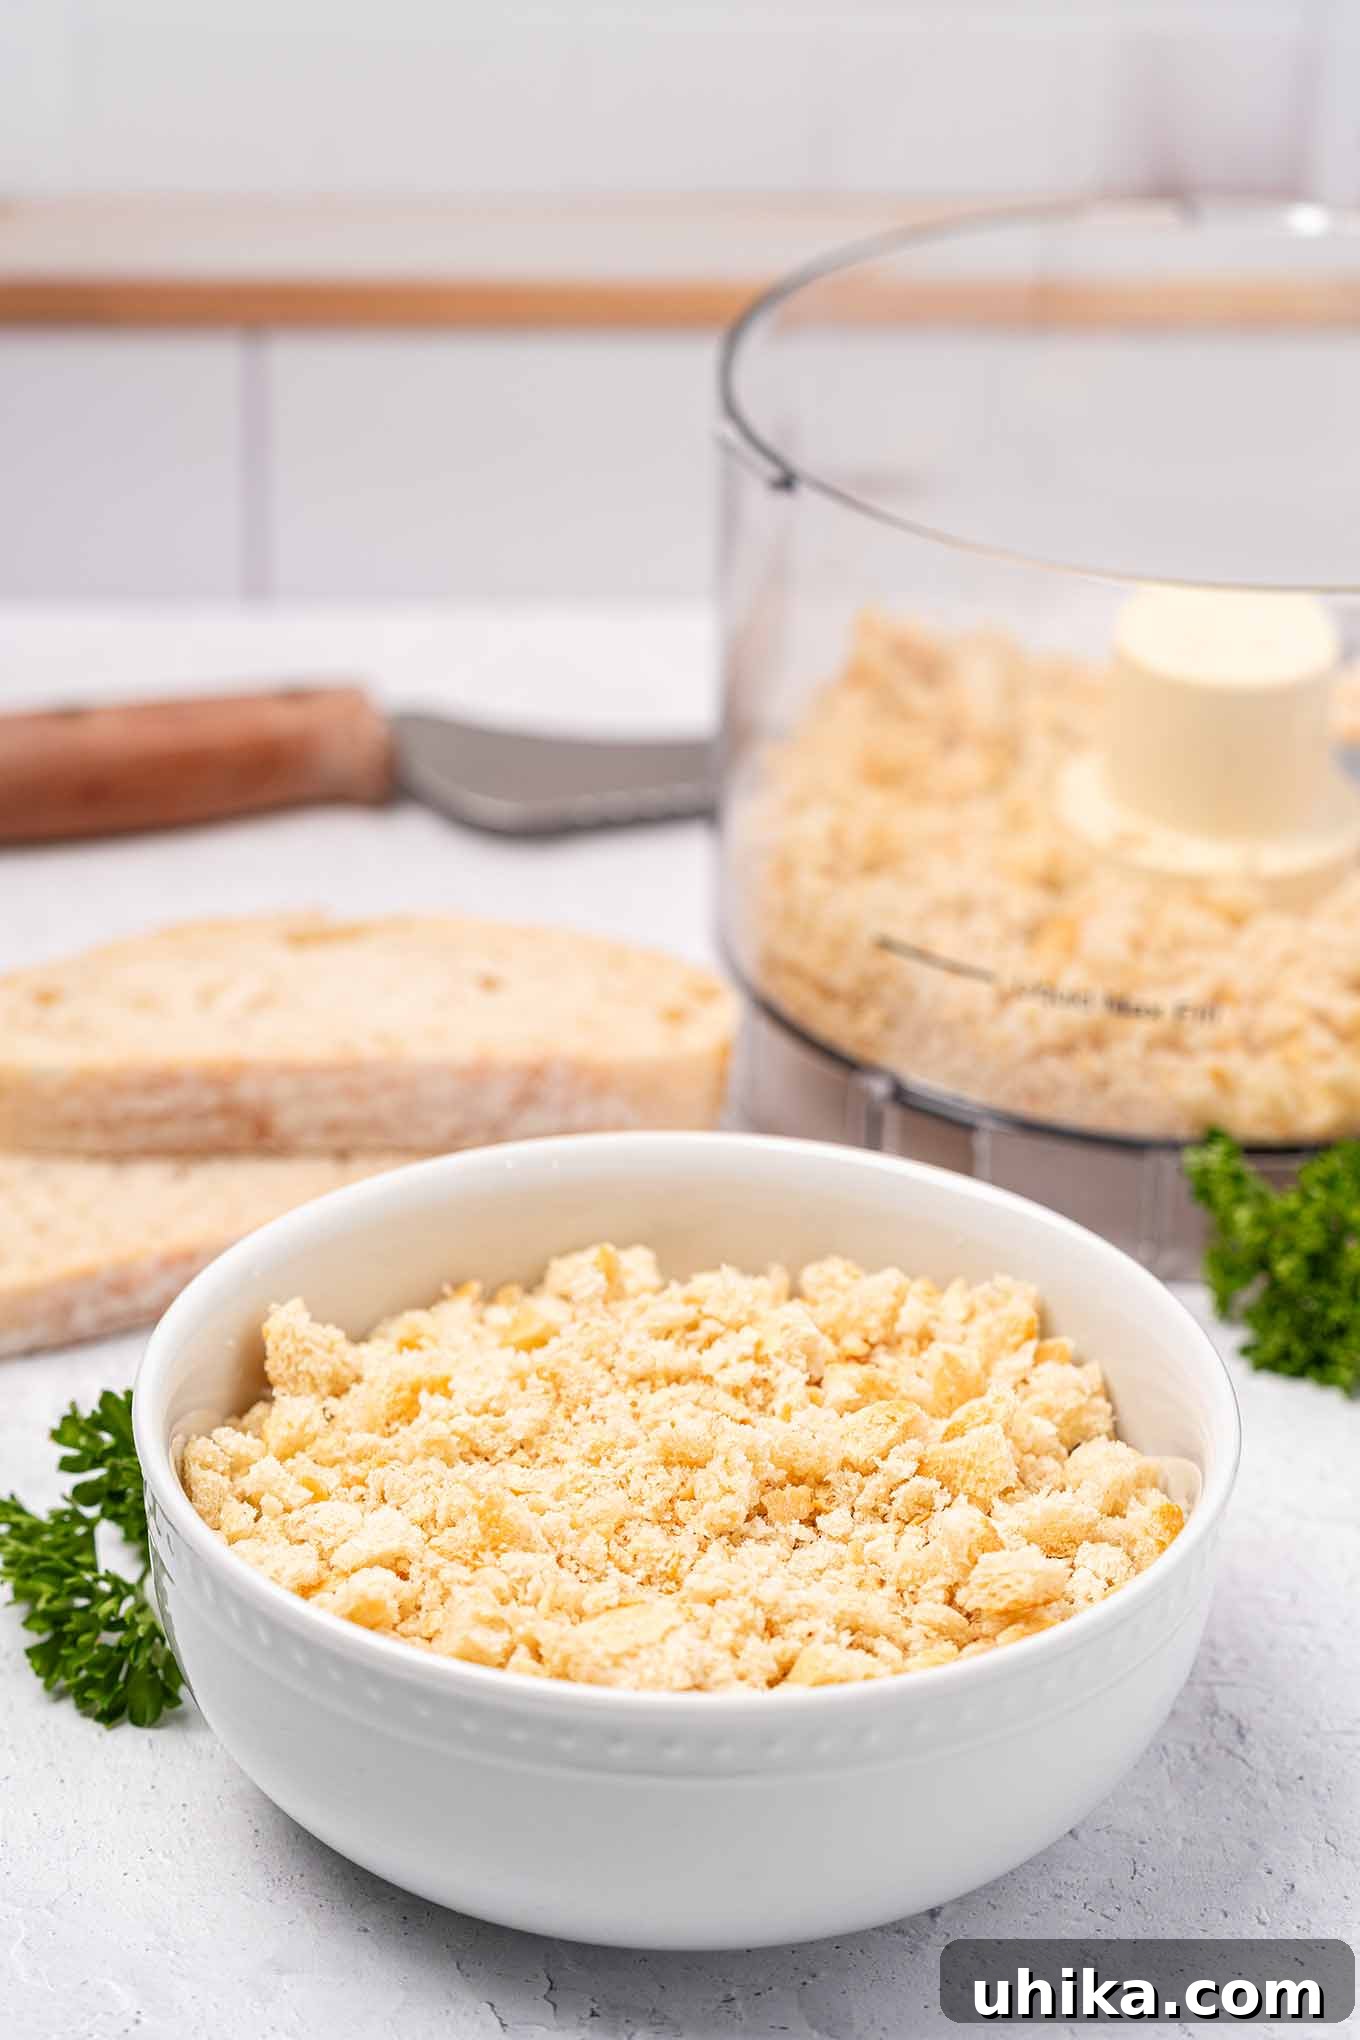
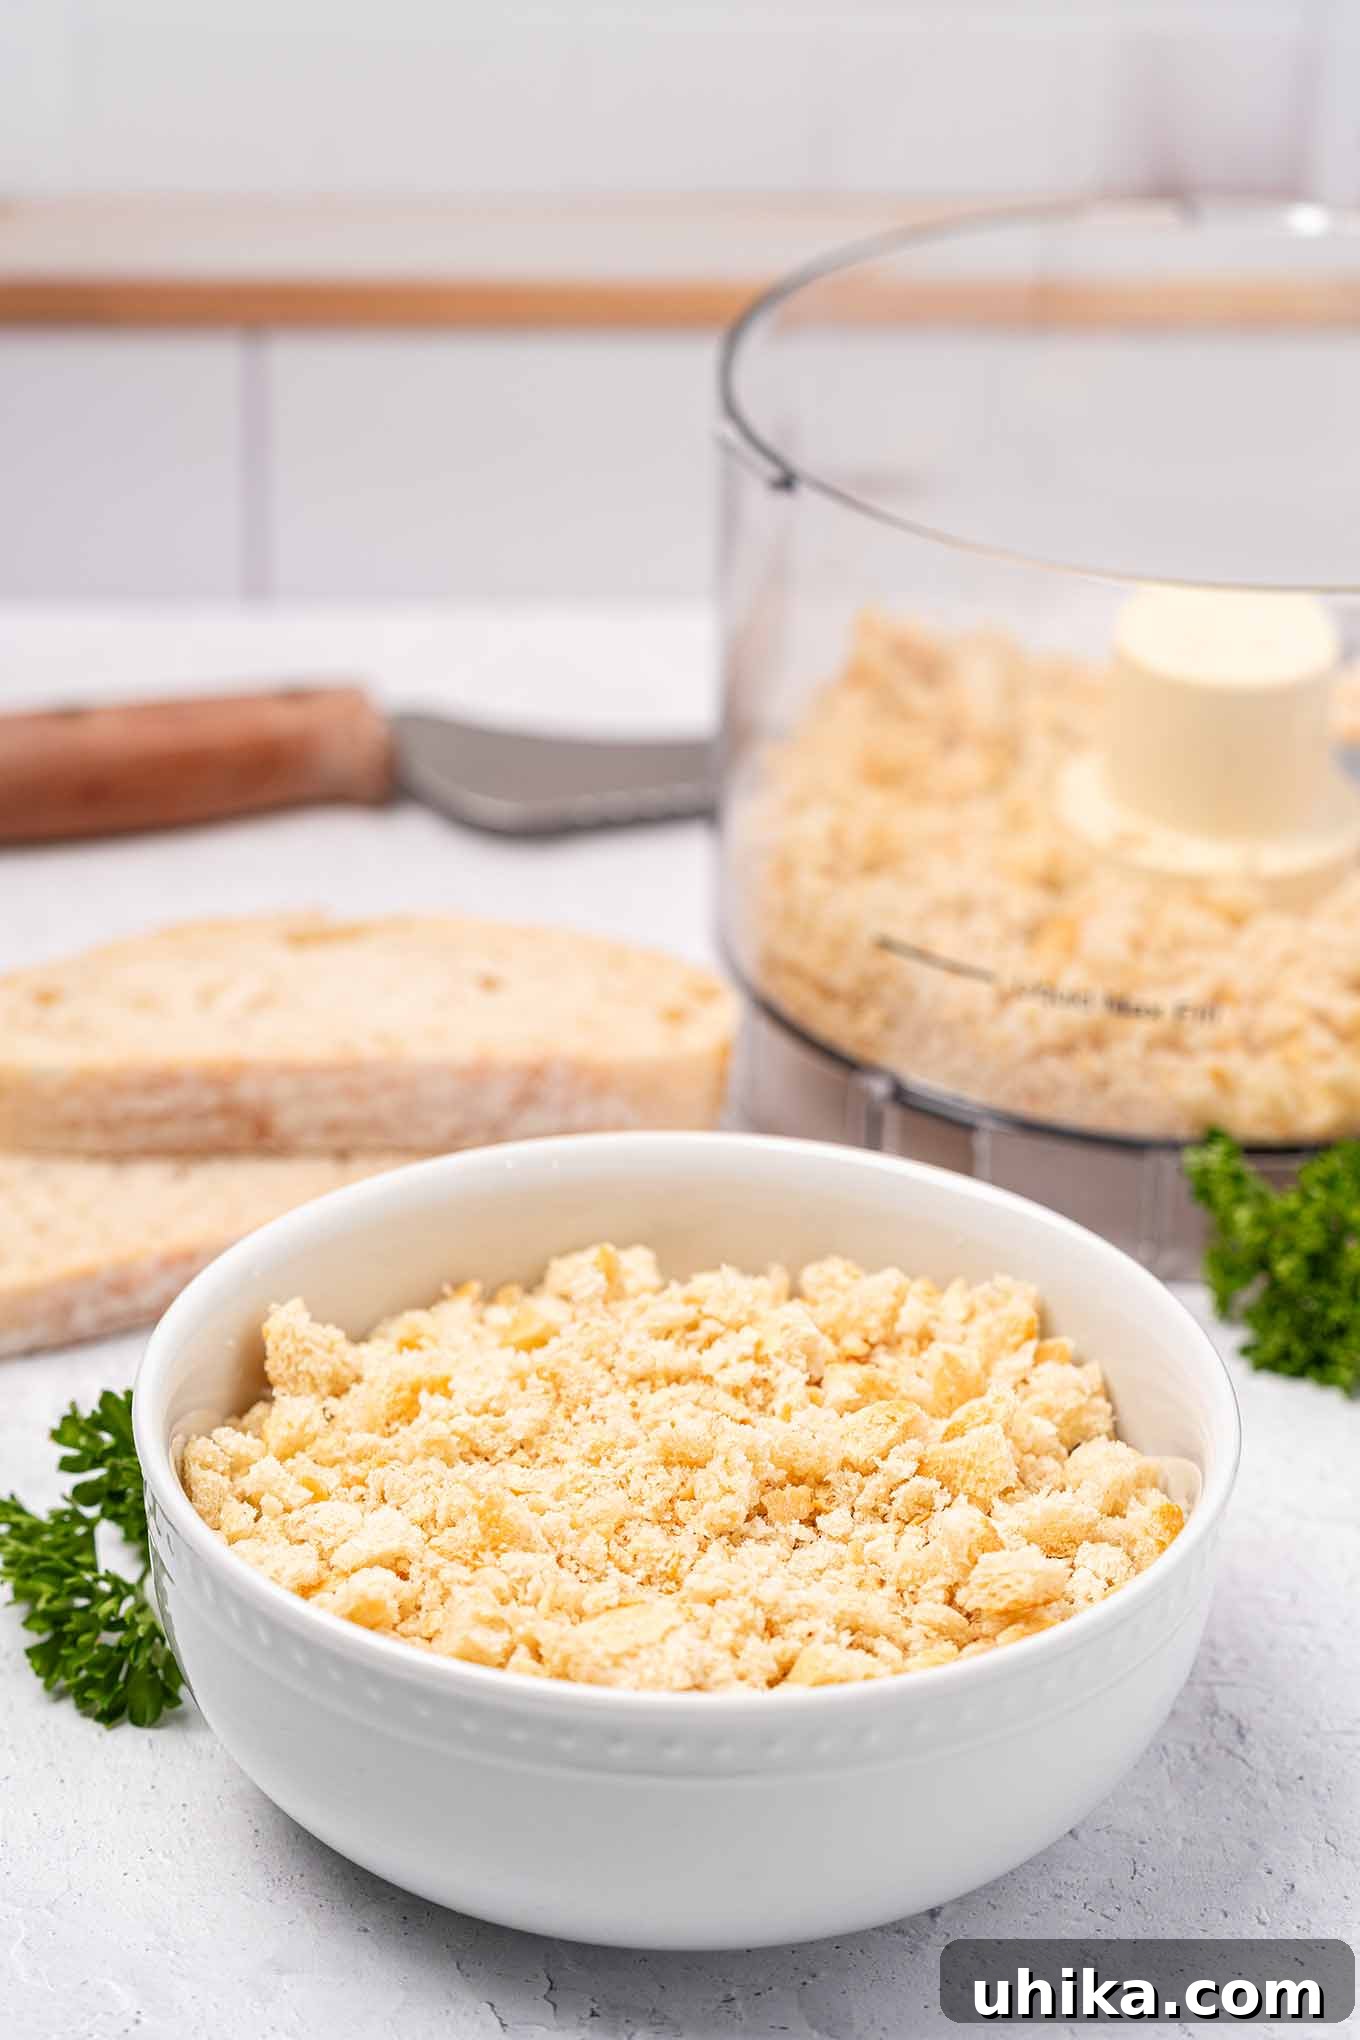
While the convenience of store-bought breadcrumbs is undeniable and they serve their purpose well in countless recipes, there are moments when only the vibrant texture and superior flavor of fresh, homemade breadcrumbs will do. Often referred to as soft breadcrumbs, these culinary gems are surprisingly simple to prepare and can elevate a wide array of dishes from good to gourmet. This comprehensive guide will walk you through everything you need to know to effortlessly create the perfect batch of fresh breadcrumbs right in your own kitchen, ensuring your meals are always infused with the best possible taste and texture.
Why Choose Homemade Breadcrumbs? Unlocking Superior Flavor and Texture
The distinction between fresh and dry breadcrumbs is significant, influencing not just the taste but also the overall mouthfeel and consistency of your meals. Fresh breadcrumbs, typically made from fresh or ideally day-old bread, retain a certain moisture content that results in a lighter, softer texture. This characteristic makes them invaluable as a binder in dishes like meatballs or meatloaf, ensuring a tender and moist final product. Their softness helps to keep ingredients bound without making the dish dense or heavy, leading to a much more palatable and enjoyable eating experience. In contrast, dry breadcrumbs, which are made from thoroughly dried-out bread and often possess a more uniform, coarse texture, tend to absorb liquids more aggressively. This can potentially lead to denser, heavier, and sometimes even crumbly results in recipes where moisture retention is key.
Beyond texture, fresh breadcrumbs offer a purer, more natural flavor profile. Store-bought varieties can sometimes contain added seasonings, preservatives, or a blend of different breads that might not align with your desired culinary outcome. When you make breadcrumbs at home, you have complete control over the type of bread used, allowing you to impart specific nuances – from the tangy notes of sourdough to the subtle, comforting sweetness of a good Italian loaf. This control over ingredients ensures your breadcrumbs complement rather than overpower your dishes, acting as a nuanced enhancement to your cooking. The freshness also means a brighter, more aromatic addition, contributing significantly to the overall sensory experience of your food.
Essential Ingredients and Equipment for Perfect Breadcrumbs
Crafting exceptional fresh breadcrumbs begins with selecting the right bread and having the appropriate tools at hand. The beauty of this process lies in its simplicity, requiring minimal ingredients and equipment that you likely already possess in your kitchen.
Choosing Your Bread: The Foundation of Flavor
You can transform almost any type of bread into delicious fresh breadcrumbs using a food processor. However, certain breads stand out for their superior flavor, texture, and ability to produce consistently excellent results. We highly recommend experimenting with various artisan and bakery-style breads available in your local area to discover your personal favorites. For optimal results, use bread that is a day or two old, as it will be slightly firmer and easier to process into uniform crumbs without becoming gummy. Here are our top recommendations:
- Sourdough Bread: Our absolute top choice for fresh breadcrumbs. Sourdough offers a distinct, tangy flavor profile, a robust, chewy crust, and a dense yet slightly chewy interior crumb. These characteristics contribute to breadcrumbs with incredible depth and a satisfying texture that holds up exceptionally well in various culinary applications, adding a gourmet touch.
- French Bread: Classic French loaves, such as baguettes or pain de campagne, typically feature a light, airy interior crumb encased by a crisp, golden crust. The subtle sweetness and open texture of French bread yield delicate breadcrumbs that are excellent for lighter dishes or as a fine, crisp coating. Baguettes, in particular, offer a thinner crust compared to a wider French loaf, providing a slightly different textural element that can be very appealing.
- Italian Bread: Italian bread often boasts a thick, golden-brown crust, which can range from delightfully crisp to subtly chewy depending on the specific baking method. Its interior is generally light and soft, characterized by irregular holes, contributing to breadcrumbs that are both tender and flavorful. These are wonderfully versatile for a broad range of recipes, from savory stuffings to crunchy toppings.
- Other Excellent Choices: Don’t limit yourself! Ciabatta, challah (for a richer, slightly sweet crumb perfect for desserts or savory dishes with a hint of sweetness), or even good quality sandwich bread (ideally day-old) can produce fantastic results. The key is to avoid heavily enriched breads with too much sugar or very soft, squishy breads that might become gummy rather than crumbly when processed.
Understanding Breadcrumb Yield
The quantity of breadcrumbs you’ll obtain can vary based on the specific type of bread chosen and whether you opt to include the crust. Denser breads will yield more by weight than airy ones. As a general guideline, you can anticipate getting approximately 1/3 to 1/2 cup of fresh breadcrumbs from each ounce of bread. This estimation is incredibly helpful in planning your quantities, especially when preparing for specific recipes or making a bulk batch for future use.
Essential Equipment
Making fresh breadcrumbs is a straightforward process, made even easier and quicker with the right tools:
- Food Processor: This is by far the most efficient and recommended tool for making fresh breadcrumbs, especially when dealing with larger quantities. Its powerful blades quickly and uniformly transform bread into perfect crumbs with minimal effort, saving you time and ensuring consistent results.
- Mini Chopper: If you only need a small batch of breadcrumbs for a single recipe, a mini chopper can be a perfectly adequate and convenient substitute for a full-sized food processor. It handles smaller volumes effectively, saving you the hassle of cleaning a larger appliance.
- Box Grater (Manual Method): For those without a food processor or chopper, a box grater offers a viable, albeit more labor-intensive, alternative for small quantities. The trick here is to freeze a couple of slices of bread beforehand for about 20-30 minutes. Grating the bread while it’s still partially frozen makes it firmer and significantly easier to shred into crumbs. While not as uniformly textured as machine-processed crumbs, this method works remarkably well in a pinch.
- Airtight Storage Containers or Zip-Top Freezer Bags: These are crucial for maintaining the freshness, quality, and preventing freezer burn of your homemade breadcrumbs, especially if you plan to store them for future culinary adventures.
Step-by-Step Guide to Making Fresh Breadcrumbs
Creating your own fresh breadcrumbs is a quick, satisfying, and incredibly simple process. Follow these straightforward steps for perfect results every time, ensuring you have a steady supply of this versatile ingredient:
The Crust Debate: To Keep or Not to Keep?
We generally advocate for leaving the crust on your bread when making fresh breadcrumbs. The crust significantly contributes to both the flavor complexity and textural interest of your breadcrumbs, adding a desirable rustic depth that enhances many dishes. However, this is ultimately a matter of personal preference. If you prefer a milder flavor or a more uniformly soft crumb for very delicate applications, feel free to trim the crusts before proceeding. Just remember that you’ll be sacrificing some of that rich, baked bread flavor.
Step 1: Prepare Your Bread into Cubes
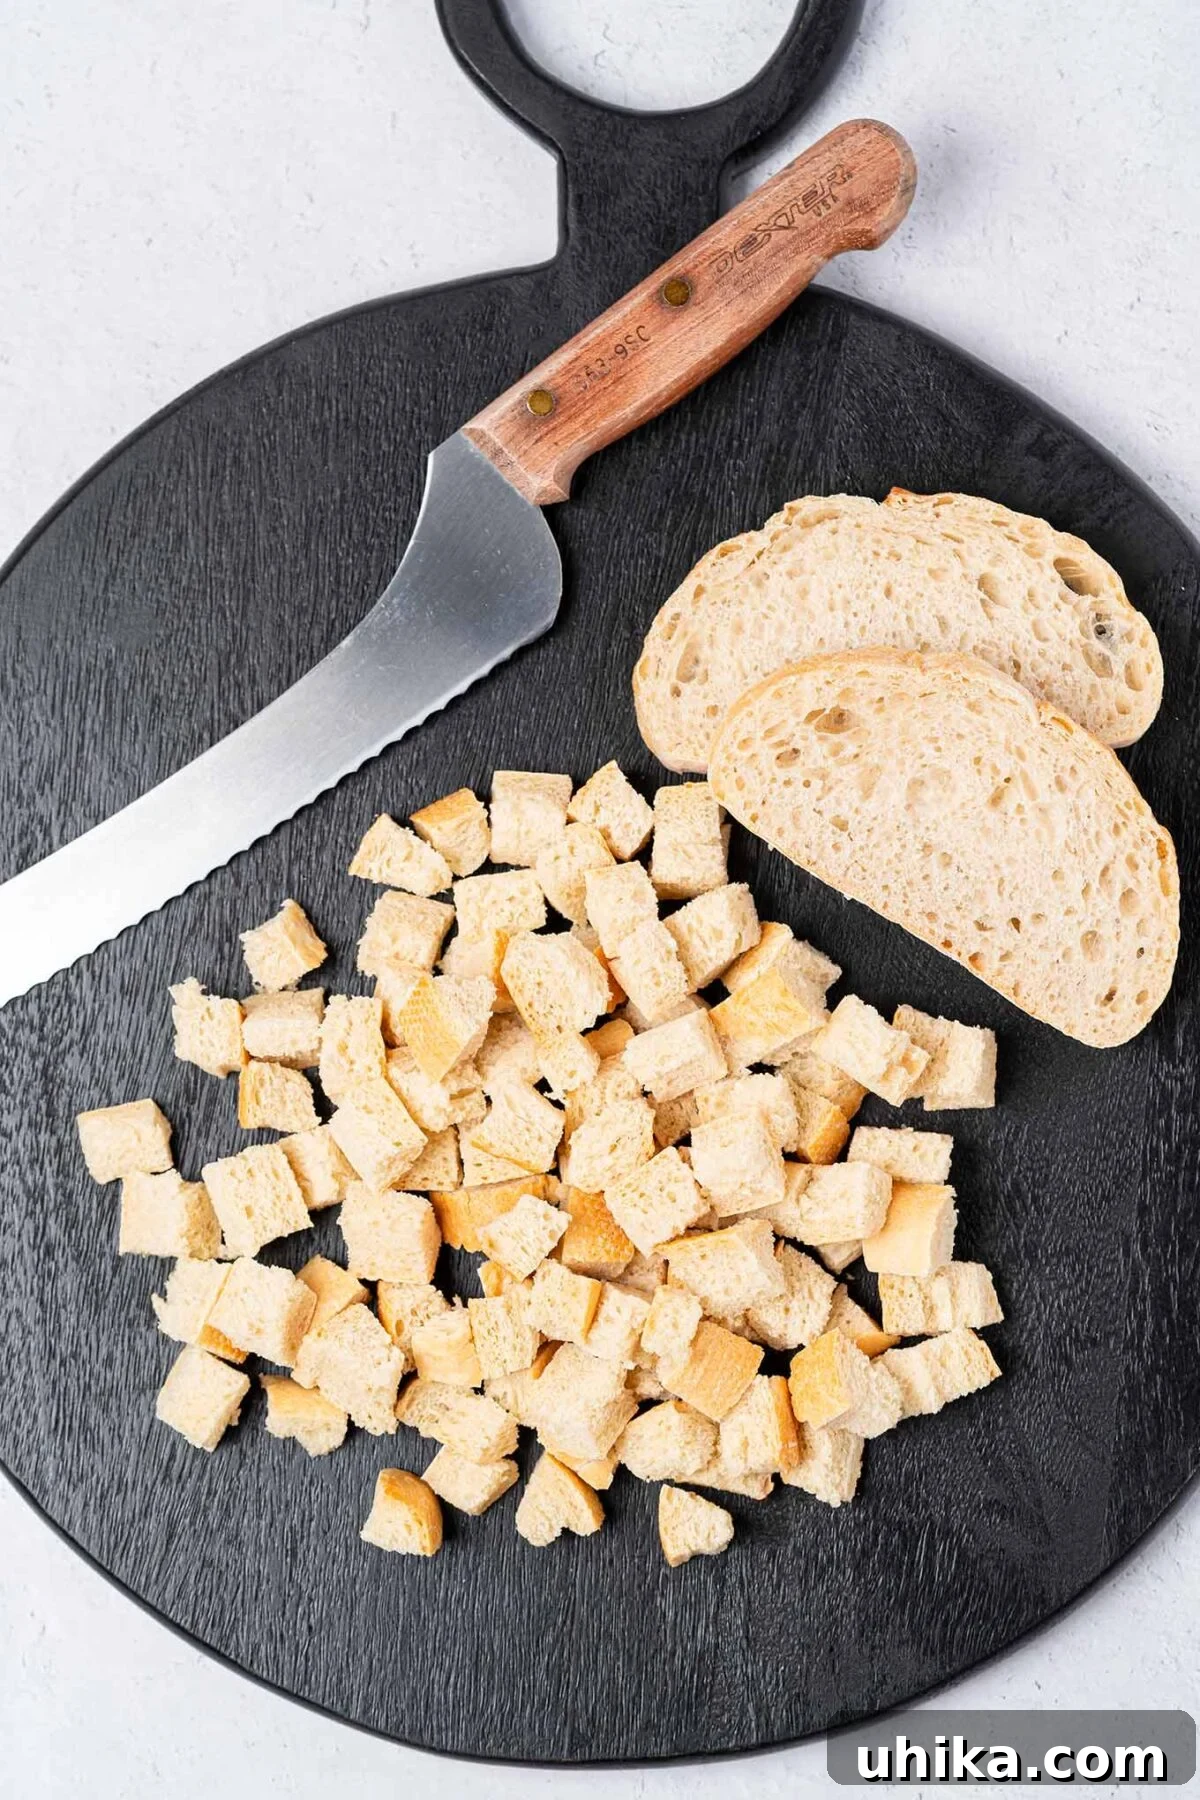
Begin by tearing or cutting your chosen bread into roughly 1/2-inch cubes. Aim for consistency in size as much as possible, as this is important for ensuring even processing and a uniform crumb texture. If you’re working with a rustic loaf that features a particularly thick or chewy crust, consider separating it from the softer interior slices. It’s wise to chop these tougher crust pieces into slightly smaller cubes than the interior bread, as they will take a bit more effort to break down evenly during processing.
Step 2: Process for Perfect Crumb Consistency
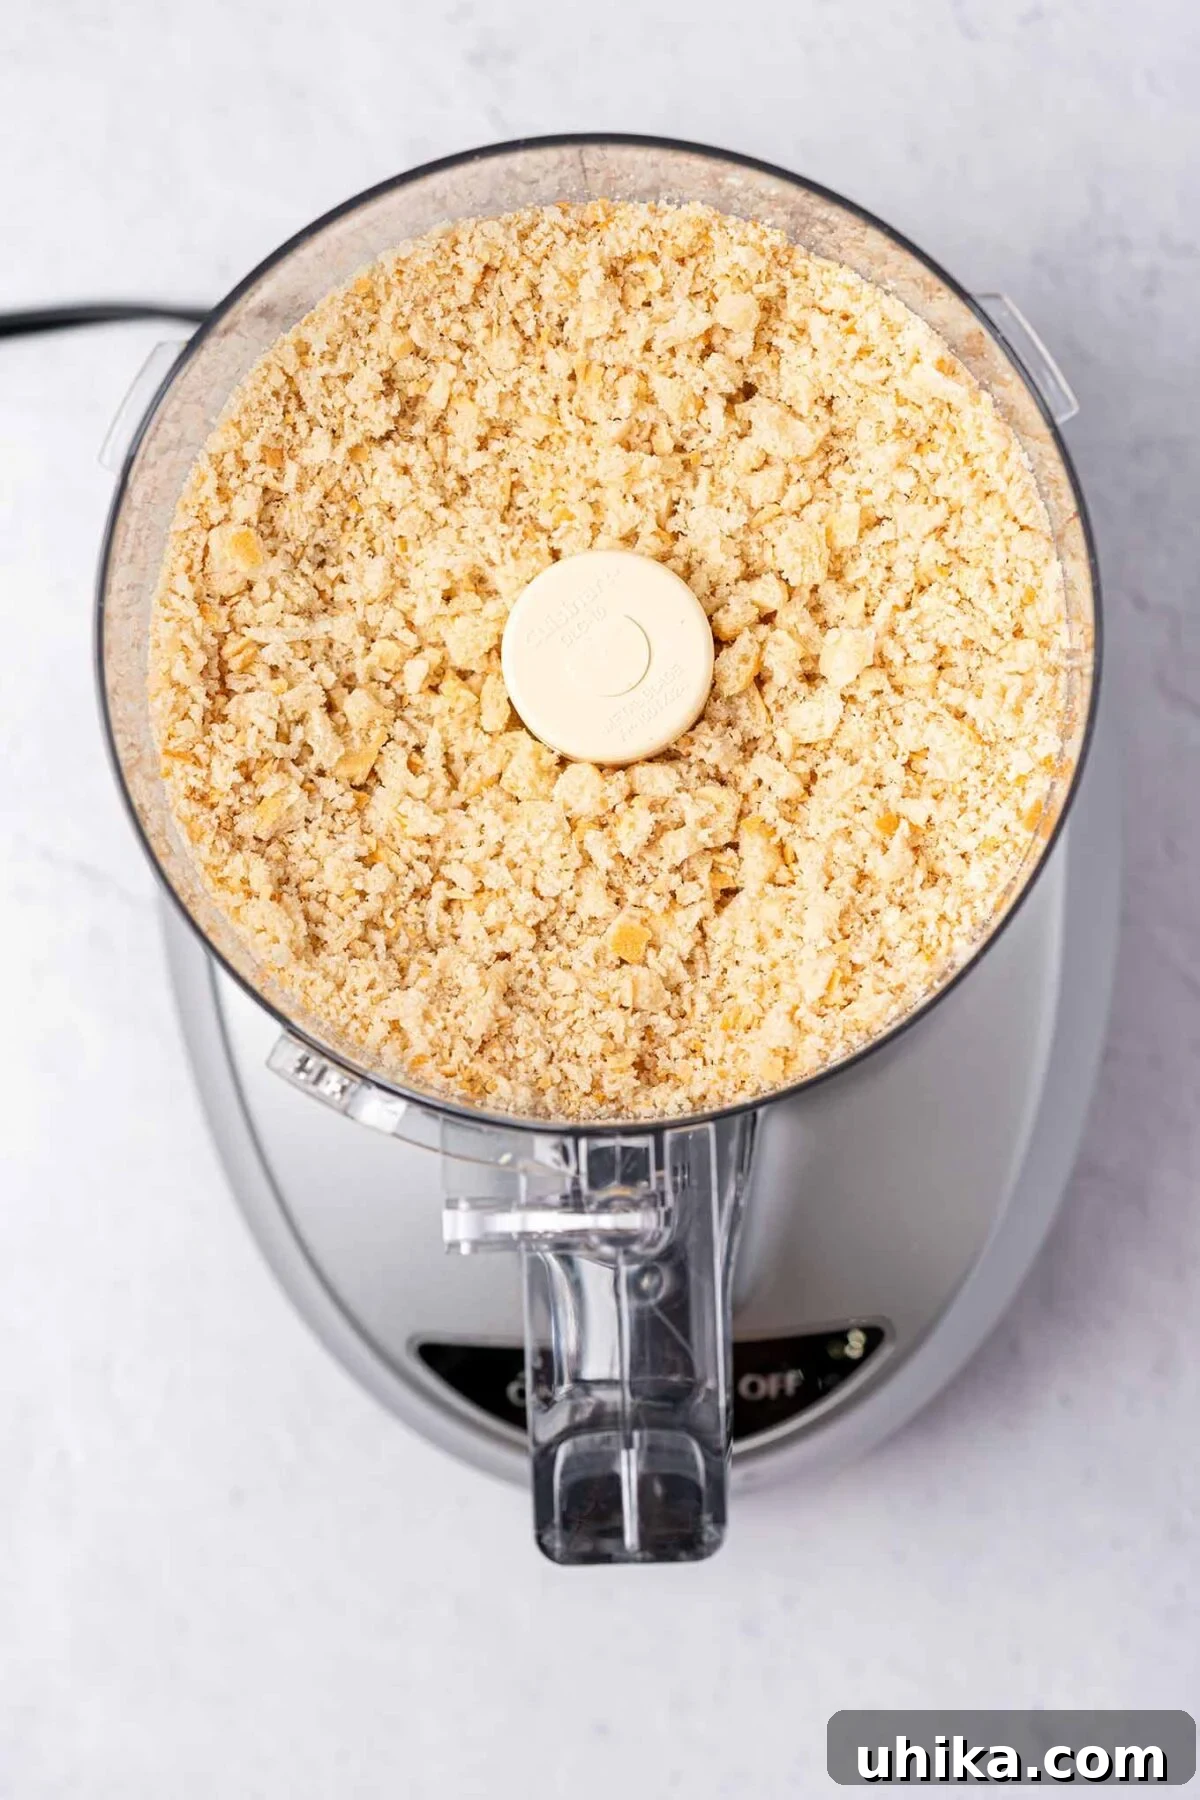
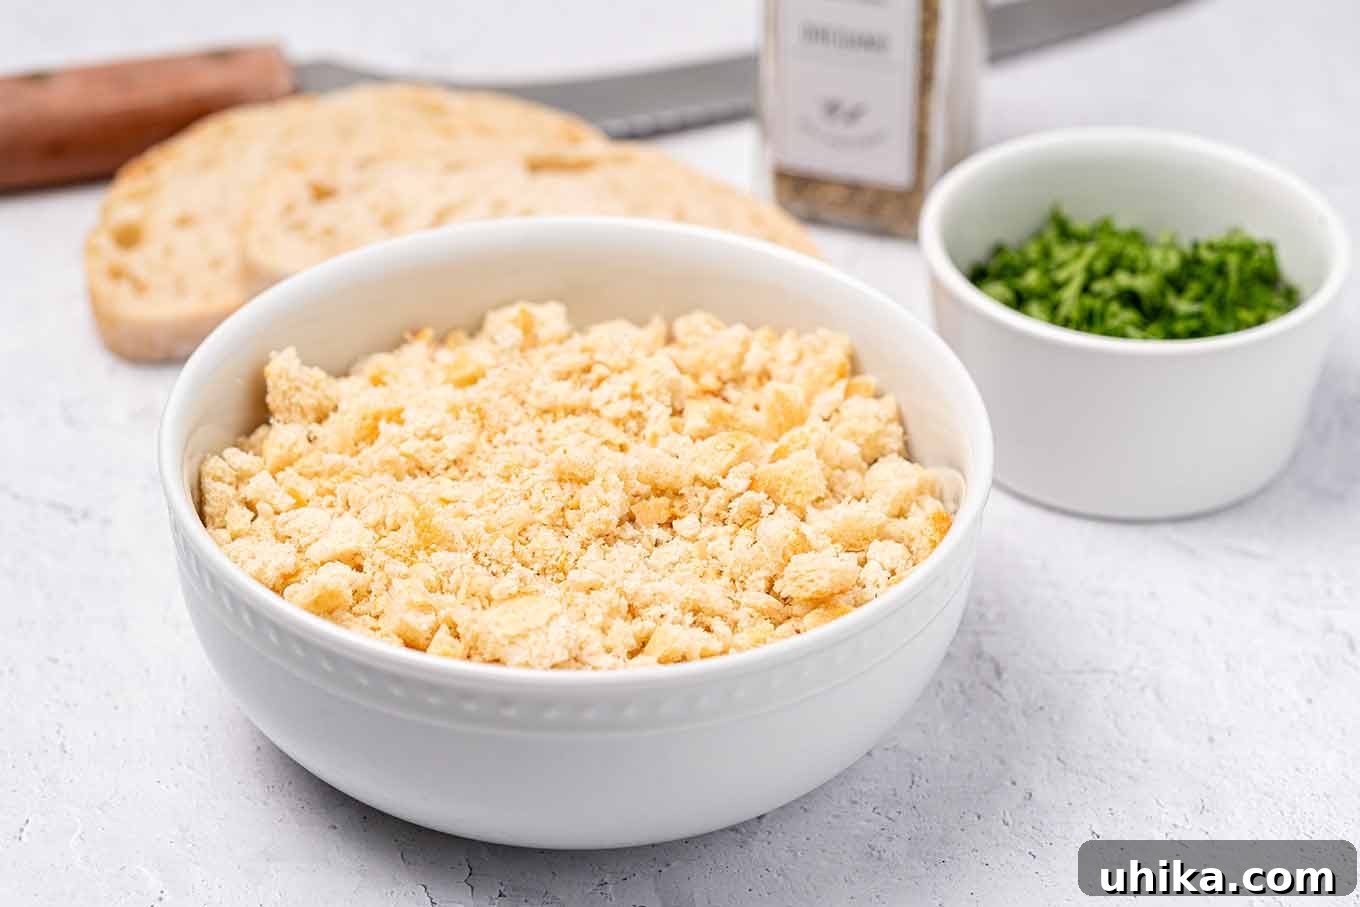
Transfer the prepared bread cubes into the work bowl of your food processor. Ensure you do not overfill the bowl, as this can lead to uneven processing. Use a pulsing action, engaging in short bursts of power rather than continuous processing. This method allows you greater control over the texture and helps prevent the bread from turning into a pasty consistency, which is undesirable for fresh breadcrumbs. Pulse until you achieve a relatively uniform, medium-sized crumb. It’s perfectly acceptable, and often desirable, for some crumbs to be slightly larger than others; this variation can actually add a more interesting and desirable texture to your dishes.
Pro Tip for Tougher Crusts: If you decided to separate and chop your crusts into smaller pieces, add them to the food processor first, before adding the softer bread. Give these crust pieces two or three short pulses on their own to break them down further. Then, add the rest of the bread cubes and continue pulsing until all components are processed efficiently to a similar consistency. This ensures no large, un-processed chunks remain.
Step 3: Immediate Use or Prepare for Storage
Once processed, your fresh homemade breadcrumbs are ready for immediate use in your favorite recipes. If you plan to use them later or have wisely made an extra batch (which we highly recommend for convenience!), proceed to package them for storage as described in the next section. Proper packaging is key to preserving their freshness and quality.
Storing Your Freshly Made Breadcrumbs for Optimal Freshness
Proper storage is paramount to extending the life of your homemade breadcrumbs and ensuring they retain their delightful texture and flavor for future use. Fresh breadcrumbs are incredibly versatile and freeze exceptionally well, making them an ideal ingredient for meal prepping and having on hand whenever culinary inspiration strikes.
Room Temperature Storage
If you anticipate using your fresh breadcrumbs within one to two days, they can be safely stored at room temperature. Simply transfer them into clean, tightly sealed plastic containers or high-quality zip-top freezer bags. It’s crucial to ensure the containers are truly airtight to prevent the breadcrumbs from drying out prematurely or absorbing ambient odors. Store them in a cool, dry place away from direct sunlight and sources of heat, as warmth can accelerate spoilage.
Freezer Storage: Your Best Bet for Longevity
For longer-term storage, the freezer is your best friend. Fresh breadcrumbs maintain their quality beautifully in the freezer for up to three months, without compromising on texture or flavor. To freeze them effectively, spread the breadcrumbs in a single layer on a baking sheet lined with parchment paper. Flash freeze them for about 30 minutes to an hour; this crucial step prevents them from clumping together into a solid block, making them much easier to portion out later. Once partially frozen, transfer them to airtight freezer bags, pressing out as much air as possible before sealing. Removing air helps prevent freezer burn. Don’t forget to label the bags with the date of preparation for easy tracking.
When you’re ready to use them, you have convenient options: you can either allow them to defrost at room temperature for about 15-30 minutes, spreading them out on a plate to speed up the process. Alternatively, for many recipes, particularly those where the breadcrumbs are incorporated into a cooked mixture, sautéed, or lightly toasted, you can use them directly from the freezer. Their loose texture allows them to thaw quickly when introduced to warmth, making them incredibly convenient for spontaneous cooking.
Creative Ways to Use Fresh Breadcrumbs in Your Cooking
Fresh breadcrumbs are a culinary chameleon, capable of enhancing a wide variety of dishes with their unique texture and impressive ability to absorb and carry flavors. Their versatility makes them an indispensable ingredient in any well-stocked kitchen, offering both structural integrity and a delightful sensory experience. Here are some of the most popular and creative ways to incorporate them into your cooking, demonstrating their broad appeal:
- As a Superior Binder: This is arguably where fresh breadcrumbs truly shine. Their inherent moisture content and soft texture make them the ideal choice for binding ingredients in dishes like succulent meatloaf, tender meatballs, and hearty veggie burgers. They contribute to a much lighter, more tender, and notably moister finished product compared to their dry counterparts, effectively preventing a dense, heavy, or rubbery texture that can sometimes result from using dried breadcrumbs.
- For Irresistible Toppings: Transform simple dishes into something extraordinary with a flavorful, textural topping. To create this, heat a combination of butter and olive oil in a frying pan, then add a pinch of finely minced garlic, a generous amount of fresh breadcrumbs, and a handful of finely chopped fresh herbs (such as parsley, thyme, rosemary, or oregano). Cook gently over medium heat, stirring frequently, until the crumbs are lightly golden and toasted, and the garlic becomes fragrant and lightly golden. This versatile topping can then be generously sprinkled over almost anything that strikes your fancy – think crisp oven-roasted vegetables, delicate fish fillets, vibrant sautéed greens like spinach or kale, or even pasta dishes for an extra layer of crunch and aromatic delight.
- In Light and Fluffy Stuffings: For recipes requiring a delicate and airy stuffing, fresh breadcrumbs are the undisputed champion. Dishes such as elegant baked stuffed cod, classic clams casino, and decadent baked stuffed shrimp benefit immensely from the light, fluffy texture that fresh breadcrumbs provide, creating a superior mouthfeel and a less heavy, more cohesive stuffing compared to using heavier dry breadcrumbs.
- As a Natural Thickener: Fresh breadcrumbs can also serve as an excellent natural thickener for hearty soups, stews, and sauces. Stirring them in slowly towards the end of cooking helps to achieve a desired consistency, adding body and richness without resorting to flour or cornstarch, and without altering the fundamental flavors of the dish. They are particularly effective in robust soups like a rustic minestrone or rich, slow-cooked tomato sauces, where they can gently bind and thicken without becoming gummy.
When to Reach for Store-Bought Breadcrumbs: Panko vs. Dry
While fresh breadcrumbs are undeniably exceptional, there’s still a well-deserved place for their store-bought cousins in the pantry. We always keep both panko and unseasoned dry breadcrumbs on hand for specific culinary tasks where their unique properties are more suitable:
- Panko Breadcrumbs: These distinct Japanese-style breadcrumbs are dry, notably crisp, and typically lighter in color. Their unique flaky and airy texture makes them superb for achieving an extra-crispy, light coating on fried foods like tempura, fried chicken, or onion rings. While panko can sometimes be an acceptable substitute for fresh breadcrumbs in certain coating applications, be mindful that they absorb flavor differently and will always impart a crispier, less tender texture than fresh crumbs. They excel when you want maximum crunch.
- Dry Breadcrumbs (Unseasoned): Our primary use for standard dry breadcrumbs is for creating a crunchy, traditional breaded crust on foods intended for frying or oven-frying, such as crispy shallow-fried chicken cutlets or savory oven-fried Parmesan pork chops. Their fine, even texture creates a uniform coating. We also occasionally employ them as a binder when working with exceptionally moist ground meats, like chicken or turkey, where their higher absorbency is beneficial for soaking up excess moisture and providing structure. We strongly recommend opting for the unseasoned variety, as this grants you complete control over the seasoning and overall flavor profile of your finished dish, allowing you to tailor it perfectly to your taste.
Fresh Breadcrumb FAQs: Your Questions Answered
Fresh breadcrumbs are soft, slightly moist crumbs made from fresh, or more ideally, day-old bread. Unlike dry, store-bought varieties, they retain some natural moisture from the bread, resulting in a lighter and more tender texture in cooked dishes. They are highly valued for contributing to a delicate mouthfeel and richer, more authentic bread flavor.
While both dry and panko breadcrumbs can technically be used as substitutes, it’s important to understand that the finished dish’s texture and possibly flavor will likely differ significantly from what was originally intended. For instance, a meatball recipe specifically calling for fresh breadcrumbs will yield a heavier, denser, and potentially drier result if dry breadcrumbs are used due to their higher absorbency and firmer texture. Panko offers crispiness but lacks the softness and moisture of fresh crumbs, changing the desired mouthfeel. It’s always best to use fresh if the recipe specifies them.
Absolutely! Fresh breadcrumbs freeze exceptionally well and are a fantastic ingredient for meal prep. They can be stored in tightly sealed freezer bags or containers for up to 3 months without losing their quality. For many recipes, particularly those where the breadcrumbs are incorporated into a cooked mixture, sautéed, or toasted, they can be used directly from the freezer without needing to thaw them first, making them incredibly convenient.
The best breads for fresh breadcrumbs are those with good structure, moderate density, and distinct flavor, such as sourdough, classic French bread (baguettes or larger loaves), or Italian bread. These varieties offer excellent texture and a distinct taste that significantly enhances the final product. Using day-old bread is often preferred as it’s slightly firmer and easier to process into uniform crumbs without becoming gummy.
It’s generally recommended to leave the crusts on the bread, as they contribute significantly to both flavor and texture, adding a rustic quality and depth to your breadcrumbs. However, if you prefer a milder flavor or a uniformly soft crumb for very delicate dishes, you can certainly remove them. If you do leave them on, consider chopping tougher crusts into smaller pieces before processing to ensure even crumbing throughout your batch.
Inspiring Recipes to Try with Fresh Breadcrumbs
Experience the remarkable difference fresh, homemade breadcrumbs can make in these popular and delicious recipes. They are guaranteed to elevate your cooking.
Baked Cod with Crispy Crumb Topping
Baked Stuffed Shrimp
Sardine Pasta With Lemon and Garlic Crumbs
Greek Meatballs in Tomato Sauce (Soutzoukakia)
How to Make Fresh Breadcrumbs (Printable Recipe)
How to Make Fresh Breadcrumbs
By Lynne Webb
Fresh breadcrumbs enhance the flavor and texture of many types of food. Learn how to make them, when to use them, how to store them, and what types of bread to use.
Prep Time: 15 mins
Total Time: 15 mins
Yields: 16 servings
Ingredients
- 1/2 loaf Italian, French, or sourdough bread (approx. 8 ounces)
Instructions
Prep
- We recommend leaving the crust on the bread because it adds both flavor and texture, but go ahead and remove it now if that’s your preference.
- Cut or tear the bread into 1/2-inch cubes. If you’re using rustic bread with a thick, chewy crust, it might be wise to separate it from the slices and chop it a little smaller than the cubes from the bread’s interior.
Process
- If you’ve separated the crusts from your bread slices, add them to the work bowl of your food processor first, then pre-process them with two or three pulses before adding the rest of the bread.
- Add the bread cubes to the work bowl of a food processor and process them using short pulses until you get a relatively uniform, medium-sized crumb. Some crumbs will be larger than others and that’s fine.
Package
- If you won’t be using your fresh breadcrumbs immediately, package them in tightly sealed plastic containers or zip-top freezer bags (see storage notes below).
Notes
HOW TO STORE FRESH BREADCRUMBS
ROOM TEMPERATURE: If you plan to use your fresh breadcrumbs within 2 days, they can be stored at room temperature in tightly sealed containers or zip-top freezer bags.
FREEZER: Fresh breadcrumbs freeze really well, and we highly recommend keeping some on hand. They’ll keep for up to 3 months when stored in airtight freezer bags. You can opt to defrost them at room temperature or simply use them straight from the freezer.
Nutrition
Calories: 56, Total Fat: 1g, Sodium: 104mg, Carbohydrates: 10g, Fiber: 1g, Sugar: 1g, Protein: 2g
Nutrition information is automatically calculated, so should only be used as an approximation.