
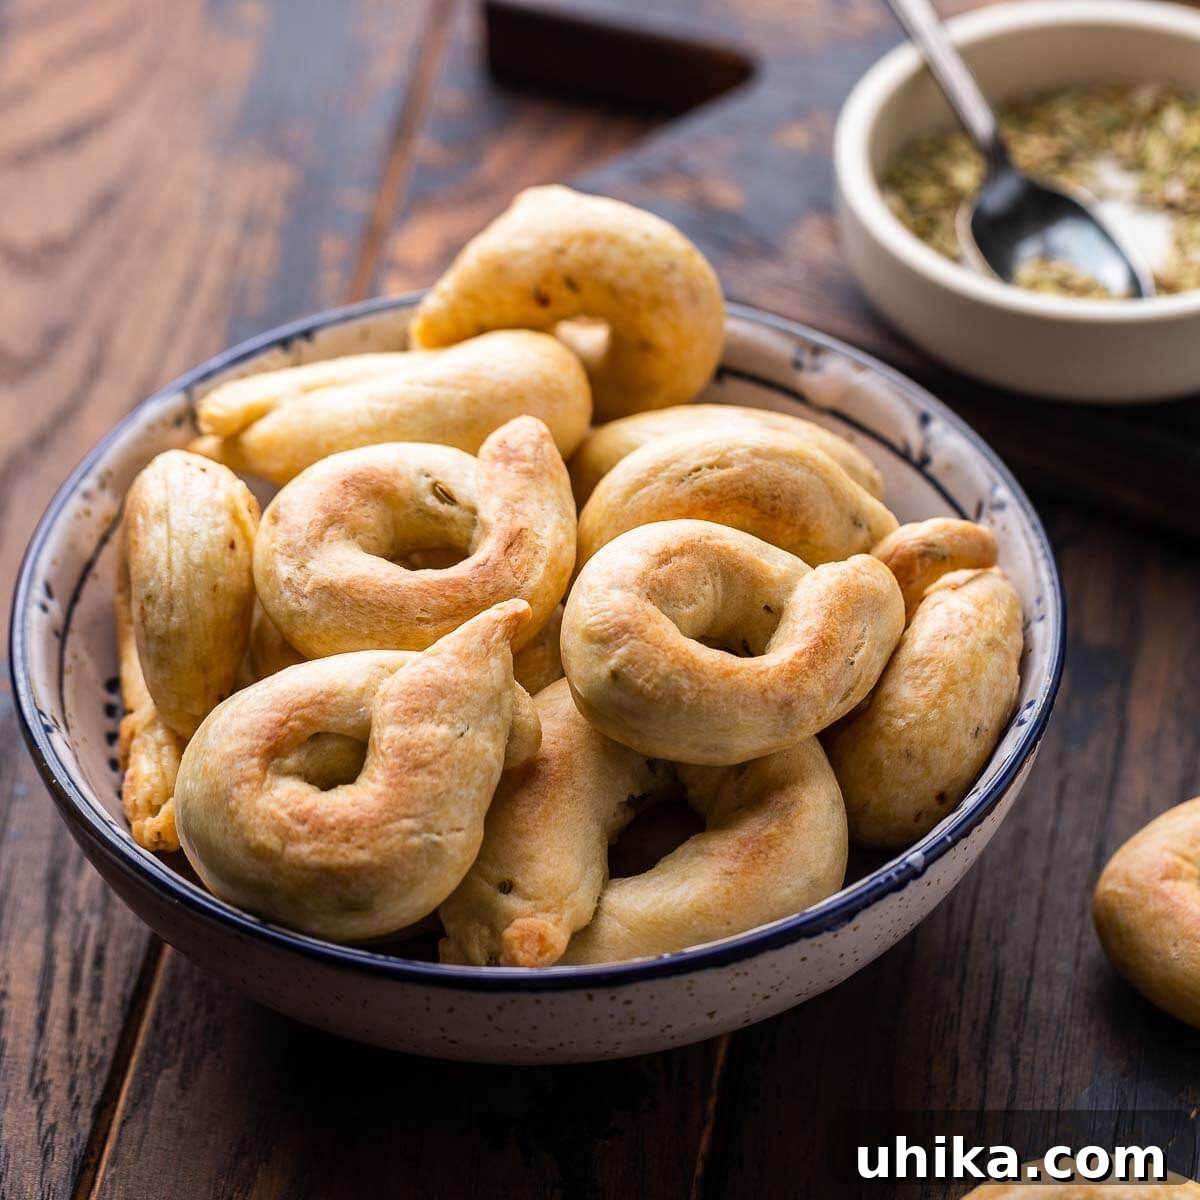
Authentic Italian Taralli Recipe: Crispy Fennel Seed Crackers
Taralli are delightful Italian snack crackers, renowned for their incredible crunch and versatility. Originating from the sun-drenched region of Puglia, these simple yet satisfying loops are surprisingly easy to make at home. While our recipe features the classic fennel seed flavor, the beauty of taralli lies in their adaptability, allowing you to infuse them with your favorite sweet or savory notes. Whether you’re assembling an elaborate charcuterie board, a traditional antipasto platter, or simply seeking a perfect accompaniment to a glass of wine, homemade taralli promise a genuinely authentic taste of Italy.
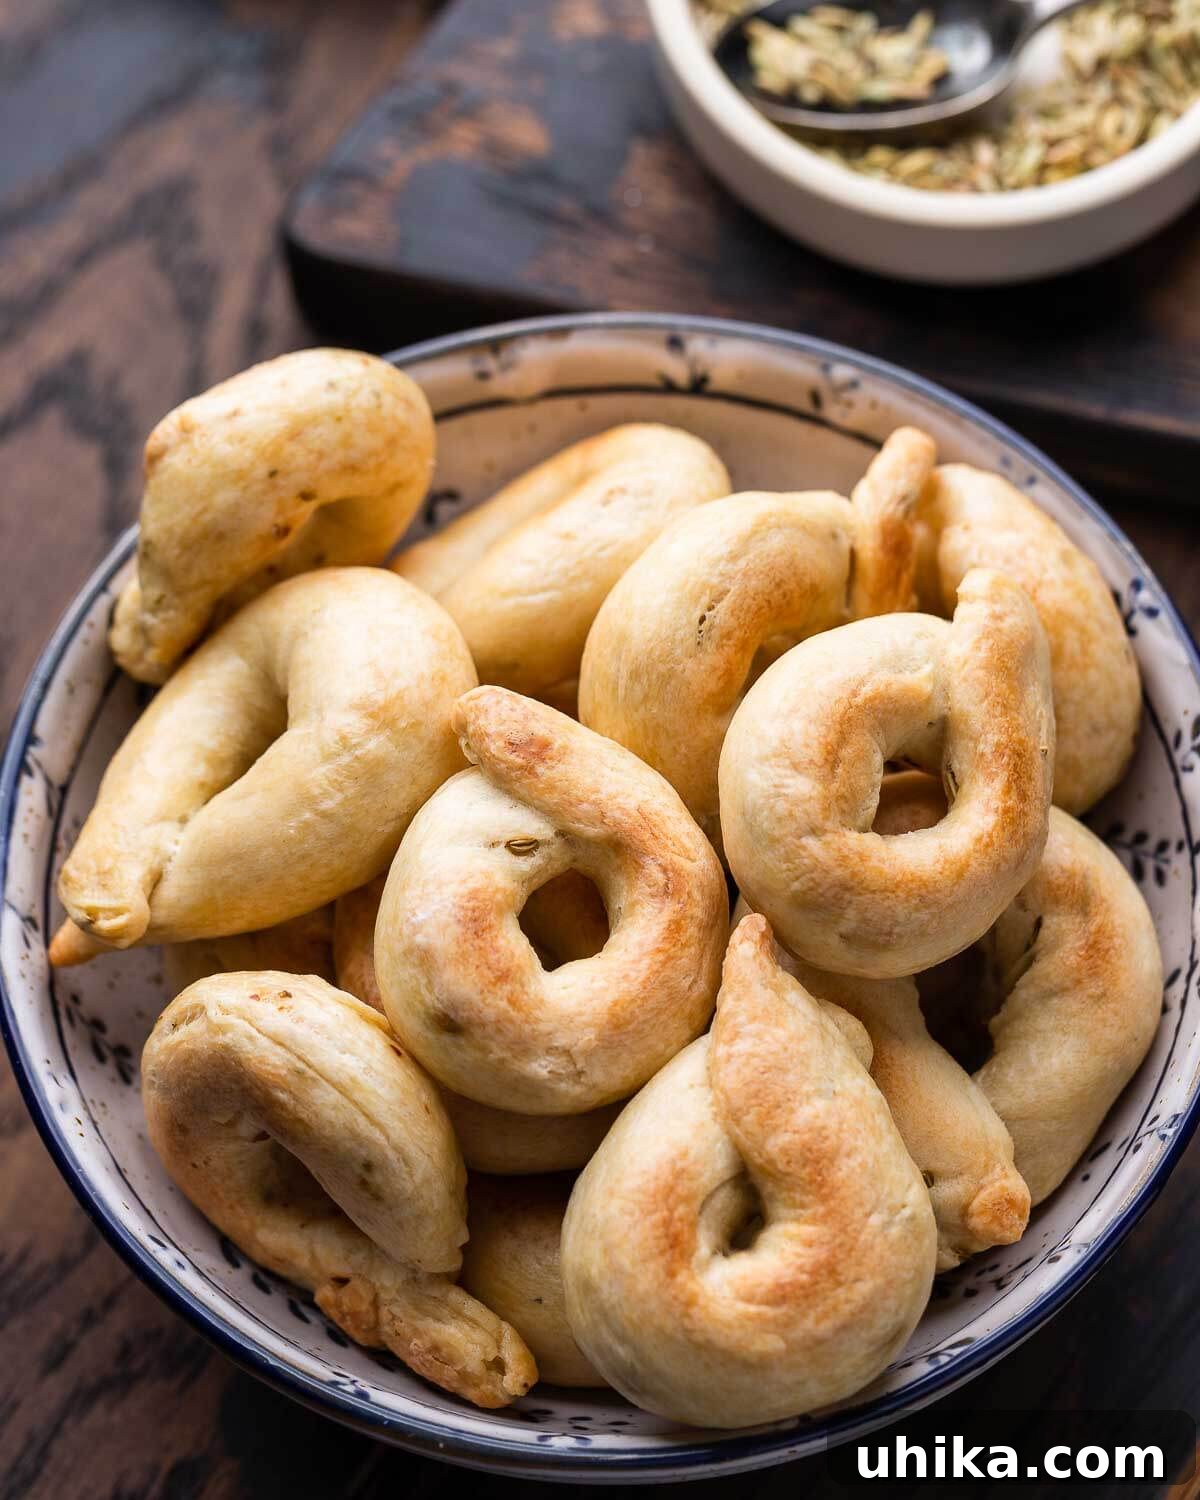
What Are Taralli? A Taste of Southern Italy
The first time you bite into a freshly made tarallo, you’ll understand its magic. They might resemble miniature bagels, but their texture is uniquely captivating: a firm, crisp exterior gives way to a satisfyingly chewy interior. These traditional Italian crackers, or “wine biscuits,” are a staple in Puglia, a region known for its rich culinary heritage in Southern Italy. The foundational recipe is remarkably simple, calling for just a few humble ingredients: flour, olive oil, and white wine. This simplicity is what makes them so accessible and beloved.
Taralli are more than just a snack; they are a cultural icon, frequently enjoyed during aperitivo hour, as a light accompaniment to meals, or simply on their own. Their savory crunch makes them an ideal candidate for enhancing any antipasto spread or charcuterie board. Imagine pairing them with complementary Italian delights such as crusty olive bread, savory eggplant caponata, or a vibrant peperonata. Of course, they are equally enchanting when savored alone, perhaps with a fine glass of wine, truly embodying the Italian spirit of effortless enjoyment.
Why You’ll Love Making Homemade Taralli
Diving into the world of homemade taralli is a rewarding culinary journey that offers numerous benefits:
- Effortless Simplicity: Despite their sophisticated appearance, taralli are surprisingly straightforward to prepare. The basic dough comes together with minimal effort, making them an excellent project for both novice and experienced bakers.
- Unmatched Freshness: There’s nothing quite like the taste and aroma of freshly baked crackers. Homemade taralli offer a crispness and depth of flavor that store-bought versions simply can’t match.
- Flavor Customization: While fennel seeds are a classic, this recipe serves as a perfect canvas for your culinary creativity. Easily switch up the spices to craft unique savory or even sweet variations that cater to your personal preferences.
- Impressive Entertaining: Elevate your next gathering by serving these charming Italian crackers. They add an authentic, artisanal touch to any appetizer spread, charcuterie board, or cheese platter, sure to impress your guests.
- Cost-Effective: Made with common pantry staples, preparing taralli at home is a budget-friendly way to enjoy gourmet-quality snacks.
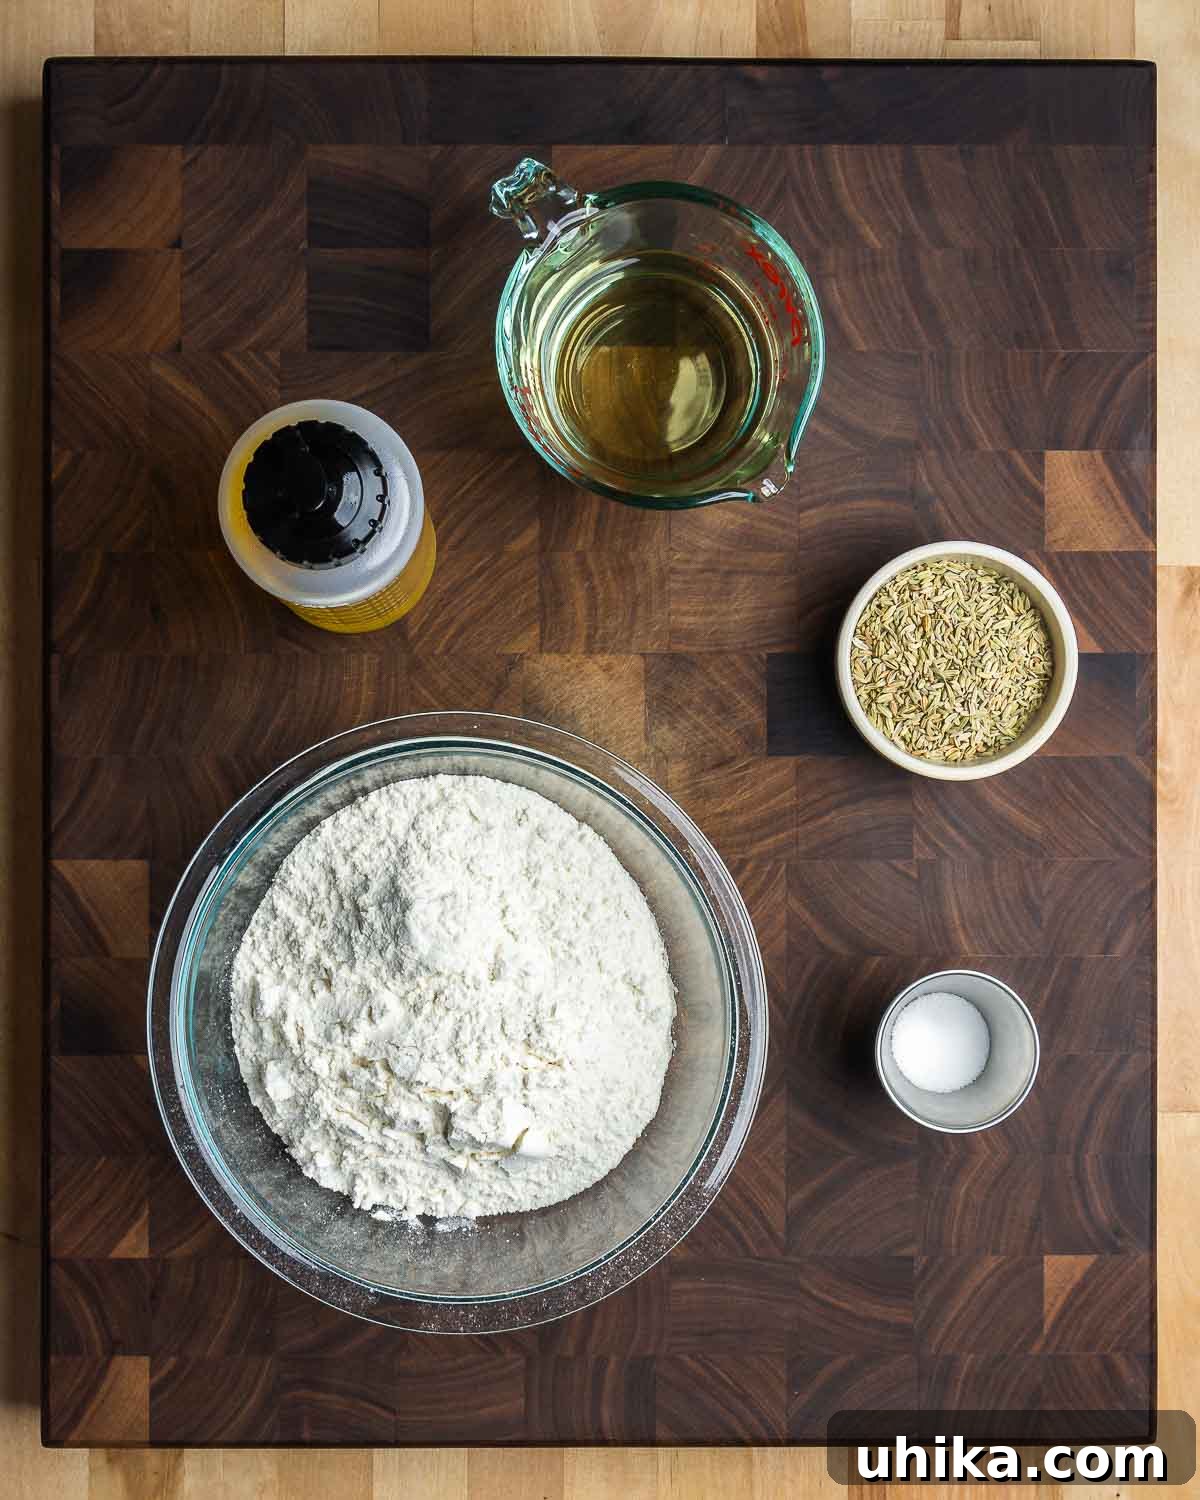
Essential Ingredients for Perfect Taralli
The magic of taralli lies in its simple yet powerful ingredient list. Each component plays a crucial role in developing the crackers’ distinct flavor and irresistible texture:
- All-Purpose Flour: The foundation of the dough, providing structure. While all-purpose works beautifully, some traditional recipes might use a mix of flours for varied textures.
- Dry White Wine: This is a key ingredient, not just for flavor but also for its role in tenderizing the dough and contributing to the taralli’s characteristic crispness. Varieties like Sauvignon Blanc or Pinot Grigio are excellent choices, offering a subtle, clean note that complements the other flavors without overpowering them. For an alcohol-free alternative, you can use water, though the flavor profile will differ slightly.
- Fine Sea Salt: Essential for seasoning the dough and enhancing all the other flavors. A portion of the salt is also used in the boiling water, which helps season the taralli from the outside.
- Fennel Seeds: The star of this particular recipe, offering a warm, aniselike aroma and a delightful burst of flavor. They are integral to the classic Pugliese taralli experience.
- Olive Oil: A generous amount of good quality olive oil is vital. It contributes to the dough’s richness, tenderness, and plays a role in achieving that sought-after crunch during baking. Extra virgin olive oil is highly recommended for its superior flavor.
Step-by-Step Guide to Crafting Your Taralli
Follow these detailed instructions to create perfect, crunchy taralli in your own kitchen:
Preparation Stage
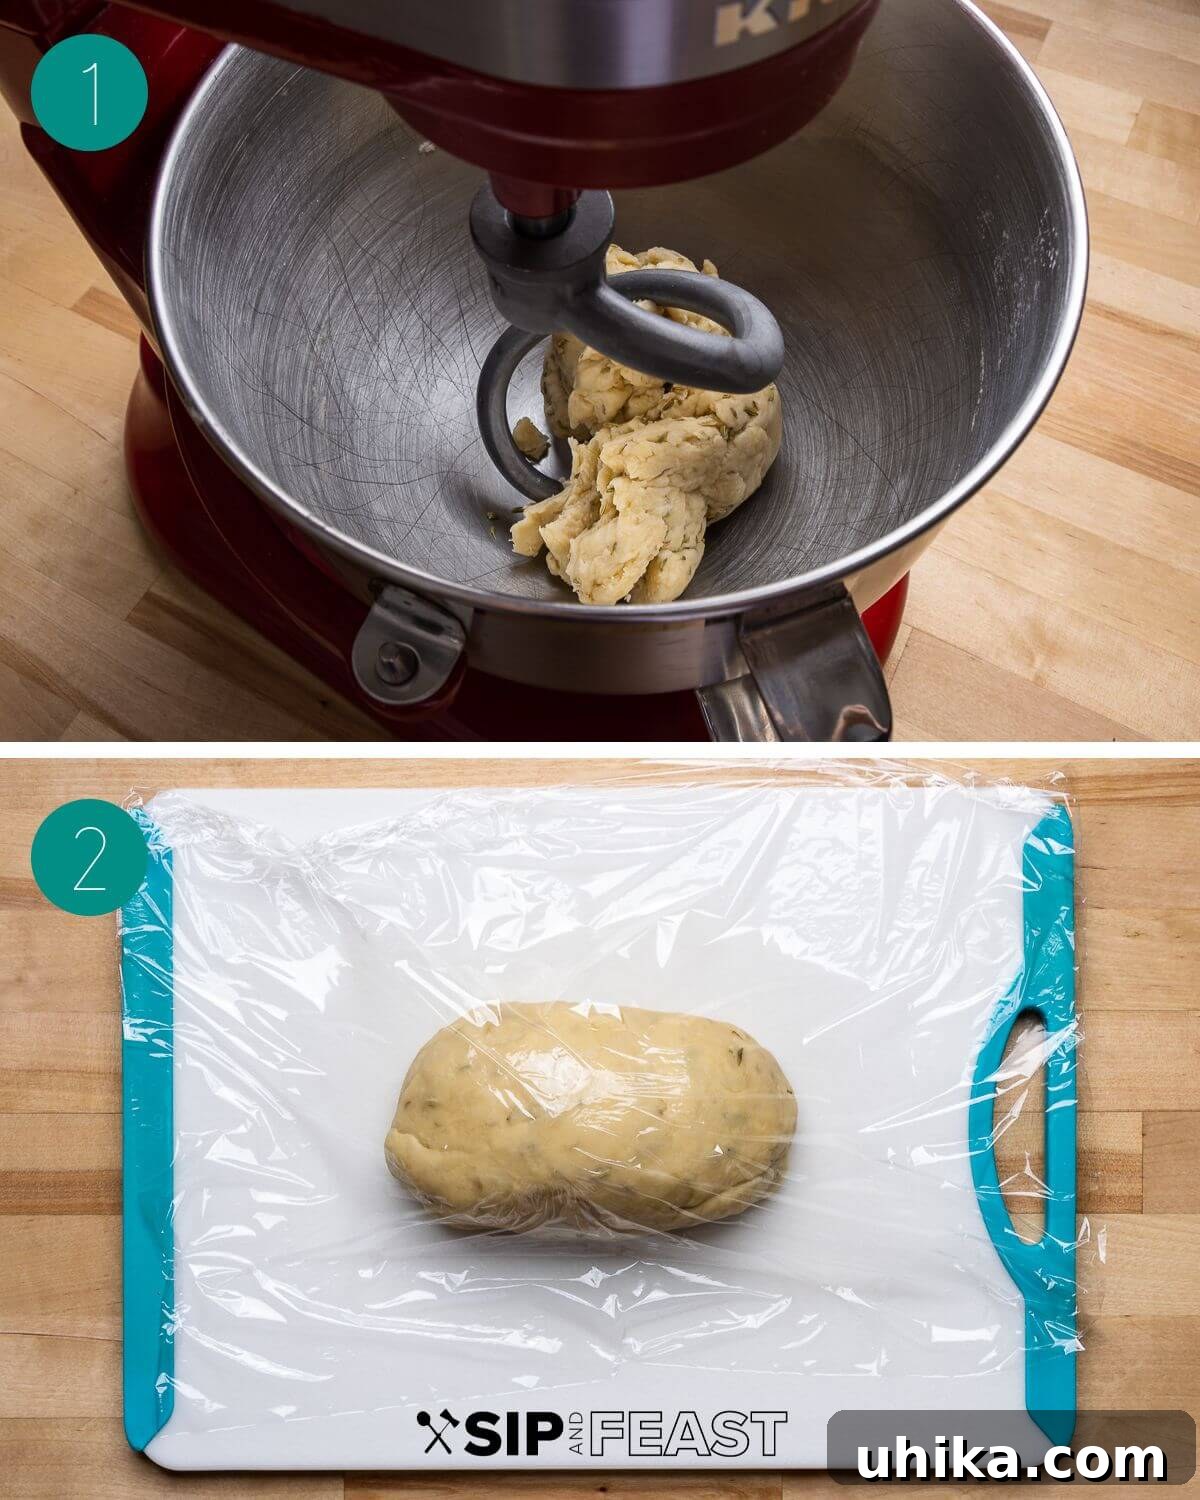
- Begin by gathering your ingredients. In the bowl of a stand mixer fitted with a paddle attachment, combine 3 cups (400g) of all-purpose flour, ¾ cup (180g) of dry white wine, 1 teaspoon of fine sea salt, 2 tablespoons of fennel seeds, and ½ cup (120g) of olive oil. Mix on low speed just until the ingredients are combined and a shaggy dough forms, which should take approximately 1 minute.
- Once combined, switch to a dough hook attachment and continue mixing on low speed for another 5 minutes. This kneading develops the gluten, resulting in a smooth, elastic dough.
- Hand-Kneading Alternative: If you don’t have a stand mixer, you can easily make this dough by hand. Combine all the ingredients in a large bowl to form a shaggy dough, then transfer it to a clean work surface. Knead the dough vigorously for about 10 minutes until it becomes smooth and pliable.
Shaping the Taralli
- Transfer the kneaded dough to a clean work surface. Gently shape it into a log or loaf. Cover the dough with a clean kitchen towel or plastic wrap to prevent it from drying out while you work on shaping the individual taralli. Important Note: Avoid using excess bench flour for this recipe. A slightly sticky dough is crucial, as it helps the ends adhere firmly when forming the loops, ensuring they don’t open up during boiling.
- Pull off a small piece of dough, roughly the size of a walnut. Roll it between your palms or on the work surface into a thin rope, approximately 5 inches long and ½-inch thick. Aim for consistent thickness for even cooking.
- Pro Tip for Efficiency: If you’re working on a smooth stone or marble counter, you might find it easier to roll out 2-3 longer ropes of dough and then cut them into 5-inch sections, rather than rolling each piece individually from scratch.
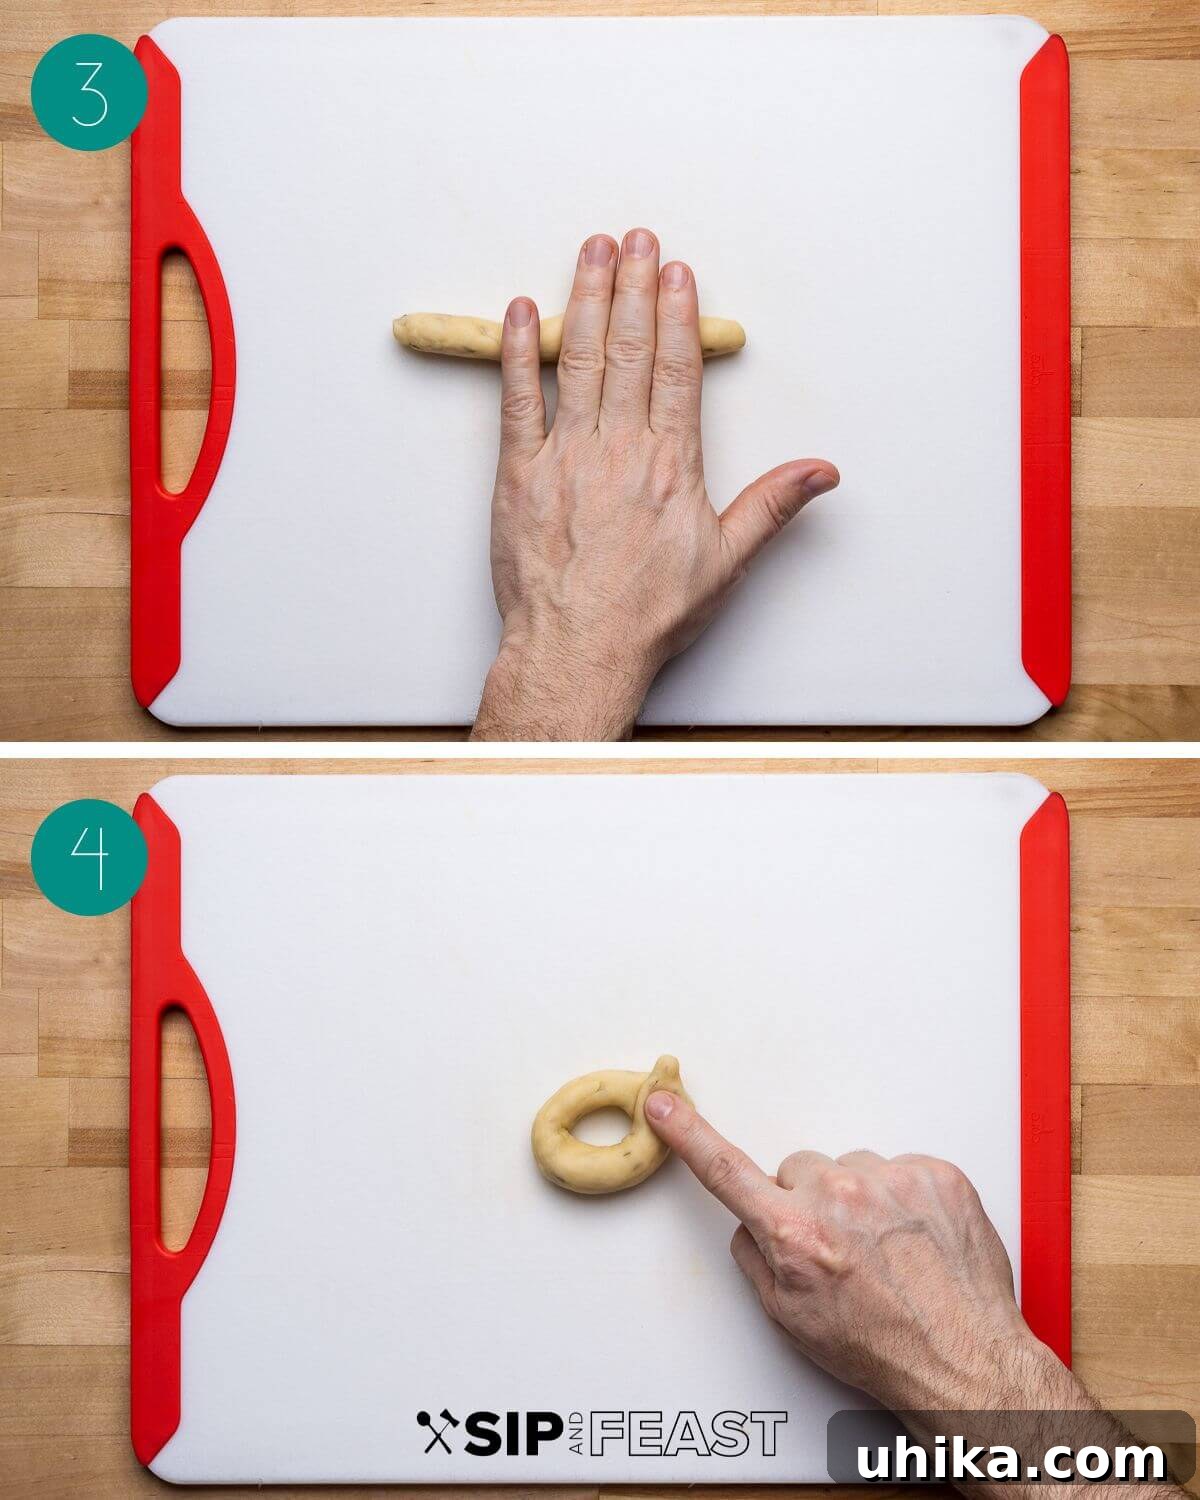
- To form the loop, bring the two ends of the dough rope together, overlapping them slightly. Gently press the ends firmly to make them adhere. If you’re concerned about them opening during cooking, you can wrap one end slightly under the other for a more secure seal. Place the shaped taralli on a parchment paper-lined baking sheet and continue this process with the remaining dough until all the taralli are formed.
Boiling and Baking
- Preheat your oven to 375°F (190°C) and position an oven rack in the middle. Meanwhile, fill a large pot with water and bring it to a rolling boil. Add 2 teaspoons of sea salt to the boiling water. This initial boiling step is critical; it sets the taralli’s shape and contributes to their unique crunchy texture.
- Once the water is boiling rapidly, carefully add 5-6 taralli to the pot at a time. Do not overcrowd the pot, as this can lower the water temperature and affect the texture. Boil the taralli only until they rise to the surface of the water, which typically takes about 1-2 minutes. This indicates they are ready for the next step.
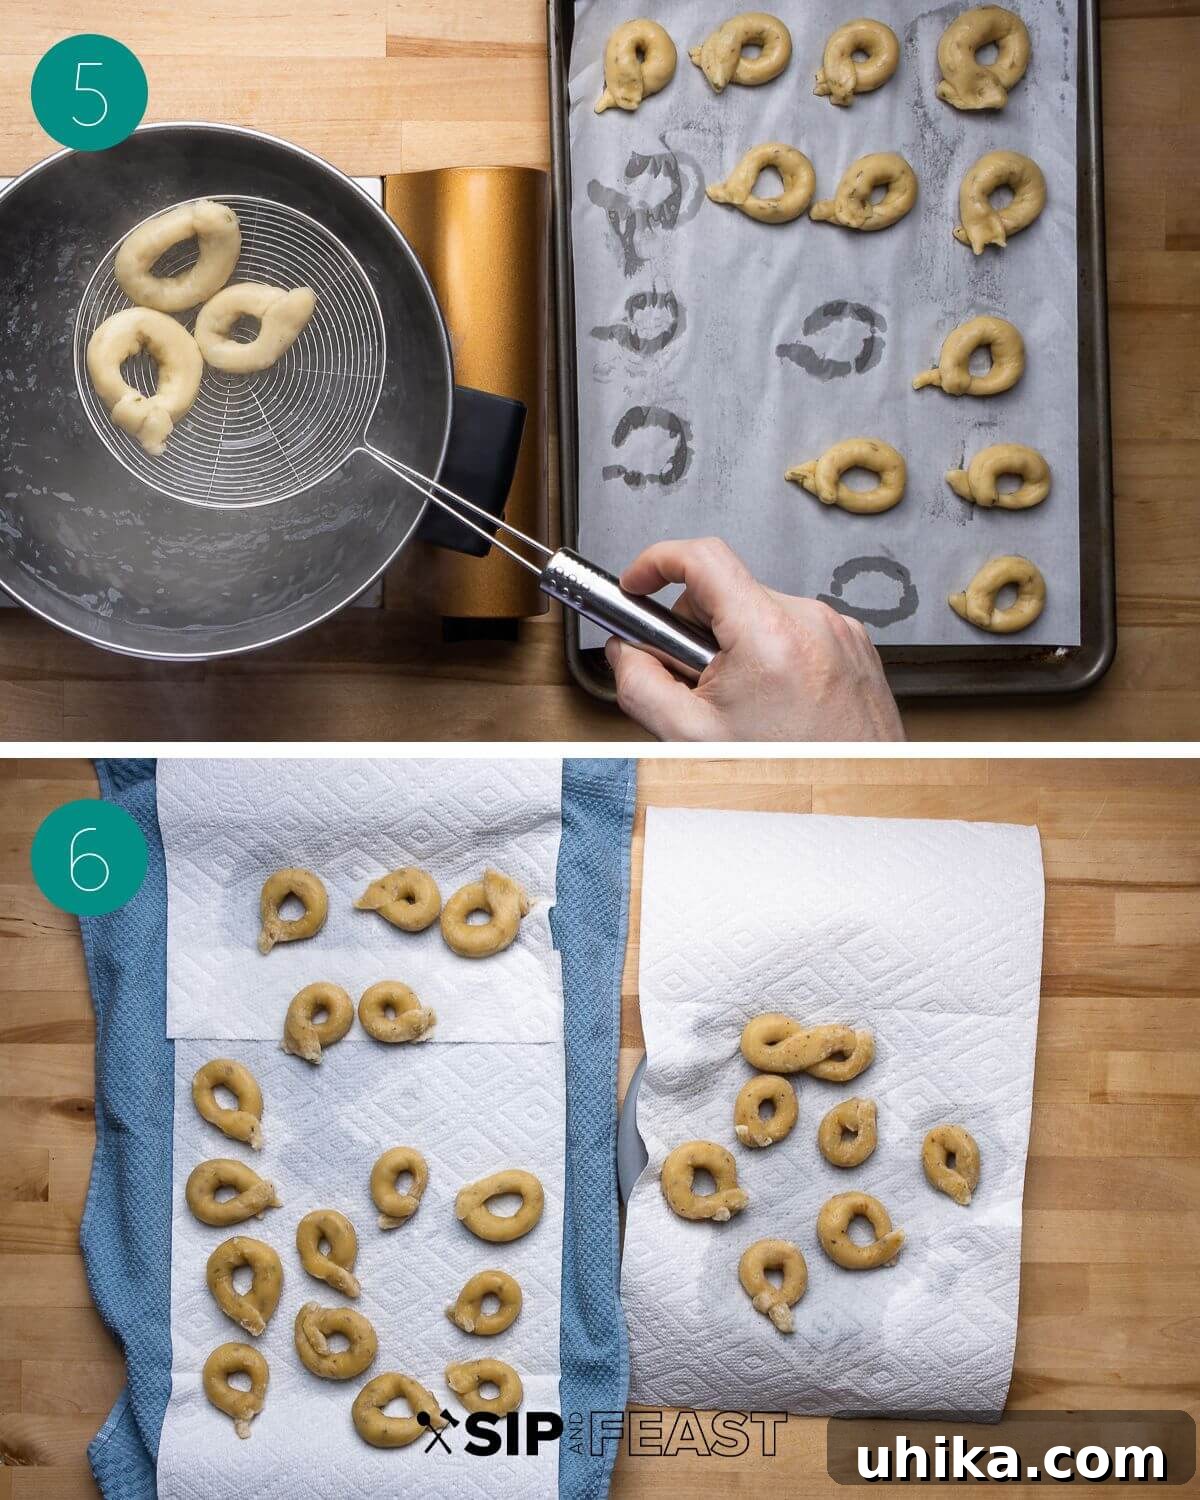
- Using a slotted spoon, carefully remove the boiled taralli from the water and place them onto a paper towel-lined baking sheet. This allows excess water to drain away. After a few minutes, gently flip the taralli over so the other side can also dry thoroughly. Repeat this boiling and draining process in batches until all your taralli have been blanched.
- Once all the taralli have been boiled and adequately drained, arrange them in a single layer on a clean parchment paper-lined baking sheet. You may need two baking sheets to avoid overcrowding, which ensures even baking and crispness.

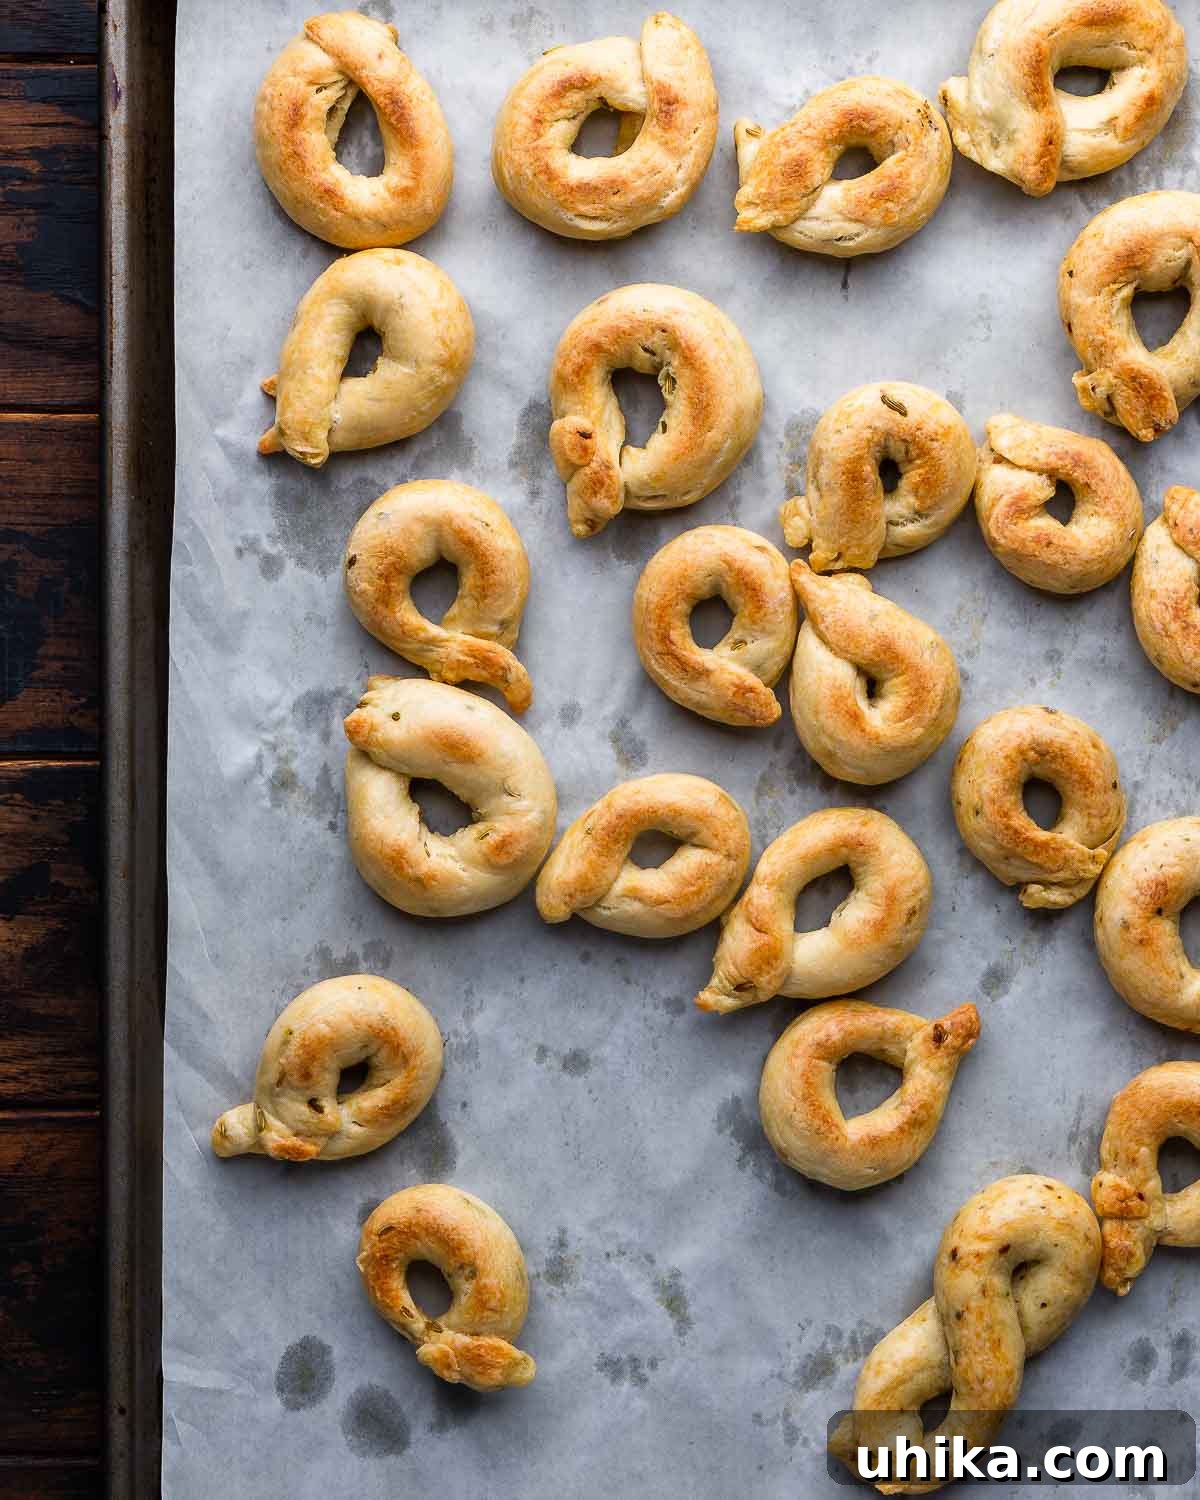
- Bake the taralli for 30-35 minutes, or until they turn a beautiful golden color and are thoroughly crisp. The baking time may vary slightly depending on your oven.
- Once baked, remove the taralli from the oven and allow them to cool on the baking sheet for a few minutes before transferring them to a wire rack to cool completely. This cooling period is essential for them to achieve their ultimate crispness.
Pro Tips for Taralli Success
- Dough Consistency is Key: When shaping your taralli, resist the urge to use excessive bench flour. The dough needs to remain slightly sticky to ensure the ends of the loops adhere firmly. This prevents them from opening during the boiling process, maintaining their classic shape. If a few do open, don’t fret—they’ll still taste absolutely delicious!
- Stand Mixer vs. Hand Kneading: While a stand mixer simplifies the kneading process, especially for larger batches, making the dough by hand is entirely feasible and therapeutic. Expect the dough to be a bit shaggy at first; consistent hand-kneading for about 10 minutes will yield a smooth, pliable dough.
- Unleash Your Creativity with Flavors: This fennel seed recipe is a fantastic starting point, but the world of taralli flavors is vast!
- Savory Twists: Experiment with crushed red pepper flakes for a spicy kick, dried oregano for an herbaceous note, or grated Pecorino Romano cheese for a savory depth. Imagine a “pizza-flavored” taralli with a mix of these! For a sophisticated twist, combine Pecorino and freshly crushed black pepper for a “cacio e pepe” inspired taralli.
- Wine Variations: Swapping dry white wine for red wine introduces a different color and a richer, fruitier flavor profile, perfect for a heartier snack.
- Sweet Delights: Don’t limit taralli to savory. For a sweet version, omit the fennel seeds and some of the salt, adding sugar, lemon zest, vanilla extract, or cinnamon. These can be lovely with coffee or as a light dessert.
- Perfect Boiling Technique: The brief boil before baking is what gives taralli their signature crisp-chewy texture. Ensure your water is at a rolling boil and avoid overcrowding the pot to maintain a consistent temperature. Boil just until they float to the top.
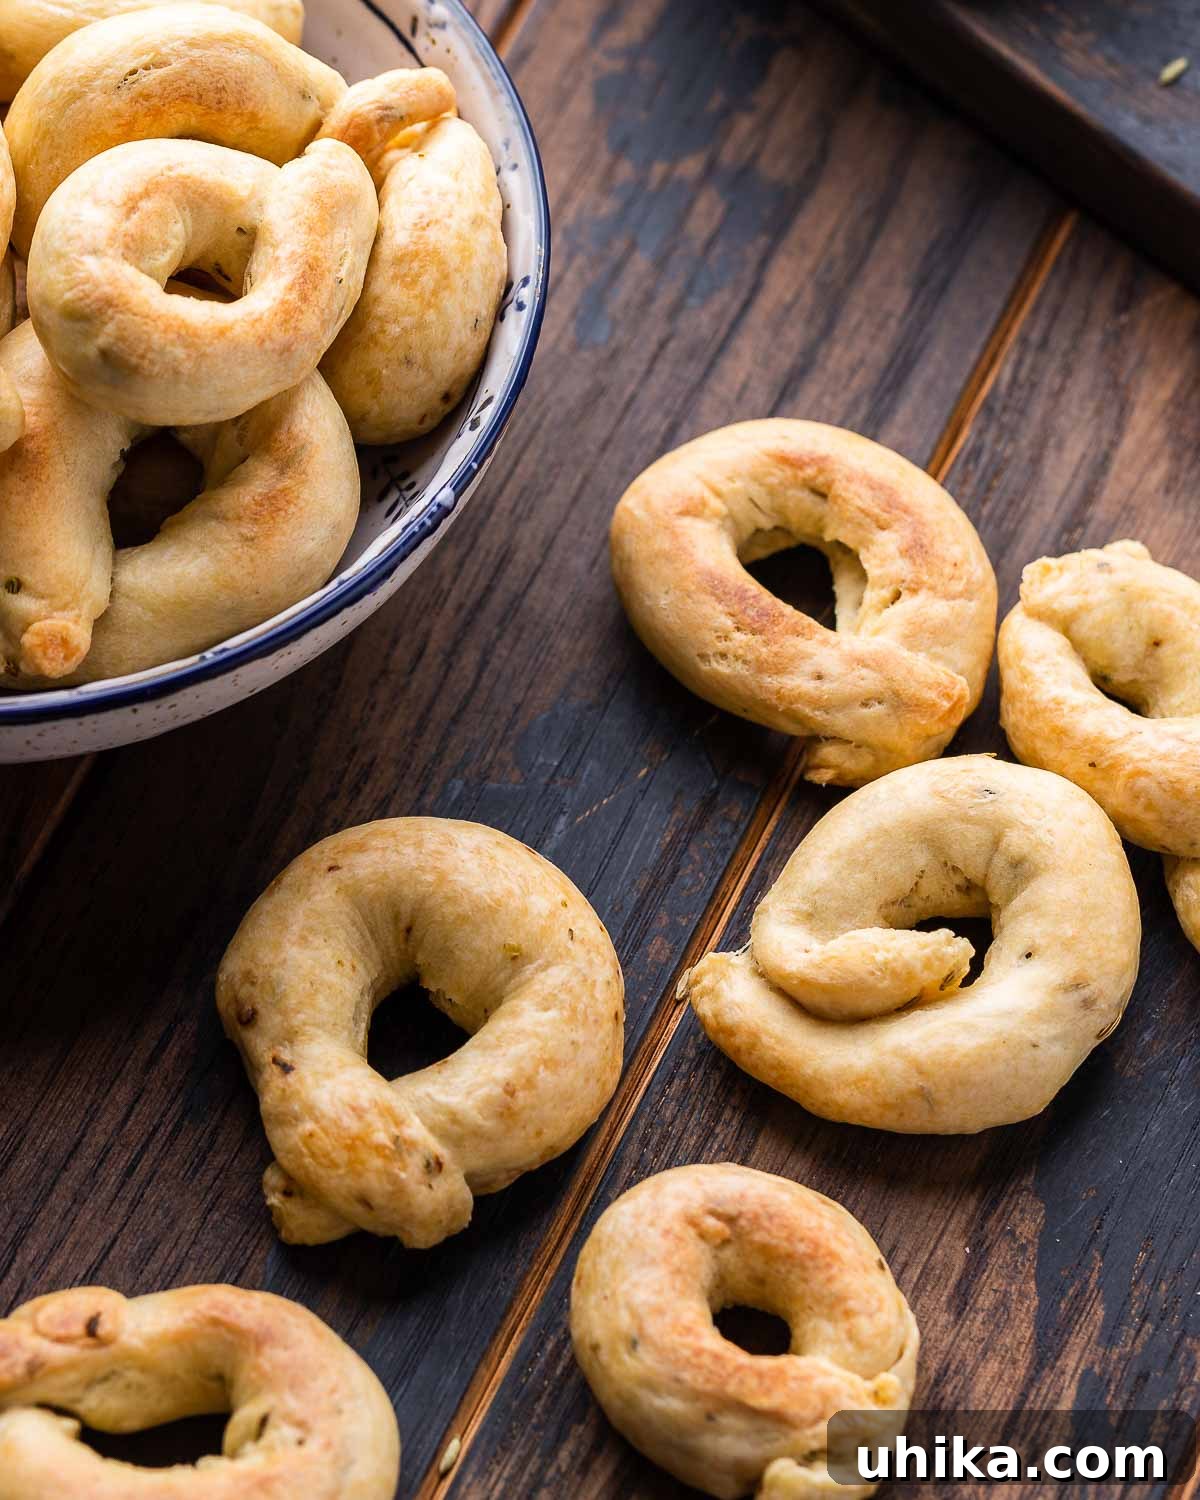
- Storage for Lasting Freshness: Once completely cooled, store your taralli in an airtight container, such as a cookie tin or plastic container. They will remain wonderfully crisp and fresh for up to two weeks, making them an excellent make-ahead snack.
Serving Suggestions: Beyond the Antipasto Platter
While taralli are a natural fit for antipasto and charcuterie, their versatility allows them to shine in many culinary contexts:
- The Classic Aperitivo: Serve them alongside olives, cheeses, cured meats, and a refreshing glass of wine or a spritz for an authentic Italian happy hour experience.
- With Dips and Spreads: Their sturdy crunch makes them perfect for scooping up creamy dips like hummus, artichoke dip, or a rich olive tapenade.
- Soup & Salad Companion: Crumble them over a hearty minestrone or use them as a crunchy crouton alternative in your favorite salad for added texture.
- Travel & Lunchbox Snack: Their robust nature makes them an ideal portable snack for road trips, picnics, or a satisfying addition to packed lunches.
- Simple Pleasure: Sometimes, the best way to enjoy taralli is purely on their own, allowing their subtle flavors and delightful texture to be the star. They are also fantastic with a cup of coffee or tea.
Frequently Asked Questions About Taralli
Here are answers to some common questions you might have about making these Italian crackers:
- Can I make taralli without wine?
Yes, you can substitute the white wine with an equal amount of water, vegetable broth, or even non-alcoholic white wine. The flavor profile will be slightly different, as the wine adds a unique depth, but the texture will remain similar. - Can I make sweet taralli?
Absolutely! To make sweet taralli, reduce the salt to a pinch, and add 2-4 tablespoons of sugar to the dough. You can also incorporate flavorings like lemon zest, orange zest, vanilla extract, or cinnamon. - How long do homemade taralli last?
When stored in an airtight container at room temperature, homemade taralli will stay fresh and crunchy for up to two weeks. - Can I freeze taralli dough?
While it’s generally best to use the dough fresh, you can freeze it. Wrap the dough tightly in plastic wrap and then in foil. Thaw overnight in the refrigerator before proceeding with shaping and boiling. - What if my taralli open up during boiling?
Don’t worry! This can happen if the ends weren’t pressed together firmly enough or if the dough was too dry. They will still taste wonderful even if they aren’t perfectly looped. Focus on ensuring the dough is slightly sticky and pressing the ends well on subsequent batches.
The Ultimate Fennel Seed Taralli Recipe
Taralli
by James Delmage
Prep: 30 mins
Cook: 45 mins
Total: 1 hr 15 mins
Servings: 32 taralli
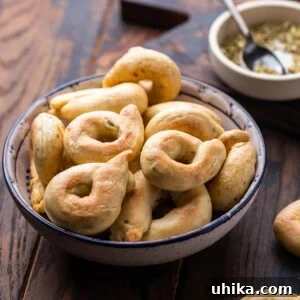
Taralli are wonderful Italian snack crackers that are crisp on the outside, chewy on the inside and make a welcome addition to any charcuterie board or appetizer spread.
Ingredients
- 3 cups (390g) all-purpose flour
- 3/4 cup (180g) dry white wine sauvignon blanc or pinot grigio work well
- 1 tablespoon (20g) fine sea salt divided
- 2 tablespoons (12g) fennel seeds
- 1/2 cup (120g) olive oil
Instructions
- Add the flour, white wine, fennel seeds, olive oil, and 1 teaspoon of fine sea salt to a stand mixer and mix with a paddle attachment until combined (~1 minute). Switch to a dough hook and mix on low speed for another 5 minutes. Note: If you don’t have a mixer, combine everything in a bowl then bring to a work surface and hand knead for 10 minutes.
- Move the dough to a work surface then form a loaf shape. Cover the loaf with a clean kitchen towel or plastic wrap.
- Pull off a small piece of the dough and roll it into a 5-inch long rope that is roughly 1/2-inch thick. Connect the ends together with a slight overlap and press together. Place the taralli onto a parchment paper-lined baking sheet. Repeat for the remaining dough.
- Bring a large pot of water to boil along with the remaining 2 teaspoons of salt. Preheat oven to 375°F (190°C) and set the rack to the middle level.
- Once the water comes to a boil, add 5-6 taralli at a time and boil just until they rise to the top of the pot (about 1-2 minutes). Remove them with a slotted spoon and place onto a paper towel-lined baking sheet so that the water drains. After a few minutes flip the taralli over so that they dry out and drain from the other side. Repeat the process until all of the taralli have been boiled.
- Place the boiled and drained taralli onto parchment paper-lined baking sheet(s). Use 2 sheets if they do not all fit on one. Bake for 30-35 minutes or until they are slightly golden. Enjoy!
Notes
- Taralli can be flavored with a variety of spices. Red or black pepper, herbs, or even red wine instead of white all work well.
- Do not use much flour when rolling the taralli. They need to be sticky so that the ends won’t open up. But don’t worry if they do. They will still be great!
- Taralli will keep for at least 2 weeks in a cookie tin or plastic container.
Nutrition
Calories: 74kcal | Carbohydrates: 5.9g | Protein: 0.8g | Fat: 3.3g | Saturated Fat: 0.5g | Sodium: 74mg | Potassium: 18mg | Fiber: 0.3g | Sugar: 0.1g | Calcium: 2mg | Iron: 1mg
Nutrition information is automatically calculated, so should only be used as an approximation.
Other Italian Snack Recipes to Explore
If you enjoyed crafting these delicious taralli, be sure to explore more of our favorite Italian snack recipes:
- Pizza Fritta – Experience the joy of fried pizza dough, perfect for sweet or savory toppings.
- No-Knead Focaccia – Discover a light and airy bread featuring fragrant rosemary and flaky sea salt, requiring minimal effort.
- Arancini – Indulge in crispy, golden rice balls, traditionally stuffed with rich cheese and savory ragu.
We hope you thoroughly enjoyed this taralli recipe! Your feedback helps us grow, so if you’ve tried this or any other recipe on our site, please consider leaving a 5-star rating and a review in the comments section below. We love hearing from you and seeing your culinary creations!