
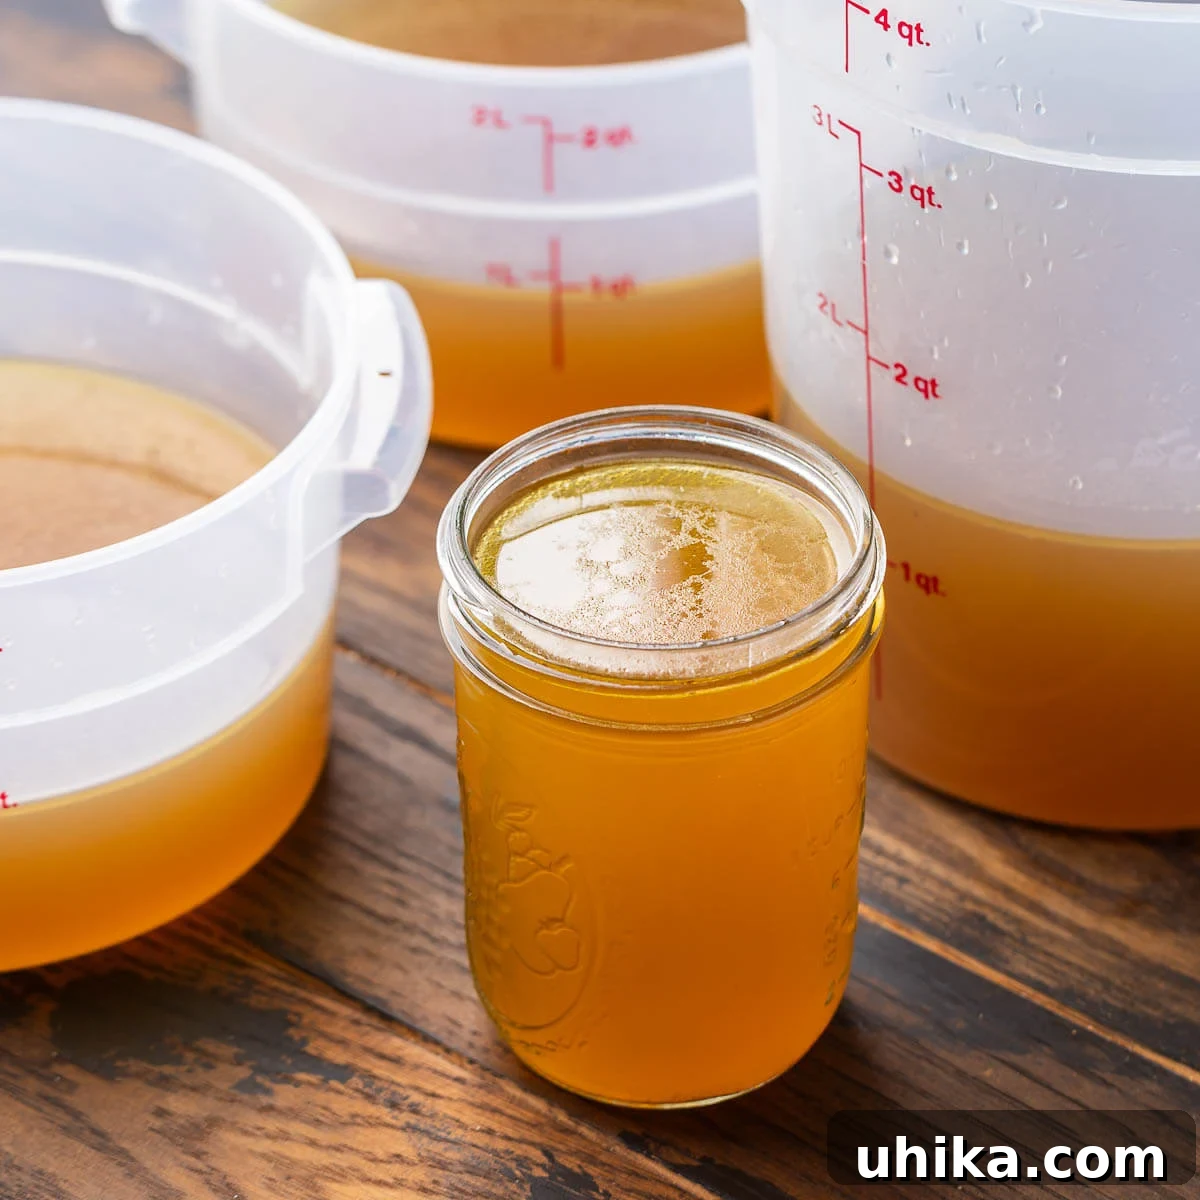
Unlocking Culinary Excellence: The Ultimate Guide to Homemade Beef Stock
There’s a secret ingredient that can transform your cooking from good to gourmet, adding an unparalleled depth of flavor and richness to countless dishes. That secret is homemade beef stock. Far superior to any store-bought alternative, crafting your own beef stock is not only incredibly budget-friendly but also an essential technique for elevating the flavor and quality of almost any recipe that calls for stock.
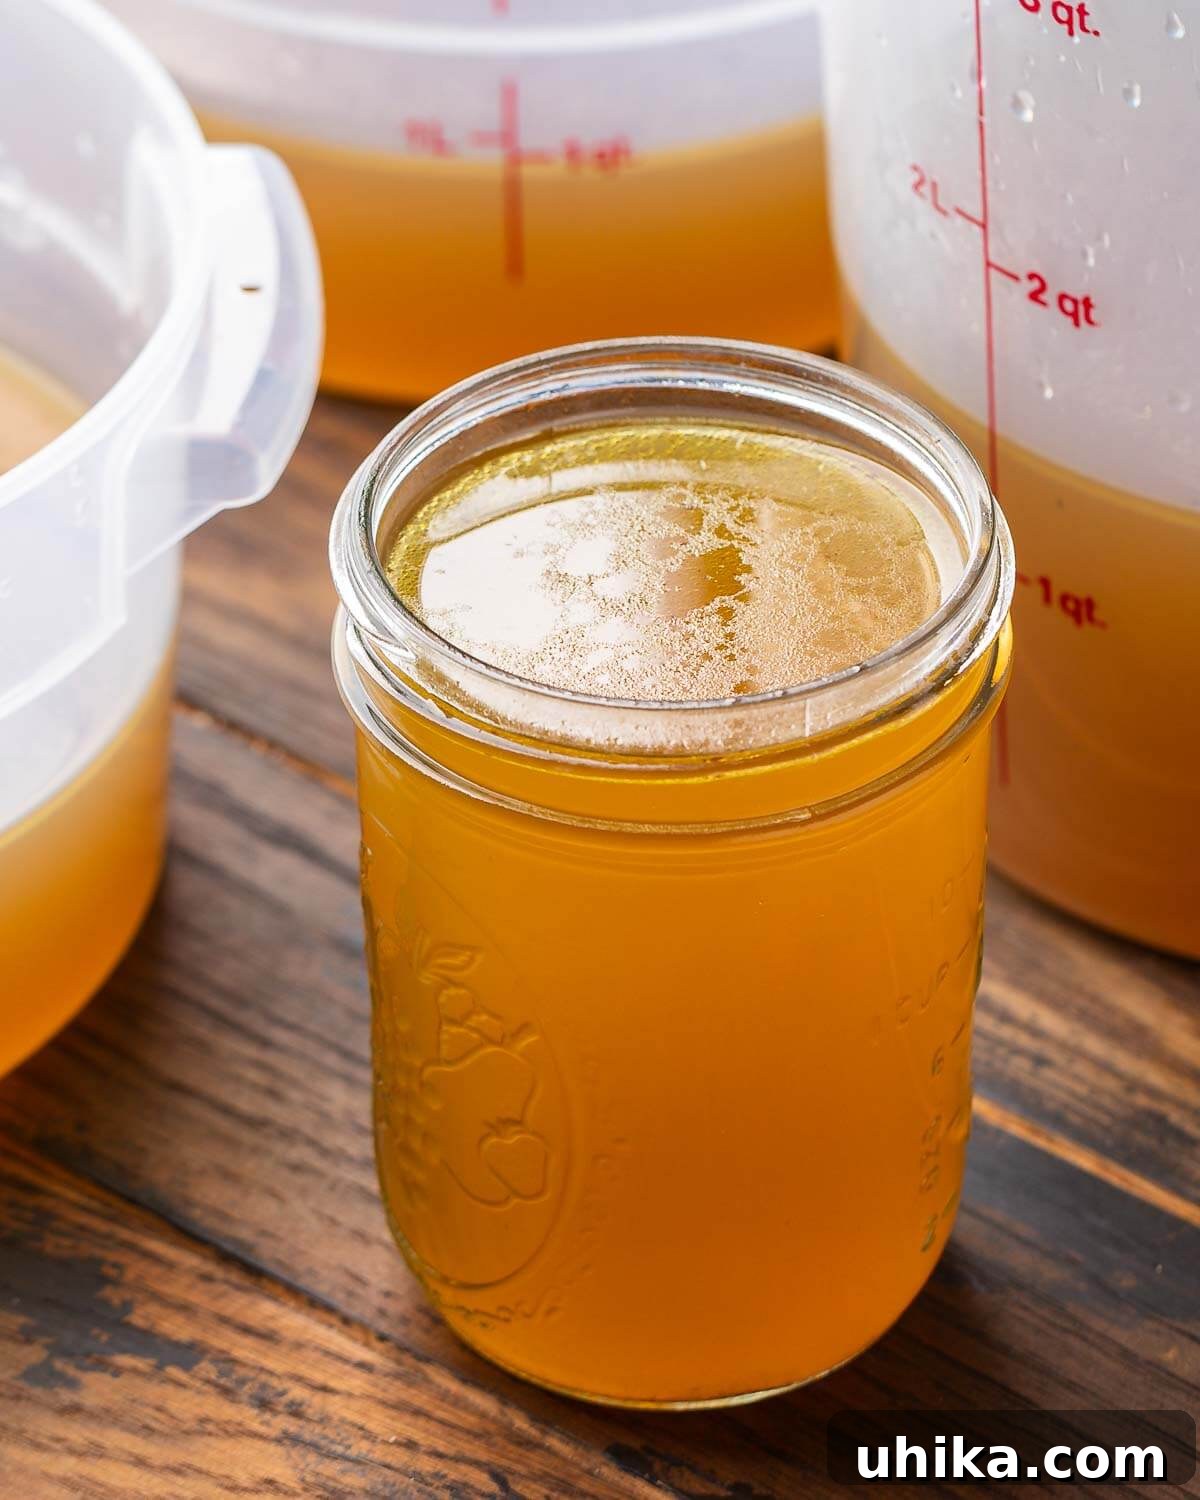
I cannot emphasize this enough: whether it’s beef stock or chicken stock, using a homemade version is the most reliable way to achieve restaurant-quality results in your kitchen. It’s a foundational element that imparts complex flavors and a luxurious mouthfeel that simply cannot be replicated by commercial products often laden with excess salt, artificial flavors, and preservatives.
While the process of making homemade beef stock does require some dedication and patience due to the long simmering time, the rich, flavorful, and nutrient-dense reward is always well worth the effort. Think of it as an investment in your culinary future – a batch of this liquid gold will elevate your everyday meals and impress guests on special occasions.
This comprehensive beef stock recipe is designed to yield approximately 4 quarts or 16 cups of exceptionally flavorful stock. This generous quantity means you can easily store it in your freezer, ensuring a steady supply for any recipe requiring beef stock. Imagine the delicious possibilities: a hearty Guinness beef stew, an elegant beef bourguignon, or even a simple yet profound French onion soup.
A significant advantage of homemade stock is its pure, unadulterated nature. With zero added salt, this stock grants you complete control over the sodium levels in your dishes. This is particularly beneficial for those managing their salt intake or for recipes where you want to build flavor layers without relying on excessive salinity. You can season your soups, stews, sauces, and gravies precisely to your taste, achieving perfect balance every time.
Essential Recipe Ingredients for Flavorful Beef Stock
Crafting exceptional beef stock starts with selecting the right ingredients. Below, you’ll find a visual guide to the components required for this recipe, followed by specific notes to help you choose wisely.
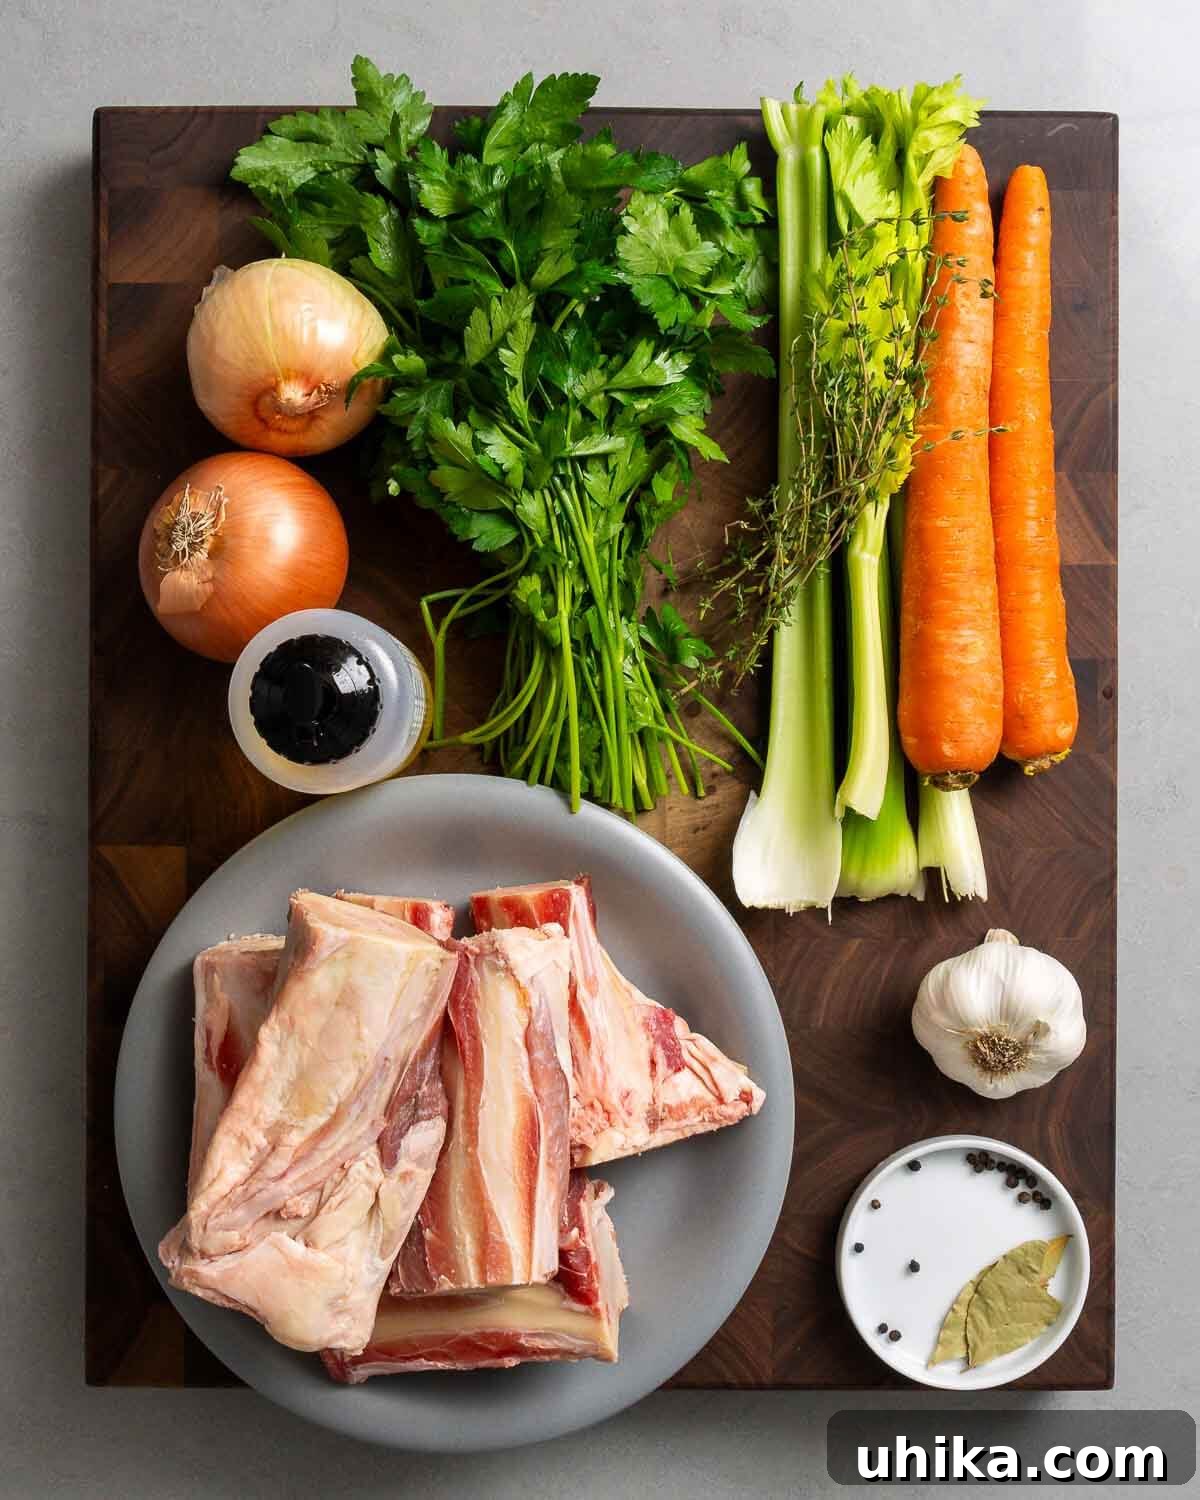
- Beef Bones: The Foundation of Flavor. We highly recommend using beef shin bones, which are renowned for their abundant marrow – a key contributor to flavor and richness. Other excellent choices include beef knuckles, oxtail, or other meaty bones. These cuts contain a good balance of bone, cartilage, and connective tissue, all of which break down during simmering to release collagen, forming a gelatinous, full-bodied stock. If you primarily find bones that are very clean of meat, don’t hesitate to add a few pieces of beef chuck to the mix; the meat will add extra depth. Always remember to build a good relationship with your local butcher; they are an invaluable resource and often have a selection of ideal bones specifically for stock-making that may not be on display.
- Mirepoix: The Aromatic Trinity. Carrots, celery, and onion form the classic aromatic base for most homemade stocks. These vegetables infuse the liquid with a sweet, earthy foundation. There’s no need for precise dicing since their purpose is purely for flavor extraction, not consumption in the final stock. Simply cut them into large, manageable pieces. Feel free to experiment with additional aromatics such as leeks, parsnips, or even a handful of mushrooms for a deeper umami note. However, it’s best to avoid adding peppers, as they tend to impart a bitter or overly vegetal flavor that can detract from the beef’s richness.
- Vinegar (A Secret Weapon). Although not always visually prominent in ingredient shots, a tablespoon of white vinegar is a crucial addition. Its acidity plays a vital role in helping to break down the collagen within the bones, significantly speeding up the formation of gelatin. This process is what gives your stock that desirable, rich mouthfeel and contributes to its body and overall quality. A subtle touch of acid goes a long way.
- Herbs and Spices: The Flavor Enhancers. A carefully selected blend of herbs and spices will round out the flavor profile of your beef stock. Bay leaves offer a subtle, earthy note, while whole peppercorns add a gentle warmth. Fresh parsley and fresh thyme contribute bright, herbaceous undertones that complement the deep savory notes of the beef bones. Using fresh herbs is always preferred for their vibrant aroma and superior flavor.
- Olive Oil: For Roasting. A small amount of olive oil is used to coat the beef bones before roasting, helping them to brown evenly and develop a rich crust.
- Water: The Universal Solvent. While often overlooked, the quality of your water can subtly impact your stock. Use filtered water if your tap water has a strong mineral or chlorine taste. The quantity will be enough to cover all ingredients.
For detailed information on quantities for each ingredient, please refer to the complete recipe card below.
Step-by-Step Guide to Making Homemade Beef Stock
Follow these numbered steps to create a truly exceptional beef stock. Each step is carefully designed to extract maximum flavor and nutrients from your ingredients, resulting in a rich and robust foundation for your culinary creations.
- Roast the Bones for Deep Flavor: Begin by preheating your oven to a high temperature of 425°F (220°C) and ensure the oven rack is positioned in the middle. Carefully arrange 5 pounds of beef bones on a sturdy baking sheet. If your bones are overcrowded, use two baking sheets to ensure even browning. Drizzle the bones with 3 tablespoons of olive oil, then use your hands to thoroughly coat each bone. This step is crucial, as roasting the bones initiates the Maillard reaction, developing a deep, complex flavor and rich color that is the hallmark of superior beef stock. Place the baking sheet(s) in the preheated oven and roast for a full hour, making sure to turn the bones halfway through to brown all sides evenly. This golden-brown crust is where much of the stock’s flavor originates. (See Photo #1: Bones being oiled and prepared for roasting.)
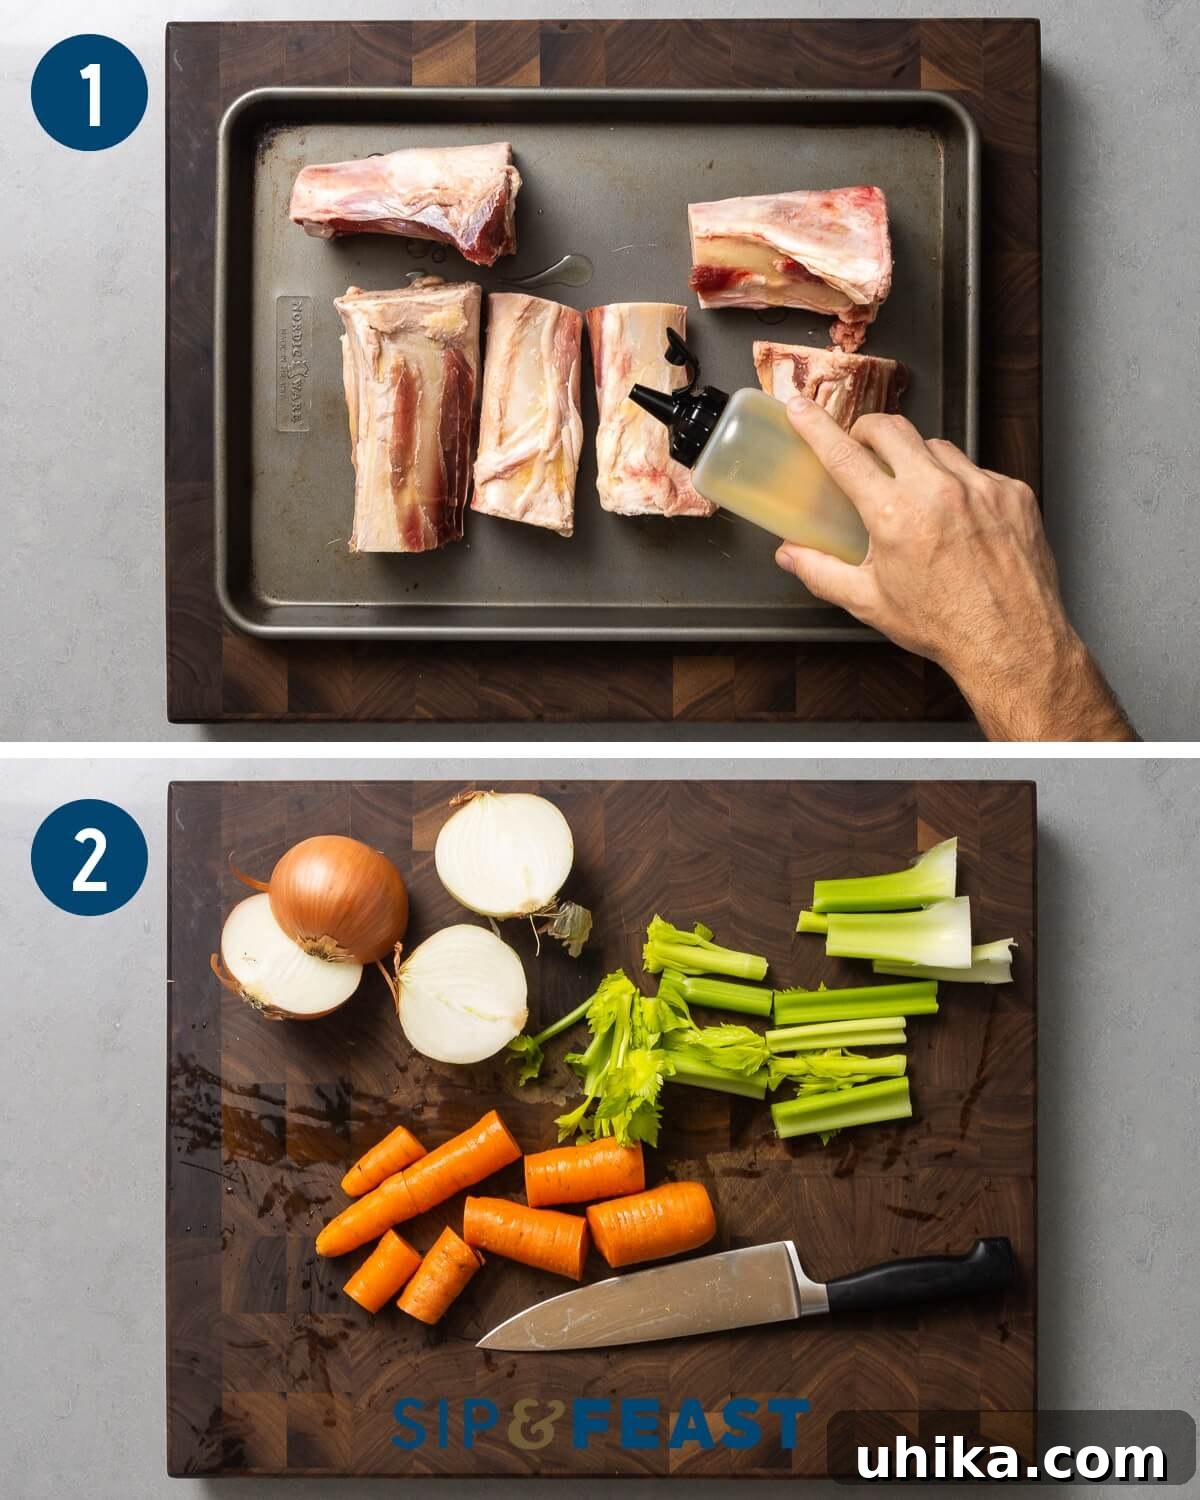
- Prepare Your Aromatics: While the bones are roasting, take 2 large carrots and 3 ribs of celery and slice them into roughly 3-inch pieces. These larger cuts are ideal as they will simmer for an extended period without disintegrating too quickly. Next, take 2 medium yellow onions and simply cut them in half. There’s no need for fine chopping here, as we are extracting their essence, not their texture. (See Photo #2: Roasted beef bones and the deglazing process.)
- Transfer Roasted Bones: Once the beef bones have finished roasting and are beautifully caramelized, carefully remove them from the oven. Using sturdy tongs or a slotted spoon, transfer all the roasted bones into a large stock pot. A 16-quart pot or larger is recommended to comfortably accommodate all ingredients and sufficient water for simmering.
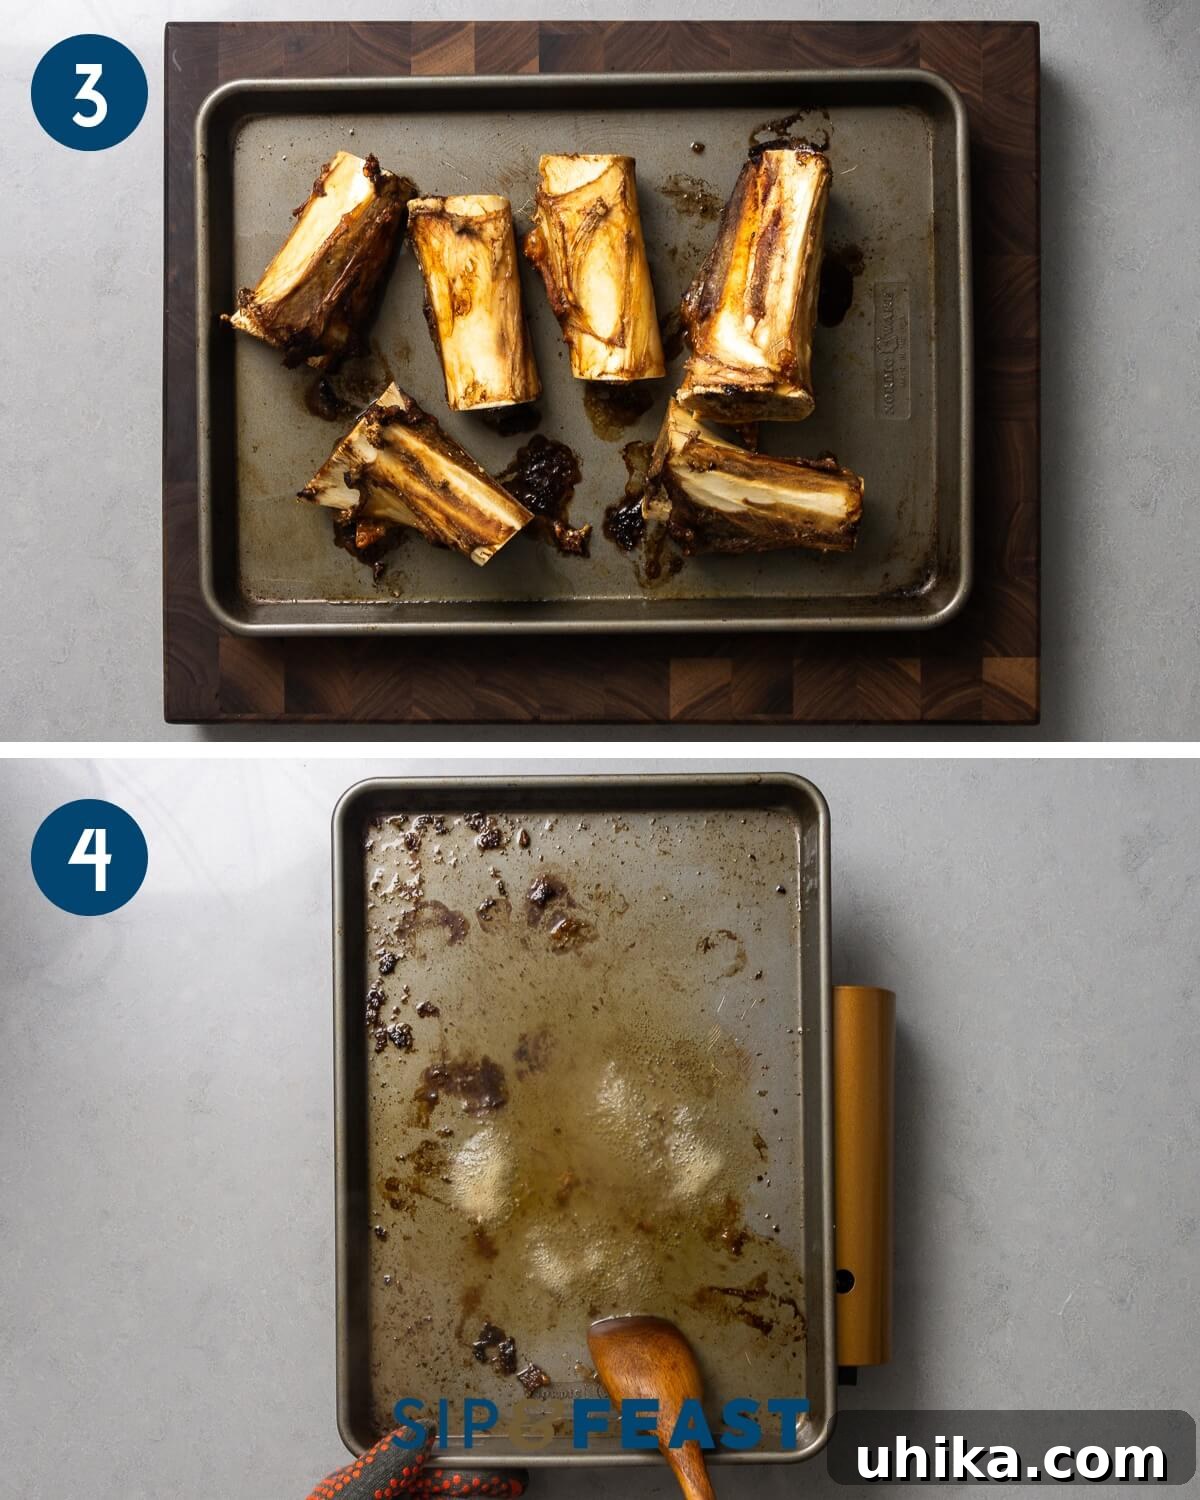
- Deglaze the Roasting Pan for “Fond”: This step is critical for capturing all the rich, caramelized flavor that developed on the baking sheet. Carefully pour off and discard any excess fat rendered from the bones. Place the now-empty baking sheet directly on your stovetop burner and turn the heat to medium. Pour in 3/4 cup of water, and with a flat wooden spoon or spatula, aggressively scrape off all the glorious brown bits – known as “fond” – that are stuck to the bottom of the pan. These bits are packed with intense flavor.
- Add Deglazed Liquid to the Pot: Once you’ve scraped up all the fond and it has dissolved into the water, pour this flavorful liquid directly into the stock pot with your roasted beef bones. This liquid is a concentrated essence of beef flavor that you don’t want to waste. (See Photo #3: Pouring deglazed liquid and all ingredients in the stockpot.)
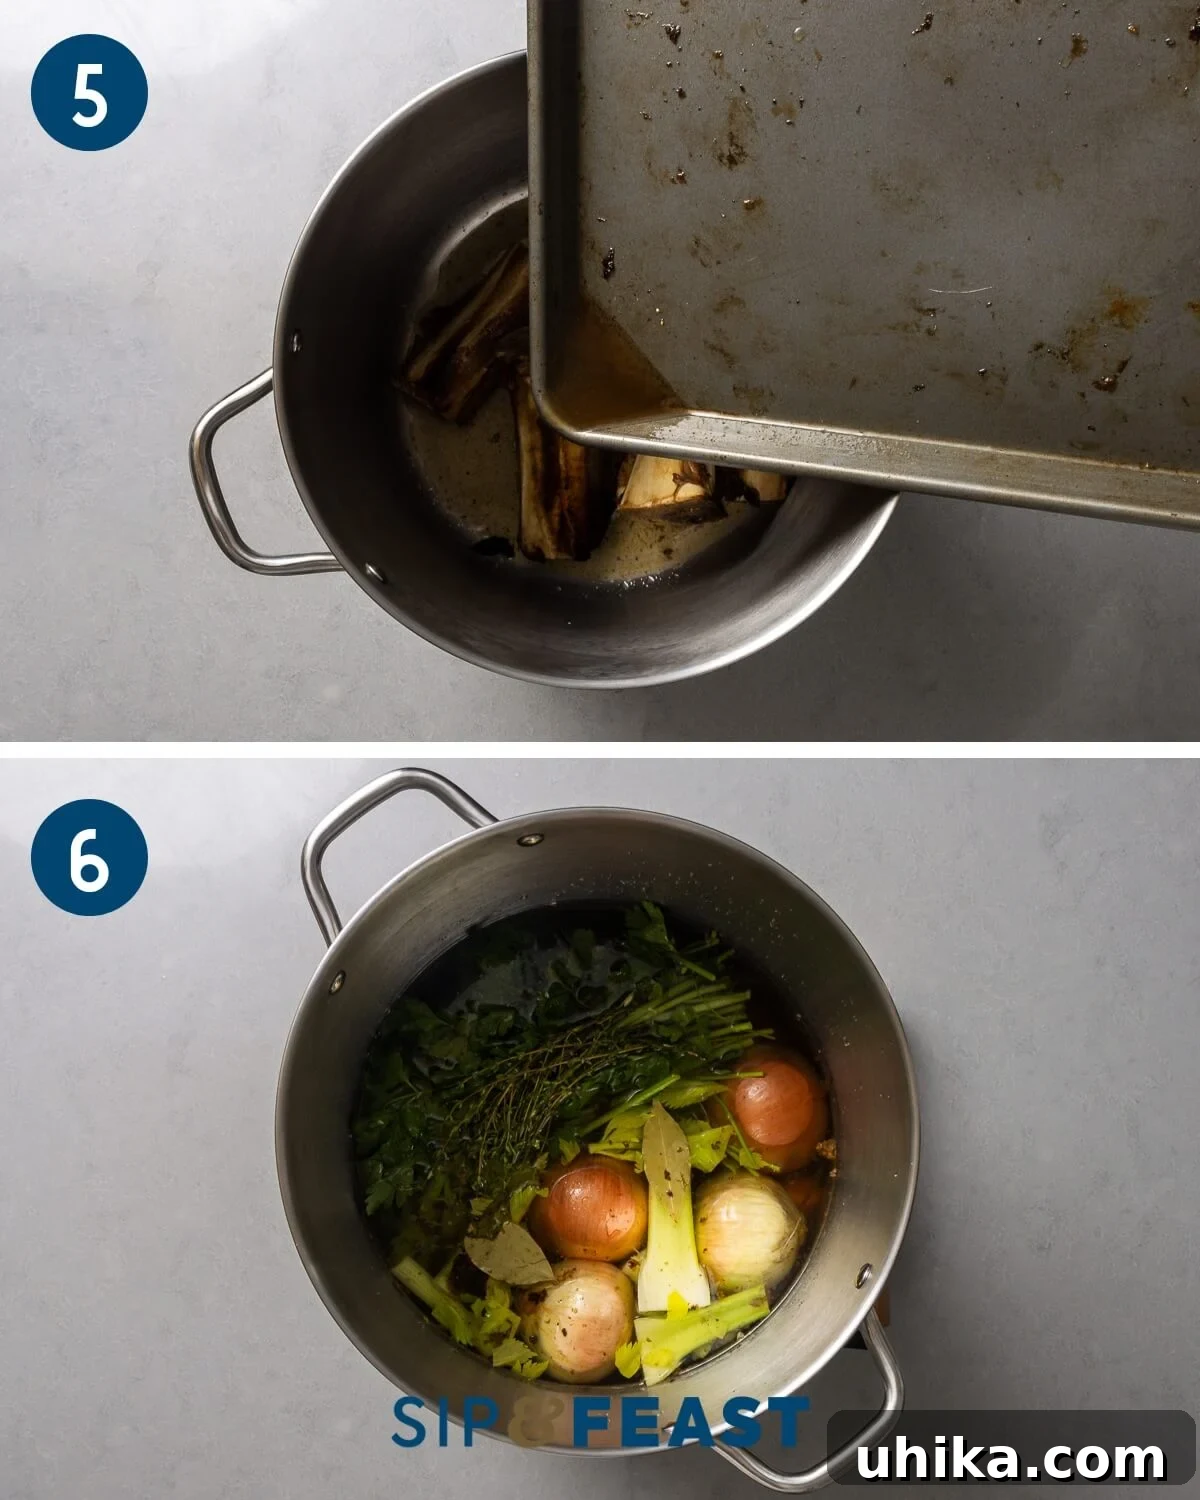
- Combine All Ingredients and Cover with Water: Add the prepared carrots, celery, and onion to the pot with the bones and deglazed liquid. Toss in 5 cloves of garlic, 2 dry bay leaves, 1 bunch of flat-leaf parsley (stems and all), 15 whole peppercorns, 10 sprigs of fresh thyme, and the crucial 1 tablespoon of white vinegar. Finally, add enough cold water to generously cover all the ingredients in the pot. Using cold water allows the impurities to rise more slowly, making skimming easier and yielding a clearer stock.
- Boil, Skim, and Gently Simmer: Place the pot over medium-high heat and bring it to a rolling boil. As the stock heats, you will notice impurities and scum rising to the surface. Once boiling, use a large flat spoon or ladle to carefully skim off and discard this foam. This step is essential for achieving a clear, clean-tasting stock. After skimming, reduce the heat to a very low level – just enough to maintain a very gentle simmer. The surface of the liquid should show only occasional, subtle bubbles, not a vigorous boil. Allow the stock to simmer undisturbed for 9-10 hours. Continue to skim any additional scum that rises to the top every 45-60 minutes throughout the simmering process. Resist the urge to stir, as this can agitate impurities and lead to a cloudy stock. (See Photo #4: Skimming scum and removing solids from the stockpot.)
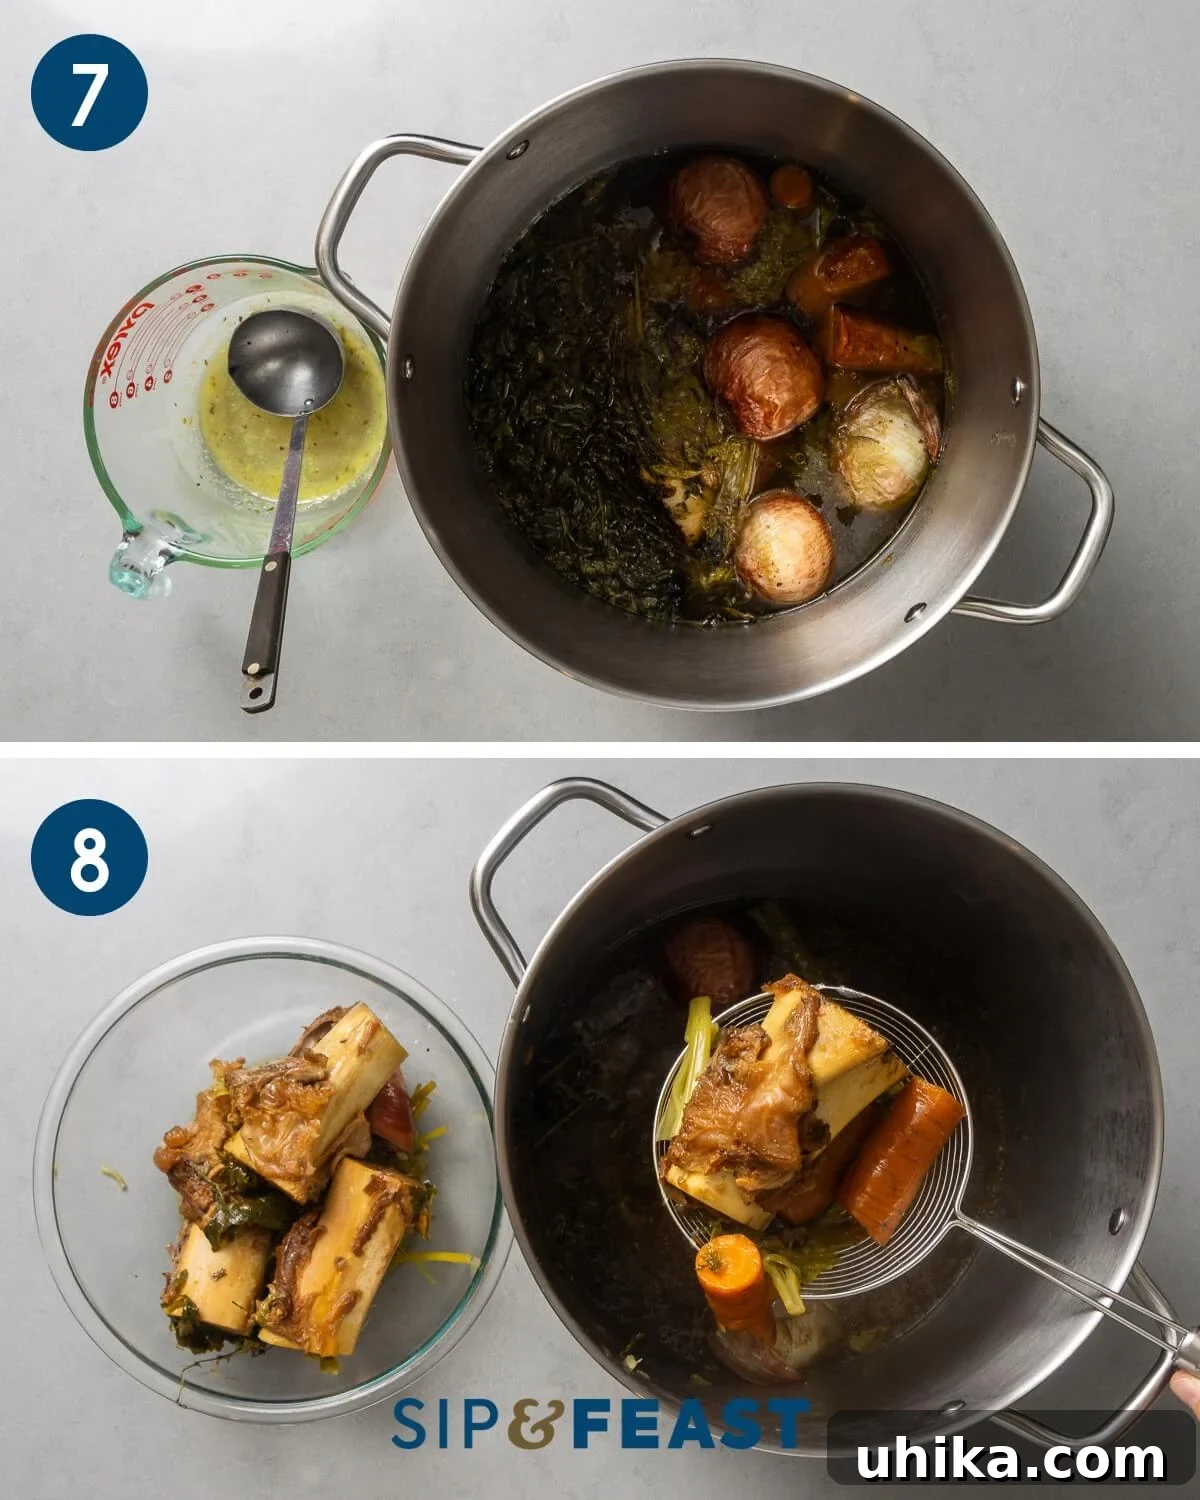
- Remove Solids: After 9-10 hours of gentle simmering, your beef stock will have reduced substantially, concentrating its flavors. Turn off the heat. Begin the straining process by using a pasta spider, large slotted spoon, or tongs to gently remove the bones, spent vegetables, and herbs from the pot. Discard these solids as they have given all their flavor to the stock.
- Fine Strain for Clarity: For a crystal-clear stock, place a fine-mesh sieve or a colander over an empty, clean pot. Line the sieve with several layers of cheesecloth or a few coffee filters. This acts as an additional filter for any remaining small particles. Carefully ladle or pour the rich beef stock into the cheesecloth-lined strainer. A small pot with a long handle can be particularly useful as a large ladle for this task. Allow the stock to slowly drip through without pressing on the solids, as pressing can force undesirable particles and cloud the stock. (See Photo #5: Straining beef stock and stored stock containers.)
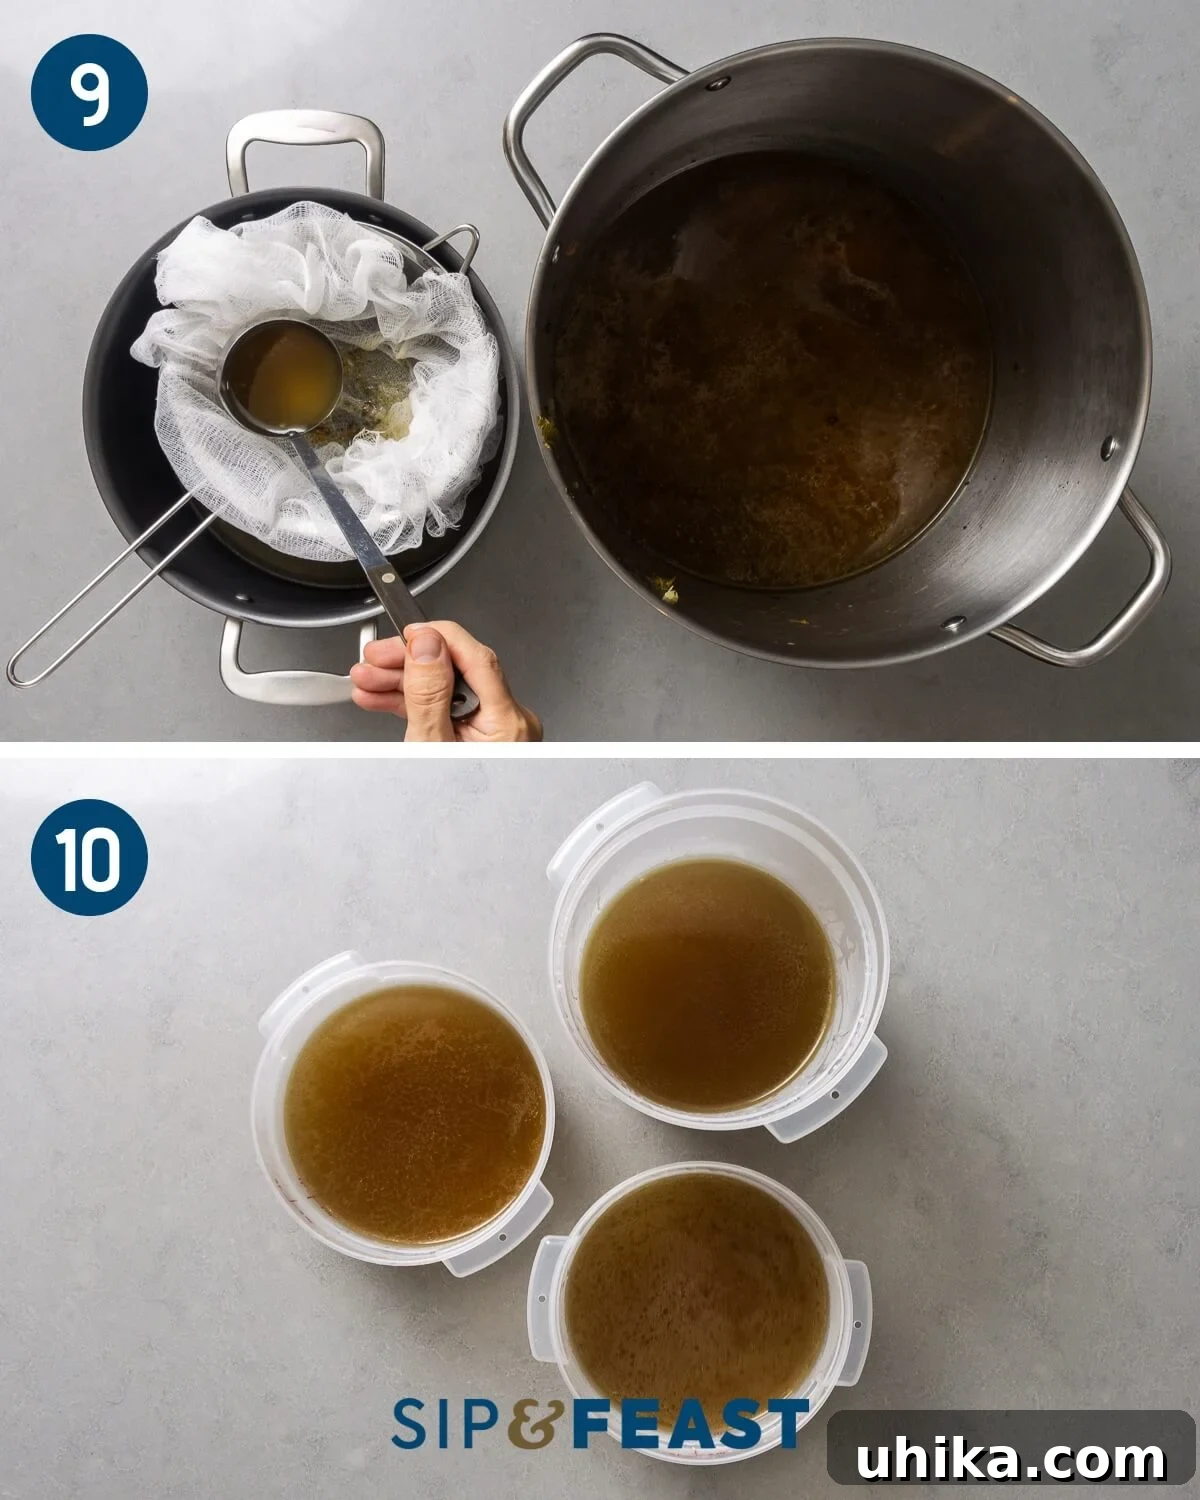
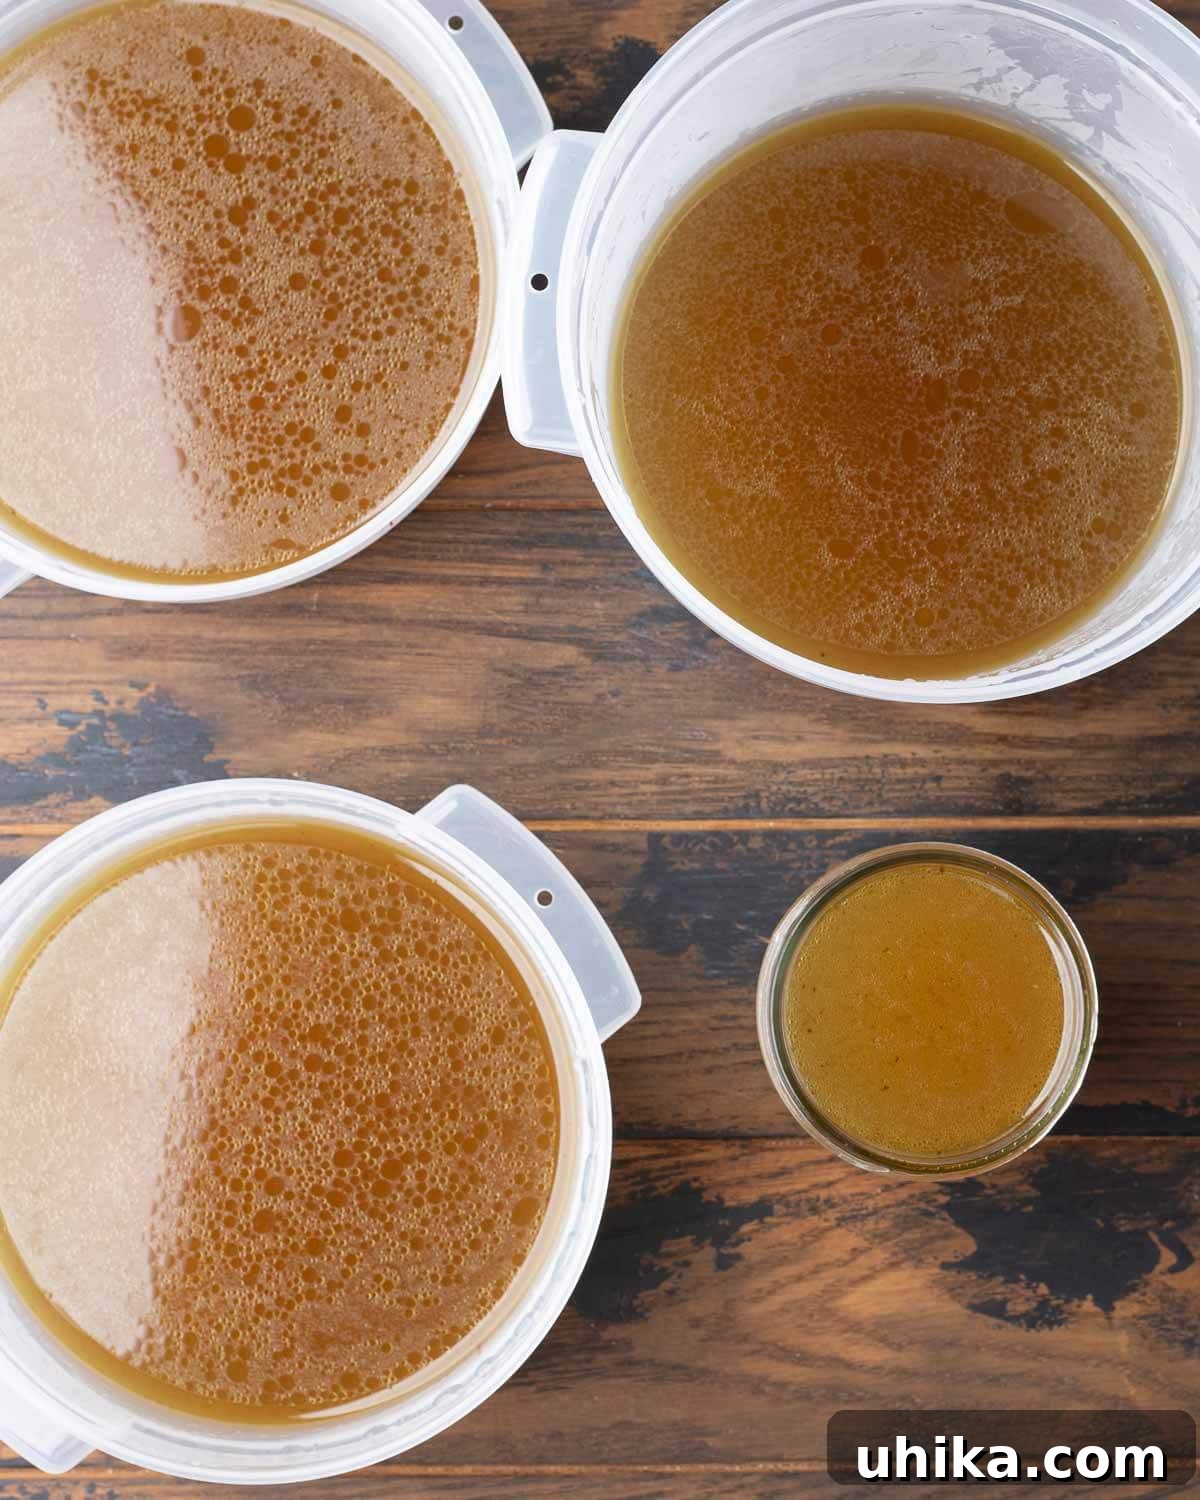
- Reduce (If Needed), Cool, and Store: Once strained, you should have approximately 4 quarts of concentrated beef stock. If you find you have substantially more than this, it indicates the stock is not as concentrated as desired. In this case, return the strained stock to a clean pot and simmer it gently until it reduces down to the target 4-quart volume. This will intensify its flavor. Allow the stock to cool completely at room temperature before dividing it into your chosen storage containers. It’s crucial to cool it quickly and thoroughly to prevent bacterial growth. Once refrigerated or frozen, you will notice a layer of solidified fat at the top of each container. This fat cap serves as a natural seal, helping to protect the flavor of the stock and keep it fresh. The fat can either be discarded just before using the stock or, if rendered cleanly, saved for other culinary uses. Refer to the “How to Store Beef Stock” section below for detailed storage information.
Storing Your Homemade Beef Stock for Future Culinary Adventures
Once you’ve invested the time and effort into making this magnificent beef stock, proper storage is key to preserving its flavor and extending its shelf life. I often dedicate a day at the end of summer to making large batches of both beef stock and chicken stock. This ensures I have a ready supply as the cooler weather arrives and soups and stews become a weekly, if not daily, staple.
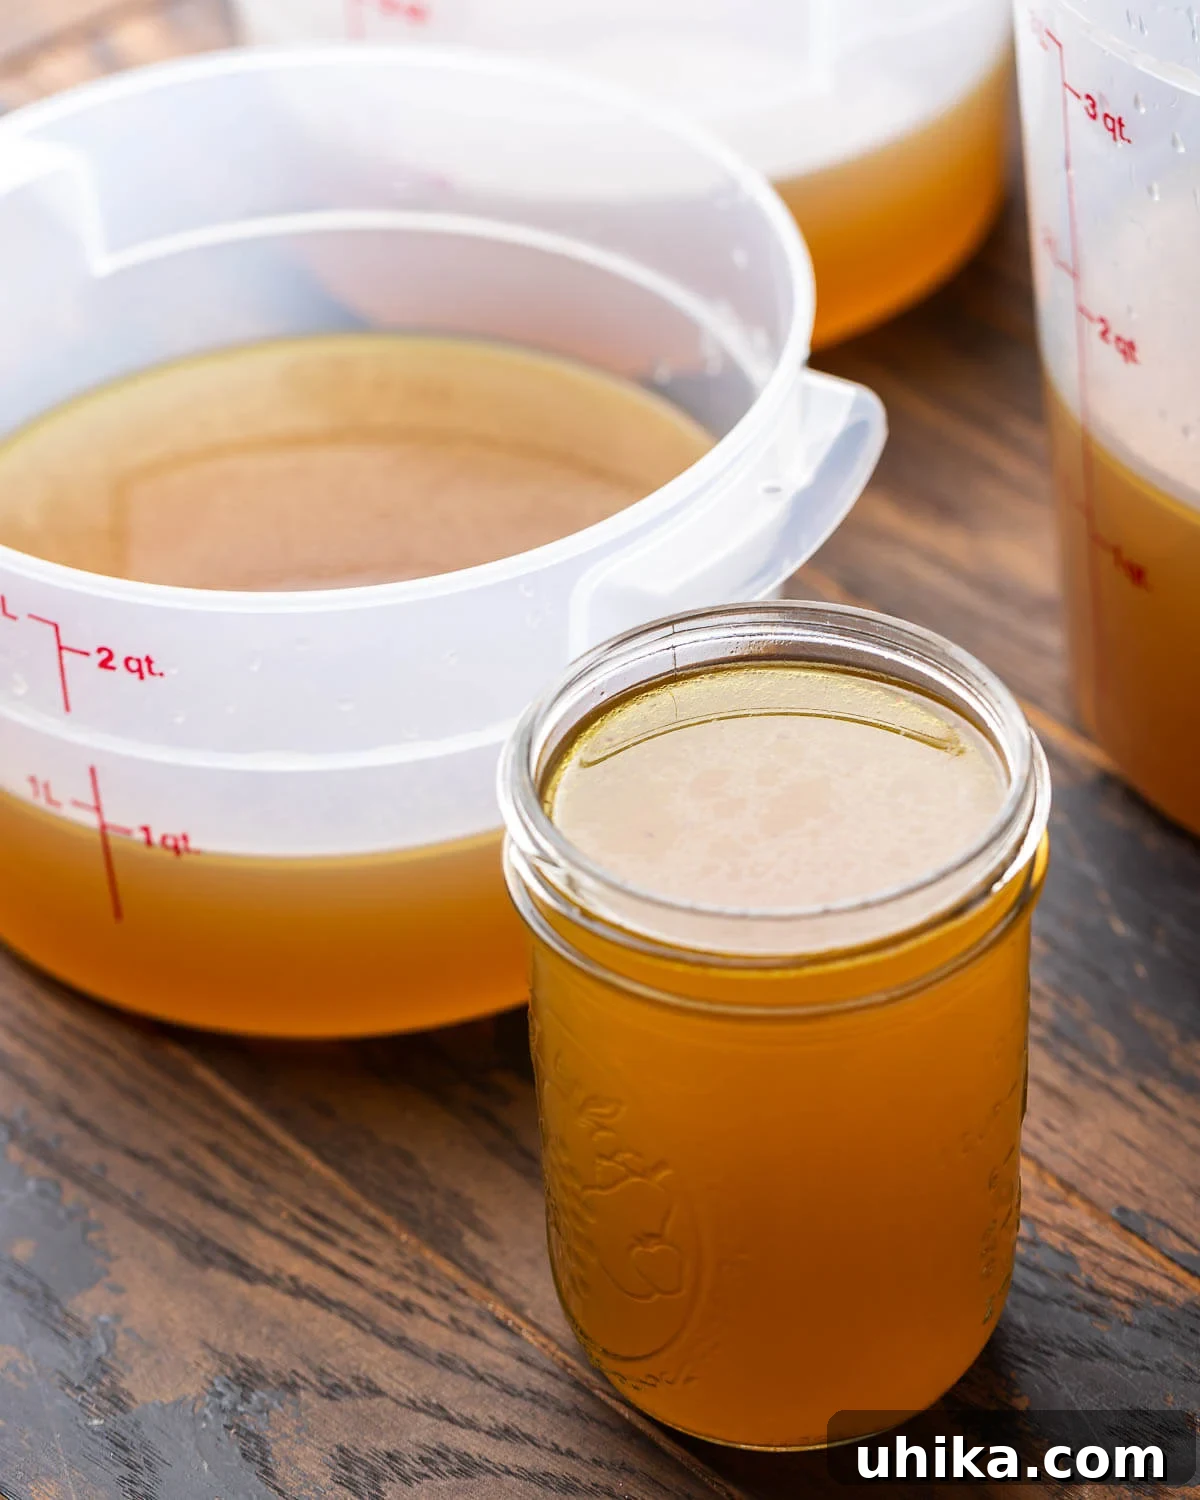
I highly recommend storing your stock in smaller, manageable containers. Storing in 1-quart increments is a common and practical approach, as many recipes call for stock in these quantities. However, even smaller amounts are incredibly useful for adding a boost of flavor to gravies, pan sauces, or sautéed vegetables.
For ultimate portion control and convenience, consider ladling the beef stock into ice cube trays. Once frozen solid, pop out the cubes and transfer them to a freezer-safe bag or container. This allows you to grab just a few cubes as needed, minimizing waste and making it incredibly easy to incorporate homemade flavor into smaller dishes.
When it comes to shelf life, homemade beef stock can be safely stored in the refrigerator for up to 5 days. For longer-term storage, it performs exceptionally well in the freezer for up to 6 months. Always label your containers with the date to keep track of freshness.
Expert Tips for Crafting the Perfect Beef Stock
- Befriend Your Butcher. Your butcher is your best ally in the quest for perfect beef stock. If you can’t readily find the specific beef bones you’re looking for (like marrow bones or knuckles) in the refrigerated section of your grocery store, always make a point to speak to the butcher directly. They often keep a wider selection of bones in the back, specifically suited for stock-making, and are usually happy to prepare them for you. Tell them your intention is to make stock, and they can guide you toward the best cuts and even offer advice on quantities.
- Handle with Care: The Gentle Simmer. One of the most common pitfalls when making stock is over-agitation. Anything that violently stirs or churns the bones and aromatics during cooking – such as vigorous boiling or frequent stirring – can contribute to a cloudy stock. For a beautifully clear and appealing stock, resist the urge to stir once the simmer begins. Allow the stock to simply and gently bubble for the entire 9-10 hours. When it’s time to remove the spent ingredients, do so gently with a slotted spoon or spider.
- The Salt-Free Advantage. A significant benefit and a core recommendation for homemade stock is that it does not include any added salt. This might seem counterintuitive, but it’s a deliberate choice. By keeping your stock unsalted, you retain complete control over the final seasoning of any dish you use it in. Different recipes require varying levels of salt, and adding it to the stock itself would limit its versatility and could lead to over-salting your finished meals. Therefore, this beef stock recipe explicitly omits salt. Always season your finished dishes accordingly, after incorporating the stock.
- Reusing Bones: The Art of Remouillage. Don’t toss those bones after the first batch! A remouillage, or “second stock,” is a fantastic way to maximize your resources and extract even more value. Simply return the already-used bones to the pot, add a fresh set of new vegetables, herbs, and aromatics, and cover everything with fresh water. Simmer again for another 6-8 hours. While this second stock won’t be as intensely flavored or gelatinous as the first, it will still be incredibly flavorful and suitable for lighter soups, risottos, or as a base for sauces. It’s an economical and sustainable practice for any home cook.
- The Importance of Cold Water: Always start your stock with cold water. This allows impurities to rise slowly to the surface as the water heats, making them easier to skim off and resulting in a clearer stock.
- Skimming for Clarity: Skimming the scum that rises during the initial stages of simmering is paramount for a clear, pristine stock. Don’t skip this step!
Frequently Asked Questions About Beef Stock
Are beef broth and beef stock the same thing?
While often used interchangeably in home cooking, beef broth and beef stock have distinct differences. Beef stock is traditionally made primarily from bones (and some meat scraps), simmered for a long duration (typically 6-12 hours). The marrow and collagen extracted from the bones contribute to a rich, full-bodied, and often gelatinous texture when chilled. Beef broth, on the other hand, is typically made with more meat and some bones, simmered for a shorter period (1-3 hours). It tends to be lighter in body and flavor. For most everyday recipes, they can be used interchangeably, but stock generally provides a more profound flavor and mouthfeel, especially in dishes like gravies or braises where body is desired.
Should I roast the bones for beef stock?
Absolutely, roasting the bones first is a highly recommended and crucial step in making exceptional beef stock. This process contributes significantly to a richer, deeper flavor and a beautiful amber color in your final stock. The high heat caramelizes the bone surfaces and any adhering meat (Maillard reaction), adding layers of complex, savory notes that unroasted bones simply cannot provide. Make sure to follow the recipe steps to deglaze the roasting pan afterwards; those browned bits (fond) are packed with flavor and must be incorporated into your stock.
Why did my beef stock turn into jelly in the fridge?
Don’t worry, if your beef stock transforms into a wobbly jelly when chilled, it’s not a sign of spoilage; it’s a sign of success! This gelatinous texture indicates that you have successfully extracted a significant amount of collagen from the beef bones and connective tissues. As the stock cools, this collagen converts into gelatin, which solidifies. This gelatin is highly prized by chefs because it contributes to the body, richness, and silky mouthfeel of sauces, soups, and stews. It’s a hallmark of a well-made, nutrient-rich stock.
What causes cloudy stock and how can I avoid it?
Cloudy stock is typically caused by three main factors: vigorous boiling, not skimming impurities, or stirring the stock excessively during simmering. To achieve a clear stock, always start with cold water, bring it to a gentle boil, and meticulously skim off all the scum and impurities that rise to the surface. After the initial skimming, reduce the heat to a bare simmer (just a few tiny bubbles) and resist the urge to stir. A slow, gentle simmer allows the impurities to settle and prevents them from recirculating into the liquid.
Our Favorite Ways to Use Homemade Beef Stock
Homemade beef stock is a culinary superpower, enhancing the depth and complexity of a wide array of dishes. While many of our recipes benefit from its inclusion, here are some of our most popular applications that truly shine with homemade stock:
- Italian Beef Stew – A comforting classic, made richer with tender beef, sweet carrots, crisp celery, earthy mushrooms, and a splash of robust red wine, all brought together by the savory embrace of your homemade stock.
- Hearty Beef Barley Soup – This wholesome soup features plump pearl barley, tender carrots, and fragrant fresh thyme. The beef stock provides a robust backdrop, making every spoonful deeply satisfying.
- Flavorful Steak Pizzaiola – Chuck steaks are braised to perfection in a rich tomato sauce with bell peppers and mushrooms. Homemade stock is essential here, providing the liquid foundation that tenderizes the meat and melds all the vibrant Italian flavors.
- Classic French Onion Soup – The quintessential comfort food, with caramelized onions simmered in deeply flavored beef stock, then crowned with a crusty baguette and melted Gruyere cheese. Homemade stock is non-negotiable for achieving its signature depth.
- Meatloaf with Rich Brown Gravy – Elevate a family favorite. A perfectly seasoned meatloaf served with an accompanying brown gravy, enriched with garlic, thyme, onion, and featuring the best mushroom gravy imaginable, all built upon the savory base of your homemade beef stock.
If you’ve enjoyed this homemade beef stock recipe or found any recipe on this site helpful, we would be incredibly grateful if you could give it a 5-star rating and share your thoughts in the comments below. Your feedback and ratings help us continue to create valuable content!
We are passionate about catering to various learning styles. If you are someone who prefers to learn by watching, you can find most of our recipes and cooking demonstrations on our dedicated YouTube channel and our vibrant Facebook Page.
Beef Stock Recipe
Author: James Delmage
Prep Time: 15 mins
Total Time: 10 hrs 15 mins
Yield: 16 cups (4 quarts)

Enrich the flavor in your favorite recipes with this easy-to-make homemade beef stock. While the simmering time is long, the process is straightforward, budget-friendly, and promises a true revolution in flavor for your culinary endeavors!
Ingredients
- 5 pounds beef bones for stock (a combination of knucklebones, oxtails, shin bones, or thick beef/veal bones with lots of marrow is ideal)
- 3 tablespoons olive oil
- 2 large carrots, cut into 3-inch pieces
- 3 ribs celery, cut into 3-inch pieces (use leaves too for extra flavor)
- 2 medium yellow onions, cut in half
- 5 cloves garlic
- 2 dry bay leaves
- 1 bunch flat leaf parsley
- 15 whole peppercorns
- 10 sprigs fresh thyme
- 1 tablespoon white vinegar
- Water (approximately 8 quarts, or enough to cover all ingredients completely in the pot)
Instructions
Roast the Bones
- Preheat your oven to 425°F (220°C) and adjust the oven rack to the middle level. Arrange the beef bones on a baking sheet. If your sheet is overcrowded, use a second one to ensure even roasting. Drizzle the olive oil over the bones, then use your hands to ensure they are thoroughly coated.
- Roast the beef bones for 1 hour, turning them halfway through the cooking time to ensure they brown evenly on all sides. This roasting step is crucial for developing deep, rich flavors.
- Once the bones are beautifully roasted and caramelized, carefully transfer them from the baking sheet into a large 16-quart (or larger) stockpot.
Deglaze the Roasting Trays
- Carefully pour off and discard any rendered fat from the baking sheet.
- Place the empty roasting pan directly on your stovetop burner and turn the heat to medium. Pour 3/4 cup of water into the pan and use a flat wooden spoon or spatula to vigorously scrape off all the browned bits (fond) stuck to the bottom. These flavorful bits are essential for your stock. Pour all the liquid from the pan into the stockpot with the bones.
Simmer the Stock
- Add all the remaining ingredients (carrots, celery, onion, garlic, bay leaves, parsley, peppercorns, thyme, and white vinegar) into the stockpot. Pour in enough cold water to completely cover all the ingredients. Bring the pot to a boil over medium-high heat.
- Once boiling, use a large flat spoon or ladle to skim off and discard any scum that rises to the surface. This helps ensure a clear stock. After skimming, reduce the heat to a very low level, maintaining only a very gentle simmer with occasional, subtle bubbles.
- Allow the stock to simmer undisturbed for 9-10 hours, continuing to skim any additional scum every 45-60 minutes. Avoid stirring to prevent cloudiness.
Straining the Stock
- After 9-10 hours, the stock will have reduced significantly, and its flavors will be concentrated. Turn off the heat. Begin by using a pasta spider or large slotted spoon to gently remove most of the bones, spent vegetables, and herbs from the pot.
- Place a fine-mesh sieve or a colander over an empty, clean pot and line it with several layers of cheesecloth or a few coffee filters for extra clarity. Carefully ladle or pour the stock (a small pot with a long handle works well as a large ladle) into the lined strainer. Let it drip through naturally without pressing the solids.
- You should be left with approximately 4 quarts of rich beef stock. If you find you have substantially more than this, return the strained stock to a clean pot and reduce it gently over medium heat until it reaches the desired 4-quart volume; this will intensify its flavor.
- Allow the stock to cool completely at room temperature before dividing it into your chosen storage containers. After refrigerating or freezing, a layer of solidified fat will form at the top of each container. This fat cap acts as a natural protective seal, locking in the stock’s flavor. This fat can be easily removed and discarded just before use, or saved for other cooking purposes. See the “Storage Notes” below for more details.
Recipe Notes
- This recipe is designed to produce approximately 4 quarts (16 cups) of concentrated beef stock. If, after straining, you have significantly more than this, your stock may be too weak. Simply pour the stock back into a clean pot and simmer it gently until it reduces to the 4-quart mark before storing.
- Variety is the spice of life, even with bones! Beef neck, shin, oxtail, ribs, and knuckle bones all work exceptionally well for beef stock due to their collagen and marrow content. Feel free to use a combination or any single type of these bones to achieve great results.
- For maximum culinary flexibility, we strongly recommend making stocks without any added salt. This allows you to control the seasoning precisely when you use the stock in your desired recipe. Always salt accordingly at the point of consumption, not during stock preparation.
- Storing your stock in smaller containers is highly recommended for convenience. We typically store ours in 1-quart containers, but smaller amounts can be portioned into ice cube trays or other small, freezer-safe containers for single-serving use.
- If your stock turns into a firm, wobbly jelly in the refrigerator, congratulations! This is perfectly normal and a sign of a high-quality stock. It means you’ve successfully extracted a significant amount of gelatin from the beef bones, which contributes to body and richness.
- Homemade beef stock can be stored safely in the refrigerator for up to 5 days. For longer preservation, it holds up excellently in the freezer for up to 6 months. Always label containers with the date.
- It’s generally best to leave the fat cap on during storage, especially in the refrigerator. This layer of fat creates a protective seal at the top of the container, effectively locking in the flavor and helping to prevent spoilage. Simply remove the fat cap when you’re ready to use the stock, or you can save the rendered beef fat for other delicious culinary applications.
Nutrition Information
Calories: 37 kcal | Carbohydrates: 2.9g | Protein: 4.7g | Fat: 0.2g | Saturated Fat: 0.1g | Potassium: 444mg | Sugar: 1.3g | Calcium: 19mg | Iron: 0.7mg
Nutrition information is automatically calculated and should only be used as an approximation.
Loved this recipe? We’d love to see your creations! Check us out on Instagram at @sipandfeast or tag your posts with #sipandfeast!