
The Ultimate Guide to Baking a Moist and Flavorful Ham with Homemade Pineapple Mint Chutney
Preparing a delicious baked ham for a gathering or holiday meal might seem daunting, but it’s remarkably simple with the right approach. This comprehensive guide will walk you through everything you need to know to create a show-stopping main course: from selecting the perfect ham and mastering the baking process to crafting a vibrant easy baked ham recipe that will impress every guest. We’ll focus on achieving a moist, juicy ham every time, perfectly complemented by our refreshing homemade pineapple mint chutney and a simple, irresistible honey glaze.
Why Baked Ham is the Perfect Centerpiece for Any Occasion
A fully cooked baked ham stands out as one of the easiest yet most impressive entrées you can prepare, making it a fantastic choice for family dinners, holiday feasts like Easter or Christmas, or any special gathering. Its rich, savory flavor and tender texture are universally loved, and its versatility allows it to pair beautifully with a wide array of side dishes. Unlike many other large roasts, most hams sold today are pre-cooked, significantly simplifying the preparation process. Your primary goal is simply to reheat it thoroughly without drying it out, and then enhance its natural flavors with a delicious glaze.
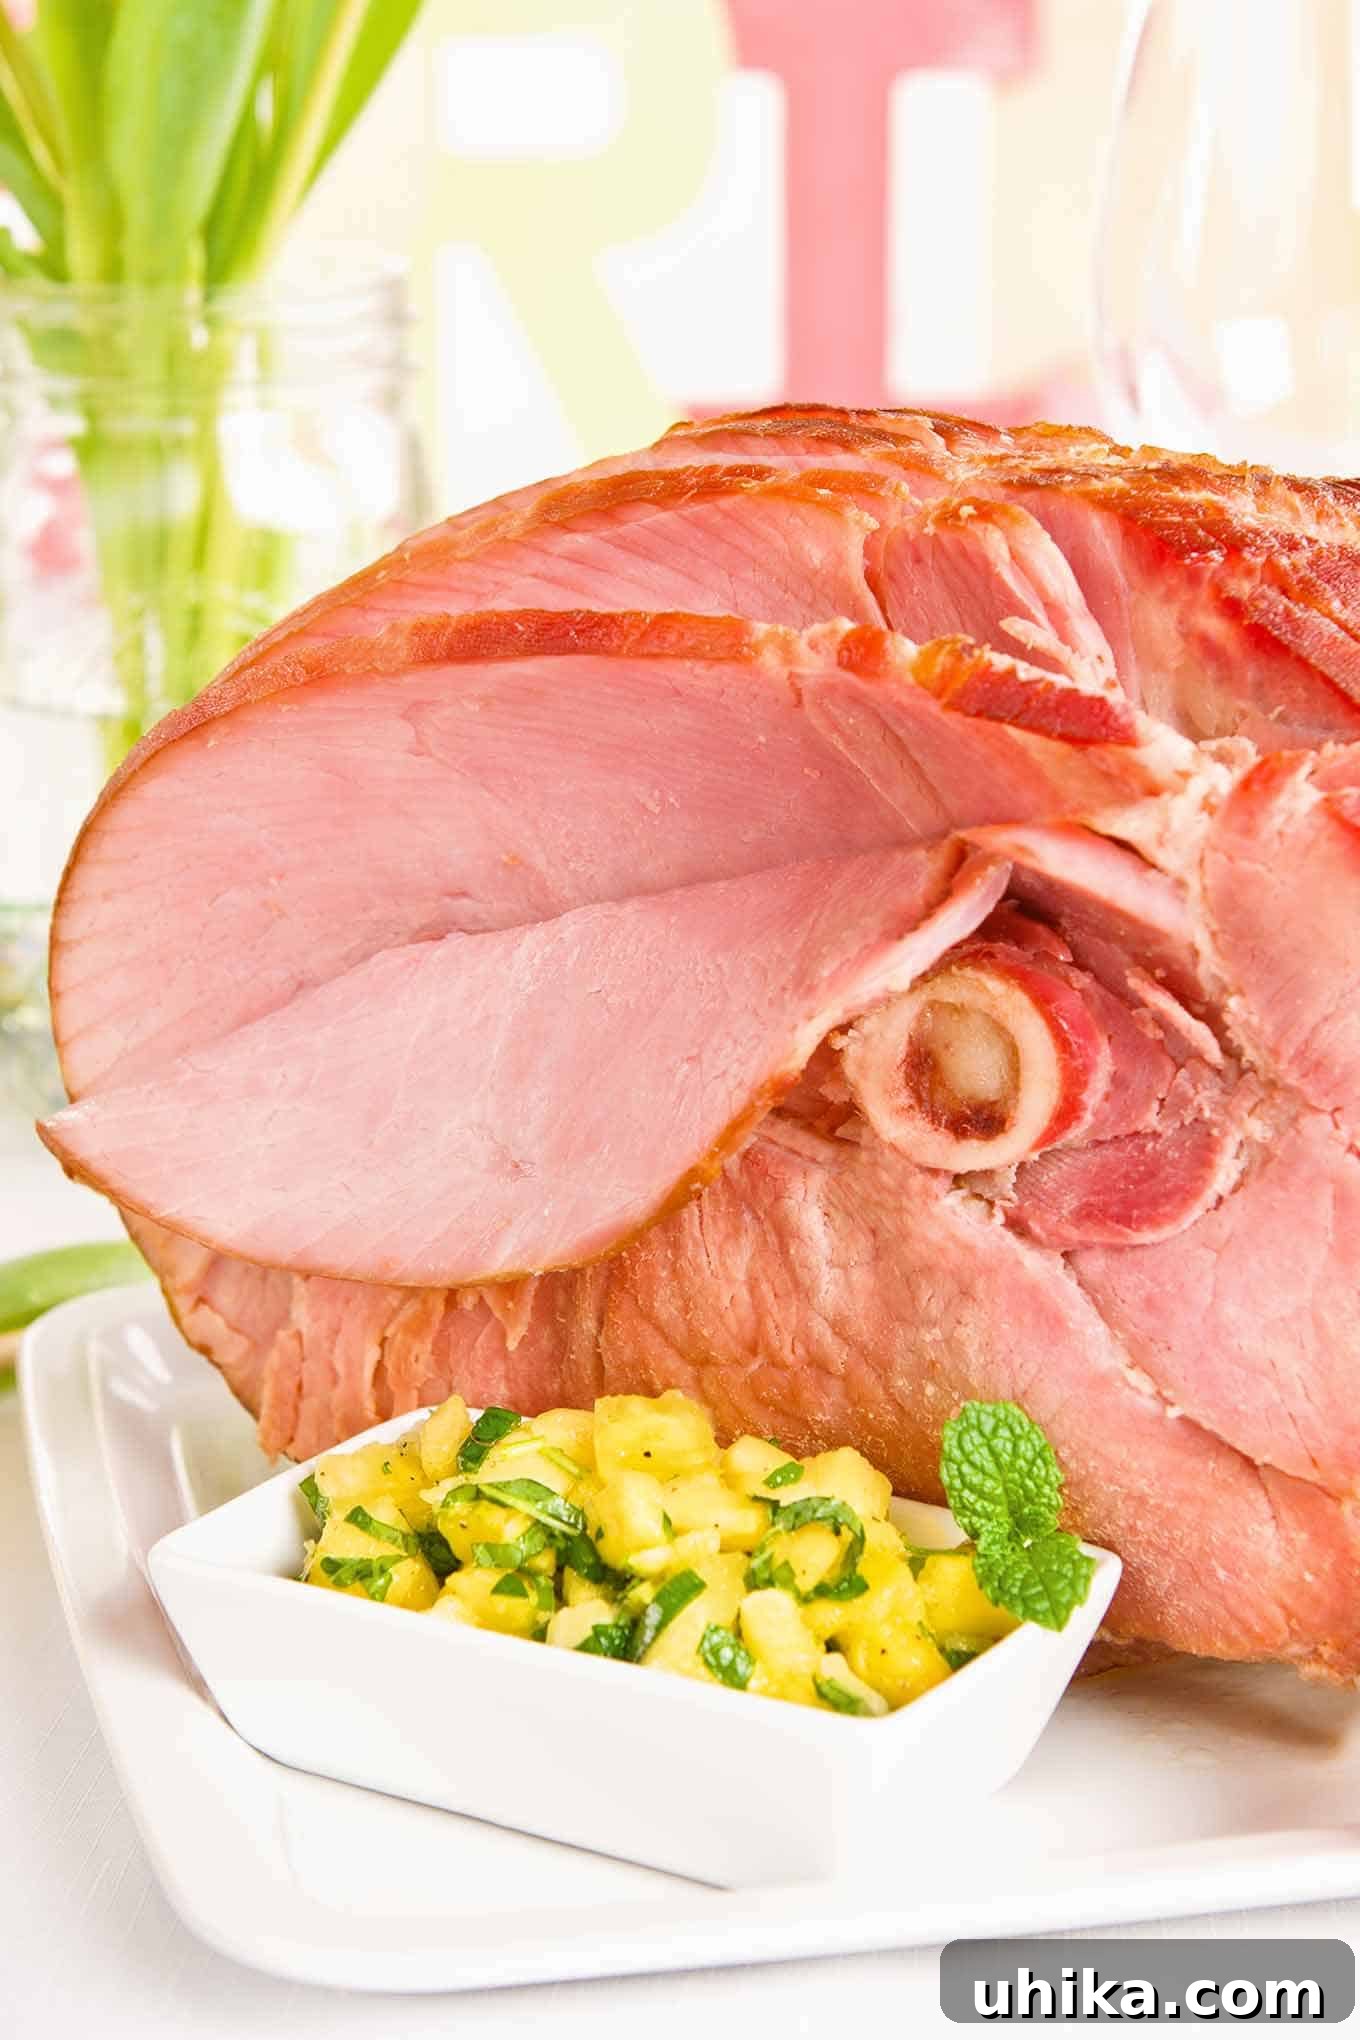
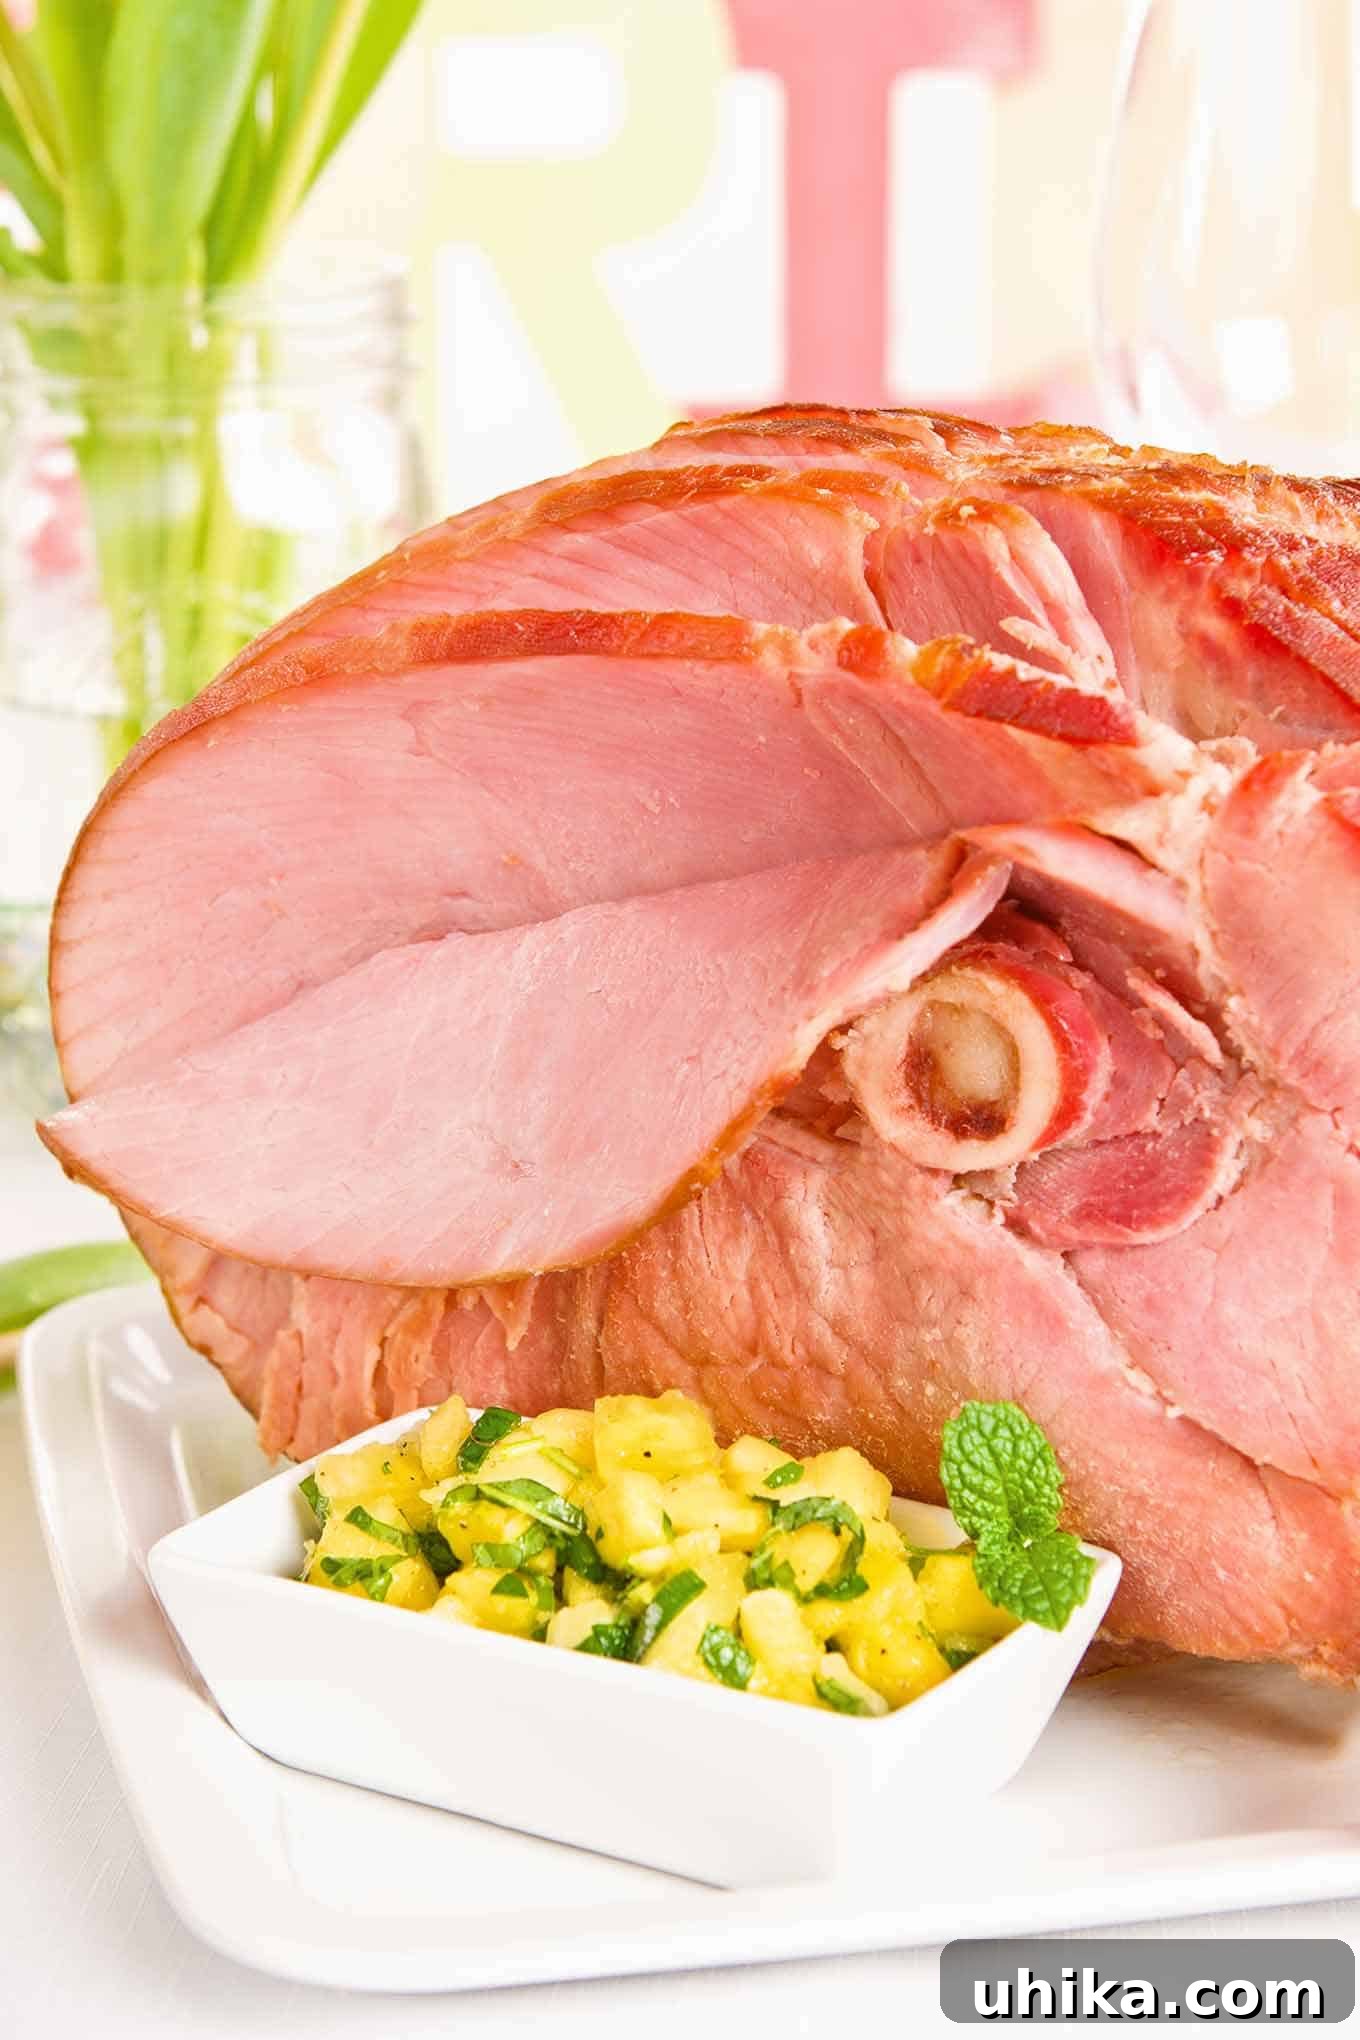
Whether you opt for a convenient spiral-sliced ham, like the one showcased in our image, a traditional whole ham, or a classic bone-in butt or shank cut, our detailed instructions will ensure a successful and flavorful result. This recipe is designed to demystify the process, turning any home cook into a confident ham-baking expert. The ease of preparation, coupled with its elegant presentation and satisfying taste, truly cements baked ham’s status as a quintessential holiday meal and a fantastic option for entertaining.
The Star Accompaniment: Fresh Pineapple Mint Chutney
While a perfectly baked ham is a delight on its own, pairing it with a homemade chutney elevates the experience to another level. Our pineapple mint chutney is incredibly easy to prepare and offers a bright, fresh counterpoint to the savory richness of the ham. Crafted from sweet fresh pineapple, aromatic mint, thinly sliced scallions, and a touch of golden honey, its vibrant flavors are particularly well-suited for spring celebrations like Easter or Mother’s Day, but truly shine any time of year.
This chutney isn’t just an afterthought; it’s an integral part of the meal, adding a burst of sweetness and tanginess that cuts through the richness of the meat. The fresh mint brings a cooling herbaceous note, while the scallions provide a subtle oniony bite and a hint of sharpness. All these elements are beautifully balanced by the natural sweetness of pineapple and honey, creating a complex yet harmonious flavor profile. Its chunky texture also adds an interesting dimension to each bite, making it a truly special homemade condiment that’s far superior to store-bought alternatives. This simple addition makes a significant impact on the overall dining experience, proving that sometimes the simplest ingredients create the most memorable flavors.
Mastering the Glaze: An Essential Step for Flavor and Presentation
Beyond the chutney, a well-executed glaze is key to a truly unforgettable baked ham. While many spiral-sliced hams come with a glaze packet, we highly recommend trying our two-ingredient honey glaze recipe. It’s specifically designed to complement the pineapple mint chutney, adding a beautiful caramelization and a layer of irresistible sweetness and aroma to the ham’s exterior. This simple glaze transforms the ham from merely reheated to elegantly presented and deeply flavored.
The beauty of a homemade glaze lies in its fresh ingredients and the ability to customize its flavor profile. Our recommended honey glaze uses a simple combination of honey and pineapple or orange juice, creating a sticky, glossy coating that adheres beautifully to the ham. The natural sugars in the honey and juice caramelize when exposed to high heat in the oven, creating a delightful crispy-sweet crust that contrasts wonderfully with the tender, moist interior of the ham. This glazing step, though brief, is crucial for both flavor and presentation, turning a good ham into a truly great one. The resulting golden-brown, glistening surface is not only visually appealing but also adds a depth of sweet and tangy notes that enhance every slice.
Crafting the Perfect Spring Menu: Side Dishes and Dessert Pairings
To create an exquisite spring-inspired menu around your baked ham, consider pairing it with classic side dishes that offer complementary textures and flavors. For a truly indulgent and comforting accompaniment, creamy Scalloped Potatoes are an excellent choice. Their rich, cheesy dairy notes echo the ham’s savory profile, creating a heartwarming combination. To add a fresh, vibrant green element and lighten the meal, Roasted Asparagus with Lemon Butter provides a lovely crisp texture and a bright, zesty flavor that brightens the entire plate.
Other excellent side dish options include green bean casserole, roasted root vegetables, or a fresh spring salad with a light vinaigrette. The versatility of baked ham means it can effortlessly pair with a wide range of vegetable and potato dishes. And no holiday meal is complete without a memorable dessert. Conclude your feast with a generous slice of classic Carrot Cake with Cream Cheese Frosting. Its moist crumb, warm spices, and tangy cream cheese frosting offer a delightful end to a magnificent meal, tying together all the springtime flavors beautifully. These carefully selected pairings ensure a balanced, festive, and utterly memorable dining experience for you and your guests, making your holiday spread truly spectacular.

Baked Ham with Pineapple-Mint Chutney Recipe
This recipe provides the fundamental steps for preparing a perfectly moist and juicy baked ham, alongside an easy-to-make, fresh pineapple, mint, and honey chutney that beautifully complements the savory ham. An optional homemade honey glaze recipe is also included to elevate your ham to a new level of flavor and visual appeal, ensuring a memorable meal every time.
Author: Lynne Webb
Prep Time: 10 minutes
Cook Time: 1 hour 45 minutes
Additional Time: 1 hour (for ham to reach room temperature before cooking)
Total Time: 2 hours 55 minutes
Servings: 12 servings
Ingredients
For the Ham:
- 8 to 10 lb fully cooked ham (can be bone-in butt, shank, whole, or spiral-sliced)
- Water
- Honey glaze (optional – refer to the “Chef’s Notes & Tips” section below for the recipe)
For the Pineapple Mint Chutney:
- 3 cups fresh pineapple, finely chopped
- 2 tablespoons honey
- 1 tablespoon white wine vinegar
- 2 scallions, very thinly sliced
- 1/3 cup fresh mint, finely chopped
- Salt and freshly ground black pepper, to taste
Instructions
Note: The estimated cook time provided above (1 hour 45 minutes) is calculated specifically for a 10-pound spiral-sliced ham. The specific cooking times for other ham types and sizes, as well as glazing instructions, are detailed in the steps below.
Preparing the Pineapple Mint Chutney:
- In a small mixing bowl, combine the finely chopped fresh pineapple, two tablespoons of honey, one tablespoon of white wine vinegar, the very thinly sliced scallions, and the finely chopped fresh mint.
- Stir all the ingredients thoroughly until they are well combined, ensuring the honey is evenly distributed.
- Season the chutney to taste with salt and freshly ground black pepper. Adjust the seasonings as needed to achieve a perfectly balanced sweet and tangy flavor that complements the ham.
- Cover the bowl tightly with plastic wrap or a lid and refrigerate the chutney until you are ready to serve the ham. Chilling allows the flavors to meld and deepen beautifully.
Preparing and Baking the Ham:
For optimal results and to ensure even heating, remove your fully cooked ham from the refrigerator approximately 1 hour before you plan to place it in the oven. This allows the ham to come closer to room temperature, which helps prevent the outer layers from drying out before the center is thoroughly warmed. The precise method for heating your ham will vary slightly depending on the specific cut you have purchased.
For a Bone-In Butt, Shank, or Whole Ham:
- Preheat your oven to 350°F (175°C).
- Place the ham on a sturdy roasting rack set inside a large roasting pan. Pour approximately 3/4-inch of water into the bottom of the roasting pan. This crucial step creates a moist, steamy environment that helps prevent the ham from drying out during the long heating process.
- Cover the entire roasting pan tightly with heavy-duty aluminum foil. Ensure a good, secure seal to trap all the moisture inside.
- Bake in the preheated oven until the internal temperature of the ham reaches 145°F (63°C). Always measure the temperature with a reliable meat thermometer inserted into the thickest part of the ham, being careful to avoid touching the bone, which can give a false reading.
- Estimated Baking Times (for bone-in, fully cooked hams):
- For a half ham: Approximately 15 minutes per pound.
- For a whole ham: Approximately 18 to 20 minutes per pound.
- Once the desired internal temperature is reached, carefully remove the ham from the oven. If you plan to apply a glaze, proceed directly to the “Homemade Honey Glaze” section below. Otherwise, let the ham rest, still covered with foil, for at least 15-20 minutes before carving. This critical resting period allows the juices to redistribute throughout the meat, resulting in maximum tenderness and moisture in every slice.
For a Bone-In Spiral-Sliced Ham:
- Preheat your oven to 325°F (160°C).
- Remove all packaging from the ham. If your ham came with a pre-packaged glaze, you may choose to rinse it off at this stage if you prefer to use your own homemade honey glaze (see “Chef’s Notes & Tips” below for the recipe).
- Place the spiral-sliced ham cut side down onto a large sheet of heavy-duty aluminum foil. This orientation helps to keep the ham slices moist during cooking.
- Draw the foil up around the sides of the ham, creating a semi-sealed pouch. Add about 1/2 cup of water to the bottom of this foil pouch. The steam generated from this water will further help to keep the ham incredibly moist and prevent the individual slices from drying out.
- Seal the foil tightly around the ham to create a steamy, enclosed environment. Place this foil-wrapped ham on a rack set inside a roasting pan.
- Bake in the preheated 325°F (160°C) oven for approximately 10 minutes per pound. For example, a 10-pound spiral-sliced ham would bake for about 100 minutes (1 hour and 40 minutes).
- About 15 minutes before the estimated end of the baking time, if you desire a beautifully glazed finish, carefully remove the ham from the oven. Gently unwrap the foil to expose the ham.
- Increase your oven temperature to 400°F (200°C). Apply the homemade honey glaze liberally over the entire surface of the ham (refer to “Homemade Honey Glaze” in the notes). Return the glazed ham to the now hotter oven for 12-15 minutes, or until the glaze is beautifully caramelized and glistening. Watch closely to prevent burning.
- Regardless of whether you choose to glaze or not, let the ham stand, covered lightly with foil, for 15 minutes after removing it from the oven before carving. This crucial resting period ensures the ham remains incredibly moist and tender by allowing the juices to settle.
Chef’s Notes & Tips
Homemade Honey Glaze for Your Baked Ham:
A light, sweet honey glaze provides a wonderful contrast and complement to the tangy pineapple mint chutney. It adds a beautiful sheen and an extra layer of flavor that truly enhances the ham’s savory notes. Here’s how to easily prepare and apply this simple yet impactful glaze:
- In a small bowl, whisk together 1/3 cup of honey with 2 tablespoons of warmed pineapple juice or orange juice until the mixture is smooth and well combined. Warming the juice slightly beforehand helps the honey dissolve and mix more smoothly.
- Approximately 15 minutes before your ham is estimated to be fully heated (or reaches its target internal temperature of 145°F / 63°C), carefully remove it from the oven.
- Gently unwrap the ham from its foil covering, being mindful of any steam.
- Increase your oven temperature to 400°F (200°C).
- Using a pastry brush, generously brush the entire surface of the ham with the prepared honey glaze. Ensure all exposed areas are thoroughly coated for even caramelization and flavor.
- Return the glazed ham to the now hotter oven. Bake just long enough for the glaze to caramelize and become beautifully sticky, glossy, and slightly browned on the surface, typically 12 to 15 minutes. Keep a close eye on it during this period to prevent it from burning, as sugars can caramelize quickly.
- Remove the ham from the oven and allow it to rest before carving, as per the general instructions above.
Tips for a Consistently Moist and Juicy Ham:
- Start at Room Temperature: Always allow your ham to sit at room temperature for at least an hour before baking. This simple step promotes more even cooking throughout the ham, preventing the edges from overcooking and drying out while the center is still warming up.
- Maintain Moisture: Whether you’re using a roasting pan with water for whole hams or wrapping a spiral-sliced ham tightly in foil with added liquid, maintaining moisture in the oven environment is paramount. The steam generated helps to keep the ham tender and prevents it from drying out.
- Avoid Overcooking: Since most hams are pre-cooked, your goal is primarily to reheat, not to cook from raw. Overcooking is the quickest and most common way to end up with a dry ham. Always use a reliable meat thermometer to ensure it reaches the safe internal temperature of 145°F (63°C) and no more. Remove it promptly once this temperature is achieved.
- The Crucial Resting Period: This step is absolutely non-negotiable for juicy ham. After removing the ham from the oven, cover it loosely with foil and let it rest for 15-20 minutes. This allows the internal juices, which have been pushed to the center during heating, to redistribute evenly throughout the meat, ensuring every slice is incredibly tender and moist.
- Carving Smart: For spiral-sliced hams, it’s best to simply follow the existing cuts. For whole hams, carve against the grain in thin slices for maximum tenderness and ease of eating.
Storage and Leftovers:
Leftover baked ham is incredibly versatile and can be used in a variety of dishes, from sandwiches and salads to soups and casseroles. Store any remaining ham in an airtight container in the refrigerator for up to 3-4 days. For longer storage, it can also be frozen for up to 1-2 months. When freezing, wrap portions tightly in plastic wrap and then in aluminum foil or place in freezer-safe bags. The pineapple mint chutney should be stored separately in an airtight container in the refrigerator for up to 3-4 days.
Nutrition Information (Per Serving – Approximation)
Serving: 1 serving
Calories: 225
Total Fat: 5g
Cholesterol: 64mg
Sodium: 590mg
Carbohydrates: 19g
Sugar: 6g
Protein: 17g
Nutrition information is automatically calculated and should only be used as an approximation. Actual values may vary significantly based on specific ingredients used, precise measurements, and preparation methods.
We hope you thoroughly enjoy preparing and savoring this easy and delicious baked ham with pineapple mint chutney! If you loved this recipe, have any questions, or would like to share your experience, please feel free to leave a comment below. Your feedback and engagement help us continue to share wonderful culinary experiences with our community.