
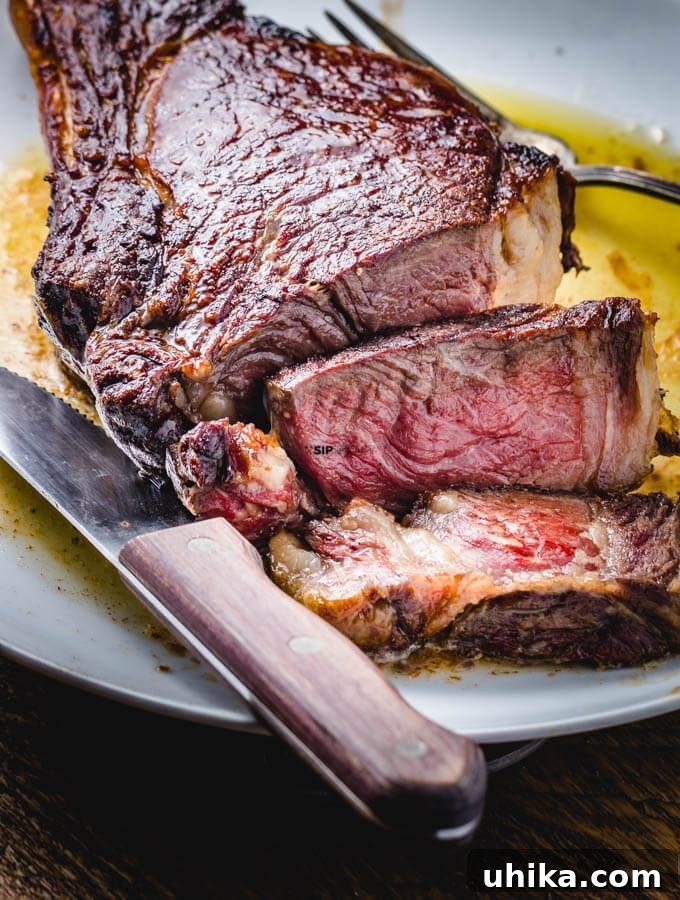
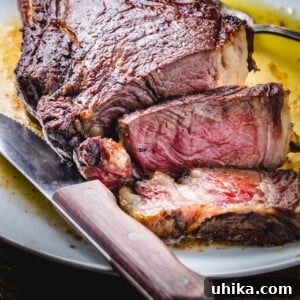
Cooking a truly perfect ribeye steak at home, one that rivals your favorite steakhouse, has never been more achievable. The secret lies not in expensive equipment or complex culinary wizardry, but in a remarkably simple yet highly effective technique: the **reverse sear method**.
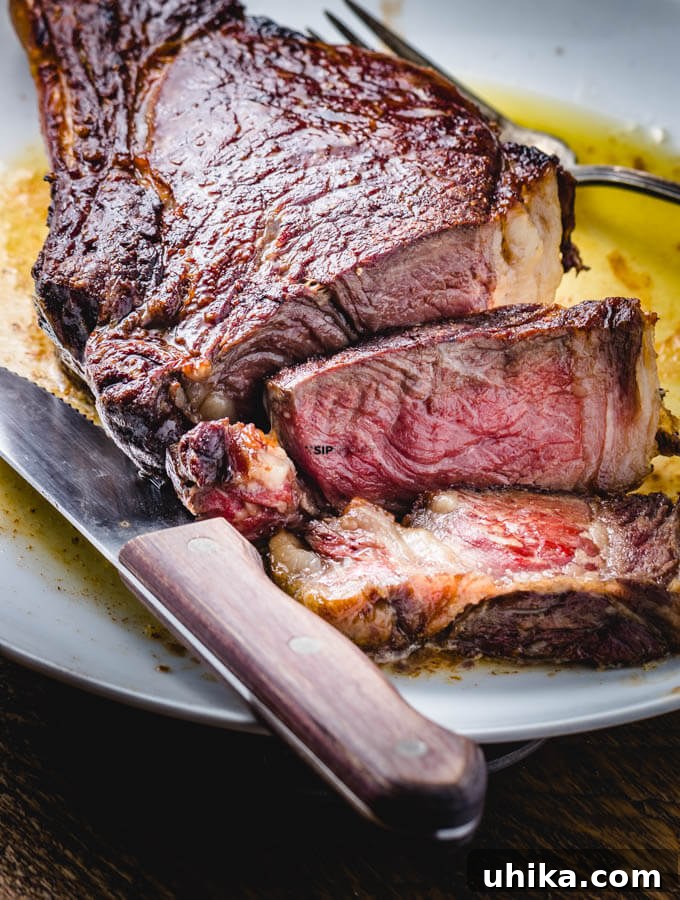
This foolproof approach guarantees an impeccably cooked steak every single time, from edge to edge, with a rich, crusty sear that locks in all the juicy flavor. Forget the days of guesswork, uneven cooking, or an overcooked exterior with a raw center. The reverse sear brings precision and consistency to your kitchen.
Before you dive into crafting your culinary masterpiece, consider pairing it with a Classic Martini with Blue Cheese Olives – its robust flavors complement a thick, juicy steak beautifully!
Mastering the Reverse Sear Method for Ribeye Steaks
In high-end steakhouses, methods often involve intense heat from open grills or specialized salamander broilers that reach upwards of 1800 degrees Fahrenheit. Establishments like Peter Luger’s famously combine grilling with a “snake broiler” finish, creating that coveted charred crust and incredible aroma.
While these professional setups produce outstanding results, replicating them at home can be challenging. This is where the reverse sear method shines as a game-changer for home cooks. It offers a level of control and consistency that traditional high-heat searing alone struggles to match, especially for thicker cuts like ribeye.
Why the Reverse Sear is Your Best Bet for Perfect Steak
The beauty of the reverse sear lies in its two-stage cooking process. First, the steak is gently brought to near-perfect doneness in a low-temperature oven. This slow, even heat allows the steak to cook uniformly throughout, preventing the dreaded “gray band” that often occurs with traditional searing. This also allows fat to render beautifully, infusing the meat with incredible flavor.
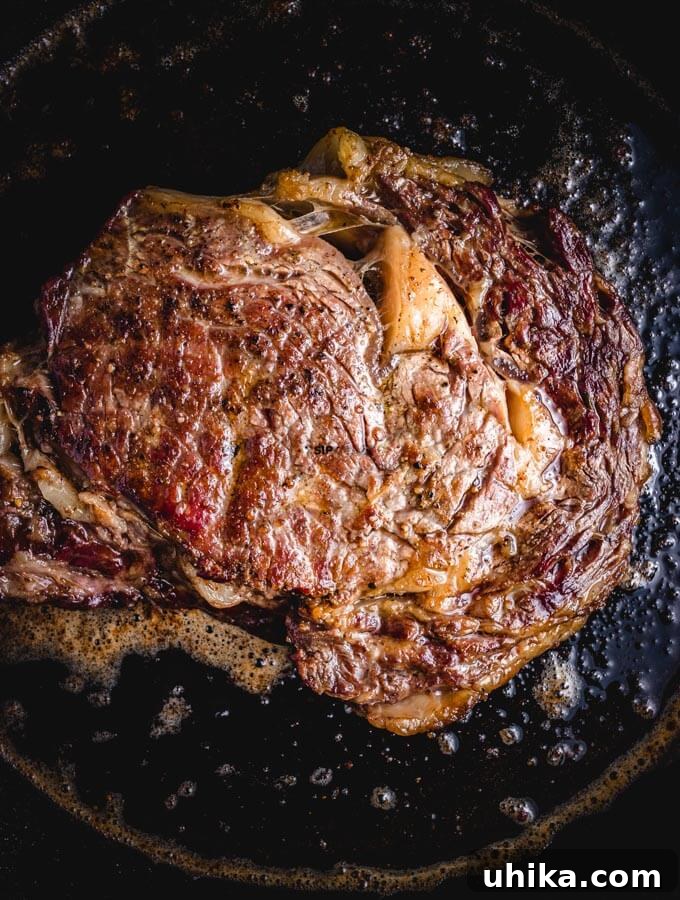
The second stage involves a quick, high-heat sear in a screaming hot pan. This rapid burst of heat creates a deeply caramelized, savory crust known as the Maillard reaction, without overcooking the perfectly tender interior. The result? A steak that’s consistently juicy, tender, and bursting with flavor, from the very first bite to the last. This method truly takes the guesswork out of achieving steakhouse-quality results in your own kitchen.
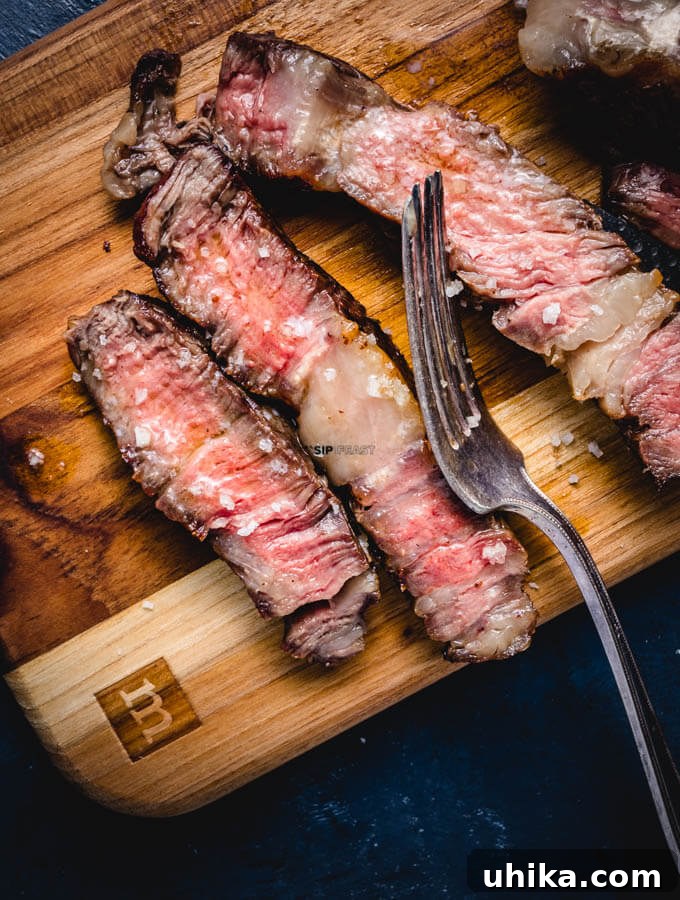
With an instant-read thermometer, you can precisely track the internal temperature of your steak, allowing you to hit your desired doneness with unparalleled accuracy. Whether you prefer a perfect medium-rare, a robust medium, or even a medium-well, the reverse sear method accommodates all preferences by allowing you to pull each steak from the oven exactly when it’s within 10-15 degrees of its final target temperature. A quick minute of searing per side is all it takes to finish it off flawlessly.
This flexibility is especially useful when cooking for a group with varying preferences. You can cook multiple steaks to different internal temperatures in the oven, then sear them individually to perfection, ensuring everyone gets their steak exactly how they like it. No more culinary compromises!
Essential Tools for Reverse Searing Success
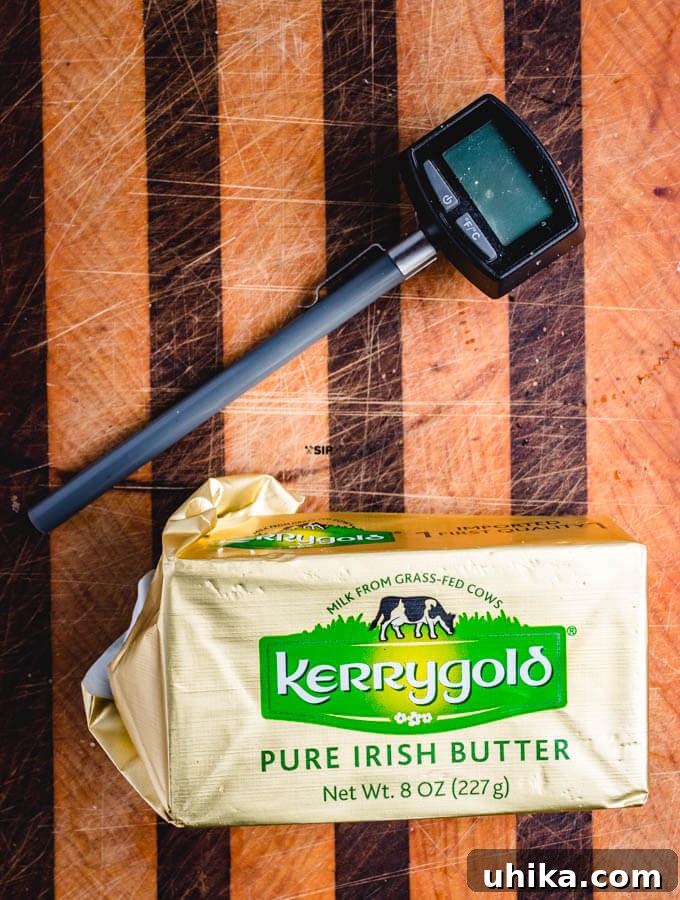
While the reverse sear doesn’t demand exotic gear, a few key items will elevate your results:
- **Instant-Read Thermometer**: This is non-negotiable. Precision is paramount in reverse searing, and a good thermometer ensures you hit your target internal temperature every time.
- **Wire Rack and Baking Sheet**: Essential for allowing air circulation around the steak in the oven, promoting even cooking. It also helps catch any drips.
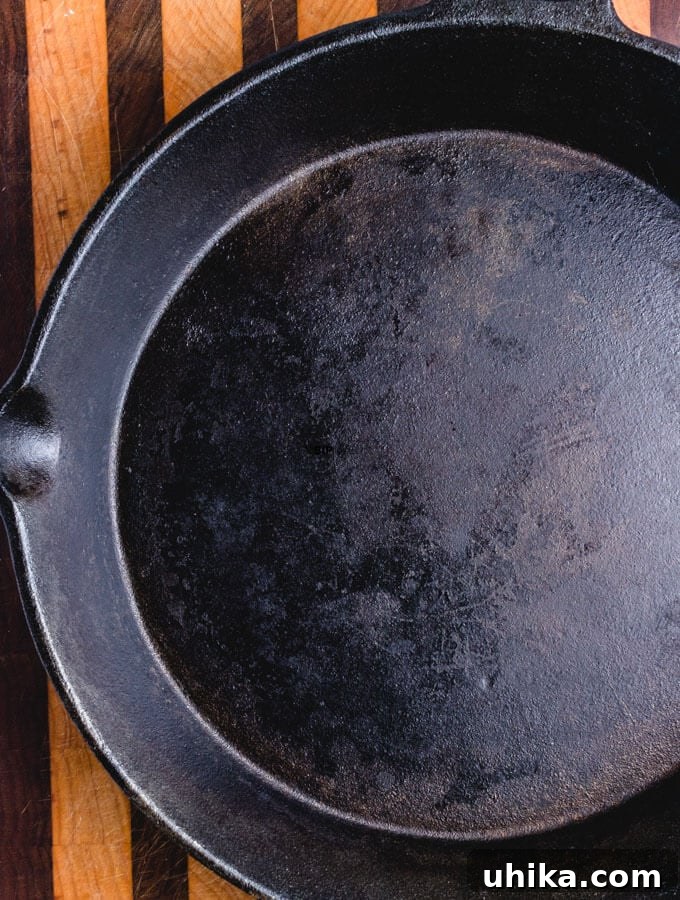
- **Heavy-Bottomed Pan or Cast Iron Skillet**: A cast iron pan is highly recommended for its ability to retain and distribute heat evenly, creating an incredibly rich and uniform sear. If you don’t have cast iron, a heavy stainless steel skillet will also work effectively.
- **Tongs**: For safely handling hot steaks and turning them during searing.
Selecting the Perfect Steak: Quality Matters
The quality of your ribeye steak is paramount when employing the reverse sear method, especially since the seasoning is minimal. When you’re only using butter, salt, and pepper, the inherent flavor of the beef needs to shine through. Here’s a breakdown of common meat grades:
- **Select Grade**: This is the leanest grade, with very little marbling. It tends to be less tender and flavorful, making it better suited for marinades or slow-cooking methods.
- **Choice Grade**: More common in supermarkets, Choice grade beef has more marbling than Select, offering a better balance of tenderness and flavor. You can find excellent Choice cuts, but some may require a bit more careful selection to find good marbling.
- **Prime Grade**: This is the gold standard for steakhouses and discerning home cooks. Prime grade beef boasts abundant, fine marbling, which translates to superior tenderness, juiciness, and rich flavor. If you can, splurge for Prime – it truly makes a difference.
- **Kobe and Wagyu**: The pinnacle of beef quality, these Japanese (and now American) breeds are renowned for their intense, intricate marbling, which creates an exceptionally tender, melt-in-your-mouth experience. While expensive, they offer a unique and unforgettable flavor profile. The American Wagyu Association provides excellent information if you’re curious about this luxurious beef.
For this recipe, aiming for Prime grade ribeye is highly recommended. The rich marbling in a Prime ribeye, especially a thick-cut one (ideally 1.5 to 2 inches thick), renders beautifully during the slow cook, creating an incredibly juicy and flavorful steak. Costco often offers high-quality Prime beef at a more accessible price point, and many specialty butchers or even Whole Foods (especially since the Amazon acquisition) have improved their selections.
Beyond Ribeye: Other Cuts for Reverse Searing
While the ribeye is a stellar choice for reverse searing due to its generous marbling, this technique is versatile and works wonderfully with other thick cuts of beef:
- **Porterhouse or T-Bone**: These cuts, offering both a tenderloin and a strip steak, benefit immensely from the even cooking of the reverse sear, ensuring both sections reach their optimal doneness.
- **New York Strip**: Known for its robust beefy flavor and firm texture, a thick New York strip will also achieve exceptional tenderness and a perfect crust with this method.
- **Filet Mignon (Tenderloin)**: While leaner, a thick filet can also be reverse-seared for a beautifully tender interior, followed by a quick, flavorful sear.
However, thinner cuts like skirt steak, flank steak, or hanger steak are generally better suited for traditional high-heat grilling or searing, as their thinness makes them prone to overcooking with the slow oven phase. For those cuts, a direct high-heat approach is usually best.
The Step-by-Step Reverse Searing Process
Achieving a perfect reverse-seared ribeye involves careful attention to detail at each stage. Follow these steps for an unforgettable steak:
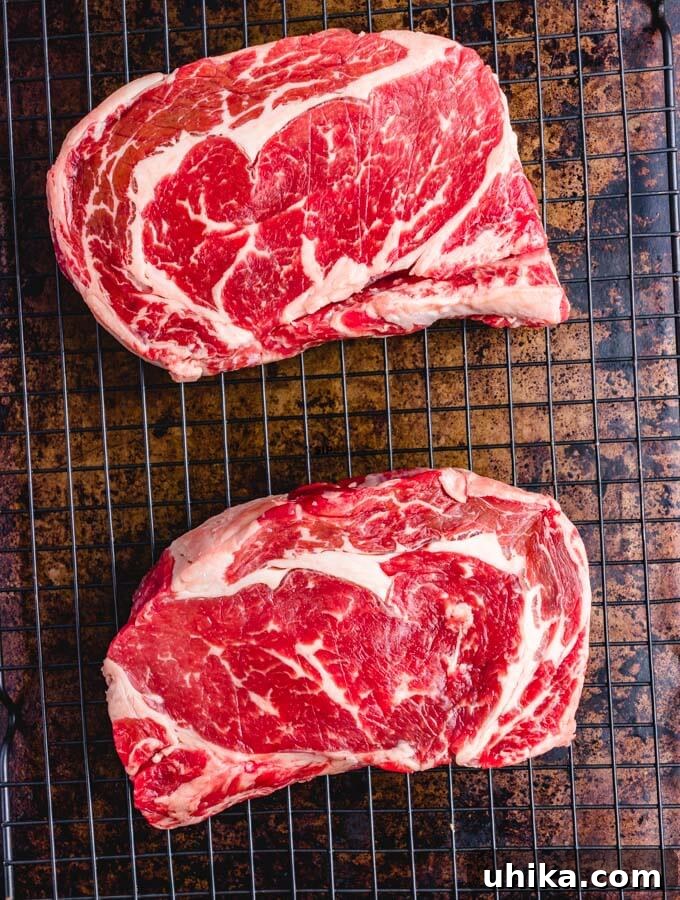
- **Bring Steaks to Room Temperature**: Remove your ribeye steaks from the refrigerator about 1 hour before you plan to cook them. This allows the meat to relax and cook more evenly.
- **Preheat Oven**: Set your oven to a low temperature, ideally 250°F (120°C). A lower temperature is better for gradual, even cooking, though it will take slightly longer. Do not exceed 275°F (135°C).
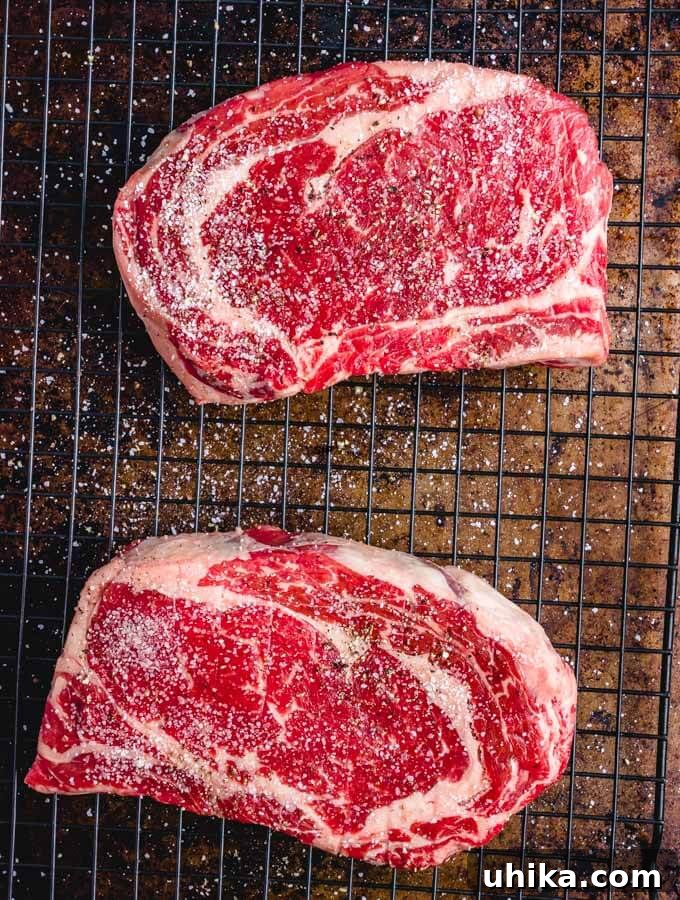
- **Season Generously**: Place the ribeyes on a wire rack set over a baking tray (line the tray with foil for easier cleanup). Pat the steaks thoroughly dry with paper towels – a dry surface is crucial for developing a good sear. Then, season generously on all sides with kosher salt (about 1/2-1 tsp per steak) and black pepper (about 1/8 tsp per steak). Remember, these are thick steaks, so don’t be shy with the seasoning.
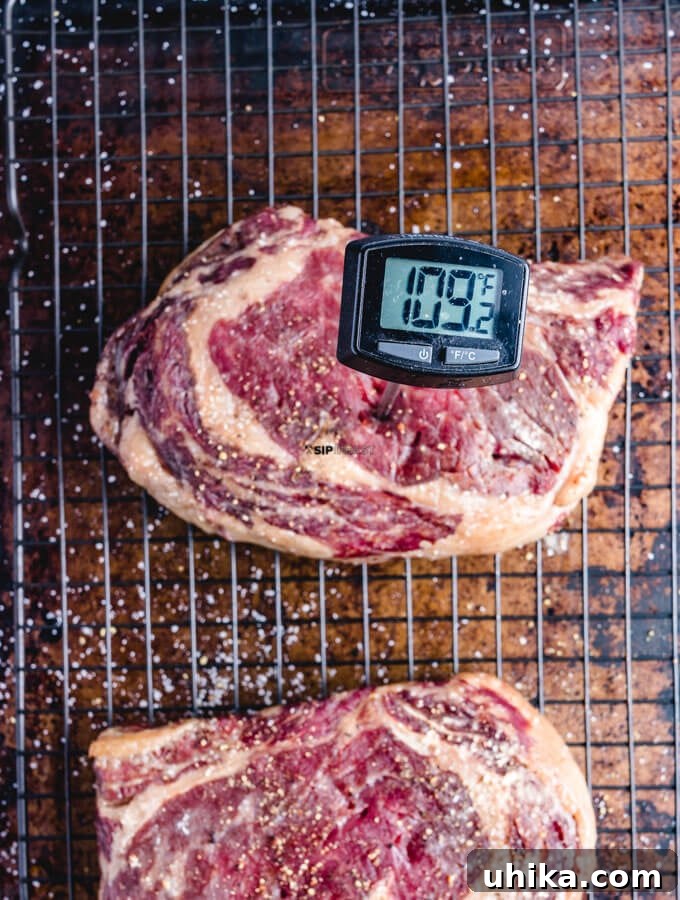
- **Slow Oven Cook**: Transfer the seasoned steaks to the preheated oven. For 2-inch thick steaks, expect them to cook for approximately 1 hour. Cooking time will vary based on the steak’s thickness and your oven. Begin checking the internal temperature with your instant-read thermometer at the 45-minute mark.
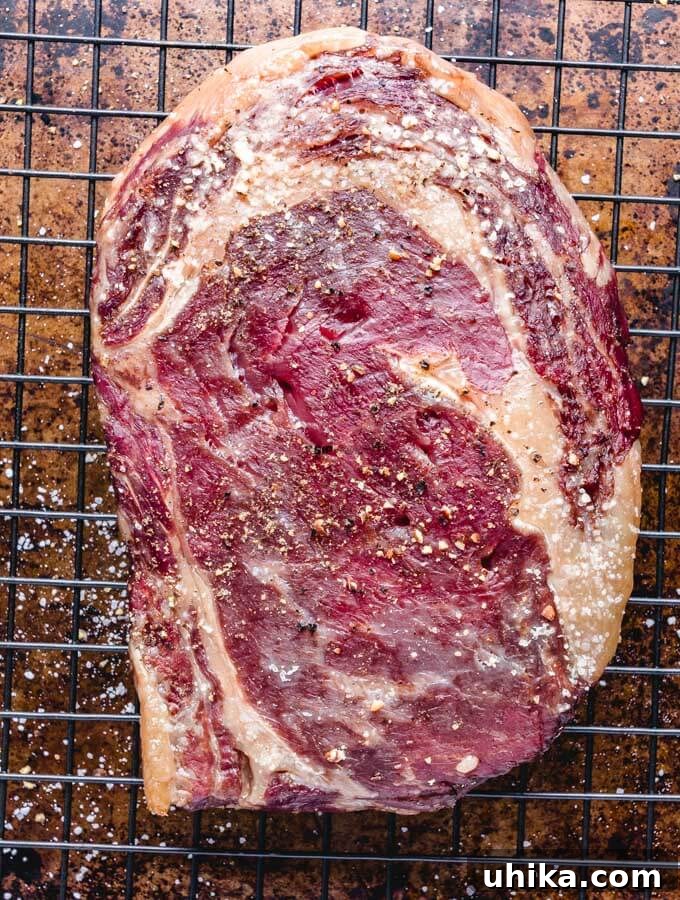
- **Remove at Target Temperature**: Remove the steaks from the oven when they reach 115°F (46°C) for medium-rare. For different doneness levels, consult the temperature chart below. Crucially, remove them from the oven at no higher than 115°F-120°F (46-49°C) if your goal is medium-rare, as the searing process will add another 10-15 degrees.
- **Crucial Rest Period (Pre-Sear)**: Let the steaks rest, lightly covered with foil, for 15 minutes after removing them from the oven. This allows the internal temperature to equalize and juices to redistribute, leading to a more tender and juicy final product.
- **Prepare for Searing**: While the steaks are resting, place your cast iron or heavy steel skillet on your stovetop’s hottest burner and preheat it to screaming hot levels. Give it a few minutes to get intensely hot. Open a window and/or turn on your exhaust fan, as the searing process will produce significant smoke.
- **Searing for the Crust**: Add 1-2 tablespoons of high-smoke-point vegetable oil (such as canola, grapeseed, or avocado oil) to the superheated pan. Immediately place the rested steaks into the pan. Sear for approximately 1 minute on each side, until a deep, golden-brown crust forms.
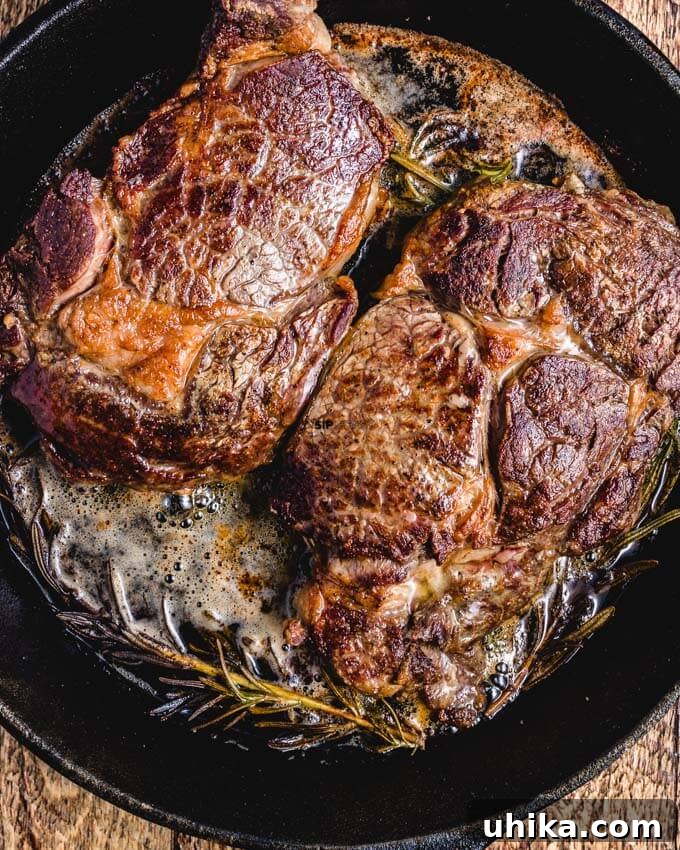
- **Butter Basting (Optional but Recommended)**: During the last 30 seconds of searing, add 2 tablespoons of butter (and optionally, a sprig of fresh rosemary or a crushed garlic clove) to the pan. Tilt the pan slightly and use a spoon to baste the melted butter mixture over the steaks, infusing them with incredible flavor and richness.
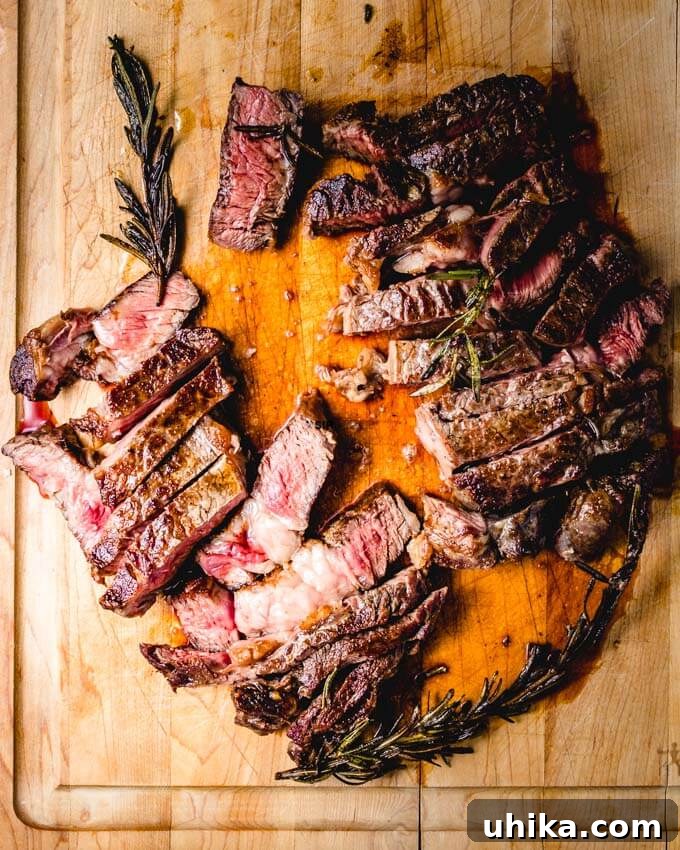
- **Serve Immediately**: Remove the steaks from the pan, pour the hot butter mixture over them, and serve immediately. No additional resting is required after searing, as the pre-sear rest has already done its job.
Perfect Steak Doneness Temperatures
Understanding internal temperatures is key to achieving your desired steak doneness. Use this table as your guide, remembering that the searing step will increase the temperature by approximately 10-15°F.
| Doneness | Temp to remove from oven | Final temp after searing |
| Medium-Rare | 115°F (46°C) | 130°F – 135°F (54-57°C) |
| Medium | 125°F (52°C) | 140°F – 145°F (60-63°C) |
| Medium-Well | 135°F (57°C) | 150°F – 155°F (66-68°C) |
Tips for Reverse Searing Success
- **The Importance of a Screaming Hot Pan**: For that perfect, deep brown crust, your pan needs to be incredibly hot. Don’t rush this step. Cast iron pans are ideal because they hold heat exceptionally well, ensuring a consistent sear across the entire surface of the steak. Always ensure good ventilation when searing at high temperatures.
- **Choosing the Right Oil**: Select an oil with a high smoke point, such as vegetable oil, canola oil, grapeseed oil, or avocado oil. Olive oil is generally not recommended for high-heat searing as it burns easily, creating unpleasant flavors and smoke. The butter, added at the very end of the searing process, is less likely to burn.
- **Doneness is Personal**: While many steak enthusiasts advocate for medium-rare, ultimately, the best steak is the one you enjoy most. The reverse sear method allows you to consistently achieve your preferred doneness without compromise. If you’re curious about the benefits of medium-rare, there’s plenty of information out there, but your taste buds are the final authority!
- **Batch Cooking and Meal Prep**: One of the fantastic advantages of the reverse sear is its flexibility. You can cook steaks in the oven hours (or even overnight if stored properly in the fridge after cooling) before you plan to sear them. This makes it an ideal method for entertaining or meal prepping, as it significantly reduces last-minute stress. Just ensure cold steaks are brought back to room temperature before searing for best results.
- **Add Aromatics for Enhanced Flavor**: During the butter basting stage, consider adding fresh aromatics like a sprig of rosemary, thyme, or crushed garlic cloves to the pan. The hot butter will quickly absorb these flavors, creating a rich, infused baste that dramatically enhances the steak’s taste.
Complementary Side Dishes for Your Ribeye
A perfectly cooked ribeye deserves equally delicious accompaniments. Here are some fantastic side dish ideas to complete your steakhouse-at-home experience:
- **Maple Roasted Carrots**: Sweet and tender carrots glazed with butter and maple syrup provide a delightful contrast to the savory steak.
- **Roasted Garlic Mashed Potatoes**: Creamy, fluffy mashed potatoes infused with the subtle sweetness of roasted garlic are a classic pairing that never disappoints.
- **Broccoli with Garlic and Oil**: A simple yet flavorful side dish featuring sautéed broccoli with garlic, olive oil, and a hint of red pepper flakes for a gentle kick.
- **Creamed Spinach**: A rich and comforting side, traditionally made with shallots, spinach, a creamy roux, and a touch of nutmeg, offering a decadent complement to your steak.
- **Balsamic Butter Mushrooms**: Earthy mushrooms seared to perfection and finished with tangy balsamic vinegar and butter create a savory and umami-rich addition.
If you’ve followed this reverse-seared ribeye steak guide and created a culinary masterpiece, we’d love to hear about it! Please consider giving this recipe a 5-star rating and sharing your experience in the comments below. Your feedback helps others and encourages us to keep sharing delicious recipes. Thanks for cooking with us!
Follow us for more delicious recipes and cooking tips on YouTube, Instagram, Pinterest, and Facebook.
Cooking Ribeye Steak 101 – Reverse Sear Method
by James Delmage
4.91 from 11 votes
Pin
Cooking ribeye steak as good as the best steakhouse has never been easier? The reverse seared method will never let you down.
Ingredients
- 2 large ribeye steaks – 1.5″-2″ thick steaks.
- 1-2 Tbsp vegetable oil
- 2 Tbsp butter
- 1-2 tsp kosher salt
- 1/4 tsp black pepper
Want To Save This Recipe?
Enter your email and we’ll send it to you. Plus, get great new recipes from us every week!
Instructions
- Remove steaks from fridge 1 hour before cooking.
- Preheat oven to 250°F (120°C) – the lower the better, but the meat will take longer. Do not go over 275°F (135°C).
- Season Ribeyes on a wire rack and baking tray setup. Lay foil under the wire rack for an easier cleanup. Pat steaks dry then add about 1/2-1 tsp of salt and 1/8 tsp of pepper per steak. Salt generously! Remember the steaks are thick.
- Place steaks in oven and cook for about 1 hour for 2-inch thick steaks. Time will vary based on the size of the steak. Start checking the temperature of steaks with an instant-read thermometer at the 45-minute mark.
- Remove steaks from oven at 115°F (46°C) for medium-rare. Medium-rare is 130°F-135°F (54-57°C). The steaks will be seared to this temperature so make sure to remove from oven at no higher than 115°F-120°F (46-49°C) if medium-rare is desired.
- Let steaks rest for 15 minutes before searing.
- Preheat cast iron or heavy steel skillet on hottest burner to as hot as it will get. Give it a couple minutes to get super hot. Open a window and/or turn on exhaust vent because the searing process will create a lot of smoke.
- Sear steaks for 1 minute on each side in 1-2 Tbsp of vegetable oil.
- Add 2 Tbsp of butter during the last 30 seconds of searing.
- Remove steaks and pour butter mixture over top and serve immediately.
Notes
This recipe will work just as well with any thick steak. A porterhouse or NY strip would also make a perfect steak.
Nutrition
Calories: 650kcal
Nutrition information is automatically calculated, so should only be used as an approximation.
Like this? Leave a comment below!
Check us out on Instagram at @sipandfeast or tag #sipandfeast!