
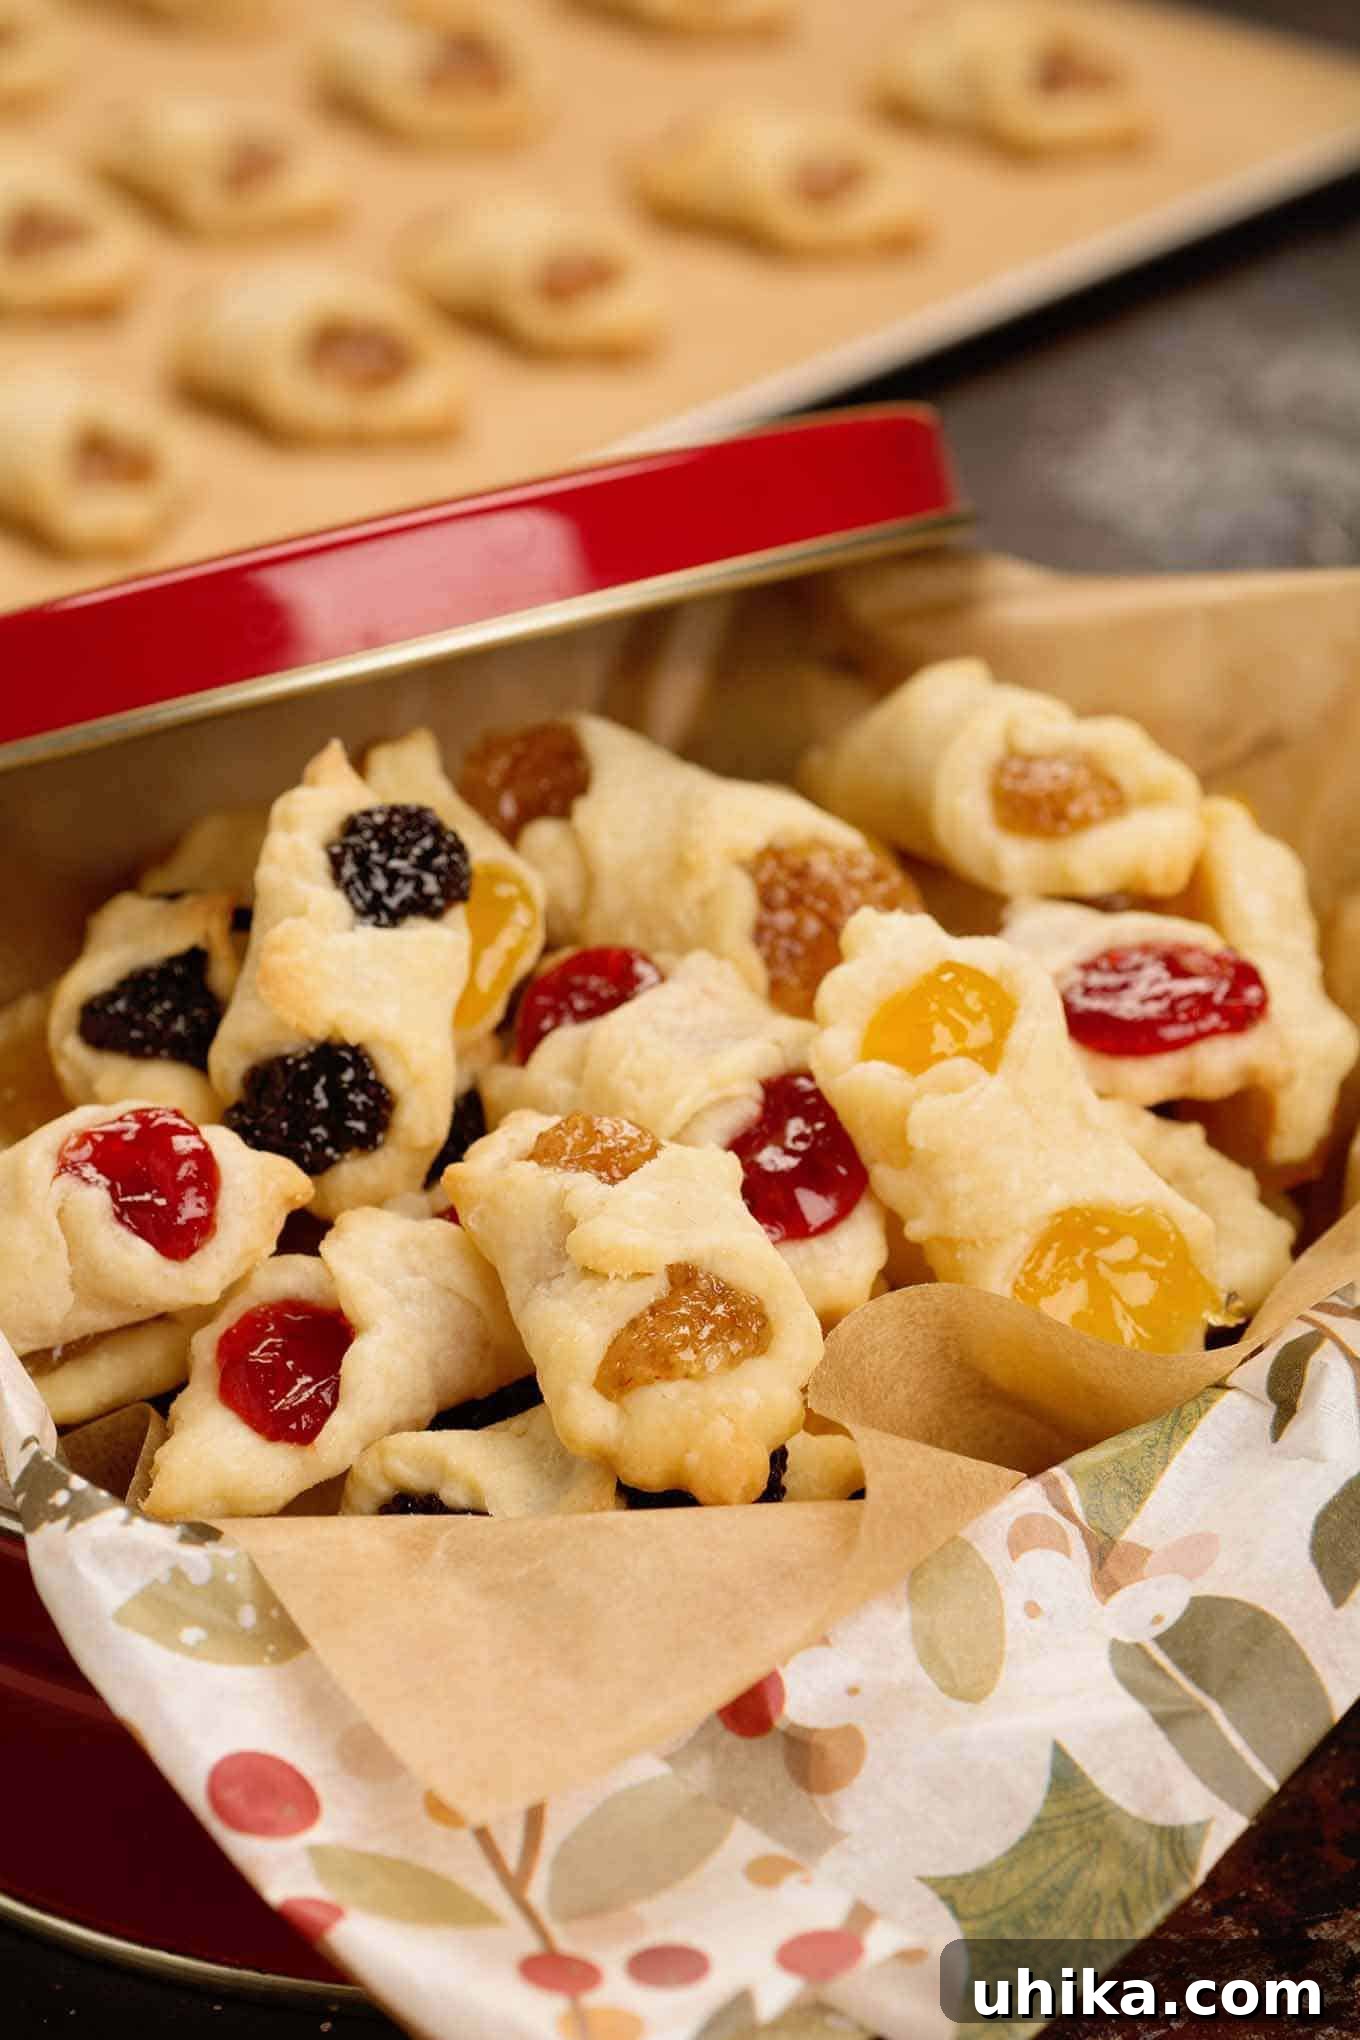
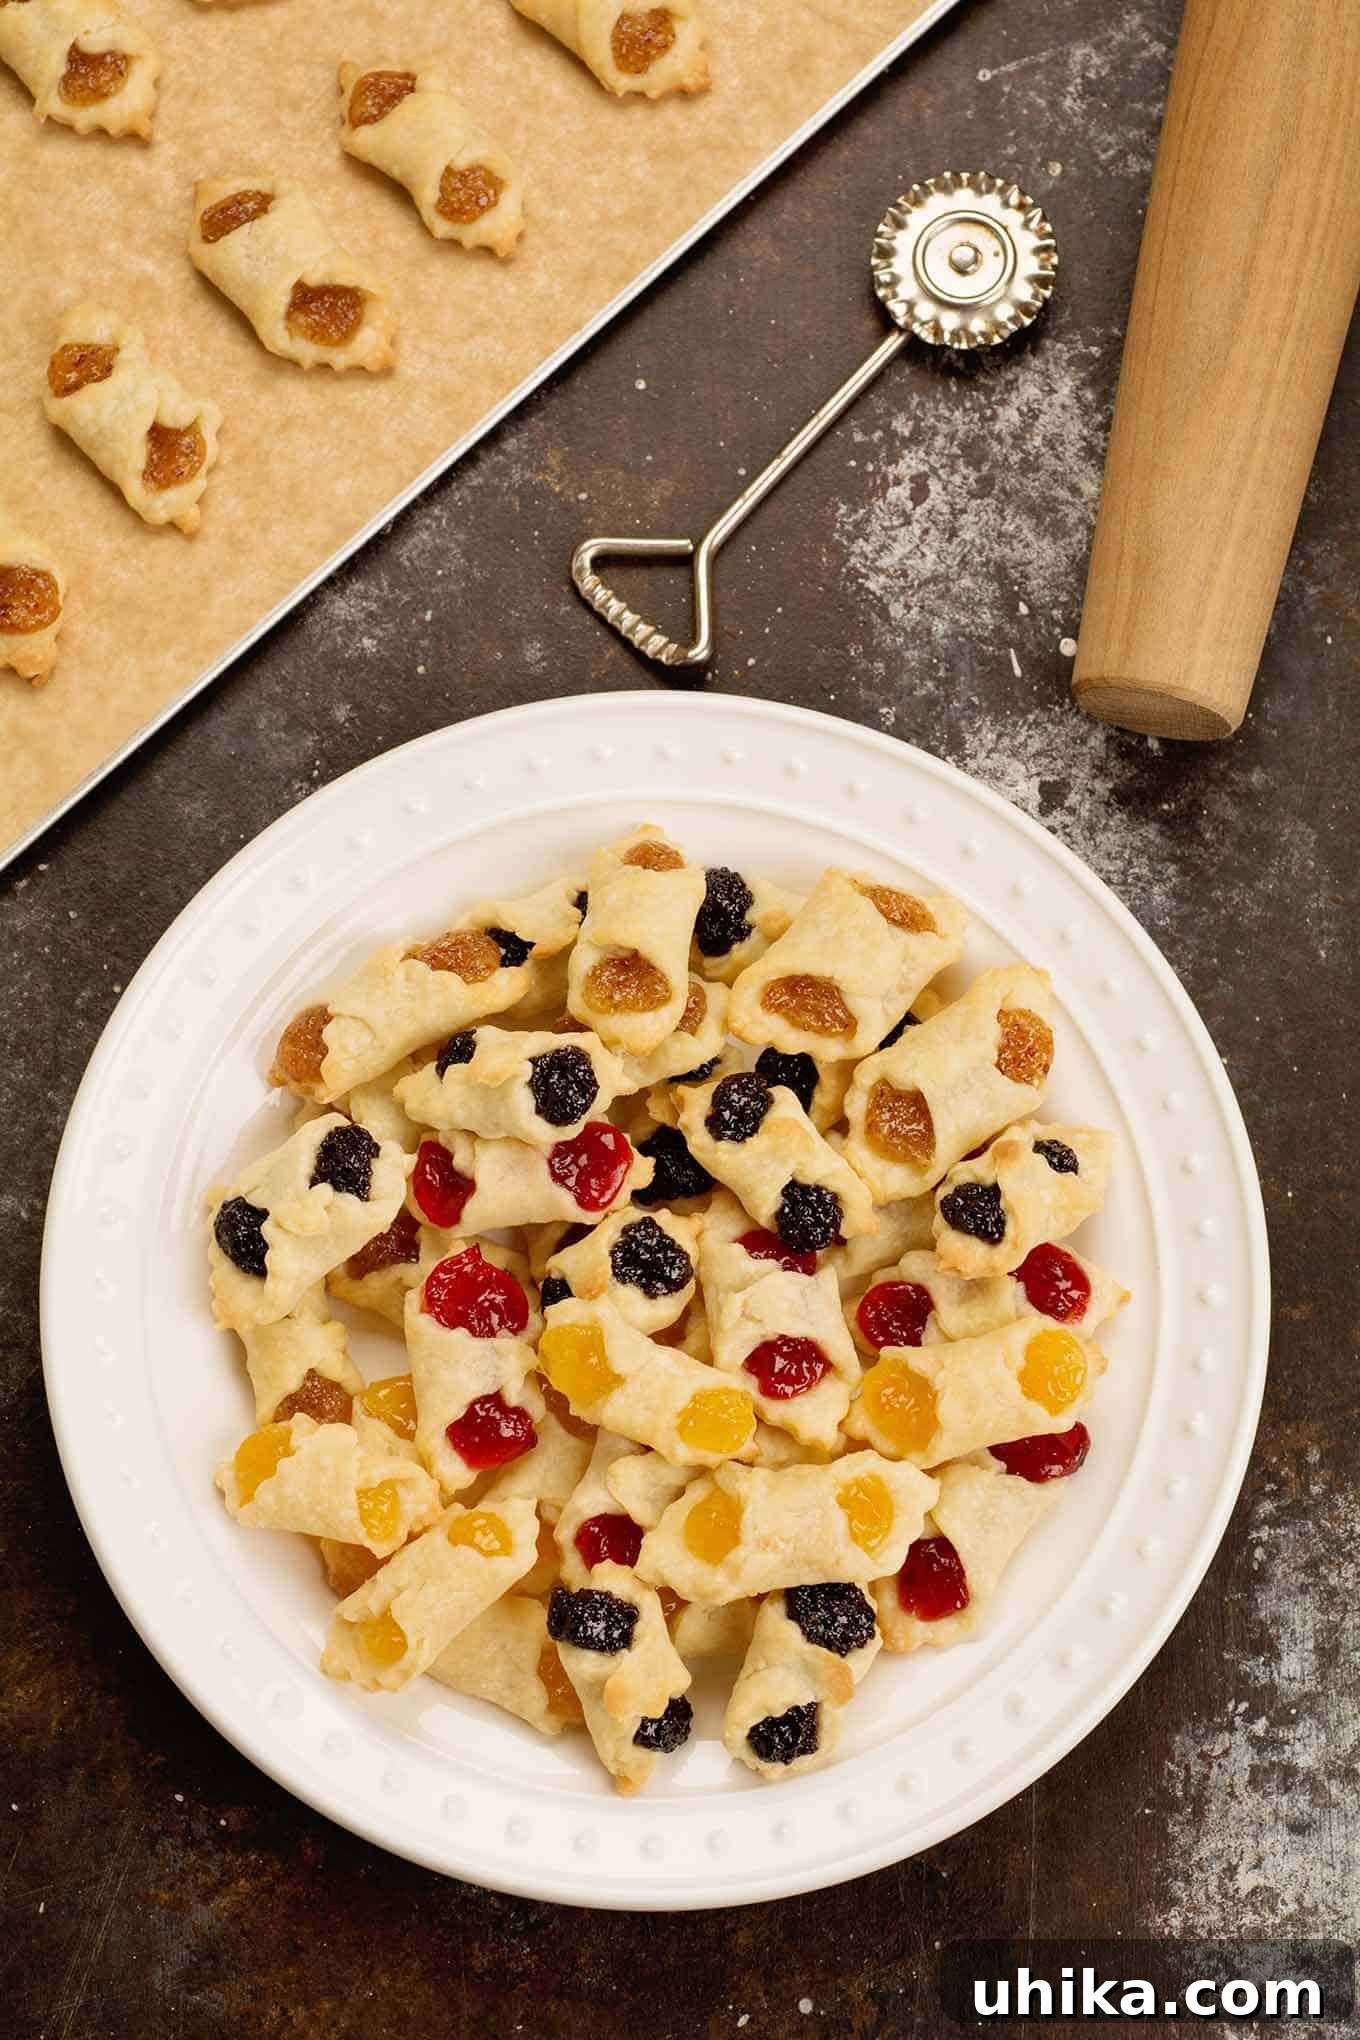
Embark on a culinary journey to the heart of Hungary with Kiffles (Kiflis), delicate cream cheese pastry cookies that promise to enchant your taste buds. While preparing these treasured treats requires a thoughtful investment of time and love, the unparalleled joy and exquisite flavor they bring make every moment in the kitchen truly worthwhile. Perfect for special occasions or simply to indulge, Kiffles are more than just a dessert; they are a cherished tradition.
Hungarian Kiffles (Kiflis): A Timeless Holiday Tradition
For generations, Hungarian Kiffles, also lovingly known as Kifli, have graced holiday tables and family gatherings, becoming an indispensable part of festive celebrations. These charming pastries hold a special place in Hungarian culture, symbolizing warmth, tradition, and the joy of sharing homemade delights. Derived from a rich heritage, Kiffles are a testament to the art of traditional baking, offering a unique blend of simplicity and sophistication.
Crafted from a tender, flaky cream cheese dough, Hungarian Kiffles are filled with an array of delectable fruit and nut fillings, creating a symphony of flavors in every bite. Their distinctive crescent or rolled shape makes them not only a delight to eat but also a beautiful addition to any holiday cookie platter, instantly elevating the aesthetic of your dessert spread. Beyond their visual appeal, it’s the melt-in-your-mouth texture and the comforting, authentic taste that solidify their status as a beloved holiday staple.
The history of kifli, in its broader sense, dates back centuries in Central Europe. While yeast-leavened kifli (often crescent-shaped rolls) are a staple bread item, the sweet cream cheese pastry version has become synonymous with Hungarian holiday baking. These cookies are often made in large batches, shared among family and friends, and serve as a sweet reminder of shared heritage and cherished memories. Preparing them is often a communal affair, where recipes are passed down and stories are shared, making the baking process as rich and rewarding as the cookies themselves.
Exploring the World of Kiffle (Kifli) Fillings
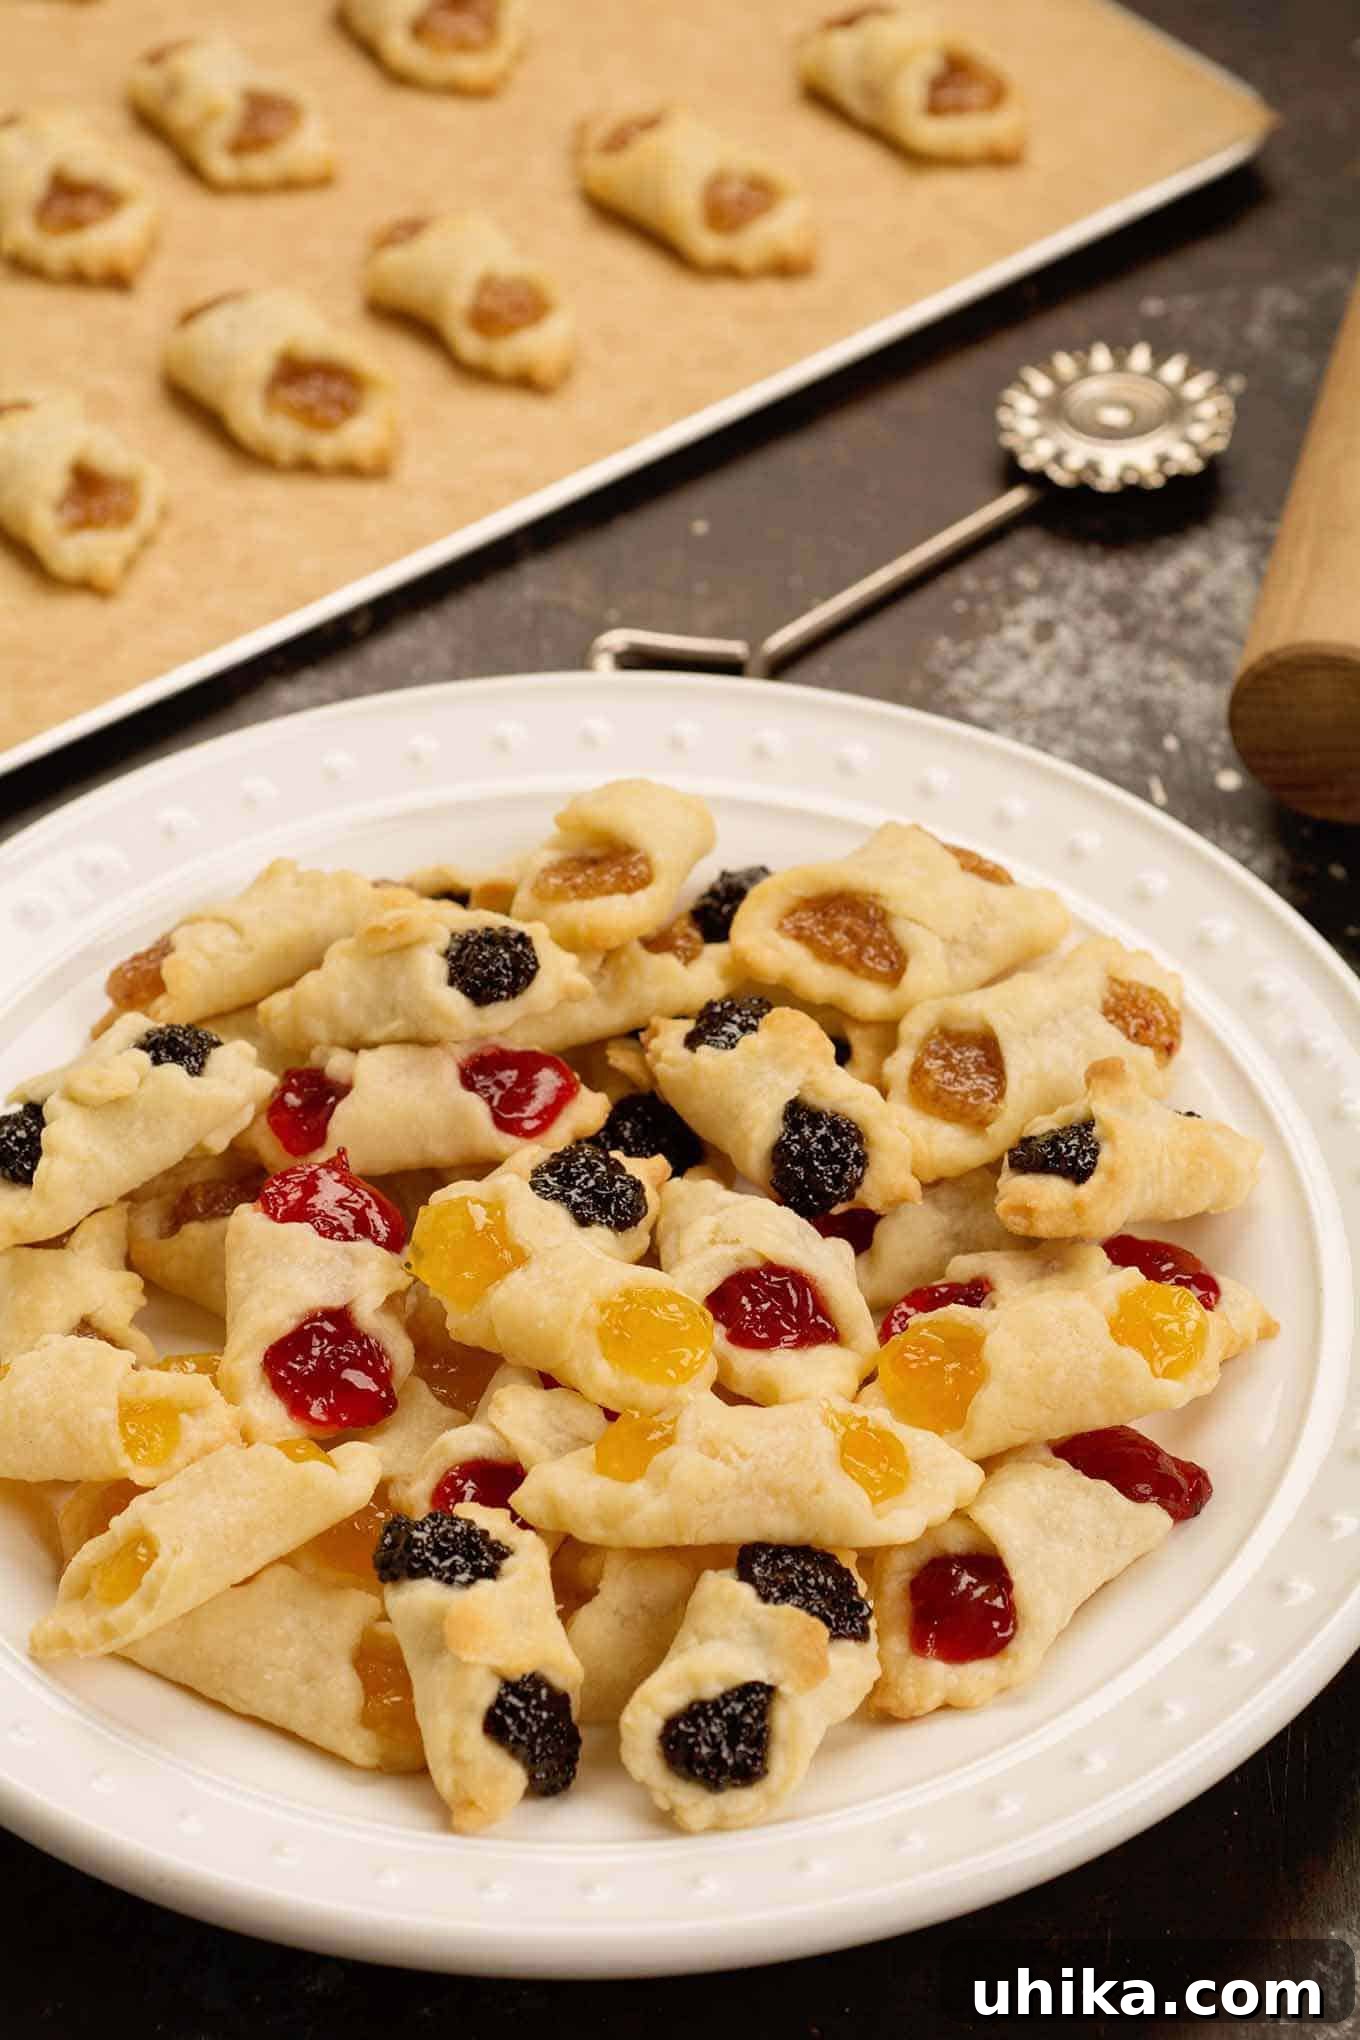
The heart of a perfect Kiffle lies in its filling. Selecting the right type of filling is paramount to achieving the desired texture and flavor profile. It is crucial to use fillings specifically formulated for pastries, as their thicker consistency is designed to withstand baking temperatures without becoming runny or seeping out of the delicate dough. Avoid using standard pie fillings, which are typically too loose, or ordinary jams and preserves, which can yield unpredictable and often disappointing results due to their higher moisture content.
For consistent excellence, many bakers, including ourselves, swear by dedicated cake and pastry fillings. Brands like Solo offer a fantastic variety of flavors in convenient 12-ounce cans. Among the popular choices, poppy seed, cherry, almond, and apricot stand out, offering a delightful spectrum of tastes to suit every preference. These fillings provide a perfect balance of sweetness and texture, ensuring your Kiffles are moist and flavorful inside.
Beyond these readily available options, the most traditional Hungarian Kiffle fillings include rich prune (known as lekvar), robust walnut, and the distinctive poppy seed. These traditional choices evoke a deeper sense of heritage and are often prepared from scratch, showcasing the authentic flavors of Hungarian confectionery. While store-bought fillings offer convenience without compromising quality, crafting homemade fillings can add an extra layer of personal touch and deep-rooted authenticity to your Kiffles. Many passionate bakers share their recipes for these traditional scratch-made fillings, allowing you to explore the full spectrum of Hungarian flavors. Whether opting for the ease of a canned filling or the rewarding challenge of a homemade one, the choice of filling truly defines the character of your Kiffles.
Pro Tip: Mastering Uniformity for Perfectly Sized Kiffles
Achieving uniform Kiffle sizes is a hallmark of professional baking, essential not only for an elegant presentation but also for ensuring consistent baking. Kiffles of the same size bake evenly, preventing some from being undercooked while others are overbaked. The secret lies in meticulously rolling your dough into a perfect 9-inch square. Here’s a foolproof method to guide you:
- Begin by cutting a sheet of parchment paper that measures 15 inches wide by 18 inches long.
- Fold 4-1/2 inches of each short side (the 15-inch sides) inward toward the middle. Press firmly to create sharp creases, then unfold the paper. This establishes your first set of guides.
- Next, fold 3 inches of each long side (the 18-inch sides) inward towards the center. Again, make sharp creases and unfold. You should now clearly see a well-defined 9-inch square outlined by creases in the center of your parchment paper. This square will be your precise rolling guide.
- With the side featuring the flaps facing upwards, generously dust the parchment paper with all-purpose flour. Place one portion of your chilled Kiffle dough directly in the center of the pre-marked square.
- Dust the top of the dough with flour as well. Carefully fold the parchment paper along your prepared creases to create an “envelope” that snugly encases your dough.
- Turn the parchment “envelope” over so the flap sides are facing down and place it onto your rolling surface. This ensures the dough stays contained as you roll.
- Using a rolling pin, roll the dough consistently from the center outwards towards the corners, applying even pressure, until it completely fills the 9-inch square defined by the creases. The parchment paper acts as a barrier, preventing the dough from sticking to your rolling pin and ensuring perfect edges.
- Once rolled, carefully remove the parchment paper to reveal your impeccably shaped 9-inch square of dough, taking care to avoid any tearing.
With your dough now perfectly squared, achieving evenly sized Kiffles is straightforward. Use the tip of a sharp knife or a small ruler to mark off precise 1-1/2-inch intervals along all four sides of the dough square. This will give you six marks per side. Then, using a pastry wheel or a sharp knife, make clean cuts along these marks, both lengthwise and crosswise. This method will yield an impressive 36 perfectly uniform Kiffles (Kiflis) from each 9-inch square of dough.
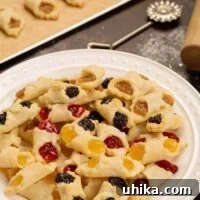
Hungarian Kiffles
By Lynne Webb
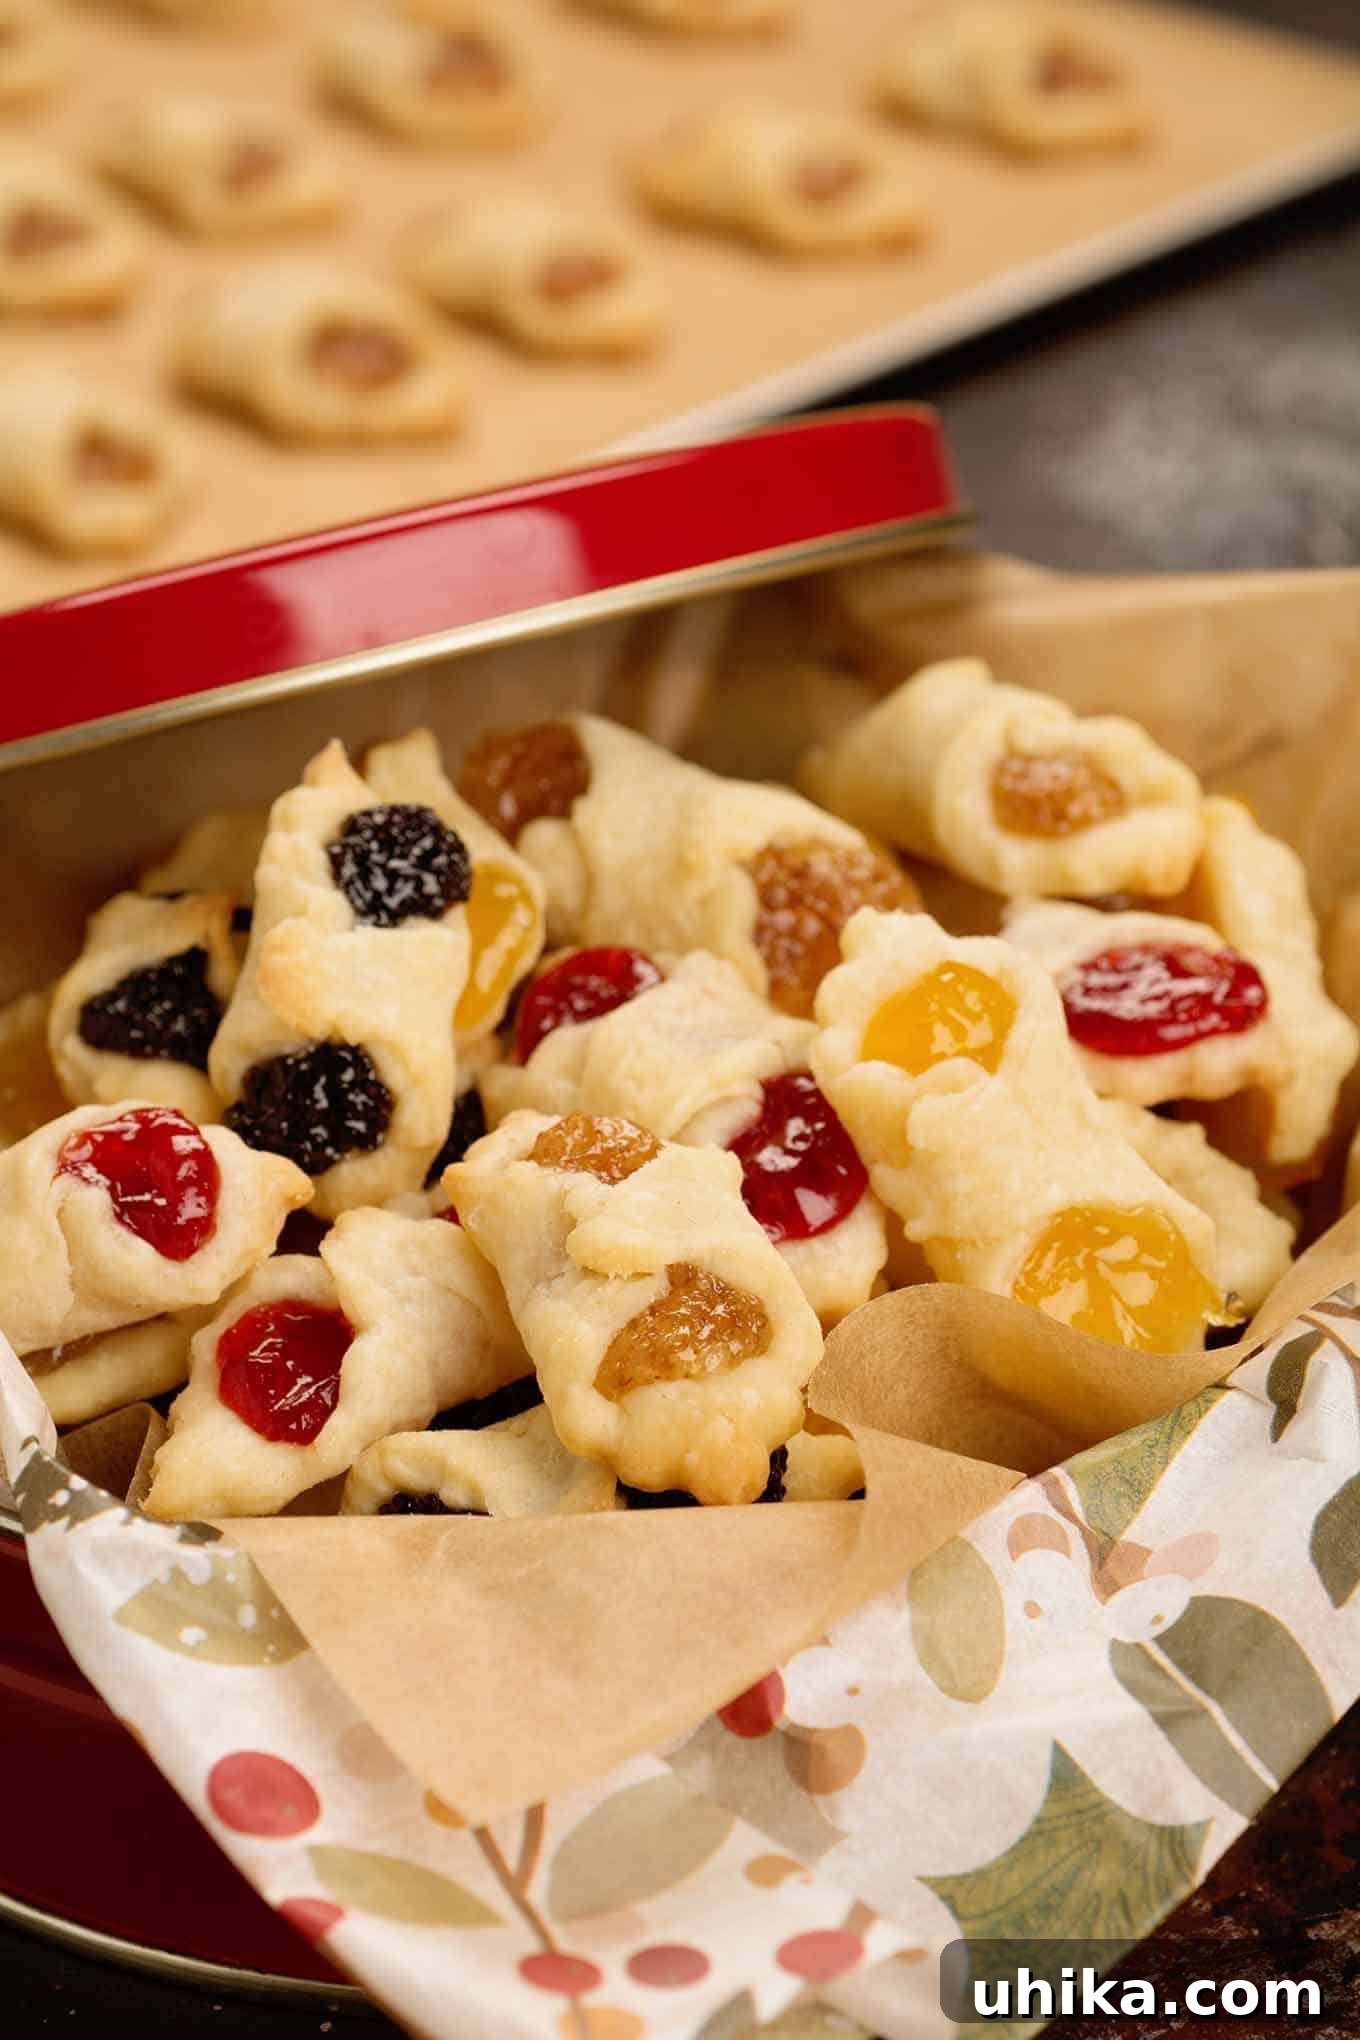
Kiffles (kiflis) are traditional Hungarian cream cheese pastry cookies with assorted fruit and nut fillings like apricot, almond, and poppy.
Prep: 1 hr 30 mins Cook: 30 mins Total: 2 hrs Servings: 12 dozen
Ingredients
- 2-1/4 cups all-purpose flour, plus more for rolling
- 1/2 teaspoon salt
- 8 ounces cream cheese, softened
- 1 cup (1/2 lb) unsalted butter, softened
- 2 to 2-1/2 cups cake and pastry filling, about two 12-ounce cans
Like this recipe? Be sure to save it or share with friends so you can revisit it later!
Instructions
Prepare the Dough:
- Whisk the flour and salt together in a medium bowl and set aside.
- Beat the cream cheese and butter with an electric mixer on medium speed until very smooth and creamy, 2 to 3 minutes.
- Reduce the mixer speed to low and add the flour mixture, 1/4 cup at a time, mixing just until combined. The dough will be quite moist, but not sticky.
- Turn the dough out onto a lightly floured surface and flatten into a square approximately 1/2-inch thick. Cut into 4 equal pieces and wrap each separately in plastic wrap. Refrigerate until firm, a minimum of 2 hours.
Roll and Cut the Dough:
- Preheat the oven to 375°F and position a rack in the center of the oven. Line a large cookie sheet with parchment paper.
- Remove one portion of the dough from the refrigerator and place it on a liberally floured surface.
- Dust the top of the dough with flour and cover with a sheet of wax or parchment paper. Working from the center toward the corners, roll the dough out to a 1/8-inch-thick square. It should measure about 9 inches.
- For best results and to learn how to roll your dough into a perfect square, refer to our detailed notes section below.
- Using a pastry wheel or a sharp knife, cut your dough both lengthwise and crosswise into small squares.
- Your total yield will depend on how large you make them. We recommend 1-1/2-inch squares which will give you 36 kiffles per square of dough or about 12 dozen total.
- To maintain even sizes, use a ruler to mark all 4 sides of the dough square at 1-1/2-inch intervals with the tip of a knife. You can use the handle of a spatula as a guide for straight cuts, much like using a ruler for drawing lines.
Fill and Seal the Kiffles:
- Working as quickly as possible to keep the dough cool, place a small mound of filling (about 1/2 to 3/4 teaspoon) in the center of each dough square. For smoother fillings like poppy or almond, spooning them into a small freezer bag, snipping a tiny corner, and piping the filling onto the squares can be very efficient.
- Lift two opposite corners of the dough over the filling and gently pinch them together to seal. Fold this “point” over to one side. Moisten the very tip of your finger with a tiny bit of water and gently smooth down the folded point onto one side of the Kiffle. This crucial step helps prevent the Kiffles from unwrapping or popping open during baking.
- Important Note: Different filling flavors can spread slightly differently when baked. We highly recommend baking a few “test” Kiffles first to determine the ideal amount of filling for each specific type, ensuring perfect results.
Bake the Kiffles:
- Arrange the filled Kiffles about 1 inch apart on the parchment-lined cookie sheet. Bake in the preheated oven until they are barely golden along the edges, typically 12 to 14 minutes.
- Once baked, allow the Kiffles to cool on the baking sheet for just 1 minute. Then, carefully transfer them to wire cooling racks to cool completely.
- Repeat this process with the remaining 3 portions of dough, utilizing different filling flavors if you desire a varied assortment.
How to Store Kiffles:
- For optimal freshness, store baked Kiffles between layers of waxed paper in a tightly closed, airtight container in the refrigerator.
- Before serving, bring the Kiffles to room temperature by removing them from the fridge approximately 30 minutes in advance. Arrange them beautifully on a serving plate and dust lightly with powdered sugar. It is not advisable to dust them with powdered sugar before storing, as it can absorb moisture and become sticky.
- This recipe yields a generous amount, typically 8 to 12 dozen Kiffles, making them perfect for large gatherings or for freezing.
Notes
How To Roll Your Dough Into a Perfect 9-Inch Square:
- Cut a sheet of parchment paper 15 inches wide by 18 inches long. Fold 4-1/2 inches of each short side toward the middle. Make sharp creases and unfold.
- Fold 3 inches of each long side toward the center. Make sharp creases there as well and you should have a well-defined 9-inch square in the center of your parchment paper.
- With the flaps facing up, dust the parchment liberally with flour and place a portion of dough in the center of the square. Dust the top of the dough with flour as well, then fold the parchment along your creases to make an “envelope” around your dough.
- Place it on your rolling surface, flap sides down and roll the dough from the center toward the corners as directed above. Remove the dough carefully to avoid tearing.
Note: Because of its high fat content, this cream cheese dough requires a fair amount of flour on your rolling surface to prevent sticking while maintaining its delicate structure.
Like this recipe? We encourage you to try it and share your feedback by commenting below!
Beyond the Bake: Serving, Gifting, and Troubleshooting Your Kiffles
Once your Hungarian Kiffles are baked to golden perfection, the enjoyment doesn’t end. These delightful cookies are incredibly versatile. They pair wonderfully with a morning coffee, an afternoon tea, or as a sophisticated after-dinner treat. Their delicate size and rich flavor make them ideal for gifting during the holidays or as a thoughtful gesture to friends and family. Present them in an elegant tin or a decorative box, and you have a homemade present that truly conveys warmth and care.
Proper storage ensures your Kiffles remain fresh and delicious. As detailed in the recipe, refrigerating them in an airtight container between layers of wax paper is key. Remember the golden rule: dust with powdered sugar just before serving. This prevents the sugar from dissolving into the pastry and losing its pristine appearance. If you plan to make large batches, Kiffles also freeze beautifully. Once fully cooled, arrange them in a single layer on a baking sheet to flash freeze, then transfer to a freezer-safe bag or container, separating layers with parchment paper. Thaw them at room temperature before serving and dusting.
Even experienced bakers can encounter small challenges, and troubleshooting is part of the culinary journey. If your dough feels too sticky during rolling, don’t hesitate to add a little more flour to your work surface and rolling pin. The high fat content of cream cheese dough can make it prone to sticking, so generous flouring is your friend. If fillings seem to leak during baking, it might be due to overfilling or an incomplete seal. Practicing the sealing technique with a dab of water on your finger and conducting a “test bake” with a few cookies can help you perfect the amount of filling and sealing method. If Kiffles open up in the oven, it’s almost always a sealing issue; ensure those corners are pinched firmly and smoothed down. With a little practice, you’ll master these charming Hungarian pastries.
In conclusion, Hungarian Kiffles are more than just a cookie; they are a celebration of flavor, tradition, and the simple pleasures of homemade baking. The effort invested in their creation is generously rewarded with a unique taste experience that will leave a lasting impression on anyone who tries them. Embrace the process, savor the aroma, and enjoy the delightful journey of making these timeless Hungarian treasures.