
Mastering Caramelized Onions: A Comprehensive Guide to Sweet & Savory Perfection
Caramelized onions are a culinary marvel, transforming humble onions into a luxurious, intensely flavorful ingredient. This guide delves into the art and science of slow-cooking onions to achieve that coveted rich, savory sweetness and jam-like texture. Far from a mere side dish, perfectly caramelized onions serve as a foundational flavor layer, elevating everything from gourmet burgers and succulent steaks to comforting pasta dishes, robust soups, and sophisticated sandwiches. Understanding the nuances of this simple technique unlocks a world of enhanced flavor in your kitchen.
At its core, caramelizing onions requires only a handful of ingredients: fresh onions, a touch of butter and oil, a pinch of salt, and sometimes a hint of sugar. However, the magic truly unfolds through patience and a precise cooking process. The low and slow heat gradually breaks down the onions’ complex carbohydrates into simple sugars, which then undergo the Maillard reaction and caramelization. This intricate chemical process is responsible for their distinctive deep golden-brown color, concentrated sweetness, and umami-rich savory notes, creating a flavor profile that is utterly unique and undeniably delicious.
Essential Ingredients for Perfect Caramelized Onions
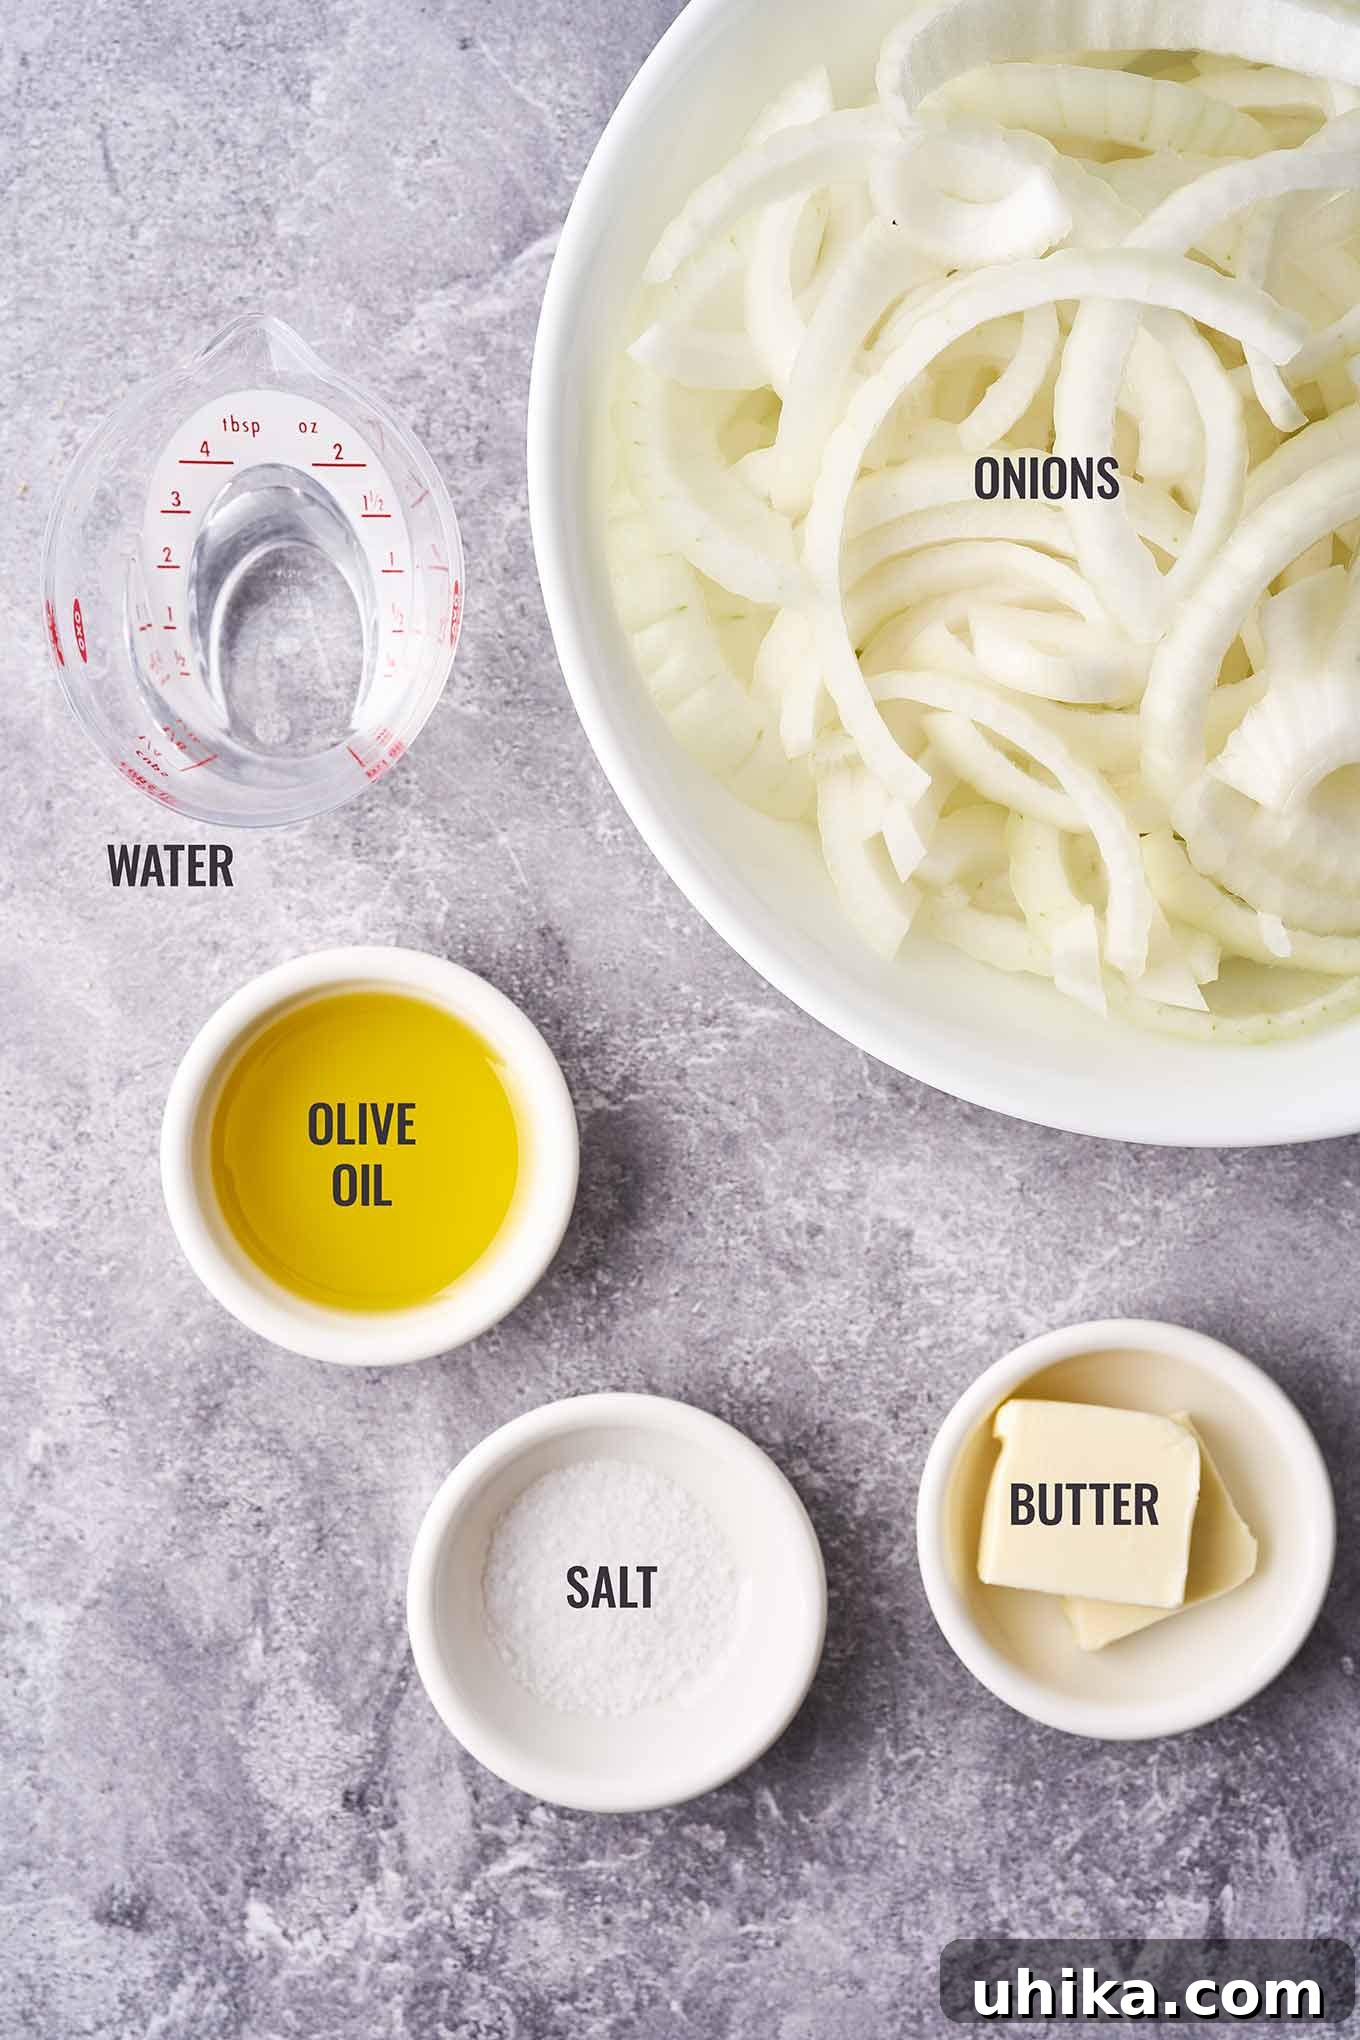
Achieving the best caramelized onions starts with selecting the right ingredients. Here’s a detailed look at each component and why it matters. The complete ingredient list with precise quantities can be found in the printable recipe card below.
YELLOW ONIONS: The Star of the Show
For caramelizing, yellow onions are the unequivocal first choice. Their balanced sweetness, robust flavor, and moderate sugar content make them ideal. As they cook down, their natural sugars concentrate, developing a profound, savory sweetness that beautifully complements other ingredients. While sweet onions (like Vidalia or Walla Walla) can also be caramelized, their higher water content and milder initial flavor mean they cook down more rapidly and can become excessively sweet, often costing more without delivering a superior result. Red onions, with their vibrant color, tend to yield a reddish-brown caramelization and a more assertive, slightly peppery flavor that might not suit all dishes. White onions are generally too pungent and lack the sugar content for optimal caramelization, often resulting in a bitter taste rather than sweet.
BUTTER & OLIVE OIL: The Flavorful Fat Duo
A combination of butter and a light-flavored olive oil is crucial for the best results. Butter contributes an unparalleled richness and nutty depth that is essential to the flavor profile of caramelized onions. However, butter alone has a low smoke point and can burn easily over the long cooking time required. This is where olive oil comes in; its higher smoke point helps to stabilize the butter, preventing scorching and ensuring a more even, gentle browning. A roughly fifty-fifty ratio provides the perfect balance, imparting deep flavor while ensuring consistent, controlled caramelization. Other fats like ghee or avocado oil can be used, but the classic butter-olive oil blend is highly recommended for its flavor complexity.
A PINCH OF SUGAR: A Gentle Nudge (Optional)
Adding a small pinch of granulated sugar (about ¼ to ½ teaspoon per two pounds of onions) is an optional but often beneficial step. It acts as a catalyst, helping to kick-start the caramelization process, especially if your onions are not particularly sweet or if you’re looking to achieve that deep golden-brown color a little more efficiently. If you’re using naturally sweet onions, or if you prefer a less overtly sweet result, feel free to omit it. The onions will still caramelize beautifully with time, as their natural sugars are sufficient.
SALT: Seasoning and Moisture Extraction
Salt is essential not just for seasoning, but also for its role in drawing out moisture from the onions. Adding salt early in the cooking process helps the onions release their water content more quickly, which is vital for them to soften thoroughly before the browning stage begins. This initial moisture release prevents the onions from steaming indefinitely and allows them to transition smoothly into the caramelization phase, where water has evaporated and sugars can begin to brown.
Prep & Process Overview
How to Make Caramelized Onions: Step-by-Step
Crafting perfect caramelized onions is a straightforward process that rewards patience. Here’s a quick overview of the key steps. Detailed, step-by-step instructions are available in the comprehensive recipe card below.
1. The Initial Sauté: Softening the Onions
Begin by thinly slicing your yellow onions. Uniformity in slicing is crucial for even cooking, ensuring all onion pieces caramelize at the same rate. In a wide, heavy-bottomed skillet – preferably stainless steel or cast iron – melt the butter with the olive oil over medium-low heat. Add the sliced onions to the pan, ensuring they are evenly coated with the fat. Covering the pan at this stage helps the onions to soften gently and release their natural moisture without browning too quickly. Cook slowly, stirring occasionally, until the onions become translucent and significantly softened, typically for 12-15 minutes. This stage is about extracting moisture and beginning the breakdown of cell walls.
2. The Caramelization Phase: Developing Depth and Color
Once the onions are soft, remove the lid. Increase the heat slightly to medium-low, and stir in the salt and an optional pinch of sugar. From this point, constant attention and frequent stirring are key. As the moisture evaporates, the onions will begin to change color, gradually transitioning from pale gold to a deeper amber. The natural sugars will start to brown, creating delicious “fond” – browned bits – on the bottom of the pan. Stir often, scraping these flavorful bits from the bottom and incorporating them back into the onions. This not only prevents sticking and burning but also enriches the overall flavor. If the onions start to stick excessively or brown too rapidly, it’s time to deglaze.
3. Deglazing: For Flavor and Consistency
Deglazing is a crucial technique to prevent burning and deepen flavor. If the onions begin to stick or brown unevenly, add a splash of liquid – water, vegetable broth, or wine – just a tablespoon or two at a time. Use a wooden spoon to scrape up all the flavorful browned bits from the bottom of the pan. This liquid helps to lift the fond, incorporating its intense flavor back into the onions, and also introduces a little moisture to slow down the browning process, allowing for more controlled caramelization. Continue cooking, stirring, and deglazing as needed, until the onions reach your desired depth of color and texture.
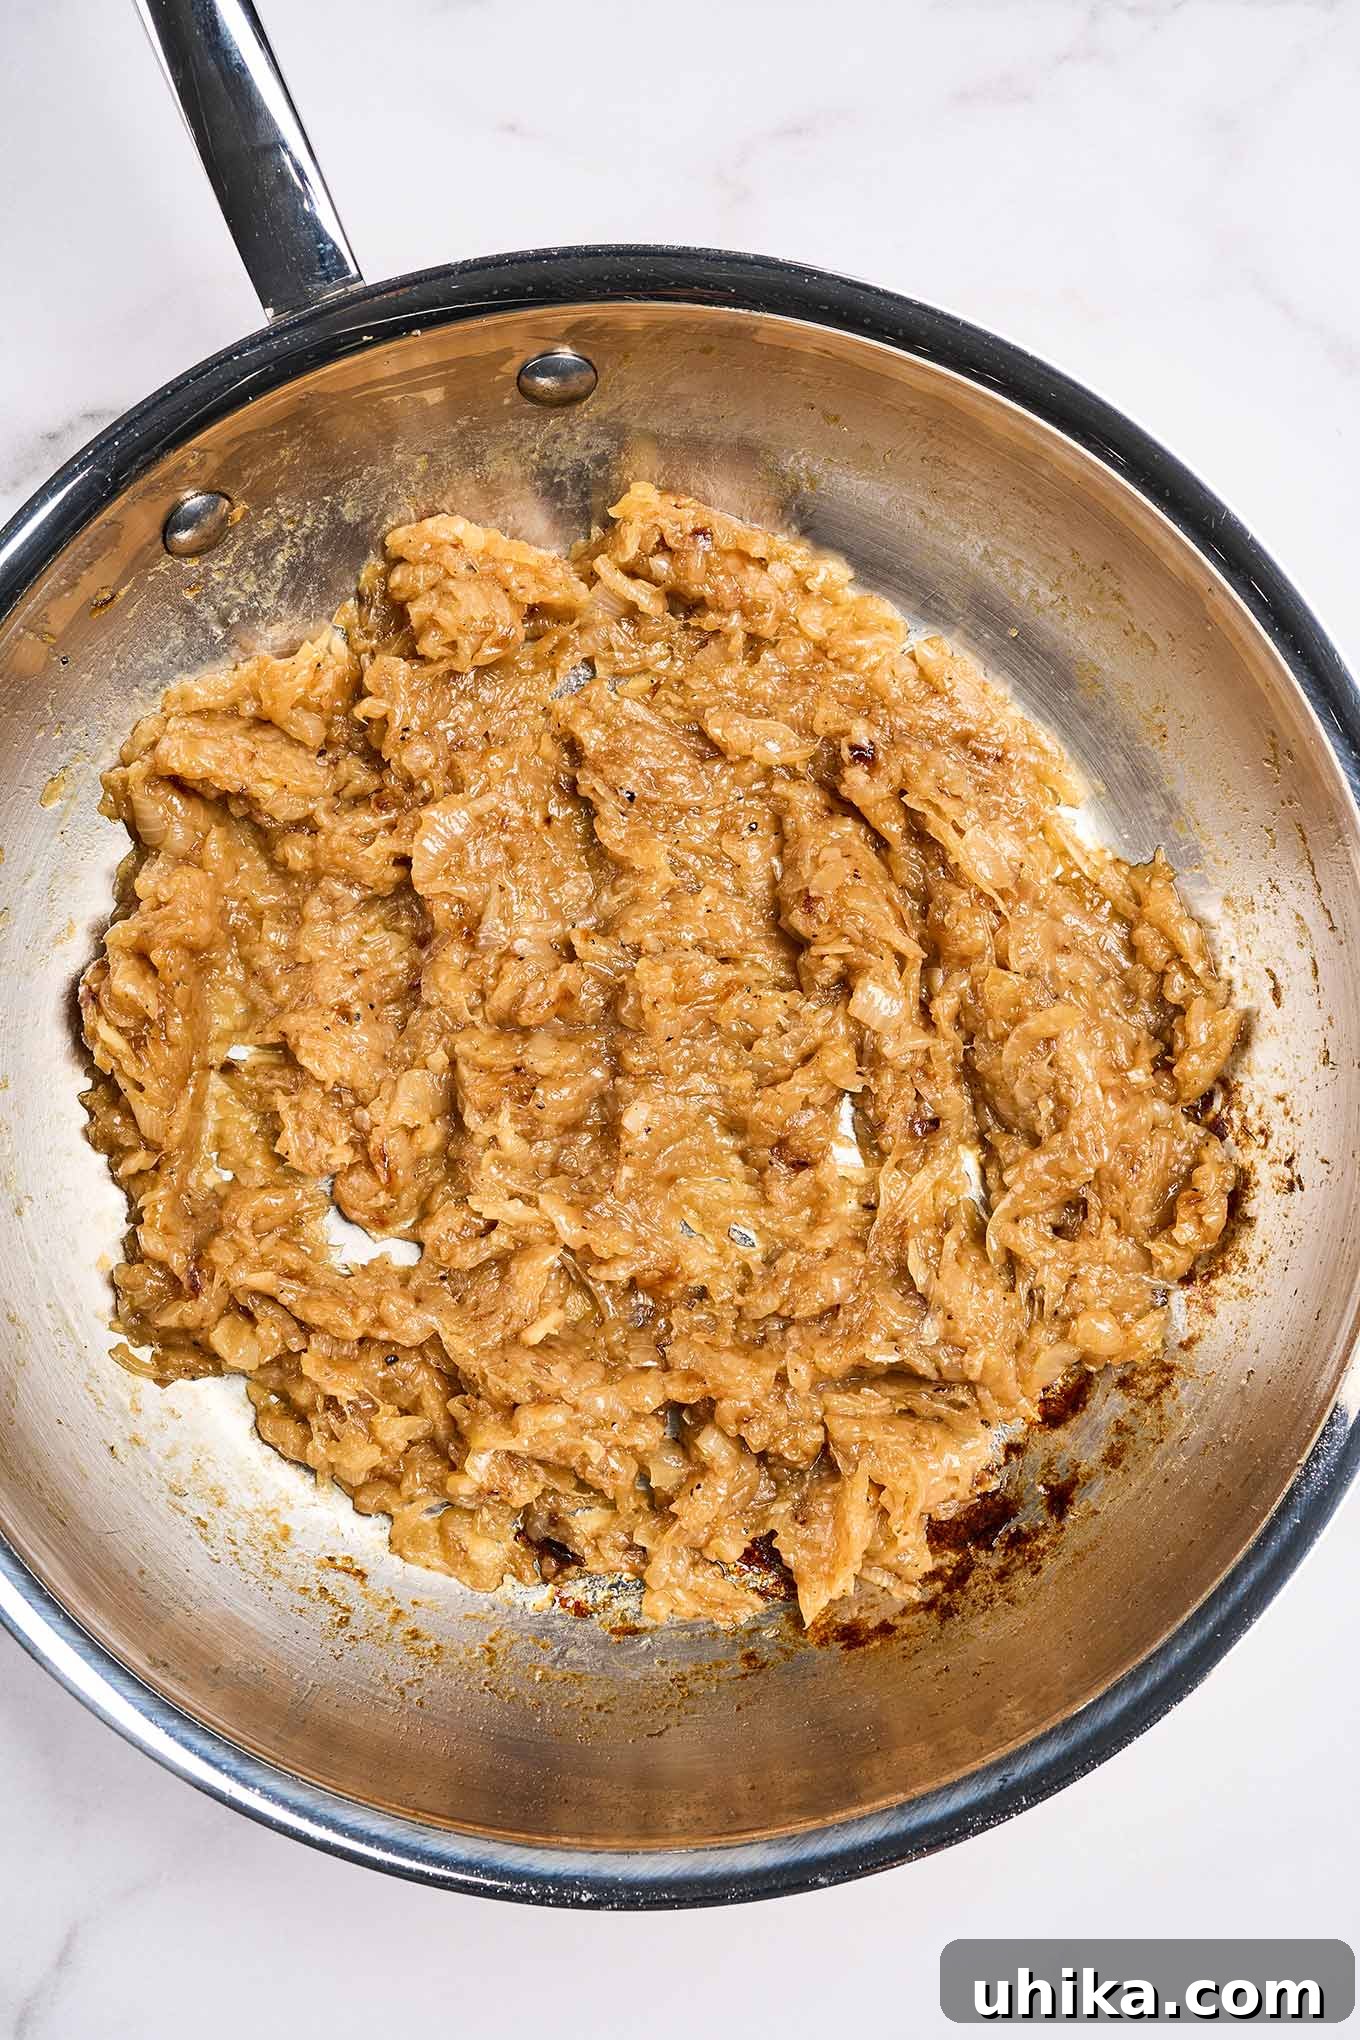
4. Achieving Your Desired Texture and Doneness
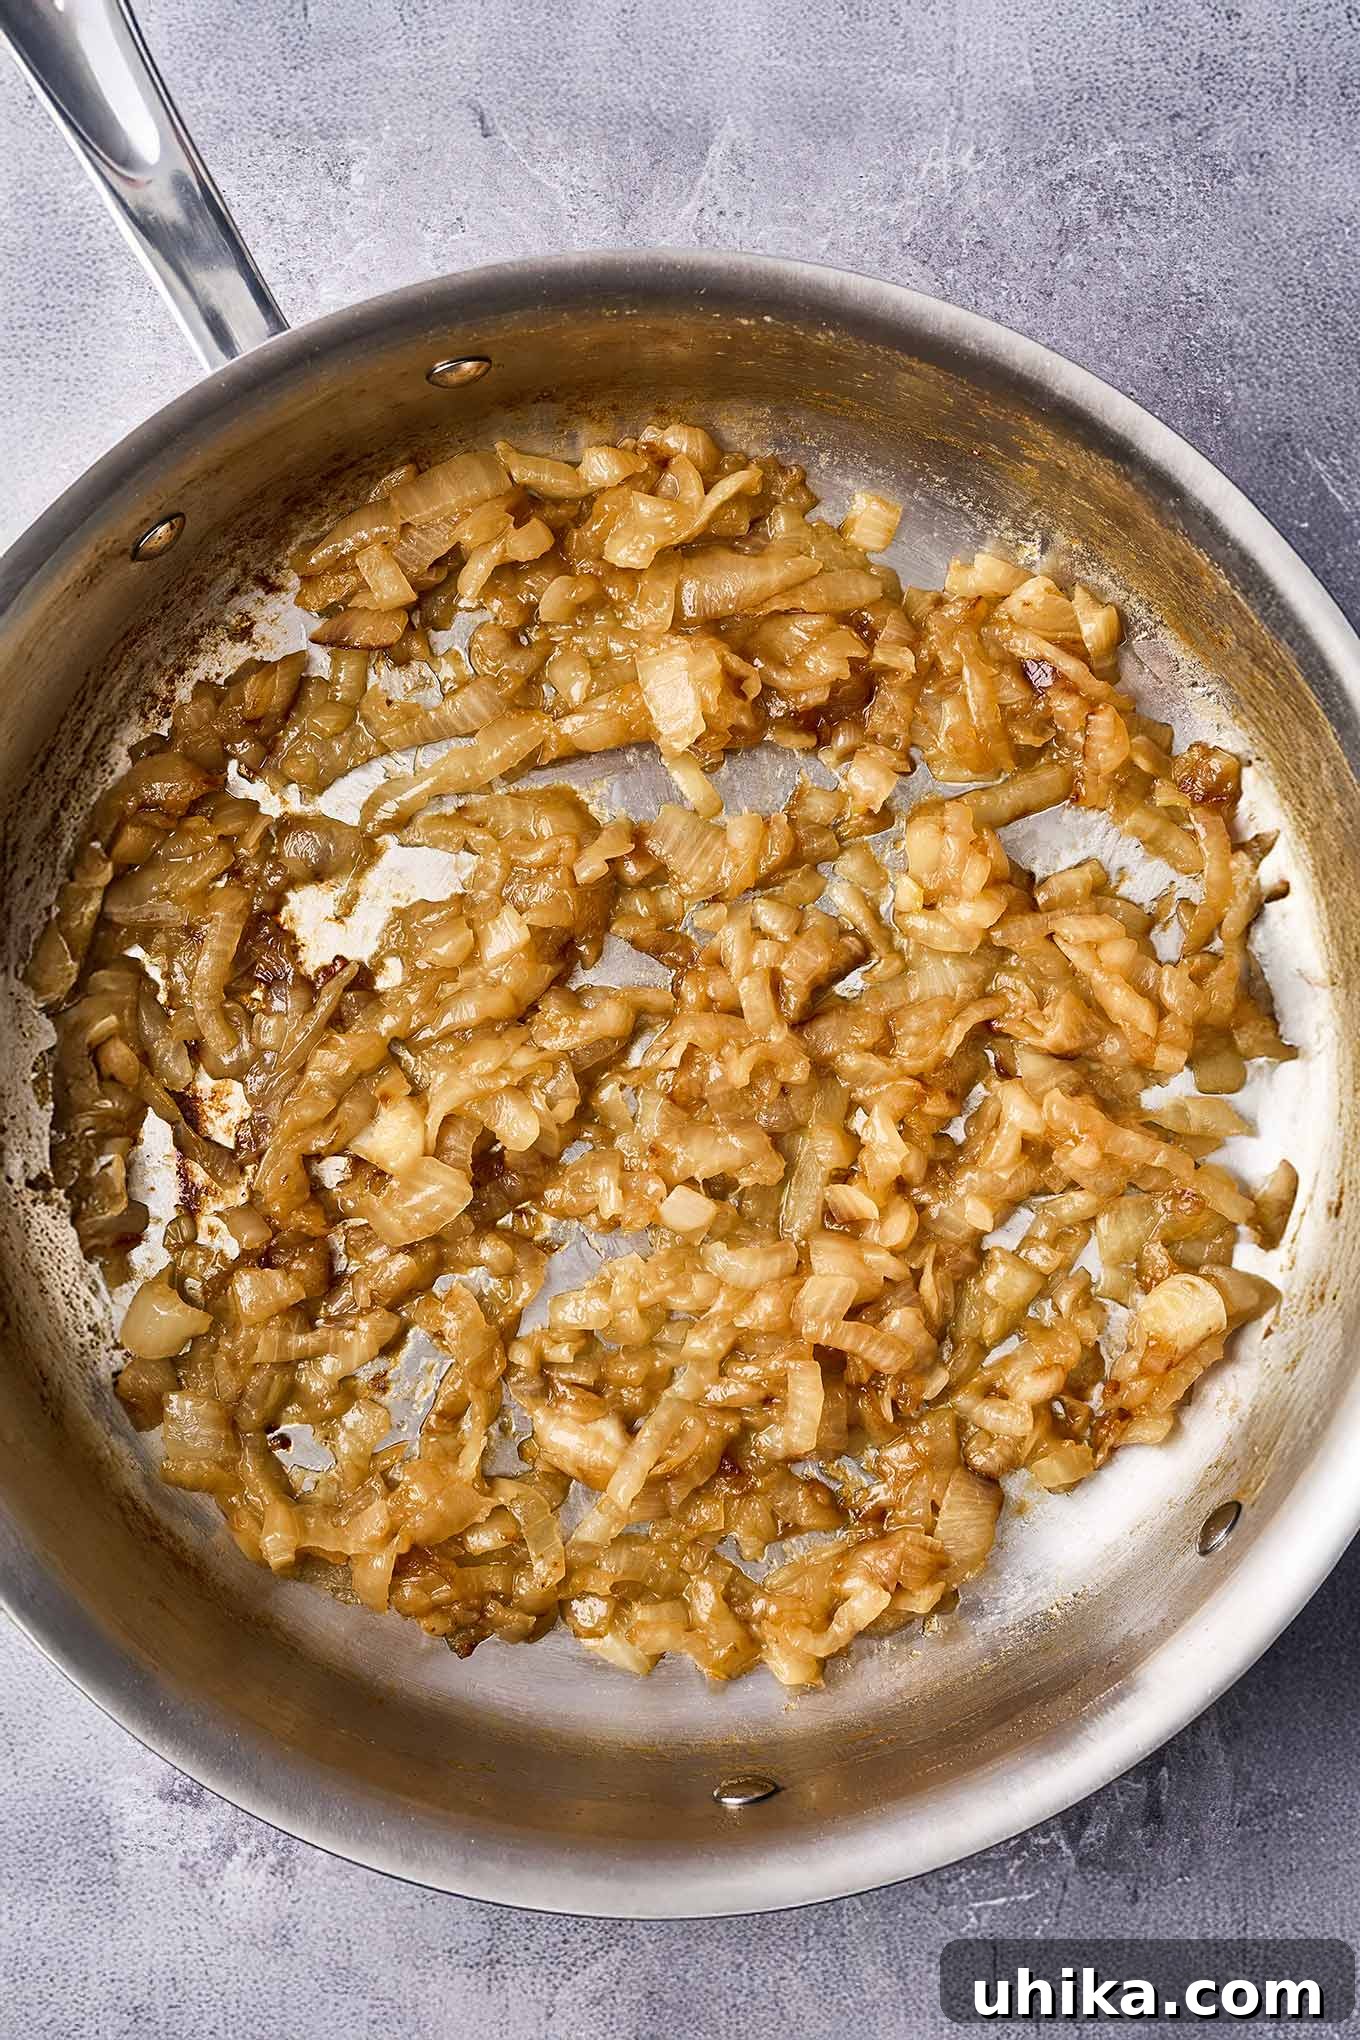
The total cooking time will vary depending on the amount of onions, the pan used, and your desired final consistency. When finished, the onions will have reduced dramatically in volume, taking on a concentrated, rich golden-brown hue. The exact texture is a matter of preference and depends on how long you continue to cook them.
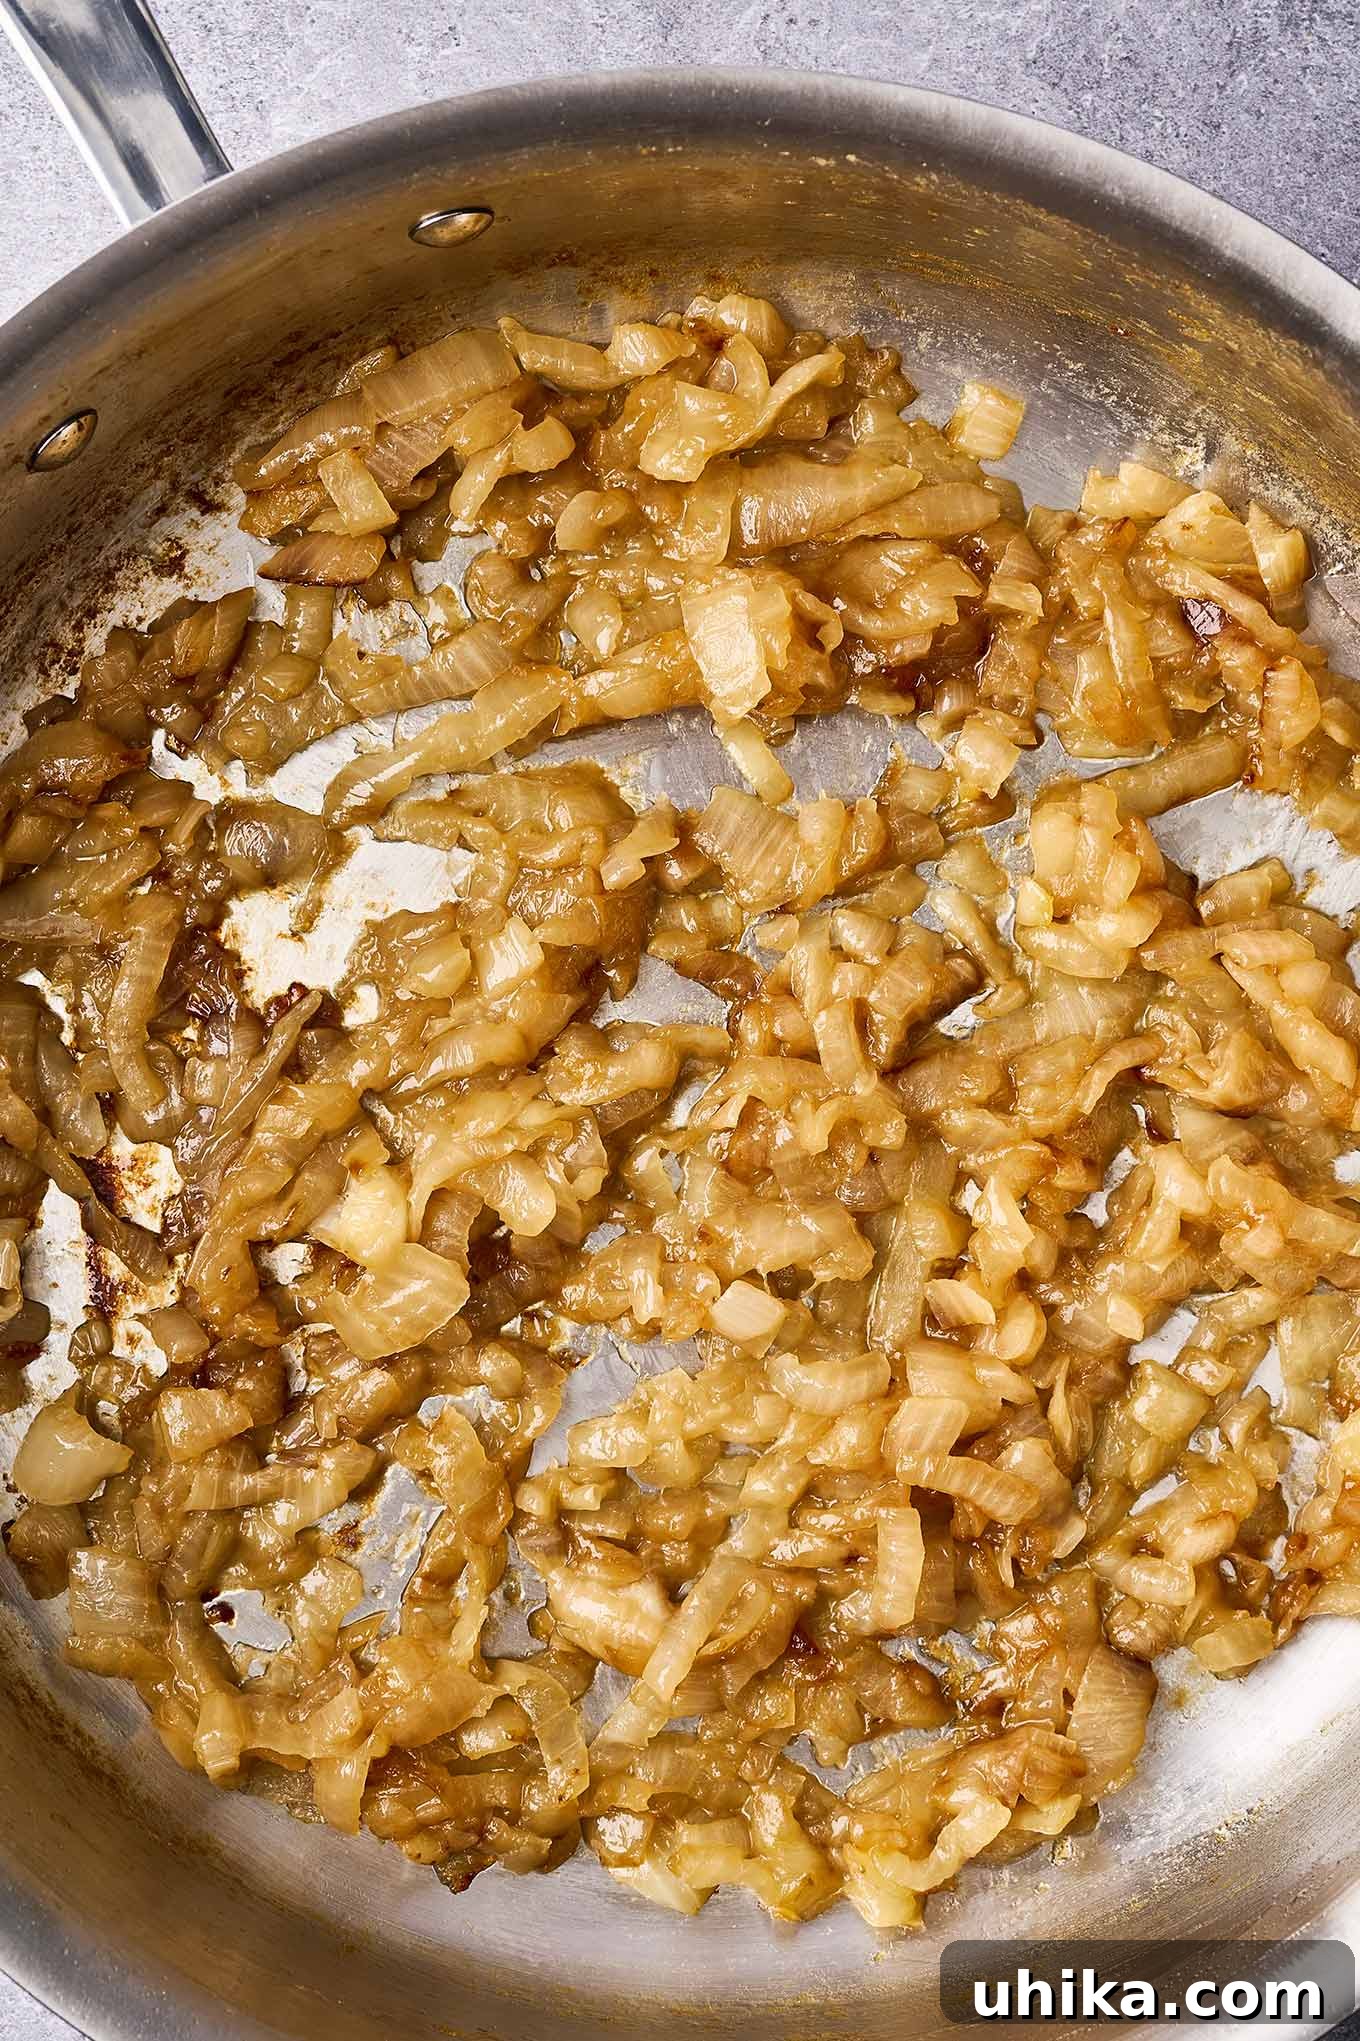
- Textured & Al Dente (35-40 minutes): The onions in the left image are perfectly caramelized, retaining some slight structure and chewiness. This texture is fantastic for topping a grilled steak, adding to a hearty pasta dish, or folding into savory tarts, where a bit of bite is desired.
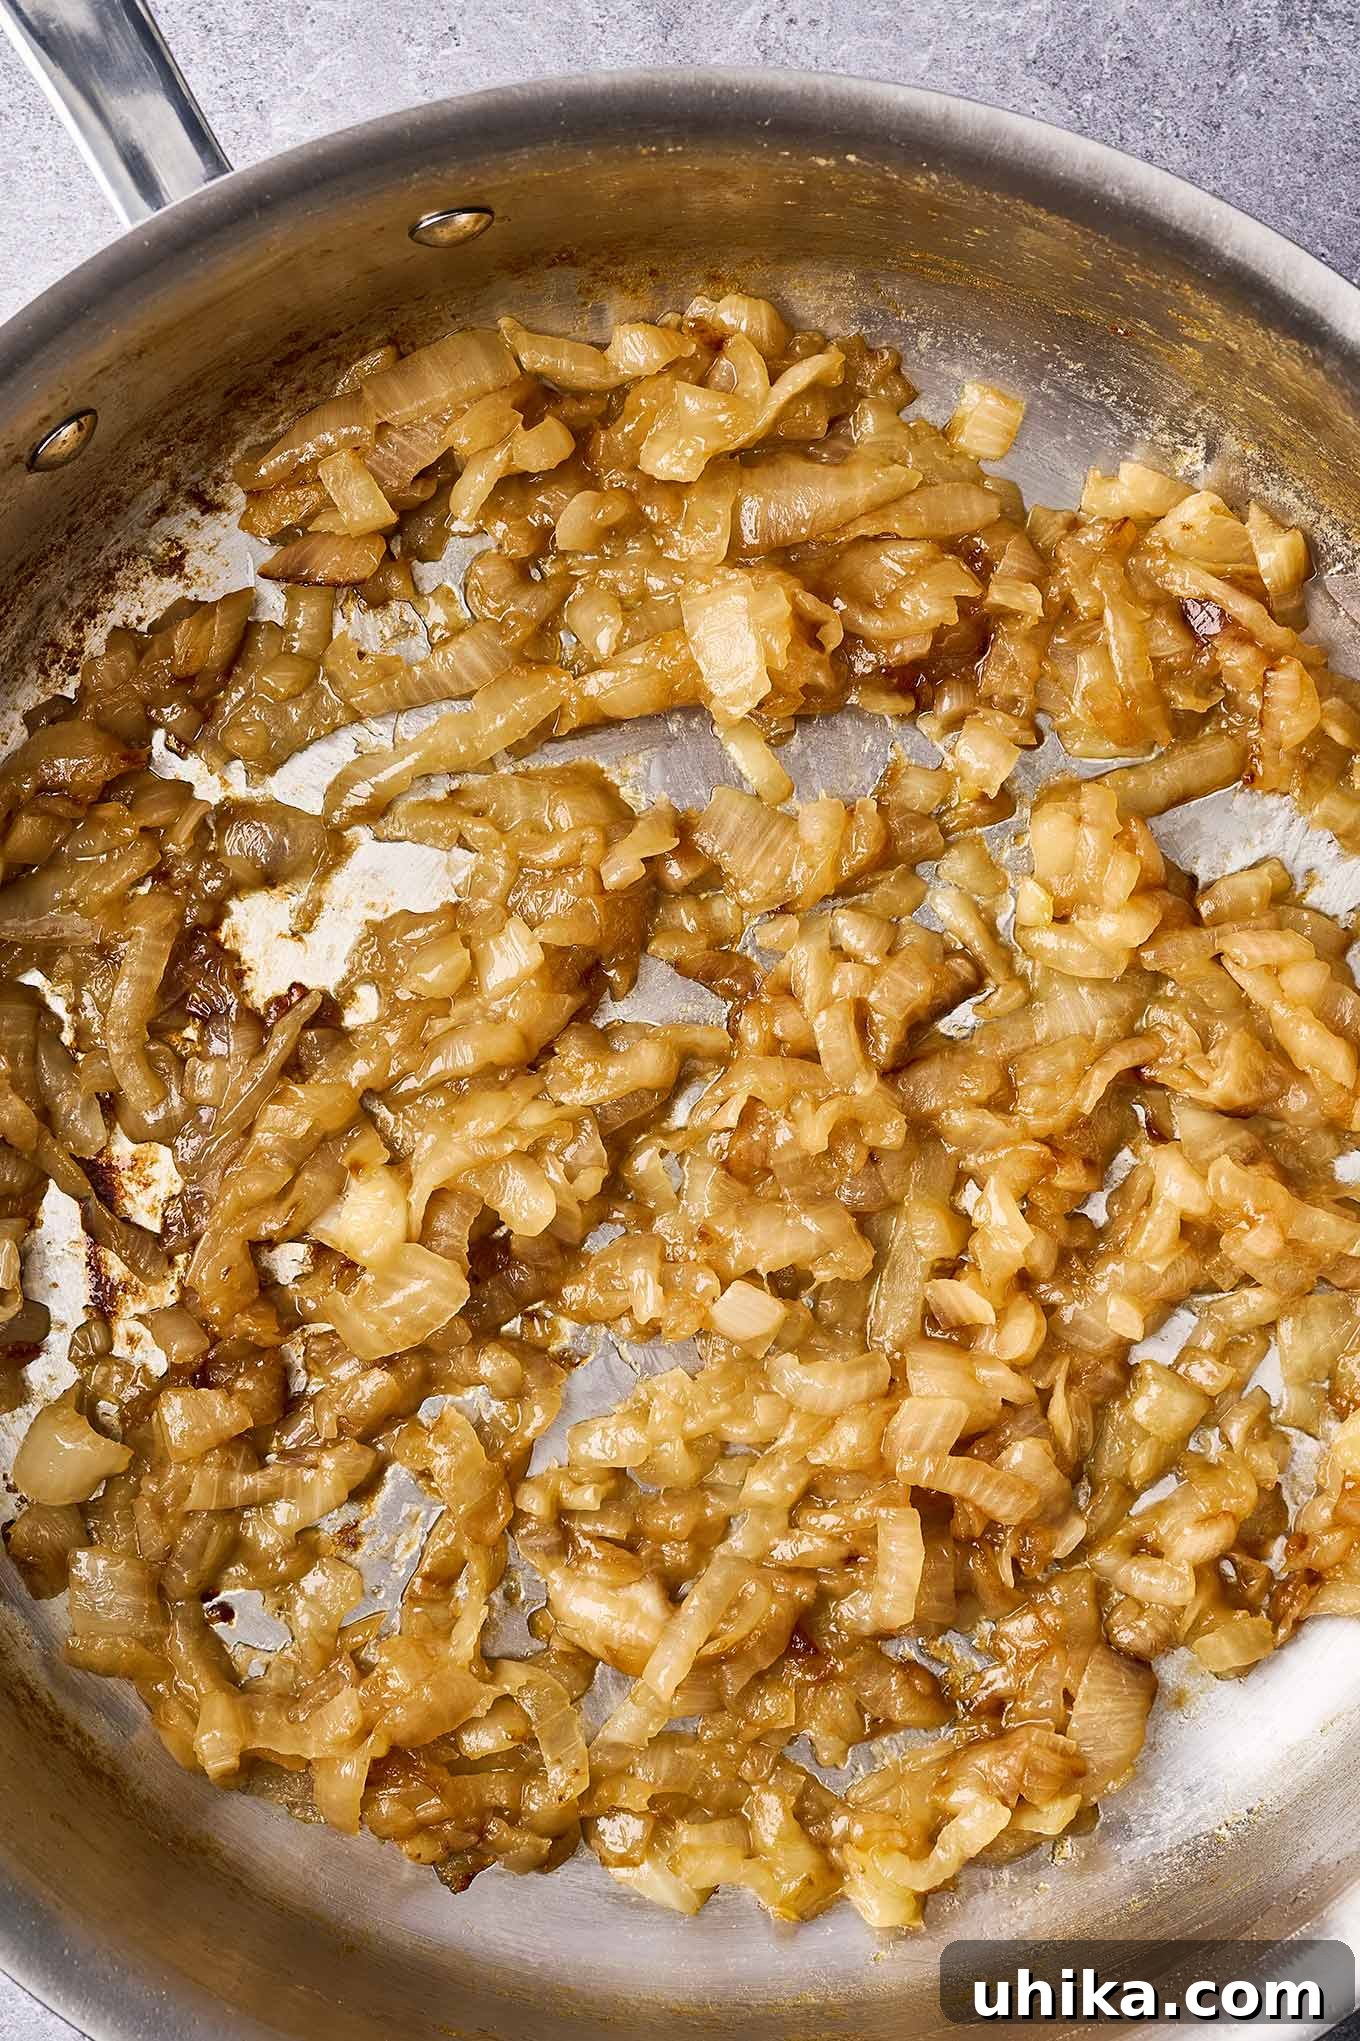
- Soft & Jam-Like (45-50+ minutes): The onions in the right image demonstrate a more intensely caramelized, broken-down, and spreadable consistency. This deep caramelization is ideal for French onion soup, spreading on gourmet sandwiches and burgers, or incorporating into rich sauces and dips. Continue cooking until they melt in your mouth and have a truly jam-like appearance.
Pro Tips for Caramelizing Onions Like a Chef
- Patience is Paramount: This cannot be stressed enough. True caramelization is a slow process. Rushing it with excessively high heat will lead to uneven browning, burnt edges, and a bitter flavor instead of the desired sweet, savory depth. Keep the heat consistently low to medium-low.
- Use the Right Pan: A wide, heavy-bottomed skillet is your best friend. Stainless steel or cast iron are excellent choices because they distribute heat evenly and retain it well, which is crucial for consistent browning. The wide surface area allows moisture to evaporate efficiently, preventing the onions from steaming and promoting proper caramelization. Avoid nonstick pans, as they often don’t allow for the development of the flavorful “fond” that enriches the onions.
- Don’t Be Afraid to Deglaze: When you see those delicious brown bits (fond) forming on the bottom of the pan, don’t let them burn! Add just a tablespoon or two of liquid (water, broth, or wine) at a time, then scrape them up with a wooden spoon. This releases all that concentrated flavor back into the onions and prevents sticking.
- Slice Uniformly: Inconsistent slicing leads to inconsistent cooking. Some pieces will burn while others are still raw. Take the time to slice your onions as evenly as possible for the best results.
- Avoid Overcrowding the Pan: Cooking too many onions at once will steam them rather than caramelize them. If you have a large batch, cook them in smaller portions or use multiple pans to ensure proper heat distribution and evaporation.
- Season at the Right Time: Adding salt too early can draw out too much moisture too quickly, but adding it after the initial softening helps. A pinch of black pepper or a splash of balsamic vinegar at the very end can add another layer of complexity.
Cooking with Caramelized Onions: Culinary Inspiration
The sweet and savory depth of caramelized onions makes them an incredibly versatile ingredient, capable of enhancing a vast array of dishes. Once you master this technique, you’ll find countless ways to incorporate them into your cooking:
- Appetizers & Snacks:
- Croistini & Tartlets: Top toasted baguette slices or mini pastry shells with a dollop of creamy goat cheese and caramelized onions.
- Dips & Spreads: Fold them into creamy onion dips or blend with cream cheese for a savory spread.
- Quesadillas: Add them to cheese quesadillas for an extra layer of gourmet flavor.
- Main Courses:
- Burgers & Sandwiches: Elevate any burger, hot dog, or sandwich, from a simple grilled cheese to a sophisticated steak sandwich, with a generous layer of these onions.
- Steaks & Pork: They are a classic accompaniment to grilled steak, roasted pork tenderloin, or pork sliders, providing a rich counterpoint to savory meats. Try them layered on Pork Tenderloin Sliders.
- Pasta Dishes: Stir them into rich pasta sauces, or toss with olive oil, herbs, and cheese for a simple yet elegant pasta. Fold them into Blue Cheese Pasta with Bacon or with pasta and crumbled sausage.
- Pizzas & Tarts: Use them as a topping for gourmet pizzas, quiches, or savory tarts, often paired with goat cheese, bacon, or mushrooms.
- Vegetarian Dishes: Incorporate them into grain bowls, stir-fries, or serve alongside roasted vegetables for added depth.
- Soups & Sauces:
- French Onion Soup: They are the undisputed star of this classic dish. Whip up a batch for a rich onion flavor in Easy French Onion Soup.
- Gravies & Pan Sauces: Whisk them into gravies or pan sauces to infuse them with rich, complex flavor.
Experimentation is key! Once you have a batch of these golden treasures, you’ll find they transform ordinary meals into extraordinary culinary experiences.
Classic Caramelized Onions (How-To Recipe)
Lynne Webb
10 minutes
45 minutes
55 minutes
6
servings
Print Recipe
Ingredients
-
2
pounds
yellow onions,
halved and thinly sliced -
1
tablespoon
olive oil -
1
tablespoon
butter -
1/2
teaspoon
salt -
Pinch
sugar (optional, see notes) -
Water,
or other liquid for deglazing (see notes)
Instructions
-
Melt the butter and olive oil together in a large, heavy-bottomed skillet over medium-low heat. Add the thinly sliced onions, stir thoroughly to coat them evenly with the fat, and cover the pan. Cook for 12 to 15 minutes, stirring occasionally, until the onions are soft and translucent.
-
Uncover the pan, slightly raise the heat to medium (if necessary, maintain medium-low), and stir in the salt and the optional pinch of sugar. Continue cooking, uncovered, stirring frequently and scraping up any browned bits (fond) as they form on the bottom of the pan.
-
If the onions start to stick excessively or brown too quickly, add 1 to 2 tablespoons of water (or other liquid – see notes) at a time. Use a wooden spoon to scrape all the caramelized bits from the bottom of the pan, incorporating them into the onions. Continue this process of cooking, stirring, and deglazing until the volume of the onions is considerably reduced and they have transformed into a deep, rich golden-brown color.
-
The final texture depends on your preference. For onions that retain a bit of texture and chewiness (perfect for burgers, steaks, and pasta), stop cooking when they are soft and partially broken down (total time typically 35 to 40 minutes). For a fully spreadable, jam-like consistency (ideal for sandwiches, soups, or rich sauces), continue cooking for an additional 5-10 minutes, ensuring they are deeply caramelized and melted.
Notes
STORAGE: Allow caramelized onions to cool completely before transferring them to an airtight container. They can be refrigerated for up to 5 days. For longer preservation, divide them into small, usable portions and freeze for up to 3 months. Thaw frozen onions in the refrigerator overnight or gently reheat from frozen on the stovetop.
Nutrition Information
Serving:
0.25
cup
,
Calories:
98
,
Total Fat:
4
g
,
Cholesterol:
5
mg
,
Sodium:
215
mg
,
Carbohydrates:
14
g
,
Fiber:
3
g
,
Sugar:
6
g
,
Protein:
2
g
Nutrition information is automatically calculated and should be used as an approximation.
Enjoyed this recipe? Share your thoughts below!