
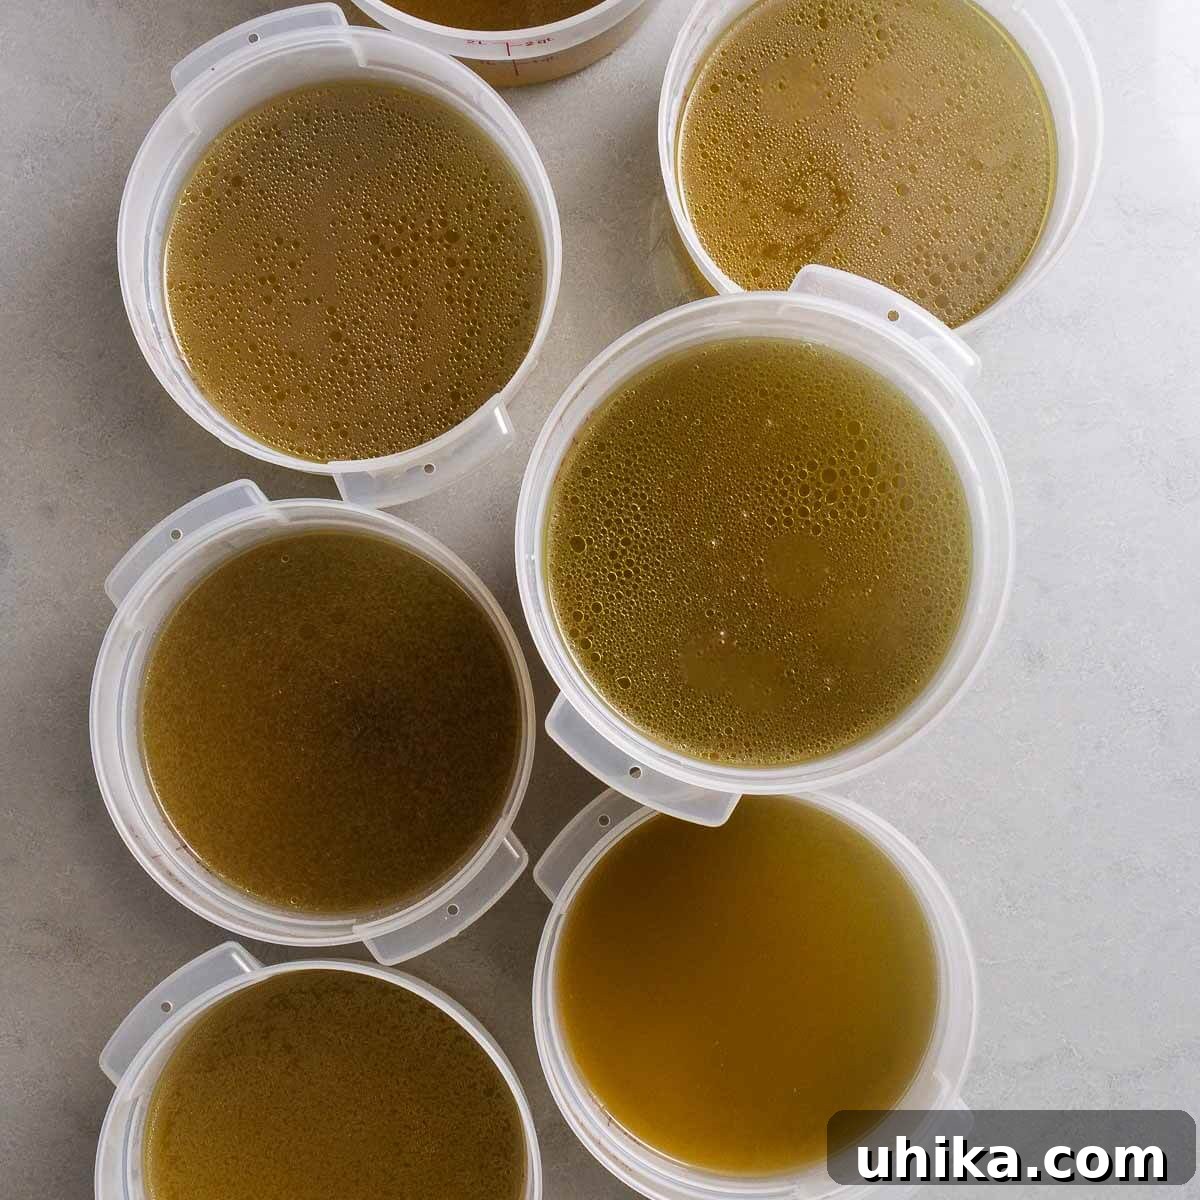
There’s an undeniable satisfaction that comes from crafting your own **homemade chicken stock**. Far surpassing the quality of any store-bought alternative, **rich chicken stock** is not only incredibly cost-effective but also serves as the fundamental building block for countless delicious dishes. Integrating this golden elixir into your cooking promises an **immediate and profound enhancement to the flavor** of every recipe that calls for stock.
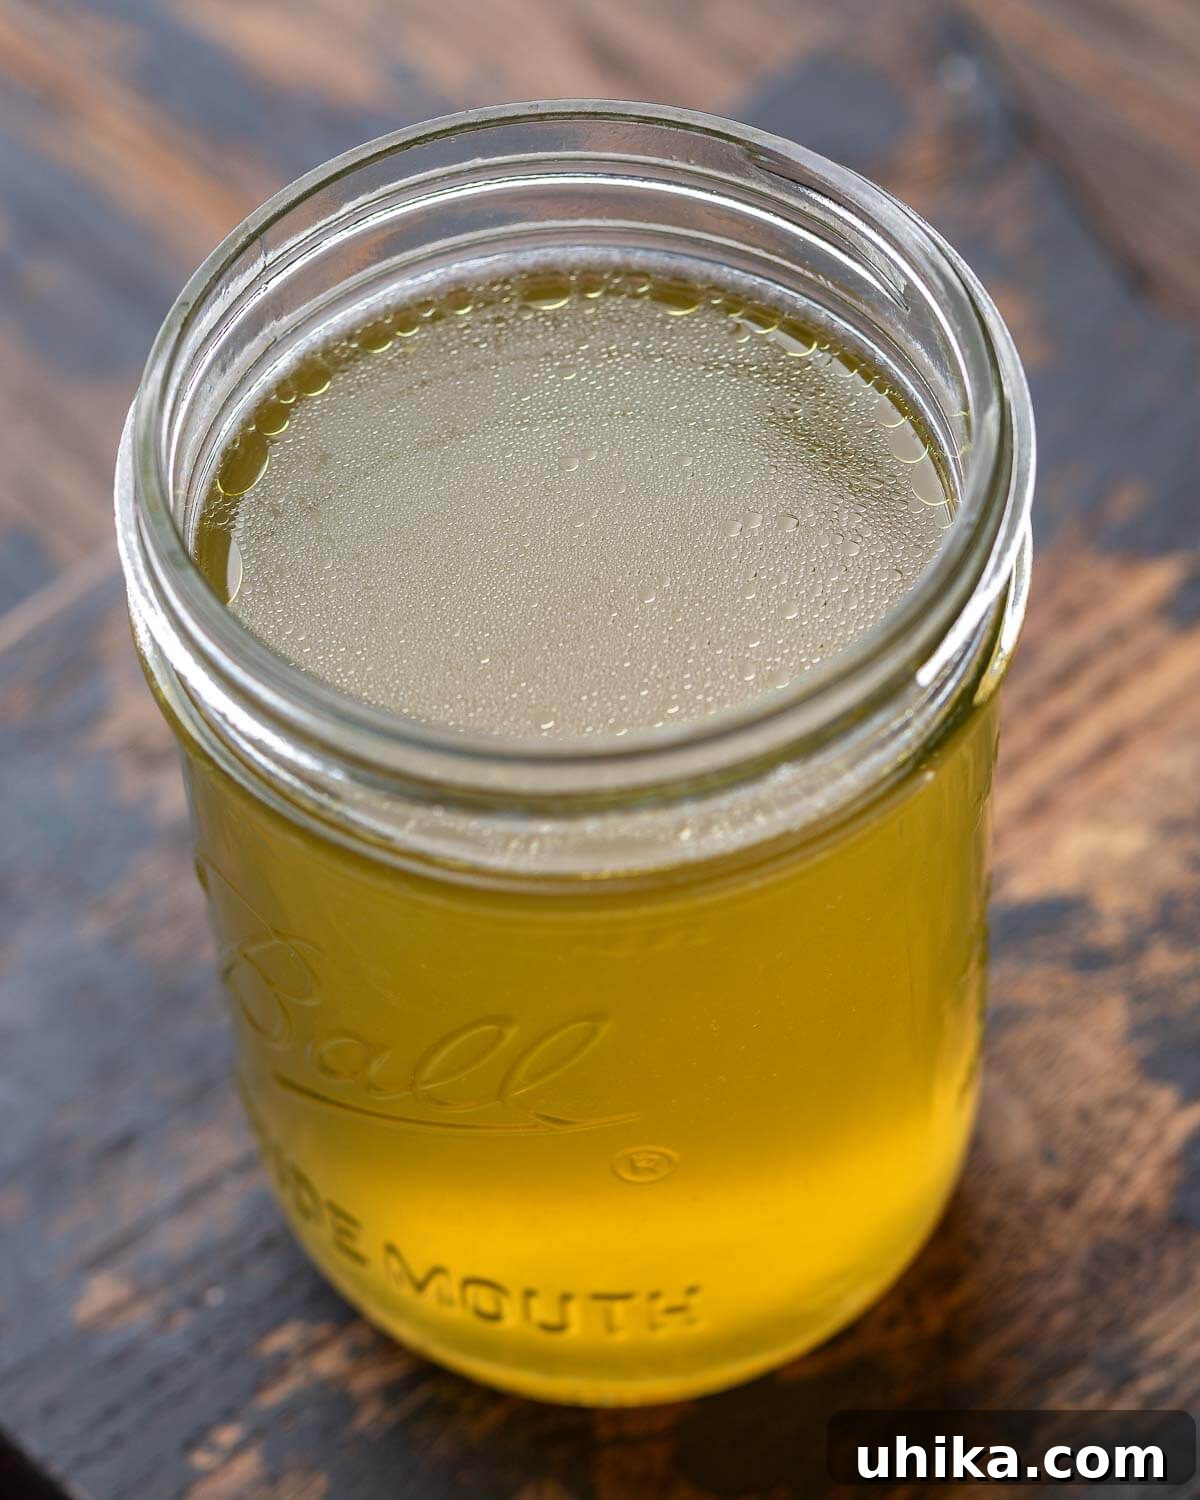
As a seasoned cook, I frequently encounter a common query: “How can I elevate my home cooking to rival, or even surpass, the quality of a restaurant meal?”
My consistent advice remains: “Begin with **homemade stock**.”
Whether you’re making beef stock or **chicken stock**, a homemade version will always outperform anything available on supermarket shelves. The depth, richness, and pure flavor derived from simmering fresh ingredients for hours simply cannot be replicated by mass-produced alternatives laden with excessive sodium and artificial flavors.
While preparing your own **chicken stock from scratch** demands a modest time investment, the long-term benefits are substantial. You’ll quickly discover it’s an incredibly **budget-friendly** endeavor, transforming inexpensive ingredients like chicken bones and vegetable scraps into a liquid goldmine. By making a generous batch at once, you’ll ensure a **ready supply** whenever a recipe calls for stock, simplifying meal preparation and guaranteeing superior results.
The versatility of **homemade chicken stock** is truly remarkable. It forms the savory core of almost every soup or stew, but its applications extend far beyond. Imagine the rich sauces for dishes like Chicken Francese, the luscious gravy for Chicken Saltimbocca, or the comforting base for a classic Chicken Fricassee. **Homemade stock** is the secret ingredient that binds these flavors together, providing a foundational richness that elevates every component.
It acts as the culinary bedrock for an extensive array of recipes, and embarking on its creation from scratch guarantees the best possible start for your dishes. Beyond just flavor, making your own stock allows you to control the ingredients, avoiding unwanted additives, excessive sodium, and allergens often found in commercial products, making it a healthier choice for your family.
Table of Contents
- Essential Recipe Ingredients
- Step-by-Step Guide: How to Make Chicken Stock
- Storing Your Homemade Chicken Stock
- Expert Tips for Perfect Stock
- Delicious Ways to Utilize Chicken Stock
- Printable Chicken Stock Recipe Card
Essential Recipe Ingredients for Rich Chicken Stock
Crafting exceptional chicken stock begins with selecting the right ingredients. Below, you’ll find a visual guide and a detailed list with special notes to assist you in preparing your stock.
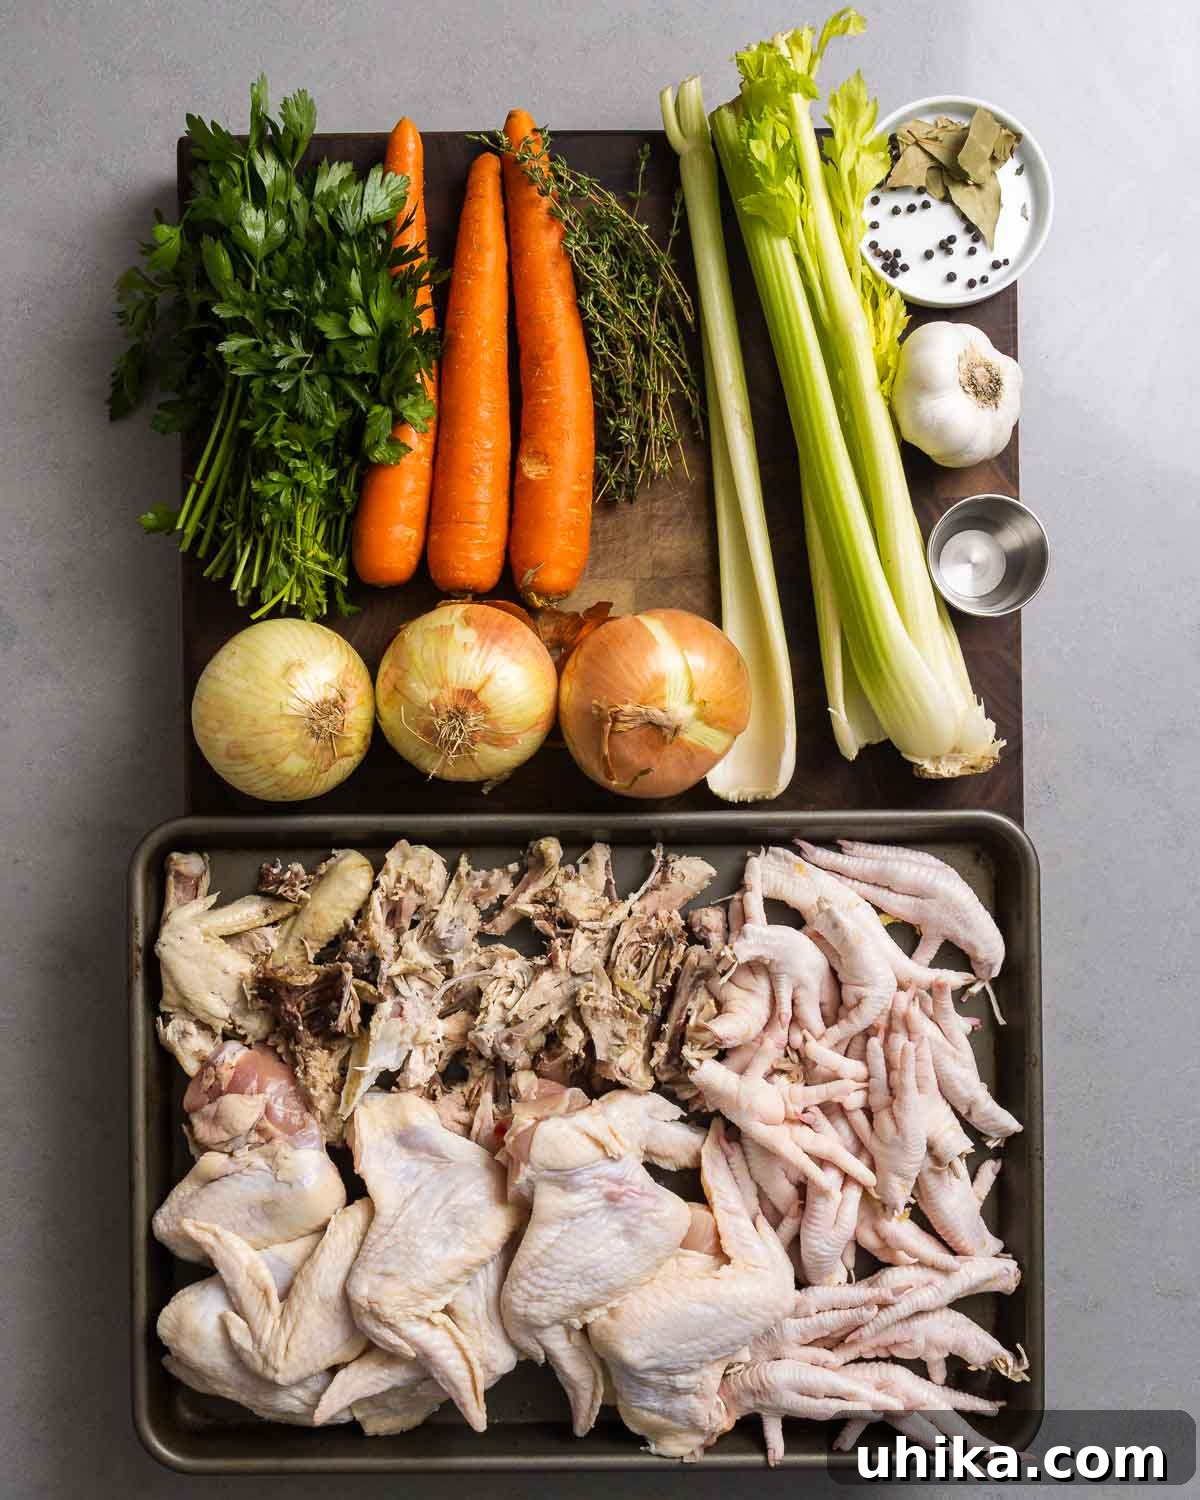
- Chicken Bones: The Flavor Foundation. The backbone of a chicken is an excellent choice for stock, packed with marrow and connective tissue that contribute to richness. If you typically butcher whole chickens for meals like Italian Baked Chicken and Potatoes or Chicken Vesuvio, remember to save the backbones. Alternatively, **chicken wings** and **chicken feet** are superb additions – they are particularly rich in collagen, which yields a wonderfully gelatinous, full-bodied stock. You can also use the entire chicken carcass after carving. Aim for approximately 8 pounds of bones. You can purchase them fresh from a butcher or accumulate them over time in your freezer until you reach the desired quantity.
- Fresh Vegetables: Aromatic Enhancers. The classic trio of carrots, celery, and onion forms the aromatic base of most chicken stocks. There’s no need for meticulous chopping here; simply cut them into large, rustic chunks. Their purpose is purely to impart flavor, so precision is unnecessary. You can even leave the skin on the onions for added color.
- Herbs and Spices: Depth and Complexity. Fresh thyme, flat-leaf parsley, bay leaves, and whole peppercorns are essential for adding layers of herbaceous and pungent flavor to your stock. These aromatics infuse the liquid with a delightful fragrance and complexity that define a truly great stock.
- White Vinegar: The Collagen Catalyst. A small amount of white vinegar plays a crucial role. Its acidity helps to gently break down the chicken bones and connective tissues, facilitating the release of collagen. This process is vital for forming gelatin, which gives the stock its desirable body and rich mouthfeel. Don’t worry, you won’t taste the vinegar in the final product!
For precise measurements and quantities, please refer to the complete **recipe card** provided at the end of this article.
Step-by-Step Guide: How to Make the Best Homemade Chicken Stock
Follow these numbered steps to create a deeply flavorful and nutritious chicken stock. Each step corresponds to the process photos below for easy reference.
- Begin by preparing your vegetables. Cut 3 large carrots and 6 ribs of celery (including the leaves for extra flavor) into roughly 3-inch pieces. Take 3 medium yellow onions, cut them in half, and you can leave the skin on – it contributes to the stock’s beautiful golden hue. (Photo #1)
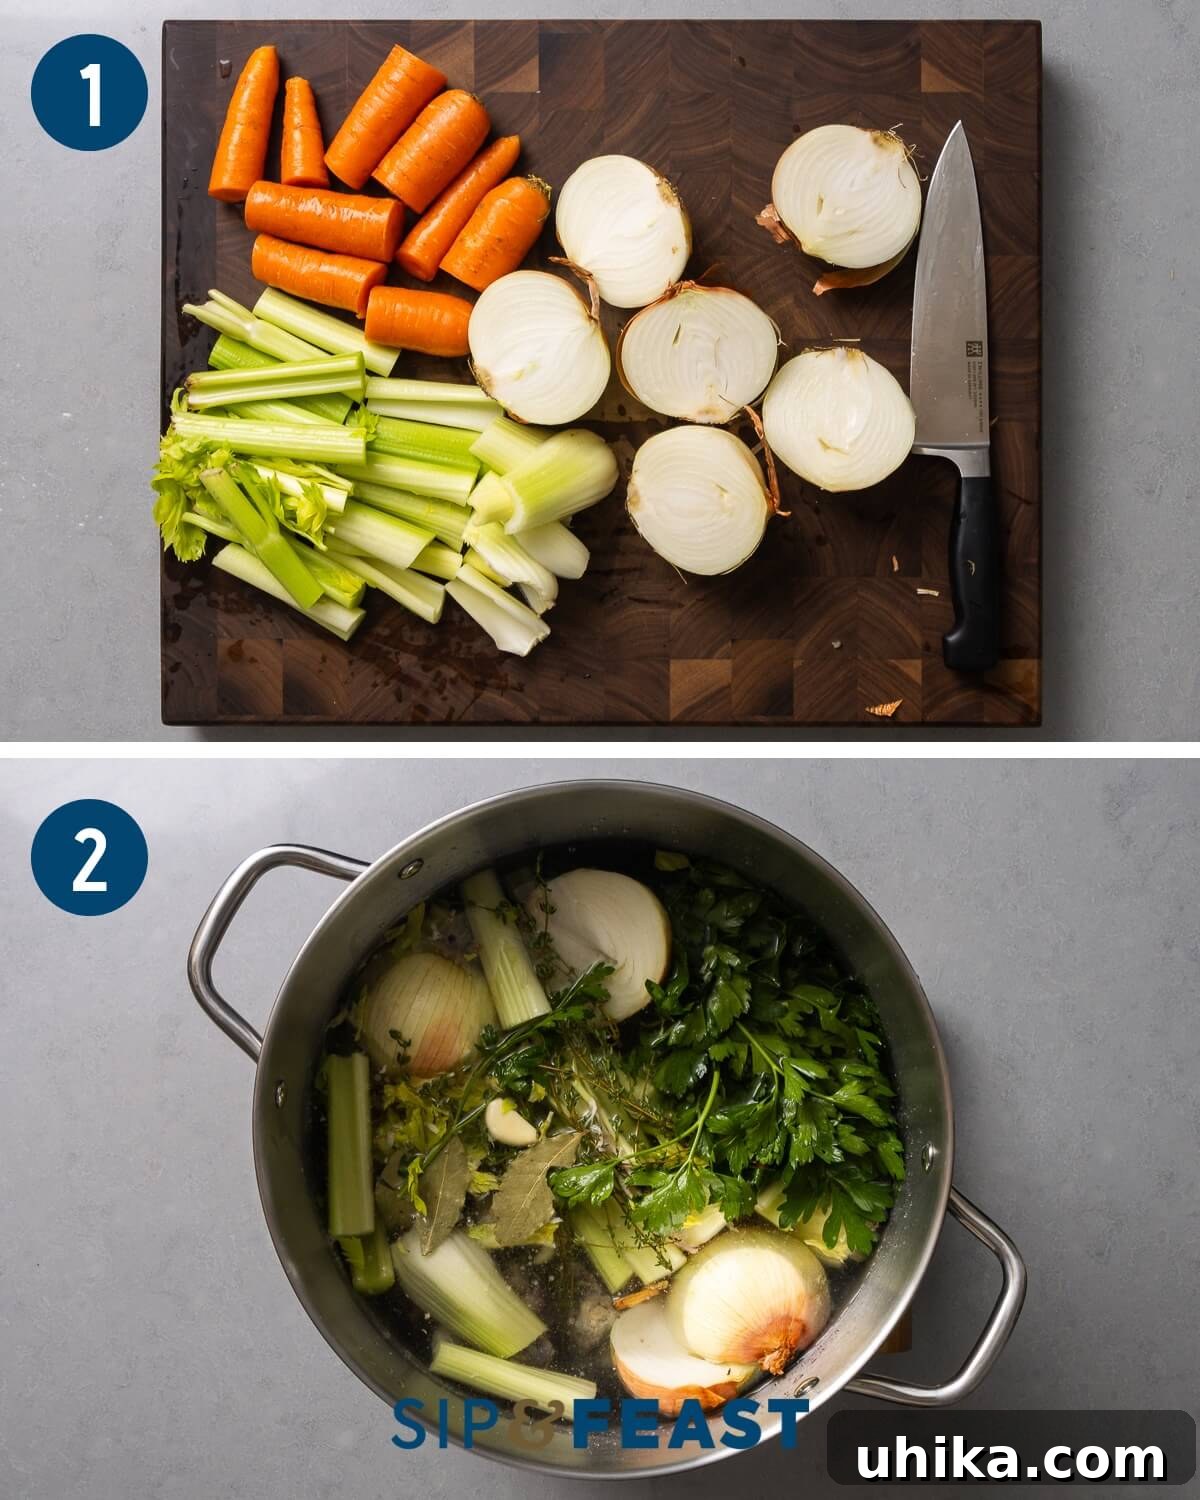
- Gather all your prepared ingredients and place them into a very large stockpot – ideally 16 quarts or larger. This includes your cut vegetables, 8 pounds of chicken bones (a mix of wings, feet, and backbones works best), 8 cloves of garlic (peeled or unpeeled), 4 dried bay leaves, 1 bunch of flat-leaf parsley, 25 whole peppercorns, 20 sprigs of fresh thyme, and 1 tablespoon of white vinegar. Add just enough cold water to fully cover all the ingredients. Gradually bring the pot to a rolling boil over medium-high heat. (Photo #2)
- Once the stock reaches a boil, you’ll notice a layer of foamy scum rising to the surface. Carefully skim this off using a large, flat spoon or a ladle. This step is crucial for achieving a clear, clean-tasting stock. After skimming, reduce the heat significantly to a very low setting, allowing the stock to maintain a gentle simmer. You should see only a small bubble or two occasionally breaking the surface, not a vigorous boil. Maintaining very low heat is key to flavor extraction and clarity. (Photo #3)
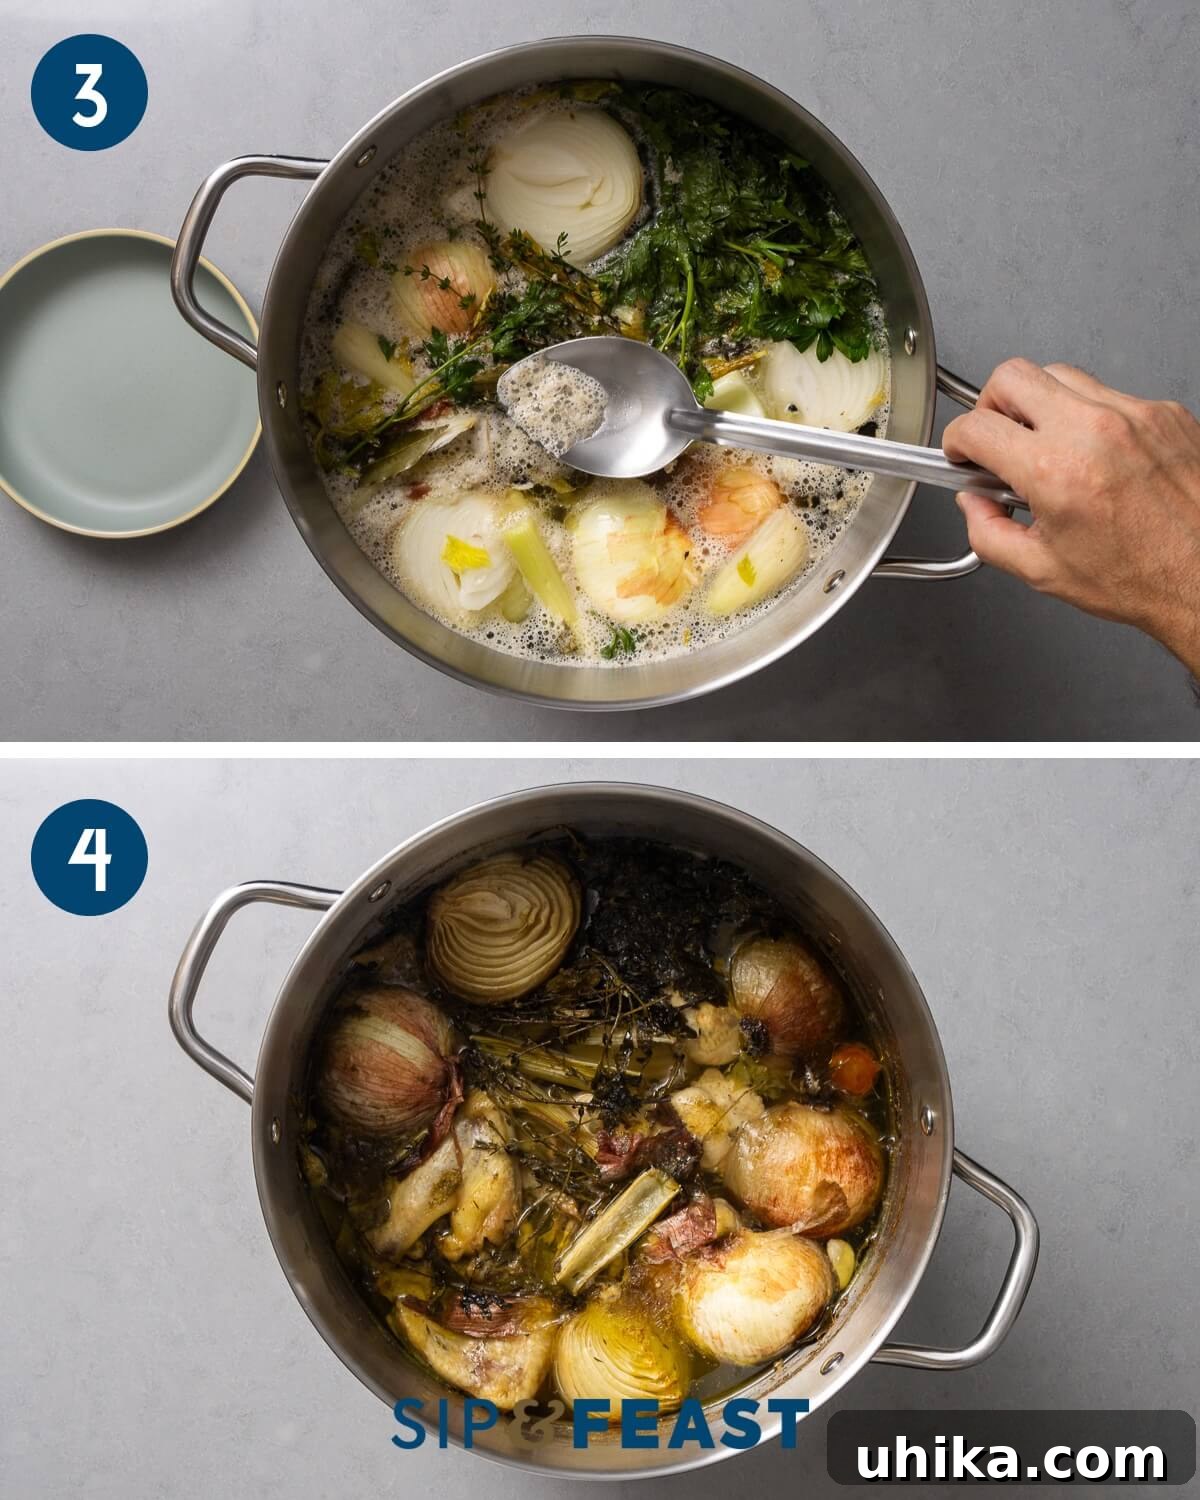
- Allow the stock to continue simmering gently on low heat for 6 to 8 hours. During this extended period, continue to skim any remaining scum every 45-60 minutes. It’s important to resist the urge to stir or agitate the stock, as this can introduce impurities and lead to a cloudy final product. After 6-8 hours, turn off the heat. While 6 hours is generally sufficient for extracting most flavors, an 8-hour simmer often yields an even richer and more profound taste. (Photo #4)
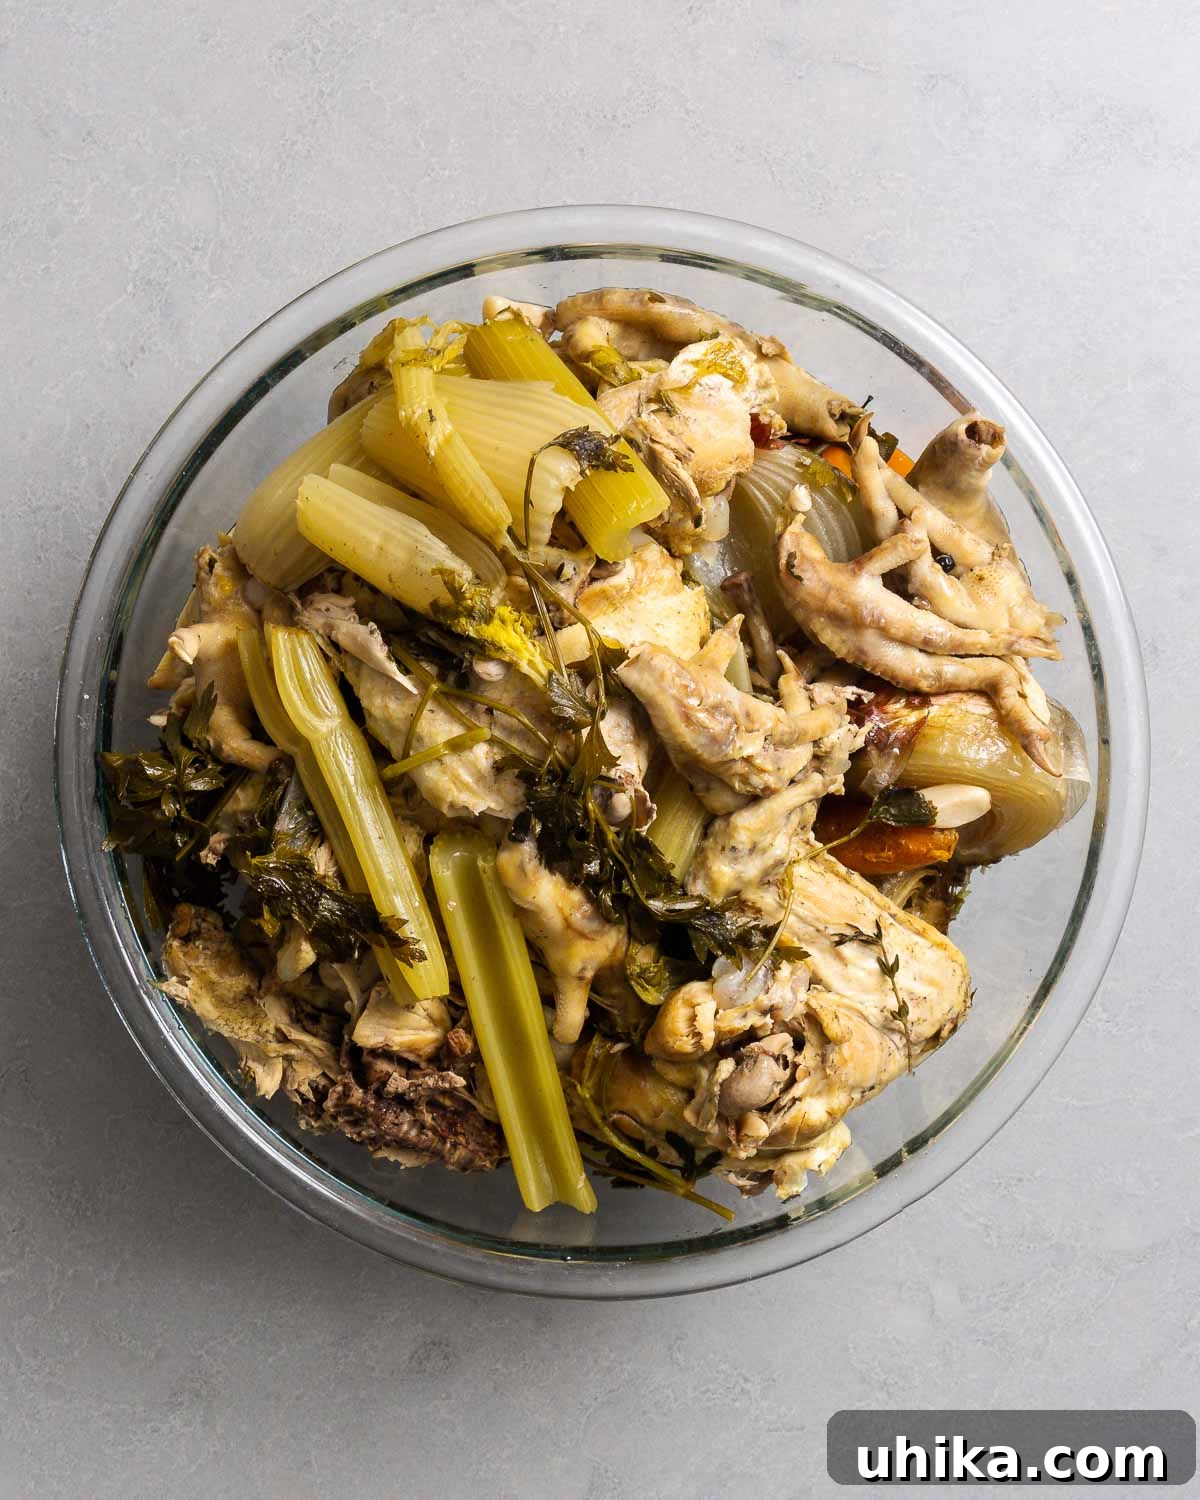
- Once the simmering is complete, position a large, sturdy bowl next to your stockpot. Using a pasta spider or a slotted spoon, carefully and **gently** remove the spent vegetables and chicken bones from the pot. Discard these solids, as their flavor has now been fully transferred to the liquid. (Photo #5)
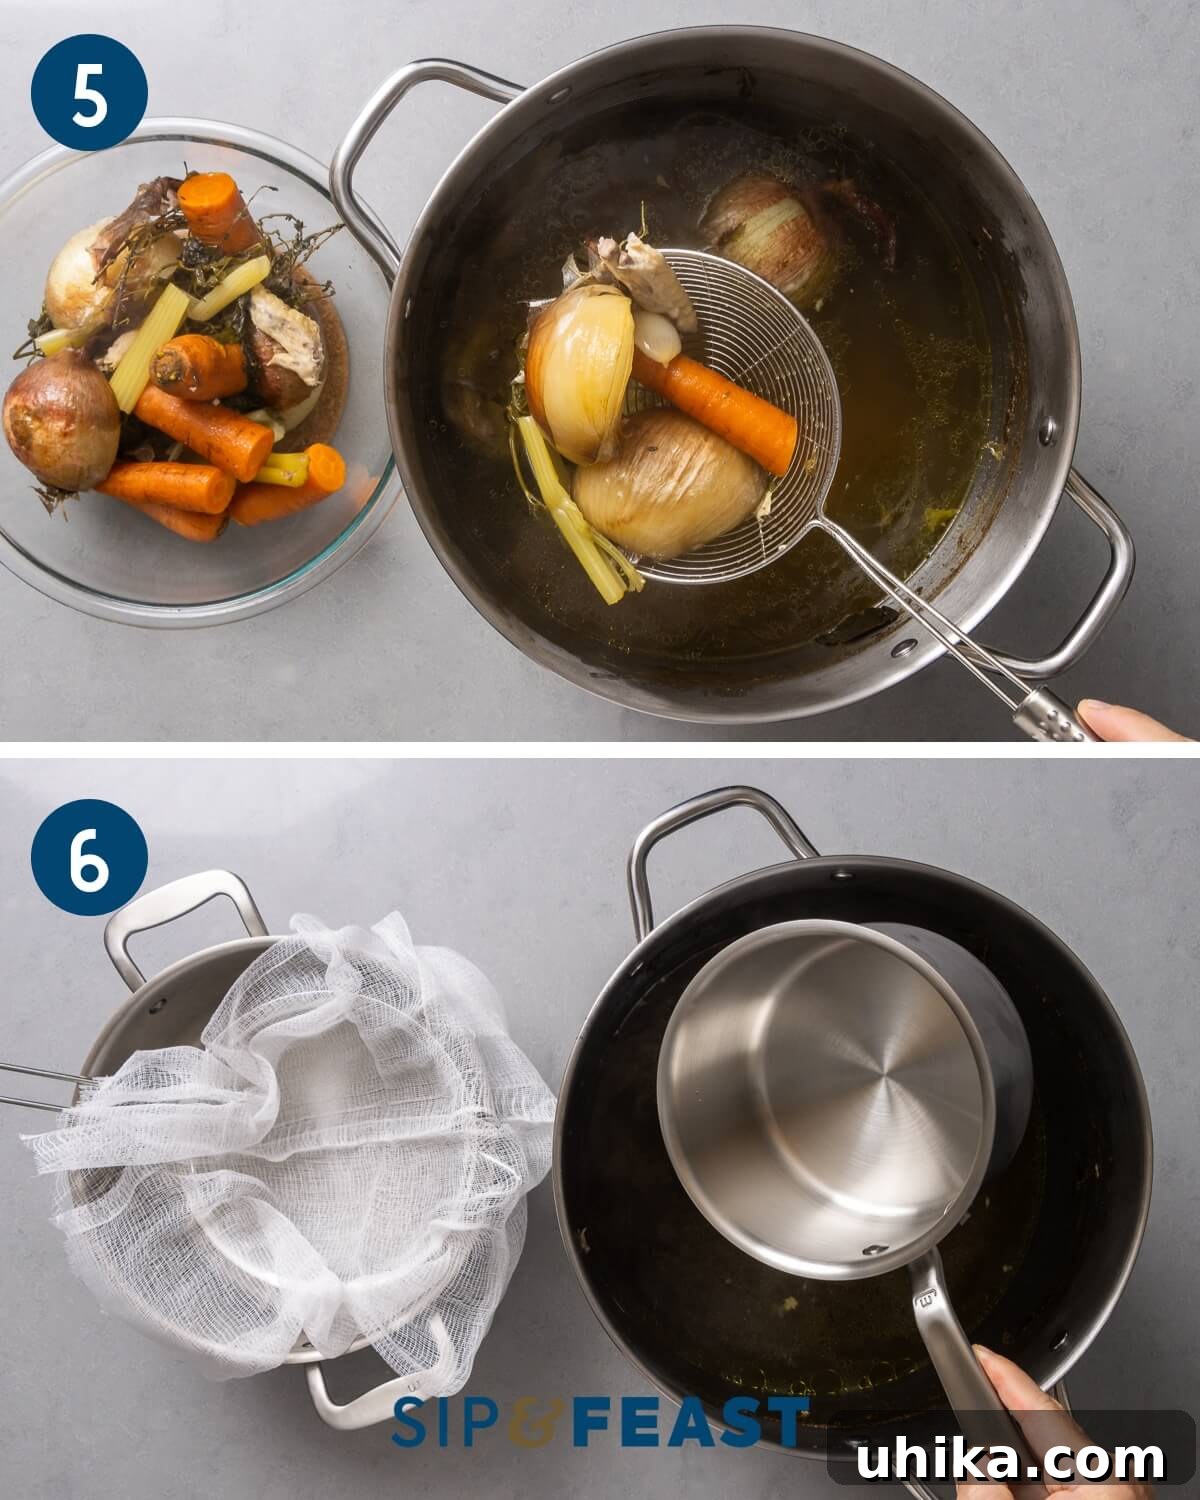
- Set up your straining station. Place a large clean pot or container on your counter, and fit a fine-mesh sieve or colander over it. Line the sieve with several layers of cheesecloth to catch any smaller particles. If you have a very fine-mesh strainer, you might be able to forgo the cheesecloth, but for the clearest stock, cheesecloth is highly recommended. (Photo #6)
- Carefully begin to pour or ladle the stock through the cheesecloth-lined strainer into the clean pot below. A small pot with a long handle can be very helpful for ladling the hot liquid. Once all the liquid has passed through, you should have approximately 6 quarts of beautifully clear, golden stock. If you find you have substantially more than 6 quarts, it means your stock is likely too dilute. In this case, gently reduce the stock by simmering it over medium heat until it reaches roughly 6 quarts, concentrating its flavors.
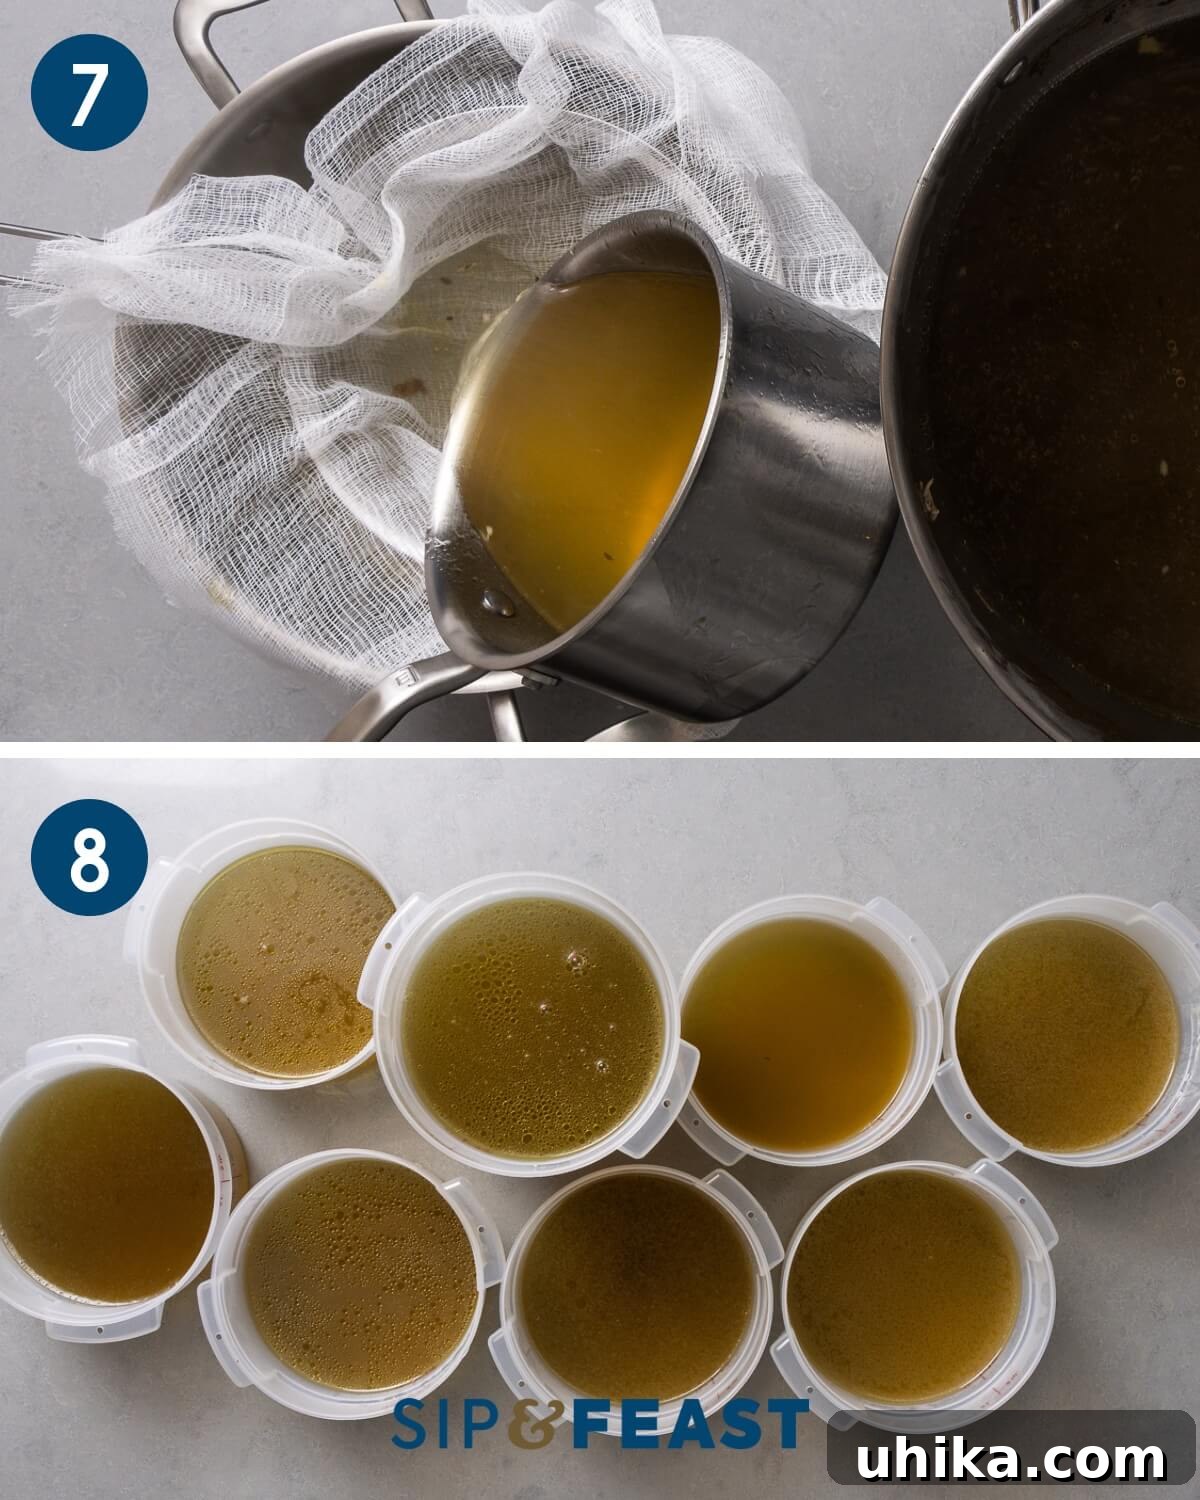
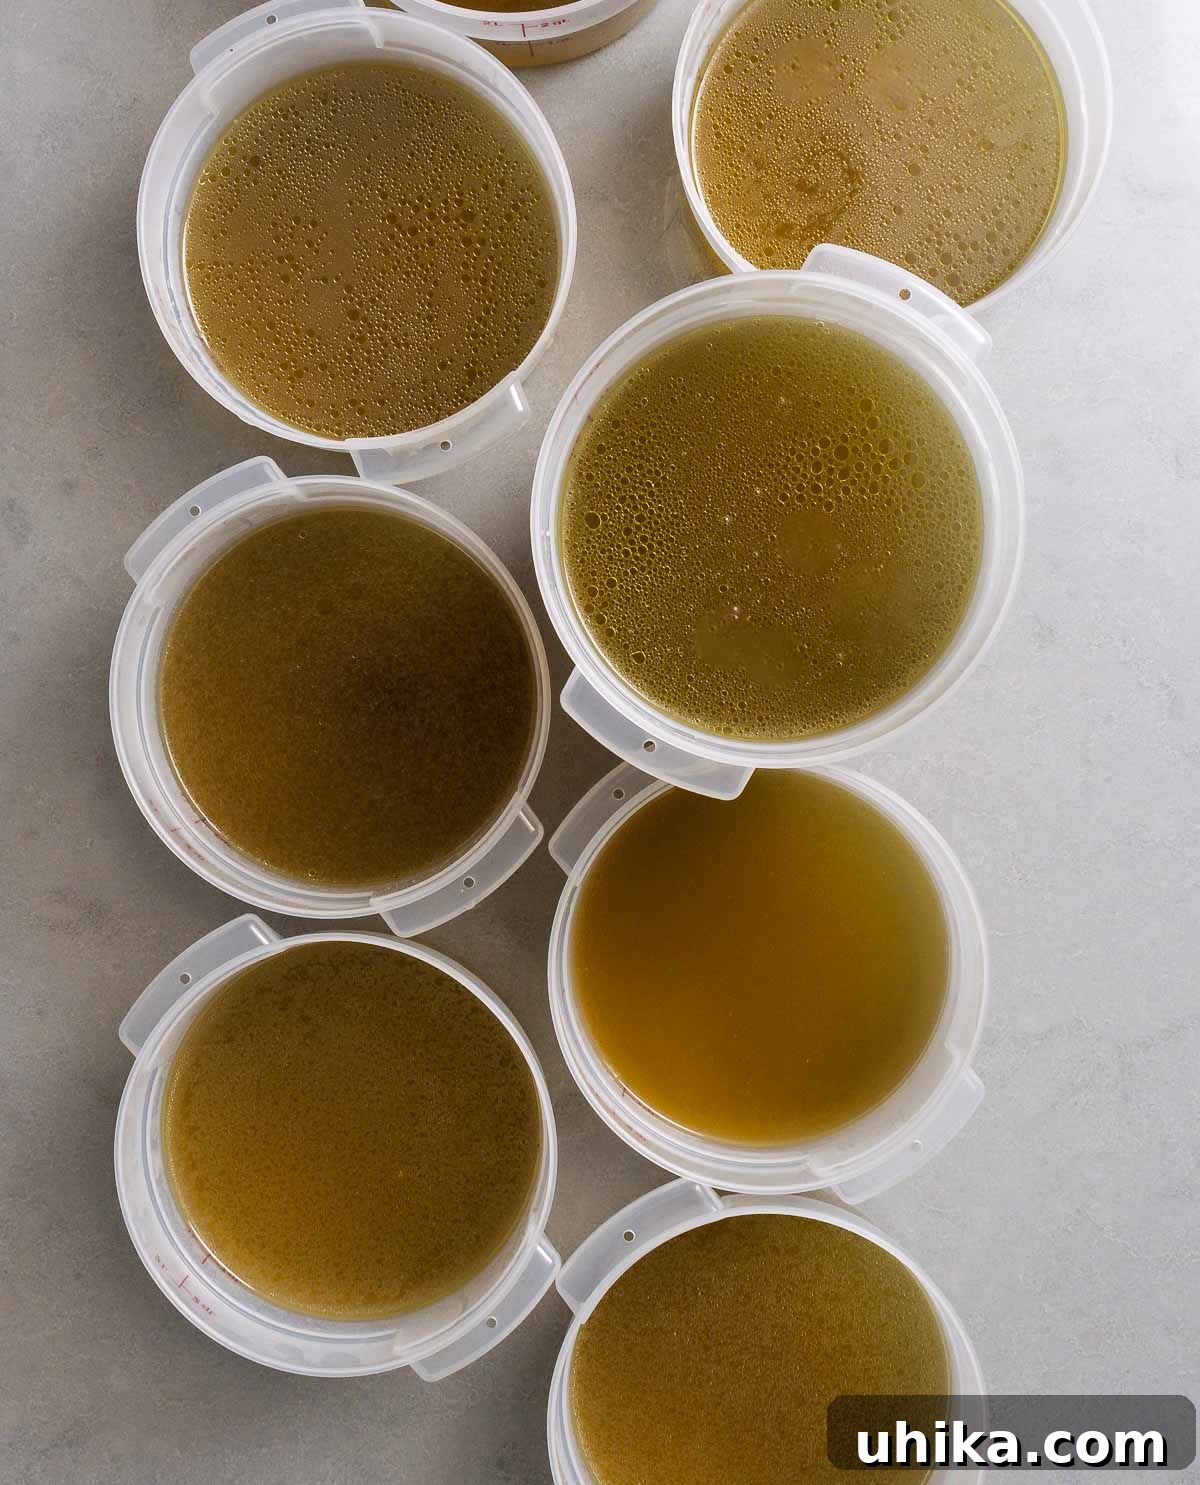
- Allow the strained stock to cool completely before dividing it into your preferred storage containers. As the stock cools and subsequently chills in the refrigerator or freezer, the solidified fat will rise to the top of each container. This fat cap acts as a natural protective seal, preserving the flavor and freshness of the stock. You can either leave the fat cap intact until you’re ready to use the stock, or easily remove and discard it just before incorporating the stock into your recipes. (Photo #8)
Storing Your Homemade Chicken Stock for Future Use
One of the greatest advantages of making your own chicken stock is the convenience of having it readily available for daily or weekly culinary use. Proper storage ensures its freshness and flavor are maintained over time.
I highly recommend storing your homemade stock in various small containers, with 1-quart portions being ideal for most recipes. However, preparing smaller amounts is also incredibly useful, especially when a recipe calls for just a cup or two of stock.
For even smaller quantities, consider utilizing **ice cube trays** (larger cocktail ice cube trays work exceptionally well) or other small, freezer-safe containers. Once frozen, you can transfer these stock cubes to a freezer bag for easy access. Another ingenious method for portioning is to ladle the cooled chicken stock onto a baking sheet, freeze it solid, then use a knife or pastry scraper to divide the frozen sheet into desired portions. This is a very efficient way to create customizable stock blocks.
When properly stored, **homemade chicken stock can be kept in the freezer for up to 6 months**, making it an excellent meal-prep staple. In the **refrigerator, it will remain fresh for up to 5 days**.
Expert Tips for Crafting the Perfect Chicken Stock
- Resist Stirring. A common mistake that leads to cloudy stock is excessive stirring or agitating the bones during the simmering process. To achieve a crystal-clear stock, simply let it simmer undisturbed for the recommended 6-8 hours. After simmering, carefully strain out the solids, then perform a final strain through a cheesecloth-lined sieve.
- Hold the Salt. I strongly advise against salting your homemade chicken stock during its preparation. The primary benefit of homemade stock is control over flavor. Instead, season your dishes with salt accordingly when you incorporate the stock into your recipes. This flexibility is a key advantage, as even low-sodium boxed stocks often contain more salt than desired.
- Maximize Your Bones: Remouillage. After successfully creating 6 quarts of rich stock, you might feel your work is done, but there’s a fantastic way to extract even more value! Consider reusing the “spent” bones (discard the used aromatics and add fresh ones) to make a second stock, known as a **remouillage**. While a remouillage won’t be as intensely flavorful or gelatinous as your first batch, it’s a wonderfully economical way to further stretch your ingredients and can be perfect for less demanding recipes.
- Start with Cold Water. Always begin your stock with cold water. As the water slowly heats, it gradually extracts impurities from the bones, allowing them to rise to the surface for easy skimming. Starting with hot water can “seal” these impurities into the bones, resulting in a less clear stock.
- Roast for Deeper Flavor. For an even deeper, more complex flavor profile, consider roasting your chicken bones in the oven until lightly browned before adding them to the stockpot. This caramelization adds a rich, savory dimension to the final stock.
While often used interchangeably, there’s a subtle but important difference. **Chicken stock** is primarily made from chicken bones, often including connective tissues and marrow, resulting in a richer, more gelatinous mouthfeel due to its higher collagen content. **Chicken broth** (often referred to as *pollo di brodo* in Italian cuisine) is typically made from chicken meat (though bones may be included) and tends to have a lighter texture and flavor profile. Both are frequently enhanced with root vegetables and herbs.
A **remouillage** is essentially a “second stock” created from the strained, wet bones and sometimes used vegetables from a previous batch of stock. To make a remouillage, you simply add fresh vegetables and water to the previously used bones and simmer again. It will naturally be less rich and flavorful than the original stock, but it’s an excellent way to extract every last bit of goodness from your ingredients, offering fantastic value and a lighter stock suitable for many dishes.
Incorporating **chicken feet** into your stock is a game-changer for body and richness. They are packed with collagen, which breaks down during simmering to create an incredibly gelatinous, silky stock. **Chicken wings** also contribute a significant amount of rich, concentrated chicken flavor. The combination of both creates the ultimate **homemade chicken stock**. If you’re hesitant about using chicken feet, at least ensure you include wings, as their flavor contribution is truly transformative.
A large, heavy-bottomed stockpot is ideal. A heavy bottom helps distribute heat evenly, preventing scorching, and a large capacity (16 quarts or more) is necessary to accommodate the significant volume of bones, vegetables, and water required for a good batch of stock. Enamel-coated cast iron or stainless steel pots are excellent choices.
Our Favorite Ways to Utilize Homemade Chicken Stock
The versatility of **homemade chicken stock** is immense, with literally hundreds of recipes benefiting from its inclusion. Here are just a few of our most cherished and popular applications, where our rich stock truly shines:
- Tuscan White Bean Soup – This hearty soup is transformed by chicken stock, complementing the roasted garlic, savory pancetta, fresh veggies, and aromatic herbs beautifully.
- Escarole and Bean Soup – The subtle bitterness of escarole is perfectly balanced by the richness of chicken stock, alongside tender potatoes, flavorful pancetta, and creamy cannellini beans.
- Chicken Piccata – The bright, zesty flavors of lemon and capers are significantly elevated by a base of homemade chicken stock, creating a more sophisticated and deeply satisfying sauce for this classic dish.
- Creamy Risotto – Achieve unparalleled creaminess and flavor in any risotto recipe, from mushroom to primavera, by slowly adding warm chicken stock.
- Pan Sauces and Gravies – Deglaze your pan with chicken stock after searing meats to create rich, flavorful sauces or gravies that are restaurant-quality.
- Cooking Grains – Use chicken stock instead of water when cooking rice, quinoa, or couscous for an added layer of savory depth and aroma.
If you’ve enjoyed making this **homemade chicken stock recipe** or found any other recipe on our site particularly helpful, we’d be thrilled if you could **give it a 5-star rating** and share your experience in the comments section below.
We believe in catering to diverse learning styles. If you are someone who **prefers to learn by watching**, you’ll find most of our recipes and cooking demonstrations on our YouTube channel and our Facebook Page.
Homemade Chicken Stock
Pin Recipe
Immediately elevate the flavor in all your dishes with homemade chicken stock. Our step-by-step instructions outline exactly how to make the best stock that can be used in soups, stews, and dozens of main courses.
Ingredients
- 8 pounds chicken backbones or a combination of wings and chicken feet (see notes below)
- 3 large carrots, cut into 3-inch pieces
- 6 ribs celery, cut into 3-inch pieces (use leaves too)
- 3 medium yellow onions, cut in half (skin can be left on)
- 8 cloves garlic
- 4 dry bay leaves
- 1 bunch flat leaf parsley
- 25 peppercorns
- 20 sprigs fresh thyme
- 1 tablespoon white vinegar
- Water, enough to cover all ingredients
Instructions
Simmer the Stock
- Add all of the ingredients into at least a 16-quart stockpot and gently pack them down. Add enough water to just cover all of the ingredients. Bring to a boil over medium-high heat.
- Once boiling, skim the scum from the top with a large flat spoon or ladle. Turn the heat down to a very low level where the stock is very gently simmering (only a few small bubbles).
- Simmer for 8 hours, skimming any additional scum every 45-60 minutes. Do not stir the stock.
Straining the Stock
- After 8 hours, turn off the heat and prepare to strain the stock. Place a sieve or colander over an empty pot and line it with cheesecloth or coffee filters.
- First, gently remove most of the bones and vegetables from the stockpot. Then, carefully pour or ladle the stock (a small pot with a long handle works well as a big ladle) through the cheesecloth-lined strainer into the clean pot.
- You should be left with approximately 6 quarts of stock. If you have substantially more than that, the stock will be too weak. Simply reduce the stock in a clean pot by boiling it until it reaches roughly 6 quarts before storing.
- Let the stock cool completely. Then, divide it into storage containers. After refrigerating or freezing, the solidified fat will rise to the top of each container, acting as a protective seal for the stock’s flavor. The fat can be saved for another use or easily removed and discarded right before using. See notes below for detailed storage instructions.
Notes
- This recipe yields approximately 5-6 quarts of **homemade chicken stock**. If your yield is significantly higher, your stock might be too dilute. Pour the excess stock into a clean pot and simmer over medium-high heat to reduce it down to about 6 quarts before storing, which will concentrate its rich flavor.
- We strongly advise against salting homemade stock. Instead, season your dishes with salt appropriately when you use the stock in your recipes. This provides maximum control over the final flavor of your meal.
- Storing the stock in smaller containers is highly recommended. 1-quart containers are excellent for general use, but even smaller amounts can be stored in ice cube trays or other small, freezer-safe containers for precise portioning.
- Don’t be alarmed if your stock turns into a jelly-like consistency when refrigerated. This is perfectly normal and a sign of a high-quality stock! It indicates that you have successfully extracted beneficial gelatin from the chicken bones, which contributes to its rich mouthfeel and nutritional value.
- Your homemade stock can be safely stored in the refrigerator for up to 5 days, or in the freezer for up to 6 months for long-term preservation.
- It’s best practice to leave the fat cap on the stock during storage. This natural layer of fat creates a protective seal at the top of the container, effectively locking in the flavor and extending the stock’s freshness. Simply remove the fat cap when you’re ready to use the stock, or save the rendered fat for cooking.
Nutrition
Protein: 6g |
Fat: 2.9g |
Saturated Fat: 0.8g |
Cholesterol: 7.2mg |
Potassium: 252mg |
Sugar: 3.8g |
Vitamin C: 0.5mg |
Calcium: 7.2mg |
Iron: 0.5mg
Nutrition information is automatically calculated and should only be used as an approximation.
Like this? Leave a comment below!
Check us out on Instagram at @sipandfeast or tag #sipandfeast!