
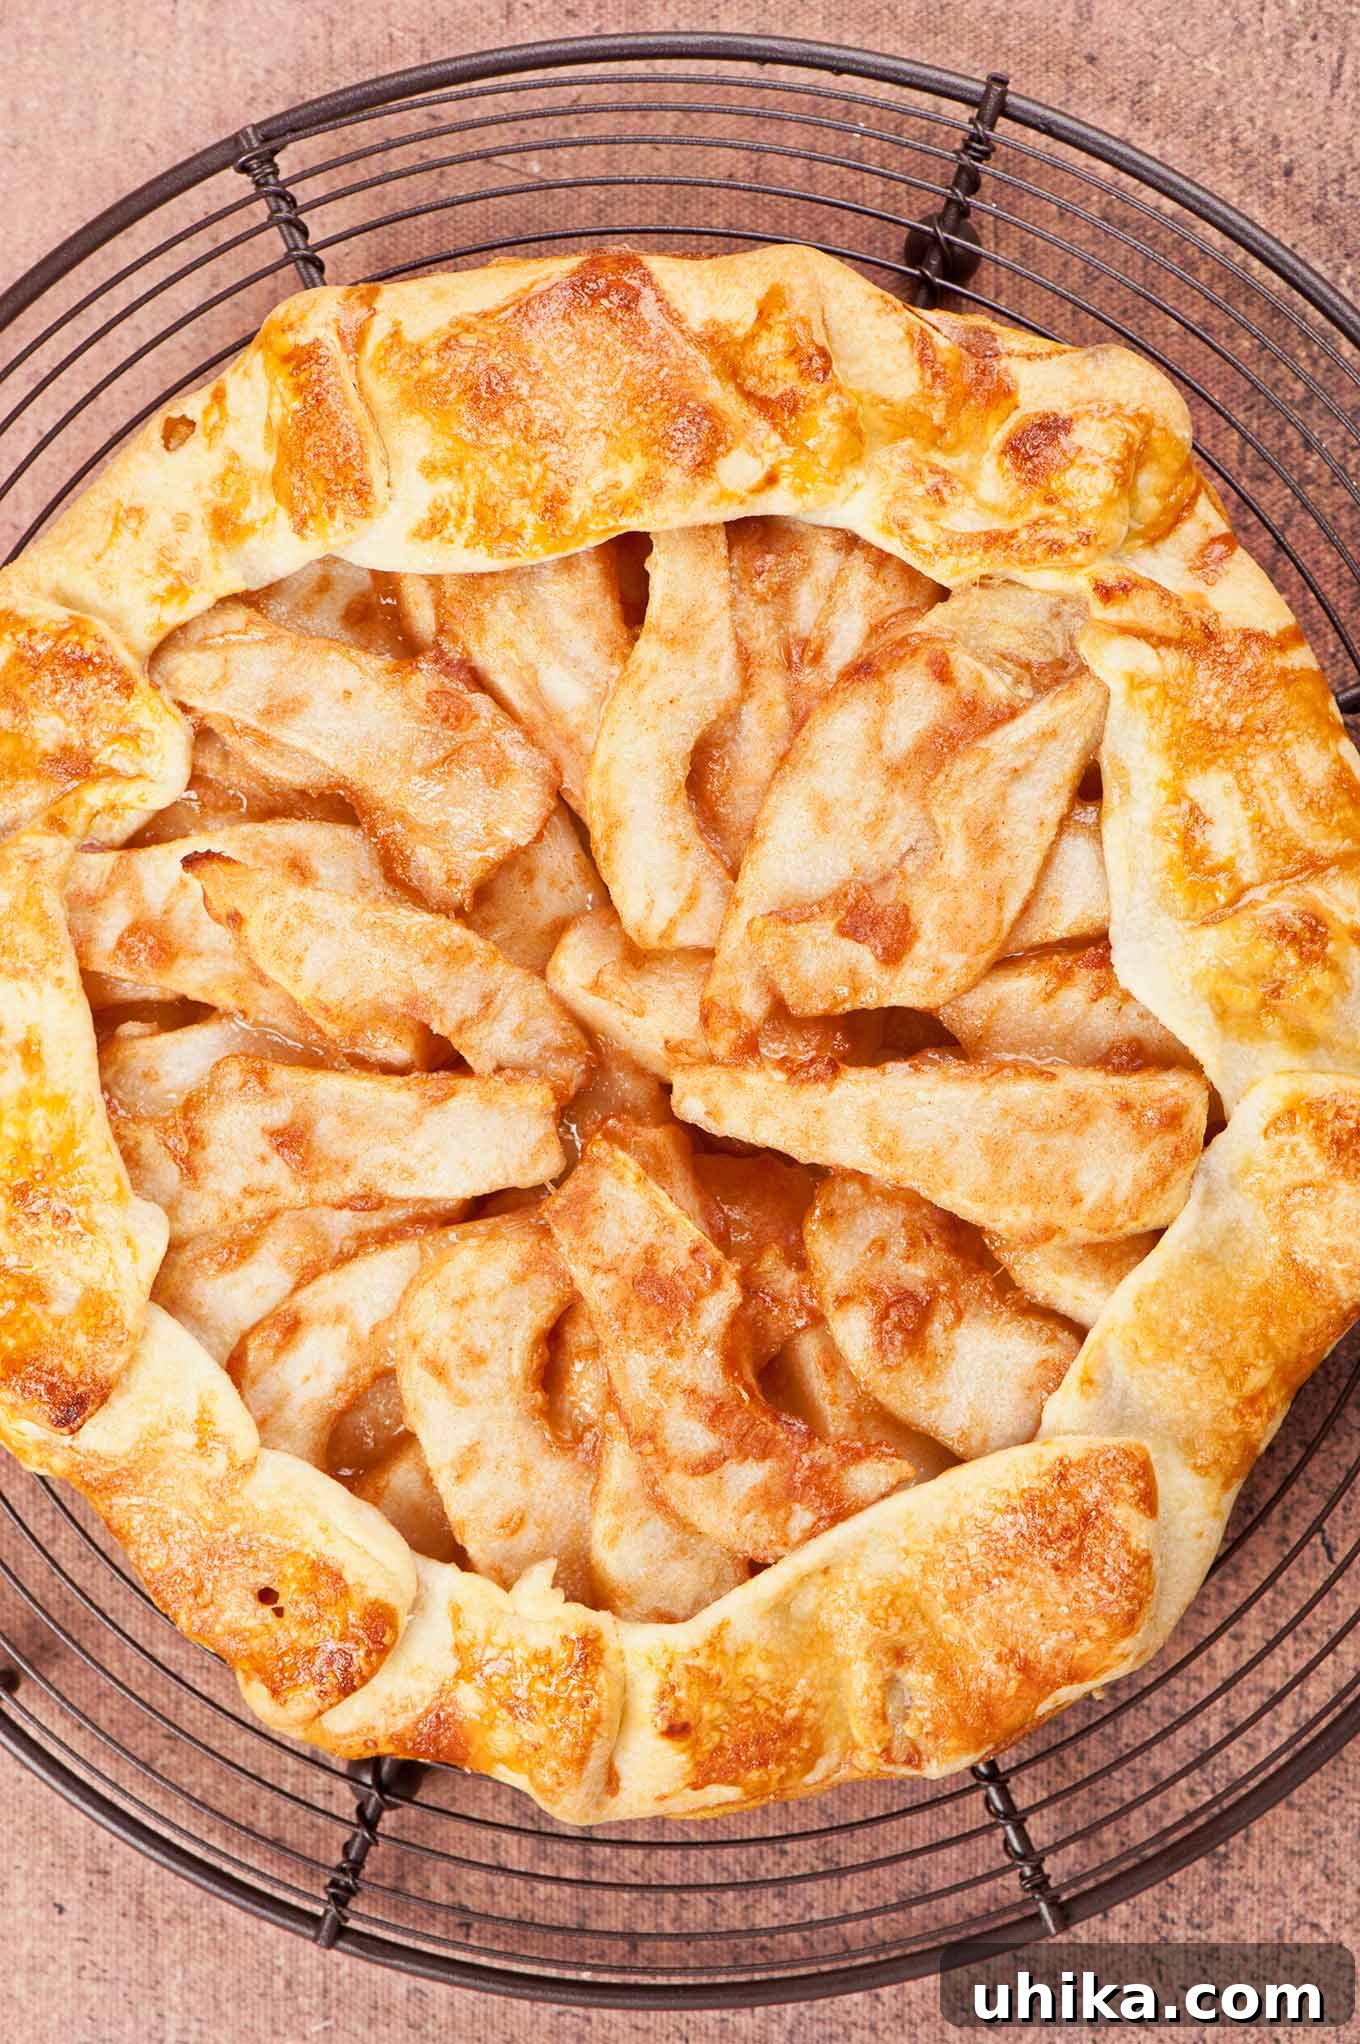
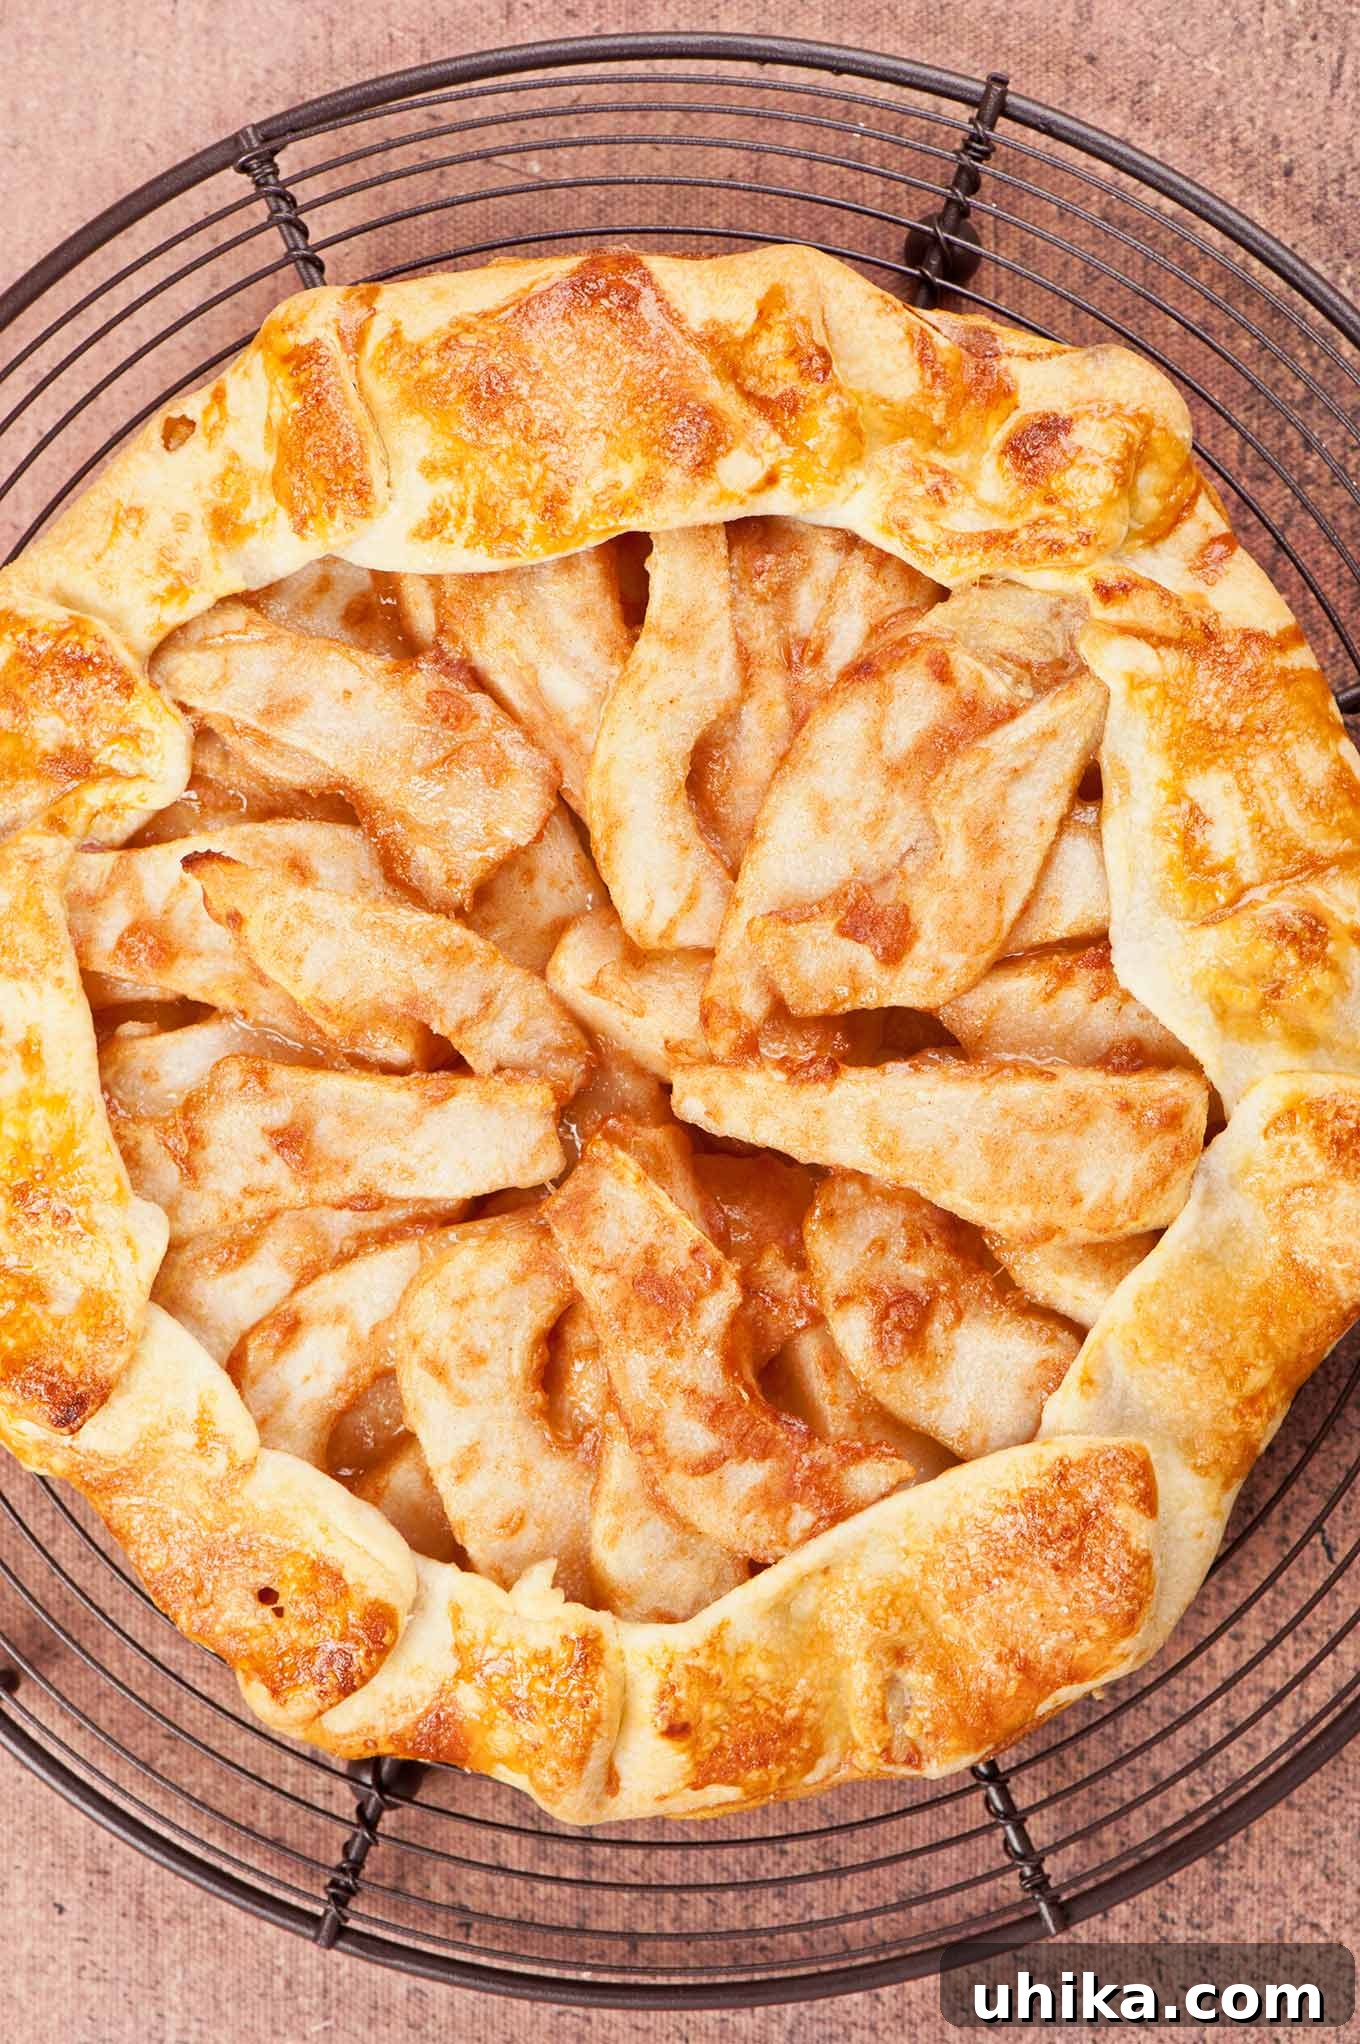
Easy & Rustic Pear Galette: Your Perfect Fall Dessert
Step into the cozy flavors of autumn with our incredibly easy and utterly delicious Pear Galette recipe. A galette, at its heart, is a rustic, free-form French tart, a testament to simple elegance in baking. It’s the less fussy, equally charming cousin to the traditional pie, making it an ideal choice for bakers of all skill levels, especially those looking for a dessert that delivers on both taste and visual appeal without the demanding precision of a pie crust.
This particular rendition celebrates the sweet, subtle flavor of pears, beautifully complemented by warm cinnamon spice and encased in a flaky, buttery crust. Pears are a fantastic choice for a fall galette, offering a juicy, tender bite that stands up wonderfully to baking. Their delicate sweetness pairs harmoniously with the rich, golden pastry, creating a dessert that feels both sophisticated and comforting. Whether you’re gathering with family for a holiday meal or simply craving a homemade treat on a crisp autumn evening, this pear galette promises to be a delightful centerpiece, ready to be enjoyed with a scoop of vanilla ice cream or a dollop of fresh whipped cream.
Why Choose a Galette Over a Traditional Pie?
The allure of a galette lies in its inherent simplicity and forgiving nature. Unlike a pie, which often requires careful crimping and a perfectly shaped crust, a galette embraces imperfections. Its free-form design means you simply fold the edges of the dough over a fruit filling, creating a beautifully rustic and charming presentation that suggests homemade goodness without the stress. This makes it an excellent entry point for novice bakers or a quick, satisfying project for seasoned pros.
Beyond its ease of preparation, galettes are incredibly versatile. While this recipe focuses on the delightful combination of pears and cinnamon, the concept is easily adaptable. Imagine substituting other seasonal fruits like apples, peaches, plums, or a medley of berries. The buttery, tender crust serves as a perfect canvas for almost any sweet or savory filling you can dream up, ensuring that a galette can be a year-round staple in your baking repertoire. It’s a dessert that always looks impressive, yet never feels intimidating to create.
The Star Ingredient: Choosing and Preparing Pears
Pears are the heart and soul of this galette, lending their unique texture and flavor to the dessert. Selecting the right pears is crucial for the best results.
- Selecting the Perfect Pear: Opt for pears that are ripe but still firm to the touch. Varieties like Bartlett, Bosc, or Anjou are excellent choices as they hold their shape well during baking and offer a pleasant sweetness. Avoid overly soft or mushy pears, as they can become watery and lose their texture when heated.
- Flavor Harmony: Pears have a naturally sweet and slightly floral taste that is wonderfully enhanced by warm spices. Cinnamon is a classic companion, but other spices like ginger or cardamom can also elevate their profile. The addition of lemon juice not only prevents browning but also brightens the overall flavor, cutting through the sweetness and adding a delicate tang.
Essential Ingredients for Your Pear Galette
Crafting a truly memorable pear galette requires just a few high-quality, simple ingredients. Each component plays a crucial role in achieving that perfect balance of flaky crust and juicy, spiced fruit.
- For the Irresistible Pastry Crust:
- 8 tablespoons Unsalted Butter (well-chilled): The secret to a flaky, tender crust. Keeping it very cold and cutting it into small pieces ensures that it creates pockets of steam during baking, resulting in those coveted layers.
- 1-1/4 cups All-Purpose Flour: Provides the structure for the dough. Measuring it correctly (by weight if possible, or spooned lightly into a cup) is key to a consistent texture.
- 1 tablespoon Granulated Sugar: Adds a touch of sweetness to the crust, complementing the fruit filling without making the pastry overly sweet.
- 1/4 teaspoon Salt: Essential for balancing flavors and enhancing the overall taste of the crust.
- 3 to 5 tablespoons Ice Water: Crucial for bringing the dough together without overworking the gluten. The colder the water, the less likely the butter will melt prematurely, preserving flakiness.
- 1 Egg (for egg wash): Mixed with a little water, it creates a beautiful golden-brown, shiny finish on the crust and helps sugar adhere for an extra crunch.
- For the Aromatic Pear Filling:
- 4 Pears (ripe but still firm): The foundation of our galette. Peeled, cored, and uniformly sliced.
- 1 teaspoon Ground Cinnamon: The quintessential spice for pears, adding warmth and depth that perfectly captures the essence of fall.
- 1 tablespoon Fresh Lemon Juice: Prevents the sliced pears from browning, preserving their fresh appearance. It also adds a bright, subtle acidity that cuts through the sweetness and enhances the pears’ natural flavor.
- Pinch of Salt: Just like in the crust, a tiny bit of salt in the filling helps to amplify the flavors of the pears and cinnamon.
- Sugar for sprinkling: (Optional) For an extra sweet and crunchy top.
Mastering Your Pear Galette: A Step-by-Step Guide
Creating this rustic pear galette is a straightforward and enjoyable process. Follow these detailed steps for a beautifully baked dessert that will impress everyone.
Phase 1: Preparing the Flaky Galette Dough
The foundation of any great galette is its crust. This recipe offers two methods for dough preparation, ensuring success regardless of your kitchen tools.
- Gather Your Tools & Ingredients: Before you begin, ensure you have a glass of ice water ready and your unsalted butter is well-chilled and cut into 16 small pieces. Cold butter is paramount for a flaky crust.
- Food Processor Method:
- Insert the steel blade into the work bowl of your food processor. Add the all-purpose flour, 1 tablespoon of granulated sugar, and 1/4 teaspoon of salt. Pulse a few times to combine the dry ingredients.
- Evenly scatter the cold butter pieces over the dry ingredients. Use the pulse function in short bursts (about 1-second pulses) until the mixture resembles coarse meal with some pea-sized pieces of butter still visible. This texture is crucial for flakiness. Avoid over-processing, which can warm the butter and develop too much gluten.
- Sprinkle 3 tablespoons of ice water over the mixture. Pulse again until the dough just starts to come together. If it still looks too dry, add more ice water, one teaspoon at a time, pulsing briefly after each addition, until the dough forms a ball when pressed. Stop as soon as it coheres to prevent overworking.
- Hand Mixing Method:
- In a large mixing bowl, whisk together the all-purpose flour, 1 tablespoon of granulated sugar, and 1/4 teaspoon of salt.
- Add the cold, cut butter pieces to the flour mixture. Using your fingertips (or a pastry cutter), work the butter into the flour mixture until the mixture is coarse and crumbly, with visible pieces of butter roughly the size of very small peas. The goal is to incorporate the butter without melting it.
- Make a well in the center of the mixture and add 3 tablespoons of ice water. Use your fingertips to gently mix the water into the flour and butter. Continue adding ice water by the teaspoonful as needed, mixing until the dough holds together well enough to form a cohesive ball. Be careful not to knead or overwork the dough.
- Chill the Dough: Transfer the freshly prepared dough onto a sheet of plastic wrap. Using your hands, gently flatten it into a disc about 8 inches in diameter. Wrap it tightly in the plastic wrap and refrigerate for at least 1 hour. This chilling period is vital; it allows the gluten to relax, the butter to firm up, and the flavors to meld, all contributing to a tender, flaky crust. (For convenience, this dough can be frozen for up to 6 weeks. Thaw it in the refrigerator overnight before use.)
Phase 2: Preparing the Juicy Pear Filling
While your dough is chilling, you can prepare the aromatic pear filling, ensuring your fruit is perfectly seasoned and ready for assembly.
- In a large bowl, combine the peeled, cored, and sliced pears with 1 teaspoon of ground cinnamon, 1 tablespoon of fresh lemon juice, and a pinch of salt.
- Gently toss the ingredients together until all the pear slices are uniformly coated with the cinnamon spice and lemon juice. The lemon juice is key to preventing oxidation and adding a bright counterpoint to the sweetness.
- Cover the bowl and set it aside at room temperature while you roll out the dough.
Phase 3: Assembling Your Rustic Pear Galette
This is where your galette truly takes shape! The beauty of a galette is its rustic charm, so don’t worry about perfection.
- Preheat Oven & Prepare Baking Sheet: Position an oven rack in the center of your oven and preheat it to 400°F (200°C). Cut two pieces of parchment paper large enough to completely line a rimmed baking sheet. Lightly dust one piece of parchment paper with flour.
- Roll the Dough: Place the chilled dough disc on the floured parchment paper. Lightly dust the top of the dough with flour, then place the second piece of parchment paper on top. Gently roll the dough from the center outwards, rotating frequently, until it forms a circle approximately 12 to 13 inches in diameter and about 1/8 inch thick. Add a little extra flour if needed to prevent sticking. Carefully peel off the top sheet of parchment paper and slide the bottom sheet (with the dough) onto your prepared baking sheet.
- Arrange the Pear Filling: Starting from the center of the rolled-out dough, arrange the seasoned pear slices in a casual, slightly overlapping spiral pattern. Continue layering the pears until the center is several layers thick, making sure to leave a visible 2-inch border of dough all around the outer edges. This border is essential for folding.
- Fold the Crust: Gently lift and fold the exposed dough border over the outer edge of the pear filling, pleating it loosely as you go. The pleats don’t need to be perfectly uniform; their rustic appearance is part of the galette’s charm.
- Egg Wash & Sugar Sprinkle: In a small bowl, whisk together the lightly beaten egg with 1 tablespoon of water to create an egg wash. Brush this wash generously over the folded edges of the galette crust. Then, sprinkle a little granulated sugar over the egg-washed crust. This will create a beautiful golden sheen and a delightful sugary crunch.
Phase 4: Baking to Golden Perfection
The final step brings all the delicious elements together, transforming your assembled galette into a golden, bubbling dessert.
- Initial Bake with Foil: Loosely tent the top of the galette with aluminum foil. This clever step prevents the edges of the crust from browning too quickly and helps to steam the pears, ensuring they become wonderfully tender during the initial baking phase.
- Bake: Place the baking sheet with the tented galette into the preheated oven. Bake for 25 minutes.
- Remove Foil & Continue Baking: After 25 minutes, carefully remove the foil tent. Rotate the baking sheet 180 degrees to ensure even baking. Continue baking for an additional 20 to 25 minutes, or until the galette crust is deeply golden brown, crisp, and the pears are visibly tender and bubbling in their syrupy juices. The internal temperature of the filling should be gently simmering.
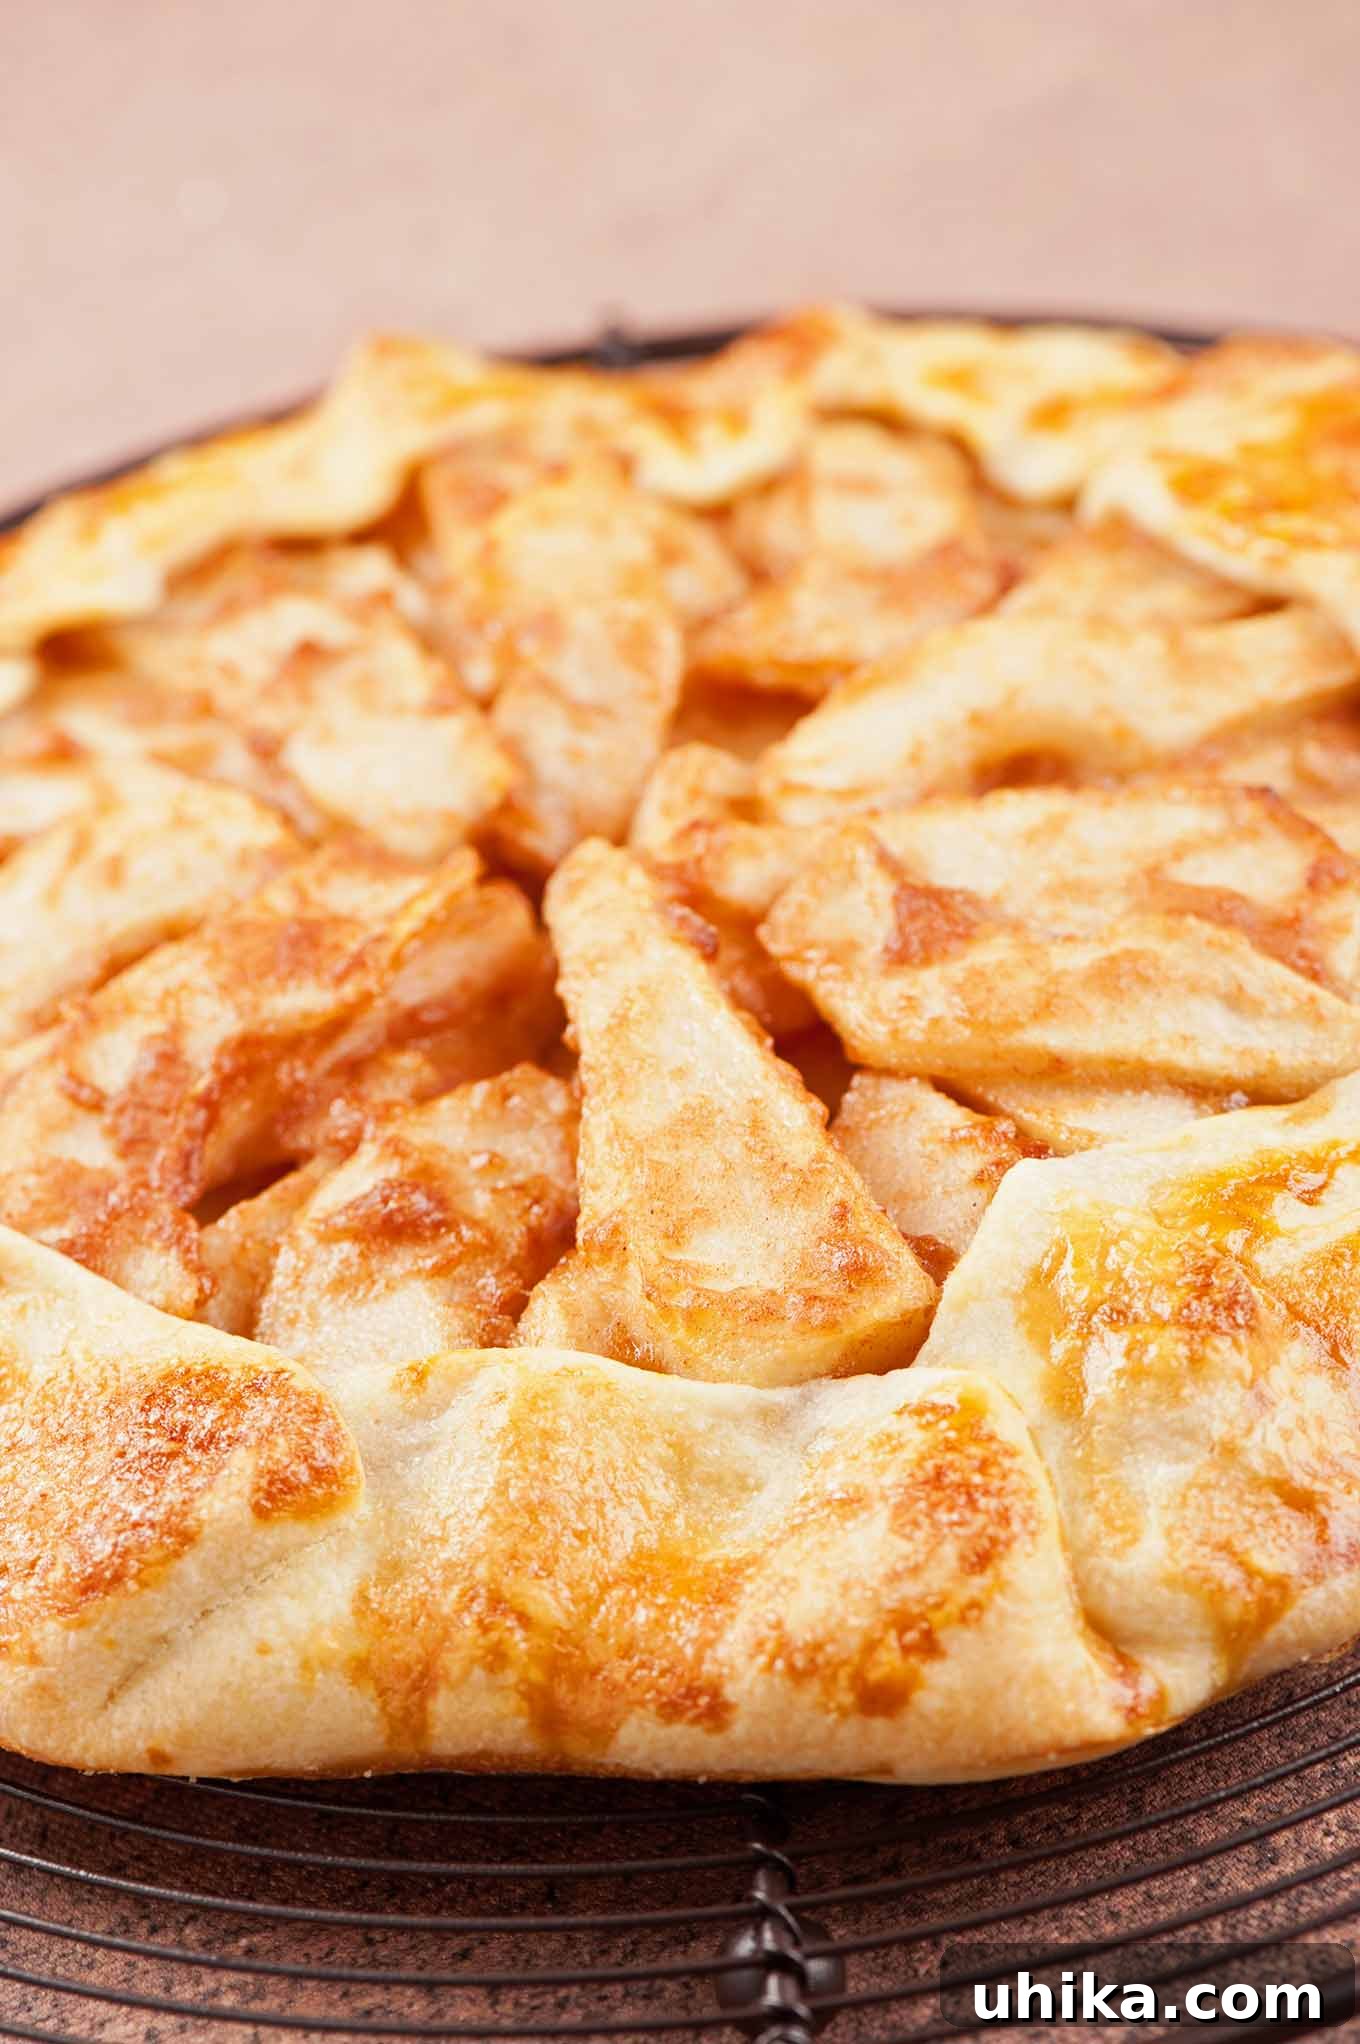
- Cool Before Serving: Once baked, carefully transfer the galette on its parchment paper to a wire cooling rack. Allow it to cool for at least 20-30 minutes before attempting to cut it into wedges. This cooling time allows the filling to set and prevents the slices from falling apart.
Pro Tips for the Perfect Pear Galette
Achieving galette perfection is simpler than you think with a few expert tips:
- Keep Everything Cold: This is the golden rule for flaky pastry. Cold butter and ice water are essential. If your kitchen is warm, you can even chill your flour and mixing bowl for 15-20 minutes before starting.
- Don’t Overwork the Dough: Overworking develops gluten, leading to a tough, chewy crust instead of a tender, flaky one. Mix just until the ingredients come together and avoid excessive handling.
- Choose the Right Pears: As mentioned, select pears that are ripe but still firm to the touch. Overly soft pears will turn mushy when baked, while under-ripe pears will lack flavor and sweetness.
- Adjust Sweetness to Taste: The amount of sugar needed for the filling can vary based on the natural sweetness and ripeness of your pears. Taste a small slice of pear before mixing and adjust the sugar quantity to your preference.
- Prevent a Soggy Bottom: While galettes are generally less prone to soggy bottoms than pies, ensure your pears are not overly juicy. If they seem very wet after slicing, you can gently pat them dry with paper towels before mixing them with the spices. Also, make sure your oven is adequately preheated for an initial burst of heat to set the crust.
Customize Your Creation: Pear Galette Variations
The beauty of a galette lies in its versatility. While our cinnamon-spiced pear version is a classic, feel free to experiment and make this recipe truly your own. Here are a few ideas to inspire your culinary creativity:
- Fruit Substitutions and Combinations:
- Apples: A fantastic alternative or addition! We highly recommend using a combination of sweet and tart apples, such as Golden Delicious for sweetness and Granny Smith for a tangy bite, or even Honeycrisp for a crisp texture. Feel free to use apples in place of pears entirely, or mix apples and pears for a unique flavor profile.
- Stone Fruits: In summer, swap pears for sliced peaches, nectarines, or plums. Their juicy flesh bakes beautifully.
- Berries: A mix of seasonal berries like blueberries, raspberries, and blackberries also makes a vibrant and delicious galette.
- Elevate with Spices: Beyond cinnamon, consider adding other warm spices to your pear filling:
- Allspice: Offers a warm, sweet, and pungent flavor reminiscent of cloves, cinnamon, and nutmeg.
- Ground Ginger: Adds a subtle peppery, sweet, and warm note.
- Ground Cardamom: Provides a unique floral, citrusy, and slightly spicy aroma.
- Pumpkin Pie Spice: A convenient blend that brings together cinnamon, ginger, nutmeg, and cloves for an ultimate fall flavor.
- Nutmeg or Cloves: Just a pinch can add significant depth.
- Add a Nutty Crunch: Introduce a delightful textural contrast by sprinkling some chopped nuts into your filling or over the crust before baking:
- Chopped Pecans: Offer a buttery, rich flavor.
- Almonds (sliced or chopped): Provide a delicate crunch and nutty taste.
- Walnuts: Add a more robust, earthy flavor.
- Sweet and Chewy Dried Fruit: For an extra layer of sweetness and chewiness, toss in a handful of dried fruits:
- Golden Raisins: Sweet and plump.
- Chopped Dried Apricots: Tangy and chewy.
- Chopped Dried Cherries: Offer a delightful tart-sweetness.
- Dried Cranberries: A burst of tart flavor, especially good with apples and pears.
- A Splash of Liquor: For an adult twist, replace one teaspoon of the lemon juice in the filling with a hint of your favorite spirit. The alcohol will cook off, leaving behind a wonderful depth of flavor:
- Bourbon: Complements the sweet pears with its smoky, caramel notes.
- Rum: Adds a warm, molasses-like sweetness.
- Brandy: Offers a fruity and oaky complexity.
Don’t be afraid to experiment with these suggestions, or come up with your own unique combinations! Baking is an art, and personal touches often create the most memorable desserts. Share your creations in the comments below – we’d love to hear what delicious variations you come up with!
Perfect Pairings: Serving Your Pear Galette
A freshly baked pear galette is wonderful on its own, but a few simple additions can elevate it to an extraordinary dessert experience.
- A La Mode: The classic choice! A scoop of premium vanilla bean ice cream melting over a warm slice of galette is pure bliss. Cinnamon or salted caramel ice cream would also be exceptional pairings.
- Whipped Cream: Lightly sweetened fresh whipped cream provides a cool, airy contrast to the warm, rich filling. Consider infusing it with a hint of vanilla, almond extract, or even a dash of cinnamon.
- Caramel Drizzle: A generous drizzle of homemade or store-bought caramel sauce enhances the natural sweetness of the pears and adds a luxurious touch.
- Crème Anglaise: For a more refined presentation, serve with a delicate vanilla custard sauce.
- Mascarpone Cream: A dollop of mascarpone cream, lightly sweetened and possibly flavored with orange zest, offers a rich, tangy counterpoint.
Serve your galette warm, straight from the oven, or at room temperature. Both are equally delightful, though the warmth tends to bring out the spices and makes the ice cream melt beautifully.
Storage and Reheating Tips
If you’re lucky enough to have leftovers, here’s how to keep your galette delicious:
- Room Temperature: A freshly baked galette can be left uncovered at room temperature for up to 1-2 days. If your kitchen is warm or humid, it’s best to refrigerate it sooner.
- Refrigeration: For longer storage, cover the galette loosely with plastic wrap or foil and refrigerate for up to 3-4 days. The crust might soften slightly in the refrigerator.
- Freezing: You can freeze a baked galette! Once completely cooled, wrap it tightly in plastic wrap, then in aluminum foil, and store in the freezer for up to 1 month. Thaw in the refrigerator overnight before reheating.
- Reheating: To restore some of the crust’s crispness, reheat individual slices in a preheated oven at 300°F (150°C) for 10-15 minutes, or until warmed through. An air fryer can also work wonders for smaller pieces, giving them a quick crisp.
Frequently Asked Questions About Pear Galettes
- Can I use under-ripe pears for this recipe?
While technically possible, it’s not recommended. Under-ripe pears lack flavor, might remain too firm after baking, and won’t release enough juice to create a luscious filling. Aim for pears that are ripe but still firm for the best texture and taste.
- How do I prevent a soggy bottom crust?
Several factors contribute to a crisp bottom crust: ensure your dough is properly chilled, don’t overwork it, and make sure your oven is fully preheated to the correct temperature. Additionally, if your pears are exceptionally juicy, you can lightly dust the bottom of the rolled-out dough with a tablespoon of fine breadcrumbs or crushed graham cracker crumbs before adding the fruit. This acts as a barrier, absorbing excess moisture.
- Can I make the galette dough ahead of time?
Absolutely! The dough can be prepared and chilled in the refrigerator for up to 2-3 days, or frozen for up to 6 weeks. This makes galettes a fantastic make-ahead dessert for entertaining or busy weeks.
- What’s the difference between a galette and a pie or tart?
A galette is essentially a free-form, rustic tart. Unlike pies and tarts which are typically baked in a dish with carefully crimped edges and often a top crust, a galette is baked directly on a baking sheet with the edges simply folded over the filling. It’s known for its less formal, more “homemade” look and is generally easier to make.
- Can I substitute different spices?
Yes, absolutely! While cinnamon is a classic pairing with pears, feel free to experiment with other fall spices like nutmeg, ginger, cardamom, or even a touch of star anise for an exotic twist. A blend like pumpkin pie spice also works beautifully.
Conclusion: Bake Your Own Rustic Pear Galette Today!
This easy pear galette recipe is more than just a dessert; it’s an invitation to savor the comforting flavors of the season with minimal effort and maximum reward. With its buttery, flaky crust embracing a tender, cinnamon-spiced pear filling, it embodies rustic elegance and homemade warmth. Whether you’re a seasoned baker or just starting your culinary journey, this forgiving and versatile recipe promises a delicious outcome. So, gather your ingredients, embrace the joy of free-form baking, and treat yourself and your loved ones to a slice of this delightful fall classic. Happy baking!
Easy Pear Galette
Lynne Webb
20 mins
50 mins
1 hr
2 hrs
10 mins
8 servings
Rate Recipe
Print Recipe
Ingredients
- 4 pears, peeled, cored and sliced
- 1 teaspoon ground cinnamon
- 1 tablespoon lemon juice
- Pinch of salt
- 1 egg, lightly beaten (for egg wash)
- 1 tablespoon water (for egg wash)
- Sugar for sprinkling (for crust)
For the crust:
- 8 tablespoons unsalted butter, well-chilled and cut into pieces
- 1-1/4 cups all-purpose flour
- 1 tablespoon sugar
- 1/4 teaspoon salt
- 3 to 5 tablespoons ice water
Instructions
- Have a glass of ice water standing by and cut the butter into 16 pieces.
To mix the dough in a food processor:
- Place the steel blade into the work bowl of your food processor and add the flour, sugar, and salt.
- Scatter the butter over the flour. Using the pulse function, process until the mixture is coarse and crumbly, with visible pieces the size of very small peas.
- Sprinkle the mixture with 3 tablespoons of ice water and pulse until the dough comes together, adding water in teaspoon increments as needed. Be careful not to over-process.
To mix the dough by hand:
- Whisk the flour, sugar, and salt together in a large mixing bowl and add the butter pieces.
- Using your fingertips (or a pastry cutter), work the butter into the flour mixture until it’s coarse and crumbly with visible pieces the size of very small peas.
- Make a well in the center and add 3 tablespoons of ice water. Mix with your fingertips, adding ice water by the teaspoonful, until the dough holds together well enough to form a ball.
Chill the dough:
- Transfer the dough to a sheet of plastic wrap. Using your hands, flatten it into a circle about 8-inches in diameter, wrap tightly, and refrigerate for 1 hour. (At this point the dough can be frozen for up to 6 weeks and thawed in the refrigerator before use.)
Prepare the pear filling:
- While the crust is chilling, combine the sliced pears, cinnamon, lemon juice and salt in a large bowl. Toss gently until the pear slices are coated with the cinnamon. Cover and set aside.
Roll the dough:
- Position a rack in the center of the oven and preheat to 400°F (200°C).
- Cut two pieces of parchment paper large enough to line a rimmed baking sheet and dust one of them lightly with flour. Place the chilled dough on top, dust that with flour as well, and place the other piece of parchment on top.
- Gently roll the dough from the center out, to a diameter of 12 to 13 inches, dusting with a little additional flour to prevent sticking as you go. Carefully remove the top sheet of parchment and slide the bottom one onto the baking sheet.
Assemble the galette:
- Starting in the center, arrange the pear slices in a casual spiral pattern several layers thick, making sure to leave a 2-inch border all around. Gently fold the crust over the filling, pleating it loosely.
- Whisk the egg and water together in a small bowl to make a wash, then brush over the edges of the galette and sprinkle with sugar.
Bake and serve:
- Loosely tent the top of the galette with foil. This will prevent the edges from getting too brown and help to tenderize the pears. Bake for 25 minutes, then remove the foil, rotate the baking sheet, and continue baking for an additional 20 to 25 minutes, or until the crust is crisp and golden and the pears are tender.
- Transfer to a rack and cool for about 20 minutes before cutting into wedges. Top with fresh whipped cream or ice cream if desired.
Nutrition
Calories: 180, Total Fat: 12g, Cholesterol: 51mg, Sodium: 83mg, Carbohydrates: 18g, Fiber: 3g, Sugar: 10g, Protein: 2g
Nutrition information is automatically calculated, so should only be used as an approximation.