
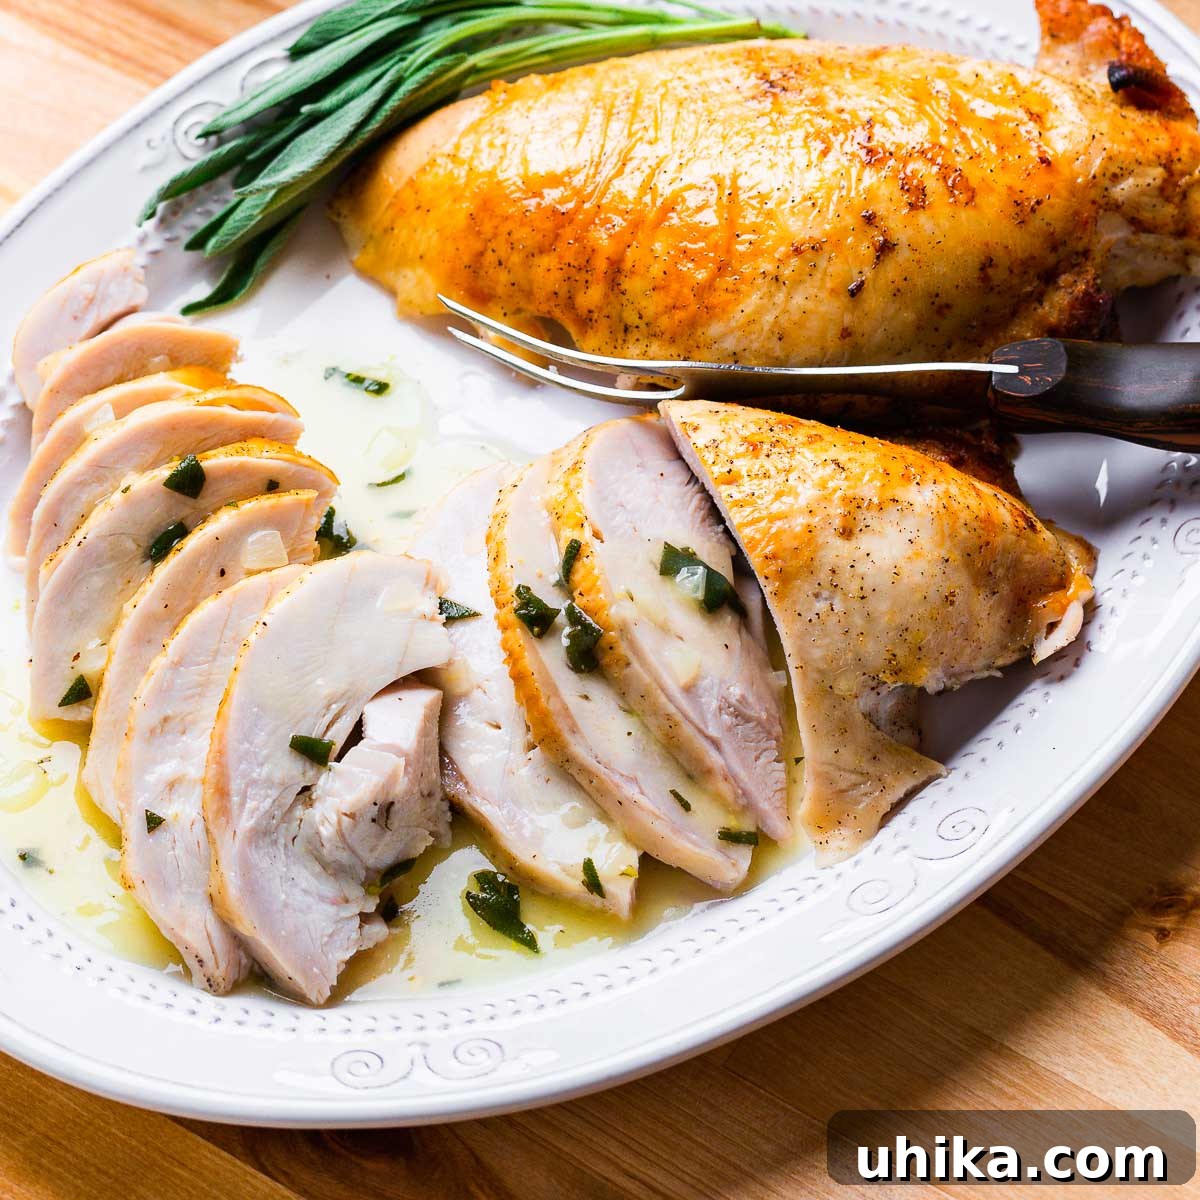
Achieving a profoundly juicy and exceptionally flavorful roasted turkey breast doesn’t have to be a daunting task, even for novice cooks. The secret to this culinary triumph lies in a simple yet incredibly effective technique: the dry brine method. This approach transforms an ordinary turkey breast into a succulent centerpiece, making it an ideal choice for holiday gatherings or any special meal. All you need are a few fundamental ingredients – quality salt, freshly ground pepper, a touch of sugar, an unadulterated turkey breast, and the most crucial element, time. Our comprehensive, step-by-step guide will demystify the entire process, empowering you to create the most tender, moist, and delicious turkey breast you and your guests have ever savored.
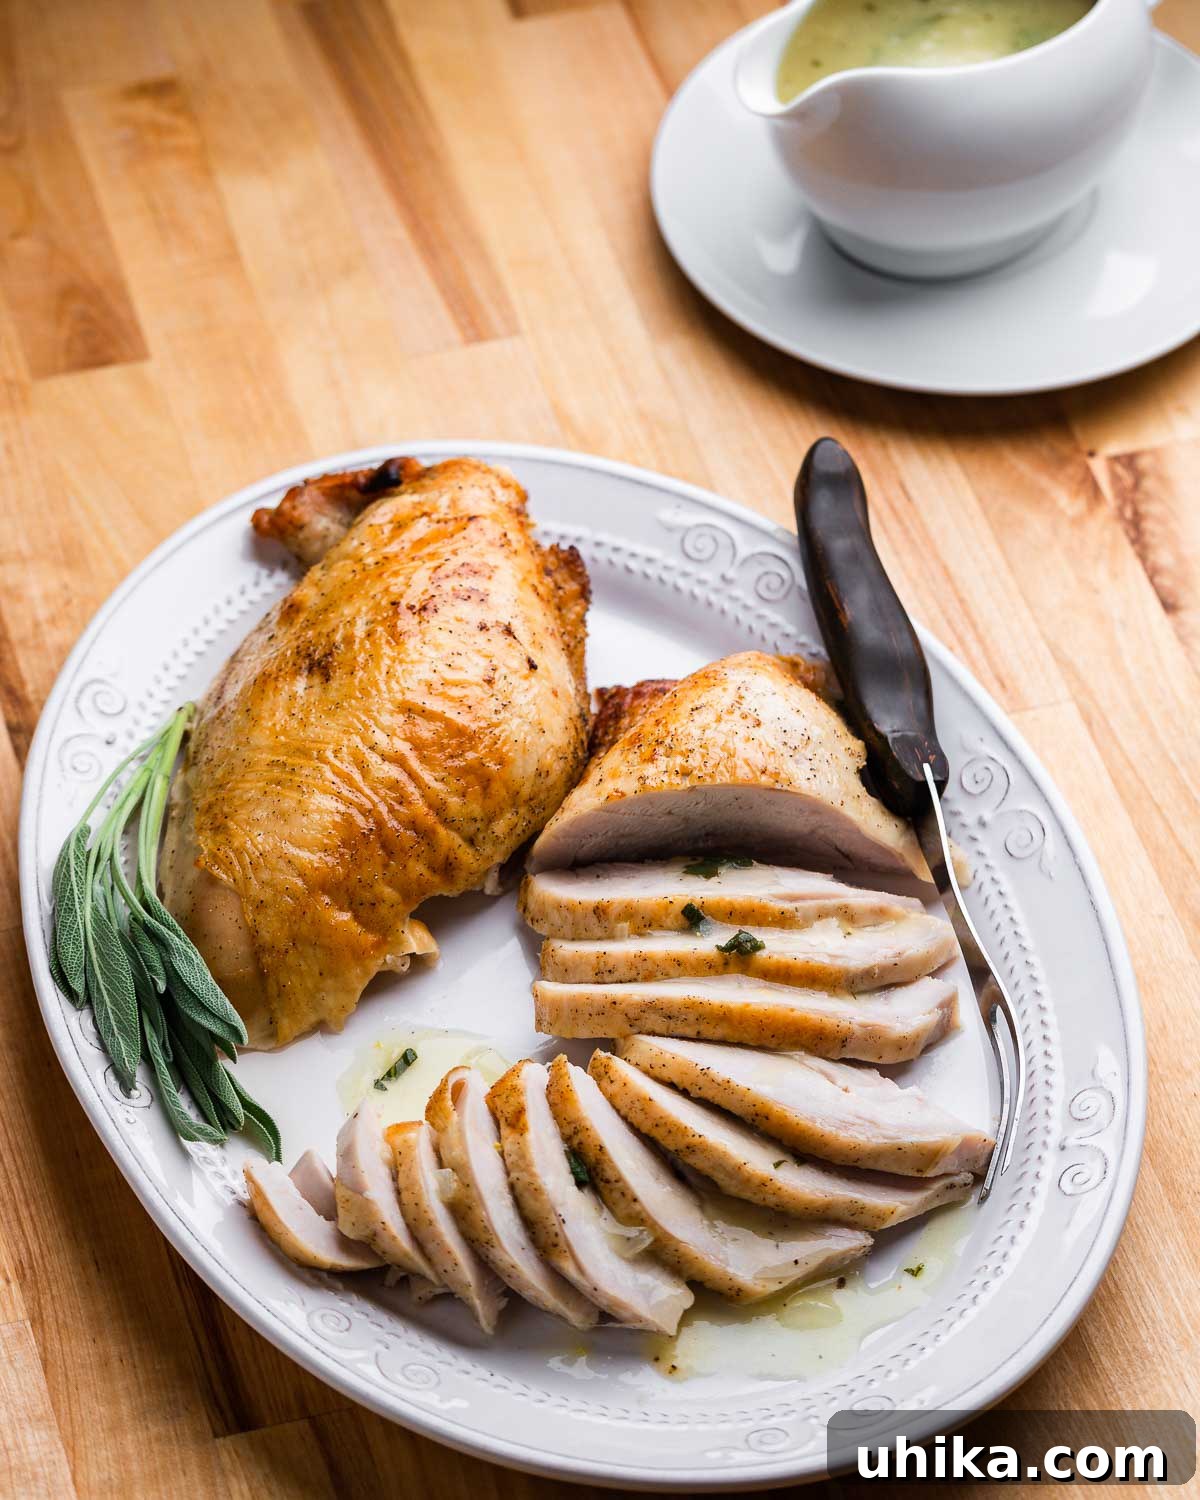
For many years, I embarked on a personal quest to perfect the Thanksgiving turkey. I experimented with countless brining and roasting methods, often tackling the entire bird, each attempt yielding reasonably good results. However, I consistently found myself returning to the dry brined turkey breast, a method that never fails to deliver. It’s remarkably easy, consistently delicious, and an absolute game-changer, especially when you’re preparing a meal for a smaller, intimate group. The reliability and simplicity of the dry brine technique make it an undeniable favorite in my kitchen.
Once I truly discovered and embraced the dry brine technique, I rarely, if ever, reverted to wet brining a turkey. Wet brining, while effective, often demands a significant amount of valuable refrigerator space for a large container of liquid, which can be particularly inconvenient during busy holiday preparations. Furthermore, from my extensive experience, wet brining offers no discernible advantages over the dry brine method when it comes to achieving ultimate juiciness and a beautifully crisp skin. The dry brine simply provides a more efficient and superior outcome with less fuss.
The Science Behind a Perfect Dry Brine: Unveiling the Magic
While cooking is often perceived as an art, particularly when compared to the precise science of baking, there are fascinating scientific principles at play in many culinary techniques. Dry brining is a prime example of where kitchen creativity meets scientific understanding, resulting in a truly exceptional dish. Understanding the “how” behind the “what” can elevate your cooking to a whole new level, giving you confidence and control over the outcome. This method leverages natural processes to tenderize and flavor meat like no other.
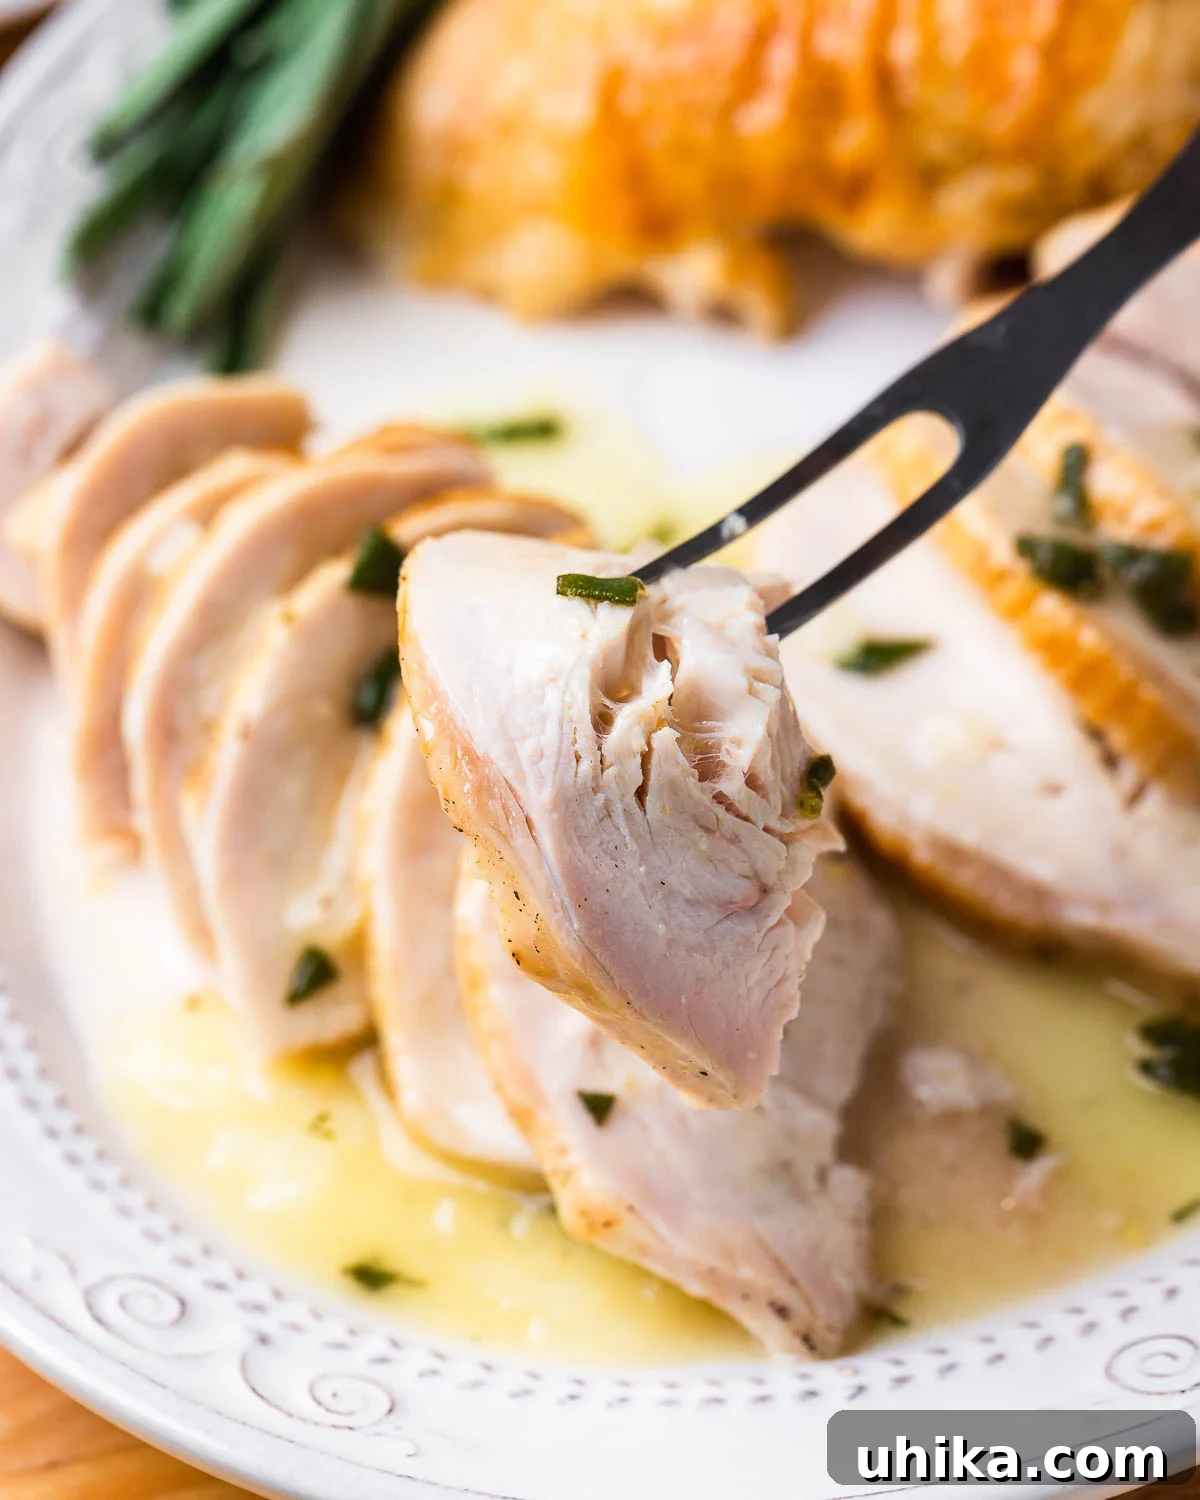
The core mechanism of dry brining relies on a process called osmosis. When you generously salt a piece of meat, such as our turkey breast, the salt on the surface begins to draw out moisture from within the turkey and even from the surrounding air. This moisture, now mixed with the dissolving salt crystals, forms a concentrated, flavorful brine on the surface of the meat. Over time, as the salt solution penetrates the turkey’s muscle fibers, the meat reabsorbs this enhanced, salty liquid, pulling it deep into the tissue. This not only seasons the entire breast from within but also changes the protein structure, allowing the turkey to retain moisture much more effectively during cooking. The result is a turkey breast that is incredibly flavorful, remarkably tender, and astonishingly juicy – far beyond what traditional seasoning can achieve.
Beyond the undeniable enhancement in flavor and moisture retention, dry brining offers several other compelling benefits. One significant advantage is a potentially decreased cooking time, as the brined meat often cooks more efficiently. Perhaps even more appealing is the consistently crispier skin that a dry brine facilitates. Unlike wet brining, which can leave the skin somewhat waterlogged and harder to crisp, the dry brine method helps to draw moisture out of the skin, promoting a beautifully golden-brown and satisfyingly crunchy exterior. This combination of juicy interior and crispy skin truly makes the dry brine an unparalleled technique for roasting poultry.
Understanding Commercially Pre-Brined Turkey Breasts: What You Need to Know
As you navigate the poultry section of your local supermarket, particularly during the bustling holiday season, you’ll likely encounter a plethora of turkey breasts and whole turkeys that are labeled as “pre-brined” or “enhanced with a solution.” While this might seem convenient, it’s crucial to understand the implications of these labels for your dry brining efforts and overall cooking results.
The primary reason commercial turkey sellers pre-brine or inject turkeys with a solution is quite straightforward: it adds water weight. And in the world of retail, increased water weight directly translates to higher profits. These solutions vary significantly from brand to brand (think Jennie-O, Cargill, Tyson, Perdue, Shadybrook Farms, etc.), both in terms of percentage and ingredients. A typical solution might contain turkey broth, sugar, sodium, vinegar, and various natural flavorings. You might see labels indicating anything from a 3% solution to a substantial 15% solution, meaning that percentage of the turkey’s total weight is added liquid.
The sodium content in these pre-brined turkeys also fluctuates dramatically. Some products can contain as much as 600mg of sodium per 4-ounce serving, while others might be as low as 80mg. This wide range is critical because adding more salt to an already brined turkey can lead to an overwhelmingly salty and unappetizing result.
If you inadvertently purchase a turkey breast that has been enhanced with a solution, it will most likely require little, if any, additional dry brining. As a general guideline, I strongly advise against dry brining any turkey breast that contains more than 200-250mg of sodium per 4-ounce serving. If the sodium content is higher than that, it’s best to skip the dry brine entirely to avoid over-salting.
For the absolute best results with the dry brine method, your safest and most recommended option is to seek out a truly “unadulterated” turkey breast. This means a turkey breast with no added solutions, injections, or brines. You are most likely to find such high-quality, pure turkey breasts at reputable local butchers, small family farms that emphasize natural practices, or premium grocery stores renowned for their fresh meat selections, such as Whole Foods or Wegmans. Investing in a quality, unadulterated turkey breast ensures you have complete control over the brining process and the final flavor.
Mastering the Dry Brine: A Step-by-Step Guide to Juicy Perfection
- Prepare the Dry Brine Mixture: In a small bowl, combine 2 tablespoons of high-quality kosher salt, 1 teaspoon of freshly ground black pepper, and 1 tablespoon of light brown sugar. This simple blend forms the foundation of our flavorful brine. Next, thoroughly pat the turkey breast dry with paper towels. Removing excess surface moisture is crucial for allowing the brine to adhere properly and for achieving that coveted crispy skin. Generously season the entire turkey breast with your prepared salt mixture. Pay close attention to getting the salt under the skin and directly onto the meat of the breast. While seasoning all sides is important, focus the majority of the mixture on the thickest parts of the breast, as these areas require more time for the brine to penetrate deeply. Once seasoned, place the turkey breast, uncovered, in the refrigerator. A wire rack set over a tray works best for air circulation, but a large plate with the breast facing up will also suffice, saving a bit of fridge space. Allow it to brine for a minimum of 24 hours; however, for truly optimal results and deeper flavor penetration, 48 hours is even better.
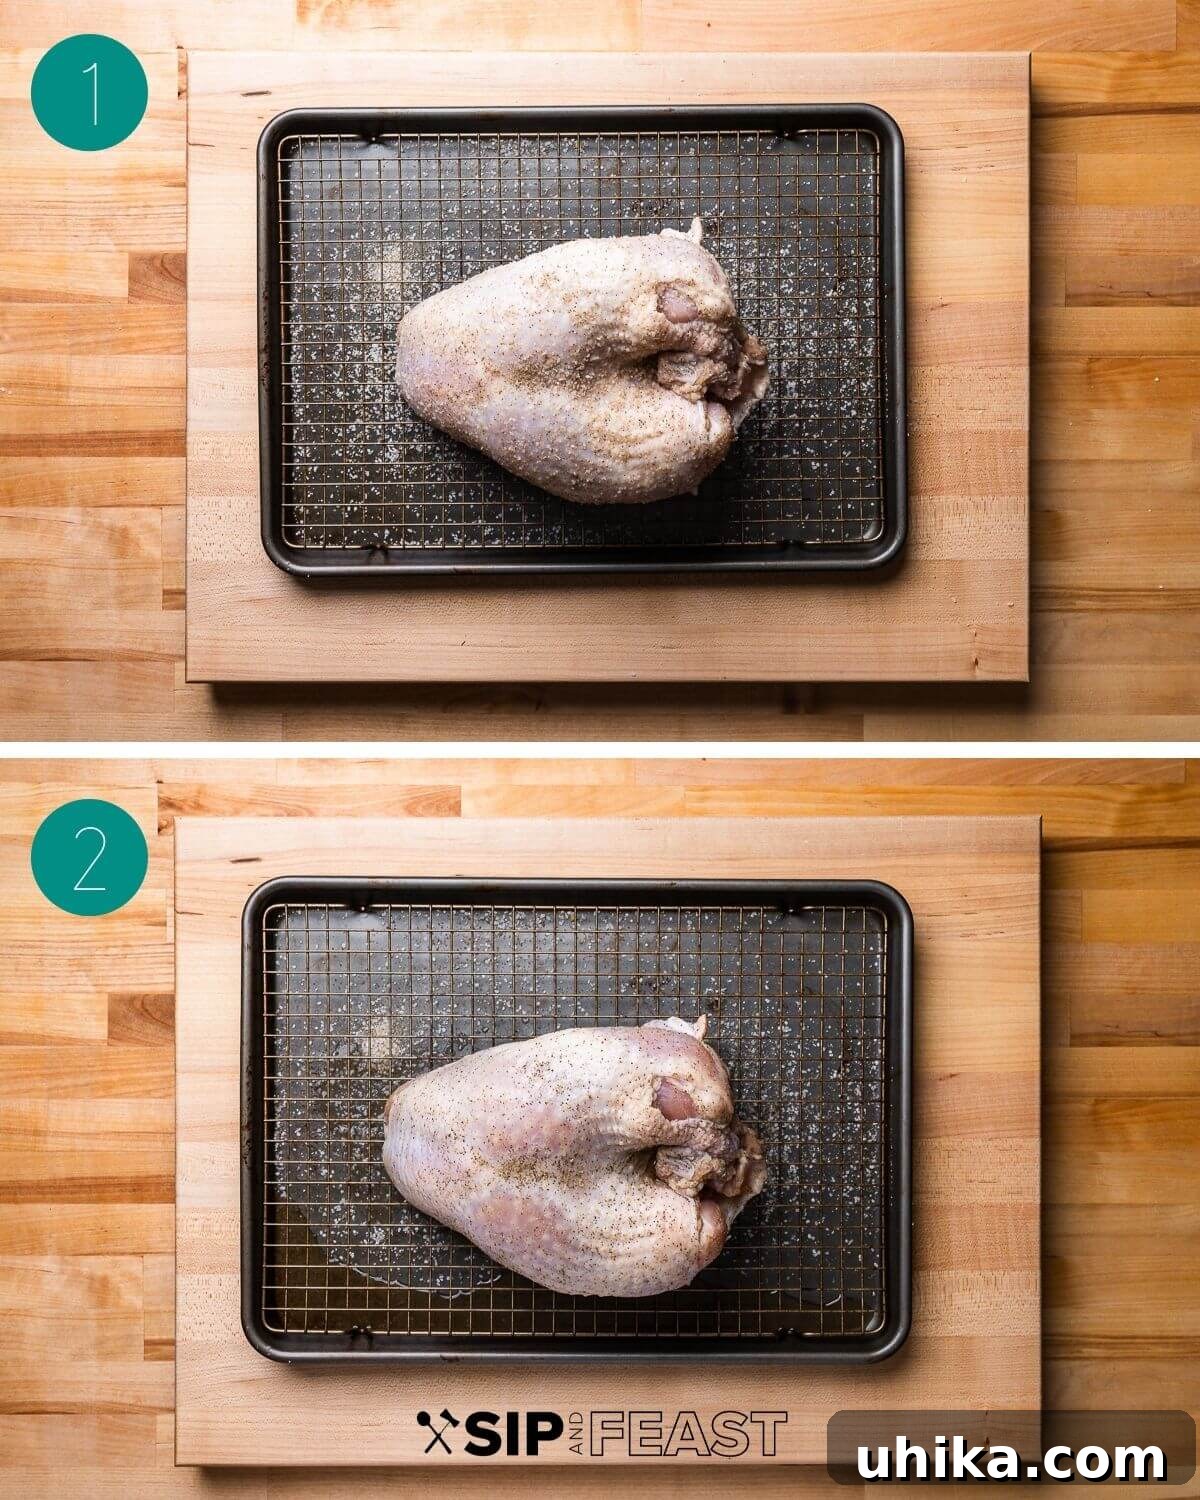
- Pre-Roast Preparation: After the 24-48 hour brining period, you may notice some accumulated water at the bottom of your tray or plate – this is a normal part of the osmosis process. Approximately one hour before you plan to cook, remove the turkey breast from the refrigerator and let it rest at room temperature. This crucial step helps the turkey cook more evenly. During this time, preheat your oven to a high temperature of 450°F (232°C) and adjust the oven rack to the middle level.
- Initial Roasting Phase: Prepare your roasting pan by placing a wire rack inside. Thoroughly pat the turkey skin dry once more with paper towels; this ensures maximum crispiness. Drizzle 1 tablespoon of olive oil evenly over the turkey skin and rub it in gently to coat the surface. Pour about ½ cup of low-sodium chicken stock into the bottom of the roasting pan. This liquid serves a dual purpose: it helps to prevent the pan drippings from burning, which are essential for gravy, and it contributes to a moist cooking environment without interfering with the skin’s crisping. Place the turkey breast on the prepared rack and roast for an initial 30 minutes at 450°F (232°C). This high heat blast helps to set the skin and develop a beautiful golden color.
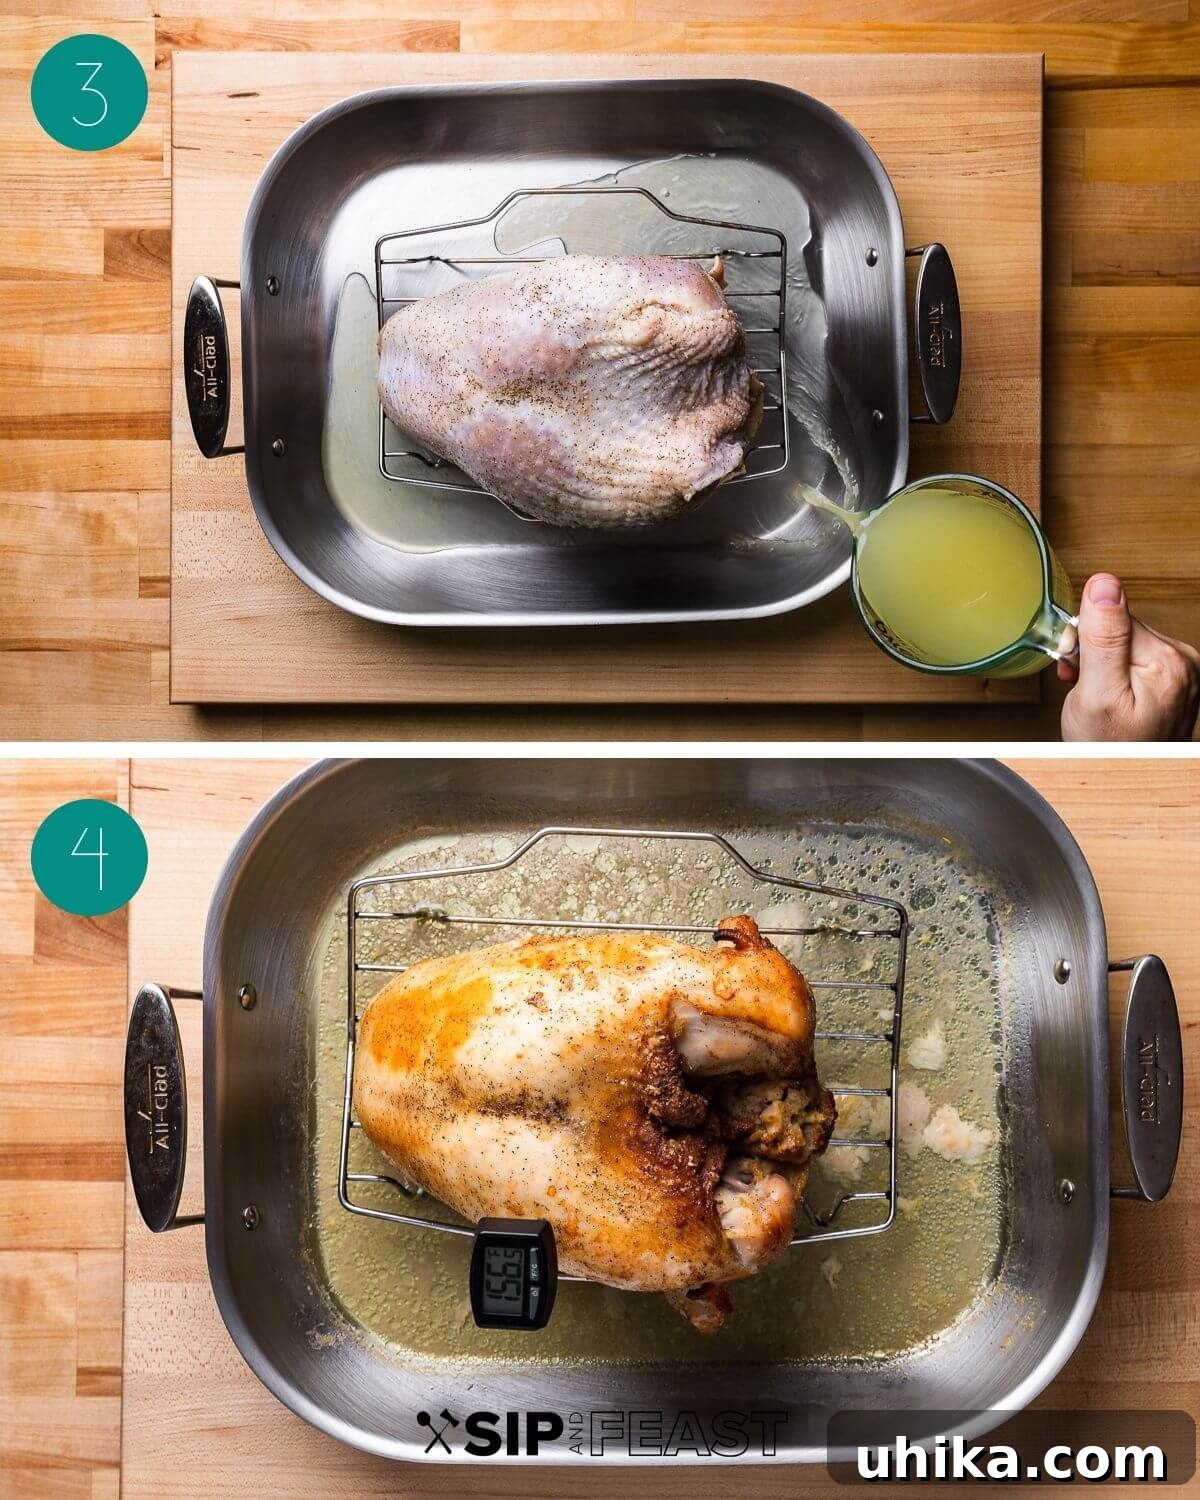
- Finishing the Roast: After the initial 30 minutes at high heat, reduce the oven temperature to 300°F (150°C). Continue roasting for an additional 50-70 minutes, or until an instant-read thermometer inserted into the thickest part of the breast (avoiding the bone) registers between 155°F (68°C) and 160°F (71°C). The exact cooking time will depend on the weight and thickness of your turkey breast, so rely on the thermometer, not just the clock. Check the pan periodically; if it appears dry, add another ½ cup of chicken stock to maintain a shallow liquid level for those precious drippings.
- Resting Period: Once the turkey breast reaches the target internal temperature, carefully remove it from the oven and transfer it to a large cutting board. Tent it loosely with aluminum foil and allow it to rest undisturbed for at least 20 minutes. This resting period is critical: it allows the juices to redistribute evenly throughout the meat, preventing them from escaping when you carve, and the internal temperature will continue to rise by another 5-10°F (3-6°C) due to carryover cooking. Crucially, remember to save all the flavorful pan drippings – they are the foundation for an incredible homemade turkey gravy!
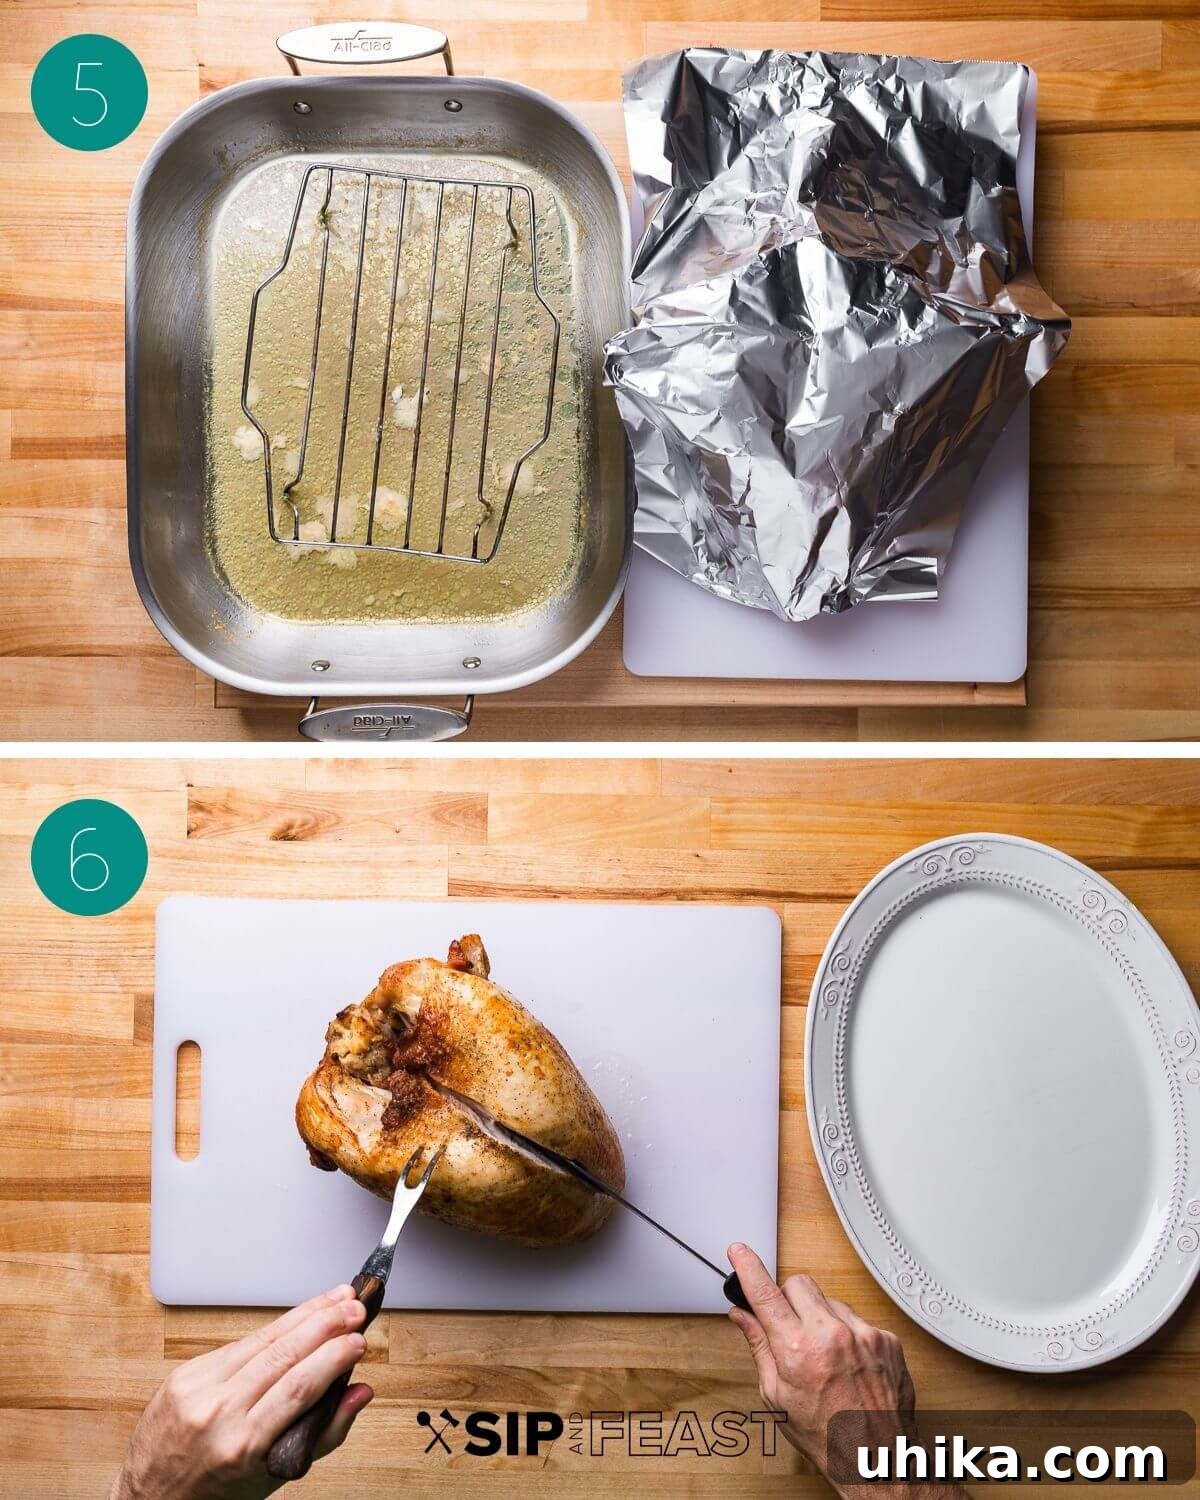
- Expert Carving: To carve your perfectly rested turkey breast, you’ll need a sturdy carving fork and a sharp, large carving knife. Begin by carefully locating the breastbone. Using your knife, slide it down one side of the breastbone, separating the meat from the bone. You can either come in from the side with your knife or turn the entire breast onto its side to fully detach one breast half. Repeat this process for the other breast.
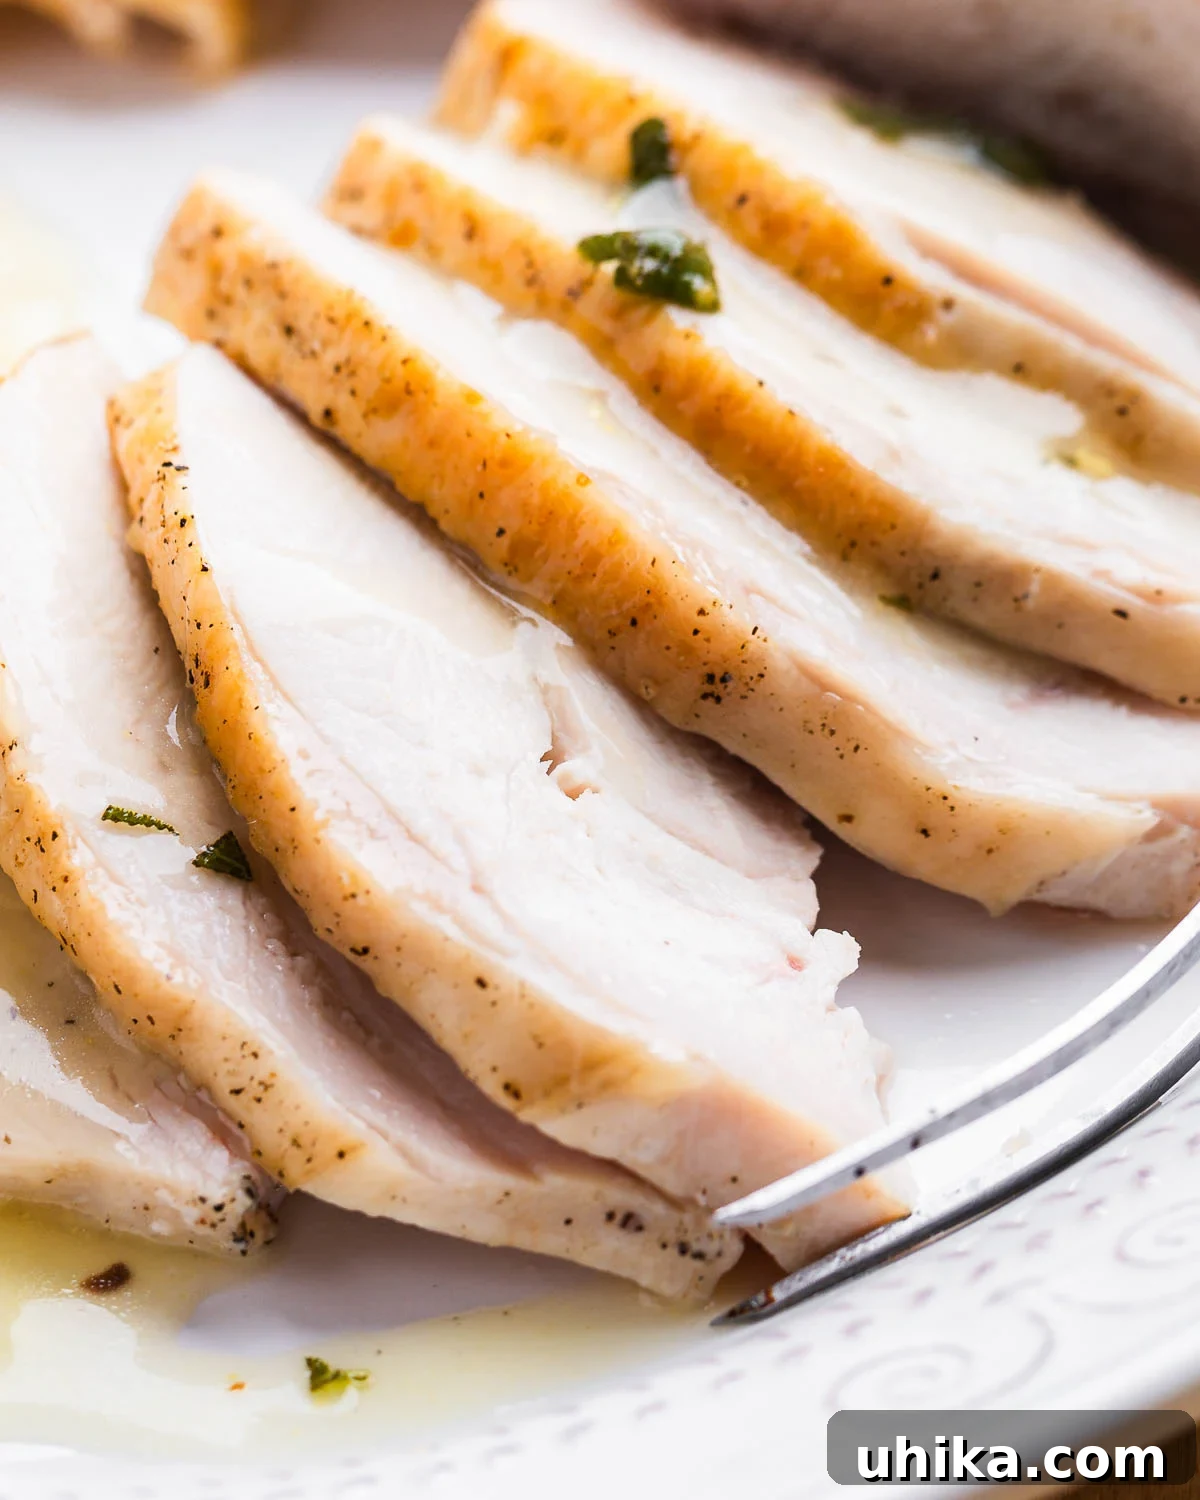
- Slicing for Serving: Working swiftly to prevent the turkey from cooling too much, place each breast half on the cutting board. Cut slices across the long part of the breast, aiming for uniform ¼-inch thick pieces. This method ensures each slice is tender and easy to manage.
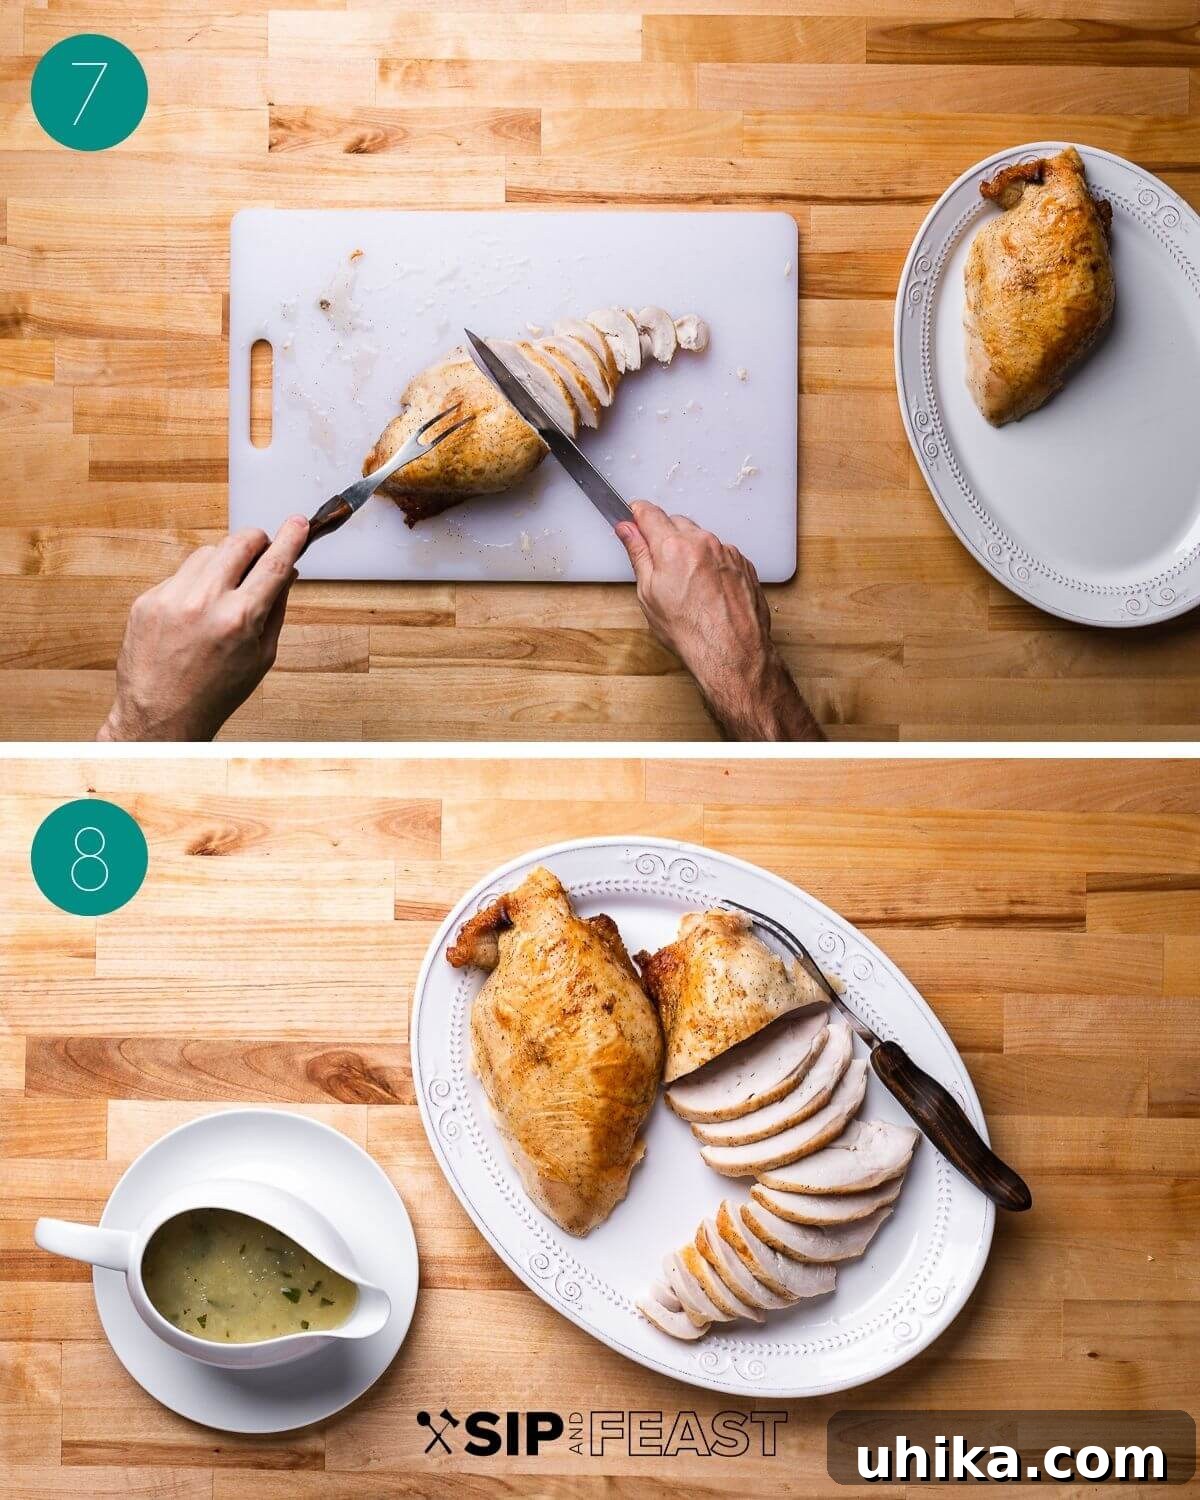
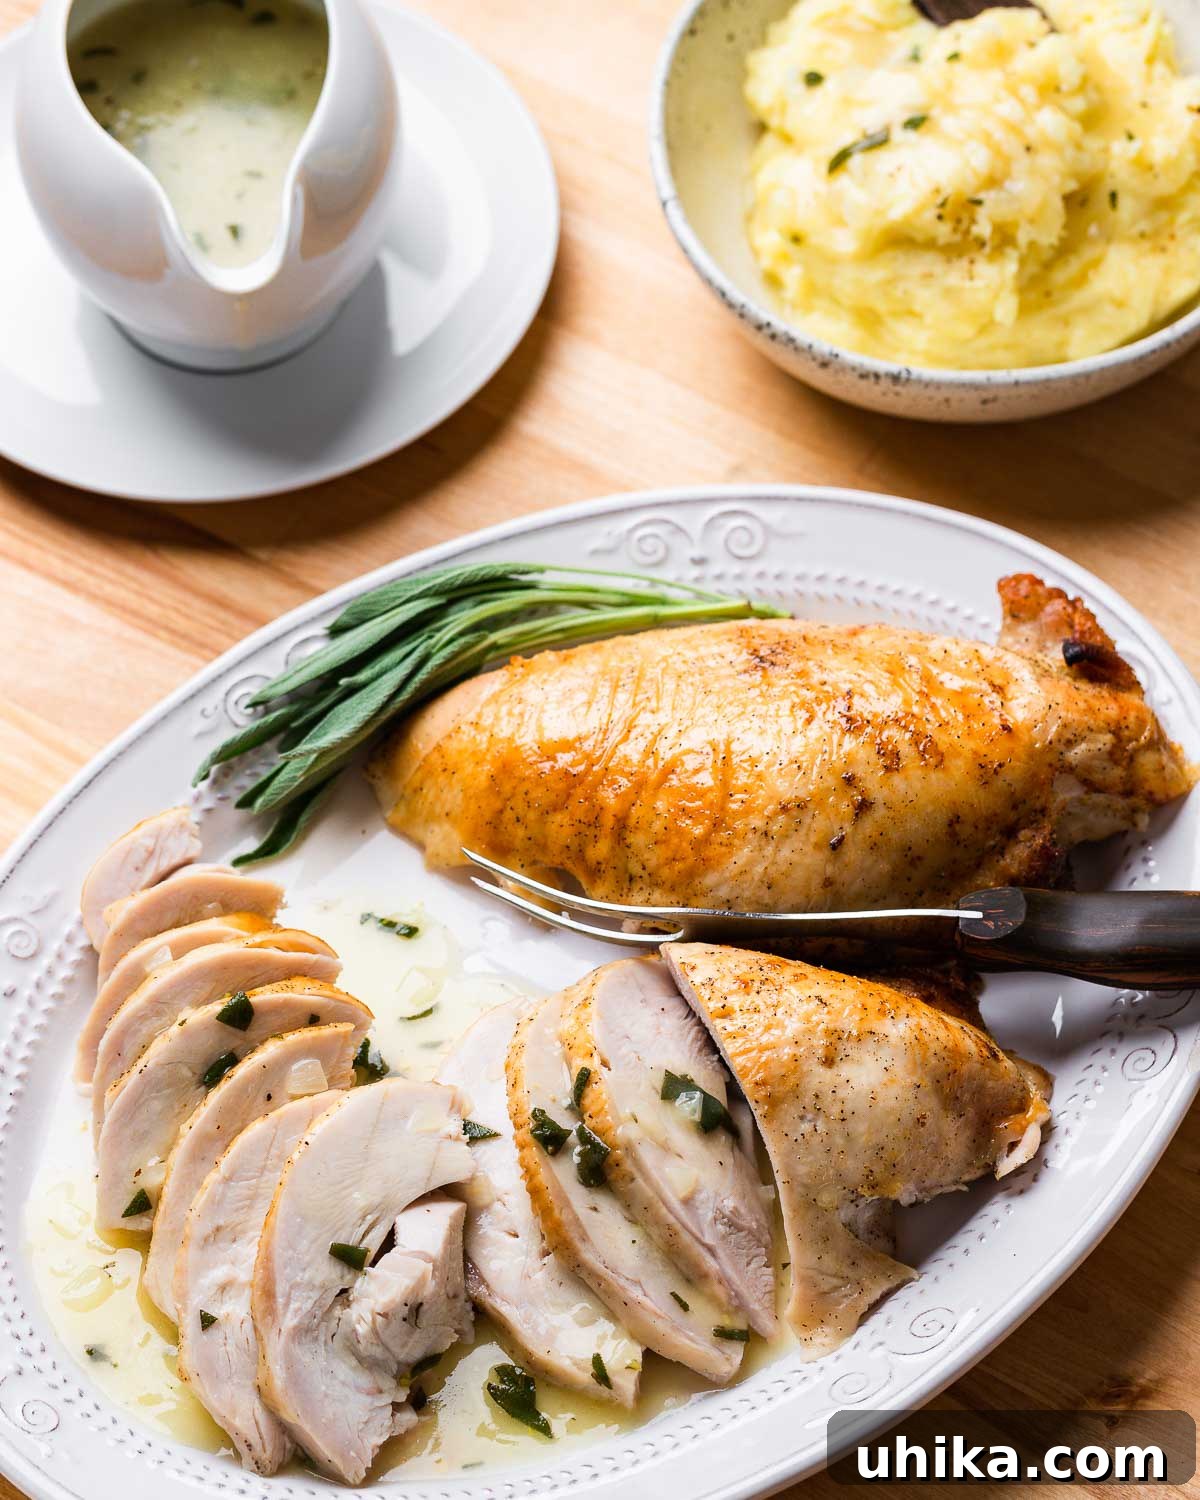
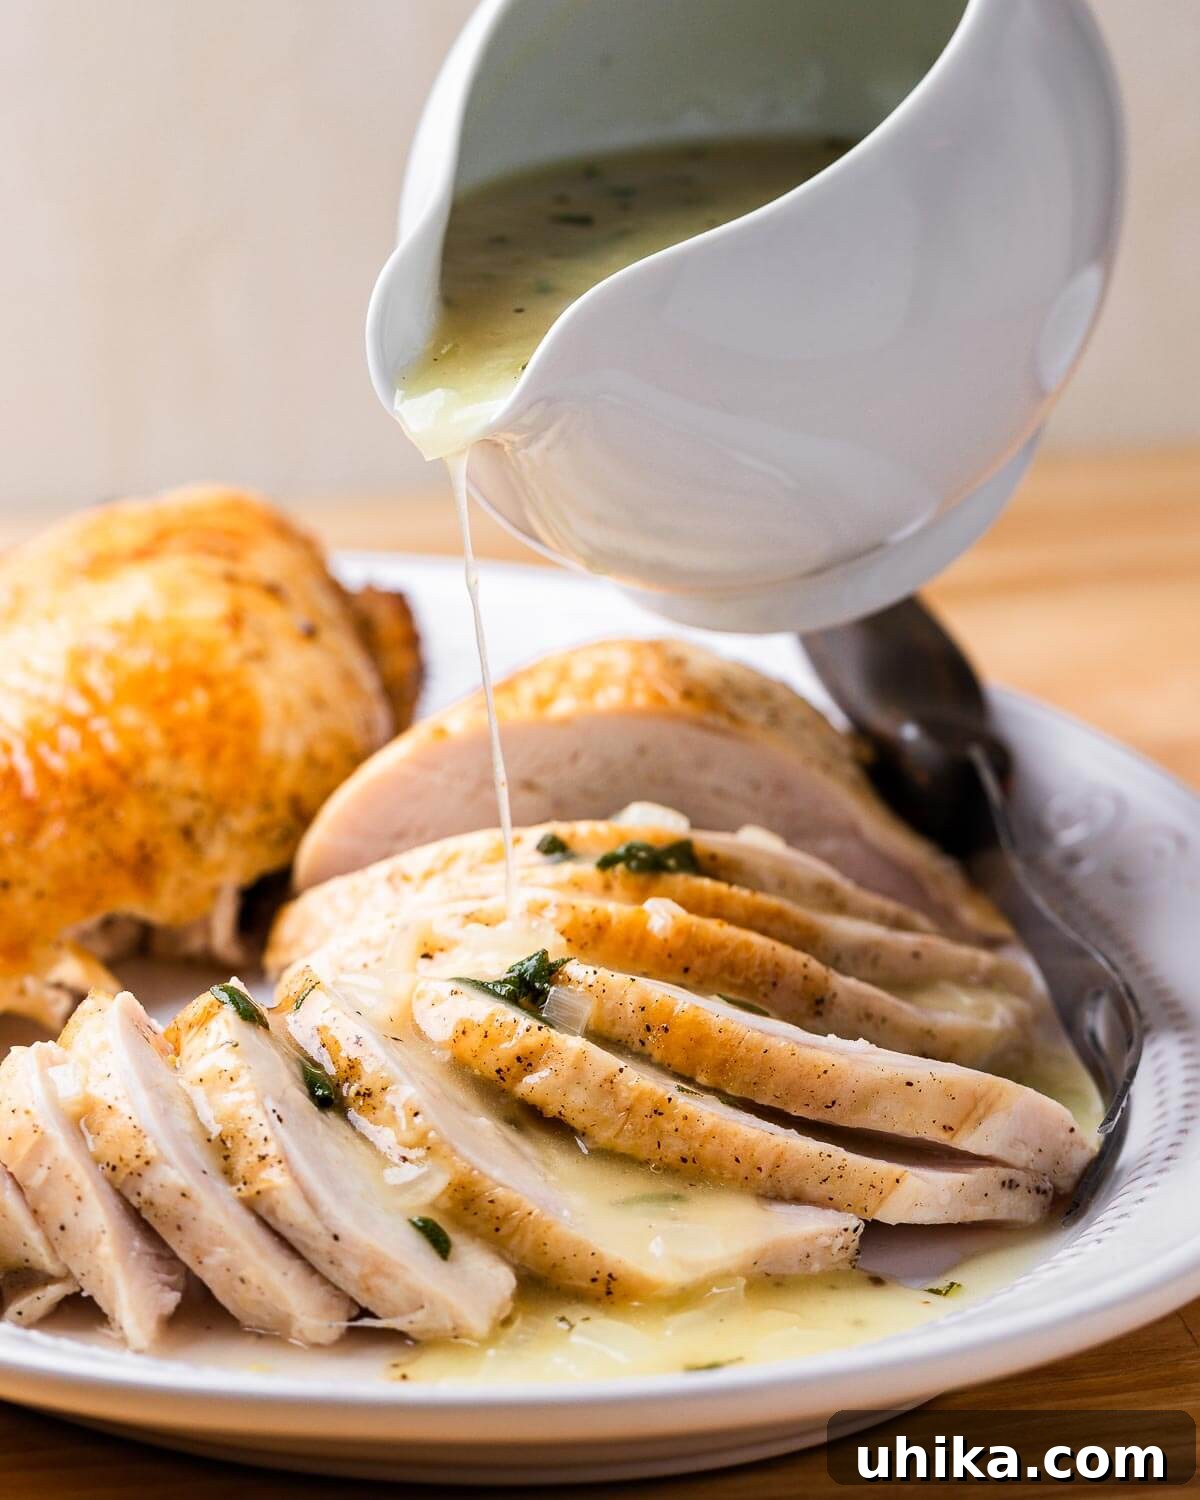
- Serving and Enjoying: Depending on the number of guests, you might consider leaving one breast uncarved on the platter. This not only helps it retain warmth for a longer period but also offers a beautiful presentation. Serve your exquisitely dry brined turkey breast with a generous pour of homemade gravy, a vibrant cranberry sauce, and all your cherished holiday side dishes. Prepare to enjoy a truly memorable and delicious meal!
Top Tips for Dry Brining Success
- Choose Kosher Salt: Always opt for kosher salt for dry brining. Its larger crystals prevent clumping, ensuring a more even distribution over the meat. This uniform application is key to consistent brining and flavoring throughout the turkey breast.
- Pat Dry Thoroughly: Before applying the brine and again before roasting, make sure to pat the turkey breast exceptionally dry with paper towels. Don’t worry about removing flavor; the salty goodness has already been absorbed into the meat. Drying the surface is crucial for achieving that wonderfully crispy skin.
- Brine for Optimal Time: Dry brine your turkey breast for a minimum of 24 hours. For thicker cuts of meat, extending this to 48 hours will allow the brine more time to penetrate deep into the muscle fibers, resulting in an even juicier and more flavorful bird.
- Refrigerate Uncovered: For the ultimate crispy skin, leave the turkey breast uncovered in the refrigerator during the brining period. This exposure to cold, dry air helps to further dry out the skin, setting it up for superior crispiness during roasting.
- Keep it Simple: When it comes to the dry brine mixture itself, simplicity often yields the best results. Beyond kosher salt, the only other essential ingredients are pepper for a hint of warmth and sugar for promoting beautiful browning. In fact, if you’re truly aiming for minimalist perfection, just kosher salt alone is often sufficient to achieve a fantastic outcome.
- Invest in an Instant-Read Thermometer: This is arguably the most indispensable kitchen tool for roasting poultry. An instant-read thermometer eliminates all guesswork, ensuring your turkey breast cooks perfectly to the ideal internal temperature of 155-160°F (68-71°C) without overcooking. While dry brining can sometimes slightly shorten cooking times, the thermometer provides precise control.
- Don’t Discard Pan Drippings: Even though a turkey breast produces fewer drippings than a whole turkey, the concentrated flavors in the pan are gold. Make sure to scrape up every bit of those savory pan drippings to create a tasty homemade turkey gravy that will elevate your meal.
Delightful Holiday Pairings: More Recipes to Complete Your Feast
Once you’ve mastered the art of the dry brined turkey breast, you’ll want to surround it with equally impressive and delicious side dishes. Here are a few more of our most beloved holiday recipes, carefully selected to complement your succulent turkey and create an unforgettable feast. We sincerely hope these additions bring joy and flavor to your table!
- Sweet Potato Casserole – The quintessential Thanksgiving side dish, featuring a rich, creamy base and crowned with the absolute best pecan streusel topping. A must-have for any holiday spread.
- Brown Sugar Glazed Spiral Ham – A fantastic alternative or addition to turkey, this ham is slow-roasted and coated in a delectable glaze made with honey, Dijon mustard, orange zest, warm cinnamon, and aromatic clove.
- Roasted Garlic Mashed Potatoes – Light, fluffy, and incredibly airy, these mashed potatoes are made with perfectly riced potatoes, deeply flavorful roasted garlic, rich butter, and a touch of milk for ultimate creaminess.
- Honey Balsamic Brussels Sprouts – Brussels sprouts roasted until beautifully charred and tender, then tossed with a sweet and tangy honey balsamic glaze. An irresistible way to enjoy your greens.
- Sage and Onion Stuffing – A hearty, comforting, and deeply satisfying side dish that truly “sticks to your ribs.” Infused with aromatic sage and sweet onions, it’s the perfect traditional complement to Thanksgiving turkey.
- Beef Top Round Roast – If you’re hosting a larger gathering or simply love a variety of meats, this tender beef roast with its accompanying savory onion gravy makes a superb pairing alongside your holiday turkey.
If you’ve enjoyed this Dry Brined Turkey Breast Recipe or any other recipe on our site, we would be incredibly grateful if you could give it a 5-star rating and share your experience in the comments below. Your feedback and ratings help our community grow and inspire others to try our recipes.
We believe in catering to diverse learning preferences. If you are someone who prefers to learn by watching, you can discover most of our recipes and cooking demonstrations on both our dedicated YouTube channel and our vibrant Facebook Page. Join our online community for more culinary inspiration!
For exclusive, never-before-seen FULL MEAL RECIPE VIDEOS, consider becoming a Patreon member today! Your support allows us to continue creating high-quality content and sharing our passion for food with you.
Dry Brined Turkey Breast
Author: James Delmage
Prep Time: 10 mins
Cook Time: 1 hr 40 mins
Brining Time: 1 day (24-48 hours recommended)
Servings: 12
Tender and moist dry brined turkey breast is made with just a few ingredients making this one of the simplest ways to prepare this holiday staple.
Ingredients
- 1 (6-8 pound) turkey breast, bone-in
- 1 tablespoon olive oil
- 2 cups low sodium chicken stock (divided, will most likely not need all of it)
Dry Brine (mix together)
- 2 tablespoons kosher salt
- 1 teaspoon black pepper
- 1 tablespoon light brown sugar
Instructions
- Pat the turkey breast thoroughly dry with paper towels. Season generously all over with the dry brine mixture (kosher salt, black pepper, and light brown sugar). Ensure some salt gets under the skin and directly onto the breast meat. Focus the majority of the mixture on the thickest parts of the breasts, as they require the most time for the brine to penetrate. Refrigerate the turkey uncovered for at least 24 hours, but preferably 48 hours, to achieve optimal brining.
- One hour before you plan to roast, remove the turkey from the refrigerator to allow it to come to room temperature. Preheat your oven to 450°F (232°C) and set the oven rack to the middle position. Prepare a roasting pan with a wire rack setup. Pat the turkey skin dry very well one last time. Rub 1 tablespoon of olive oil onto the skin for crispiness, and pour ½ cup of chicken stock into the bottom of the roasting pan.
- Roast the turkey for an initial 30 minutes at 450°F (232°C). After this initial high-heat blast, reduce the oven temperature to 300°F (150°C). Continue cooking until an instant-read thermometer inserted into the thickest part of the breast registers between 155-160°F (68-71°C). This usually takes approximately 50-70 minutes longer, depending on the turkey’s size. Check the pan for dryness periodically; if needed, add another ½ cup of chicken stock to keep the drippings from burning. Once cooked, transfer the turkey breast to a cutting board and tent it loosely with foil, allowing it to rest for 20 minutes before carving.
- To carve, use a sharp knife to slide down along the breastbone, separating the breast meat. Continue cutting underneath the breast to fully detach it. Cut the breast pieces into approximately ¼-inch thick slices across the length of the breast. Serve immediately and enjoy your perfectly brined and roasted turkey!
Notes
- This recipe’s sodium amount is tailored for a fresh turkey breast without any added sodium solution. If using a turkey breast that comes in a solution, reduce the kosher salt to just 1 tablespoon, provided the sodium level is less than 200mg per 4-ounce serving. If the sodium content is higher than that, it is best to omit adding any salt entirely.
- Always use kosher salt for dry brining, as its coarse texture ensures a more even distribution across the meat.
- Thoroughly pat the turkey breast dry with paper towels both before applying the brine and again before roasting to encourage crispy skin.
- For optimal flavor and moisture, dry brine the turkey breast for a minimum of 24 hours; 48 hours yields even better results.
- Leaving the turkey breast uncovered in the refrigerator during brining helps to dry out the skin, contributing significantly to a crispy finish.
- An instant-read thermometer is an essential tool for accurately monitoring the turkey’s internal temperature and ensuring it’s cooked to perfection without being overdone.
- Allowing the turkey breast to rest for 20 minutes after cooking and before carving is crucial for the juices to redistribute, resulting in a juicier final product.
- Leftover turkey breast can be stored in an airtight container in the refrigerator for up to 3 days and reheated gently in the microwave or oven.
Nutrition Facts
Calories: 410kcal | Carbohydrates: 0.7g | Protein: 56g | Fat: 19.8g | Saturated Fat: 0.2g | Cholesterol: 163mg | Sodium: 525mg | Potassium: 1mg | Sugar: 0.7g | Calcium: 1mg
Nutrition information is automatically calculated, so should only be used as an approximation.
Like this? Leave a comment below! Check us out on Instagram at @sipandfeast or tag #sipandfeast!