
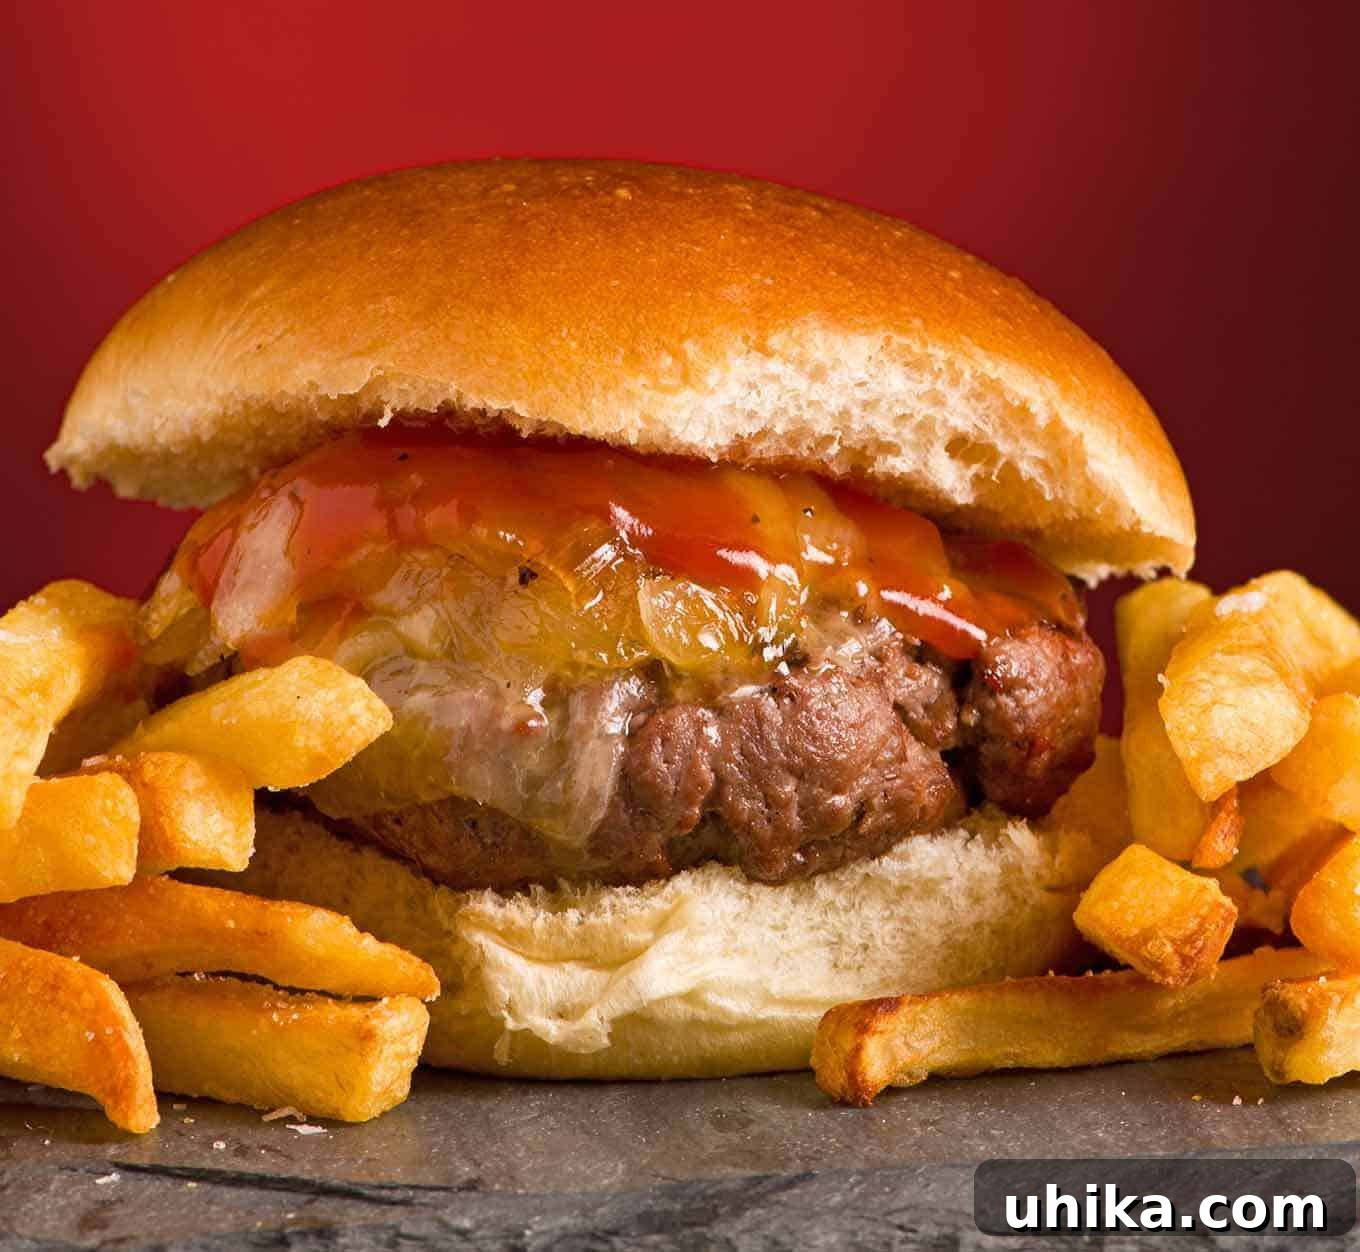
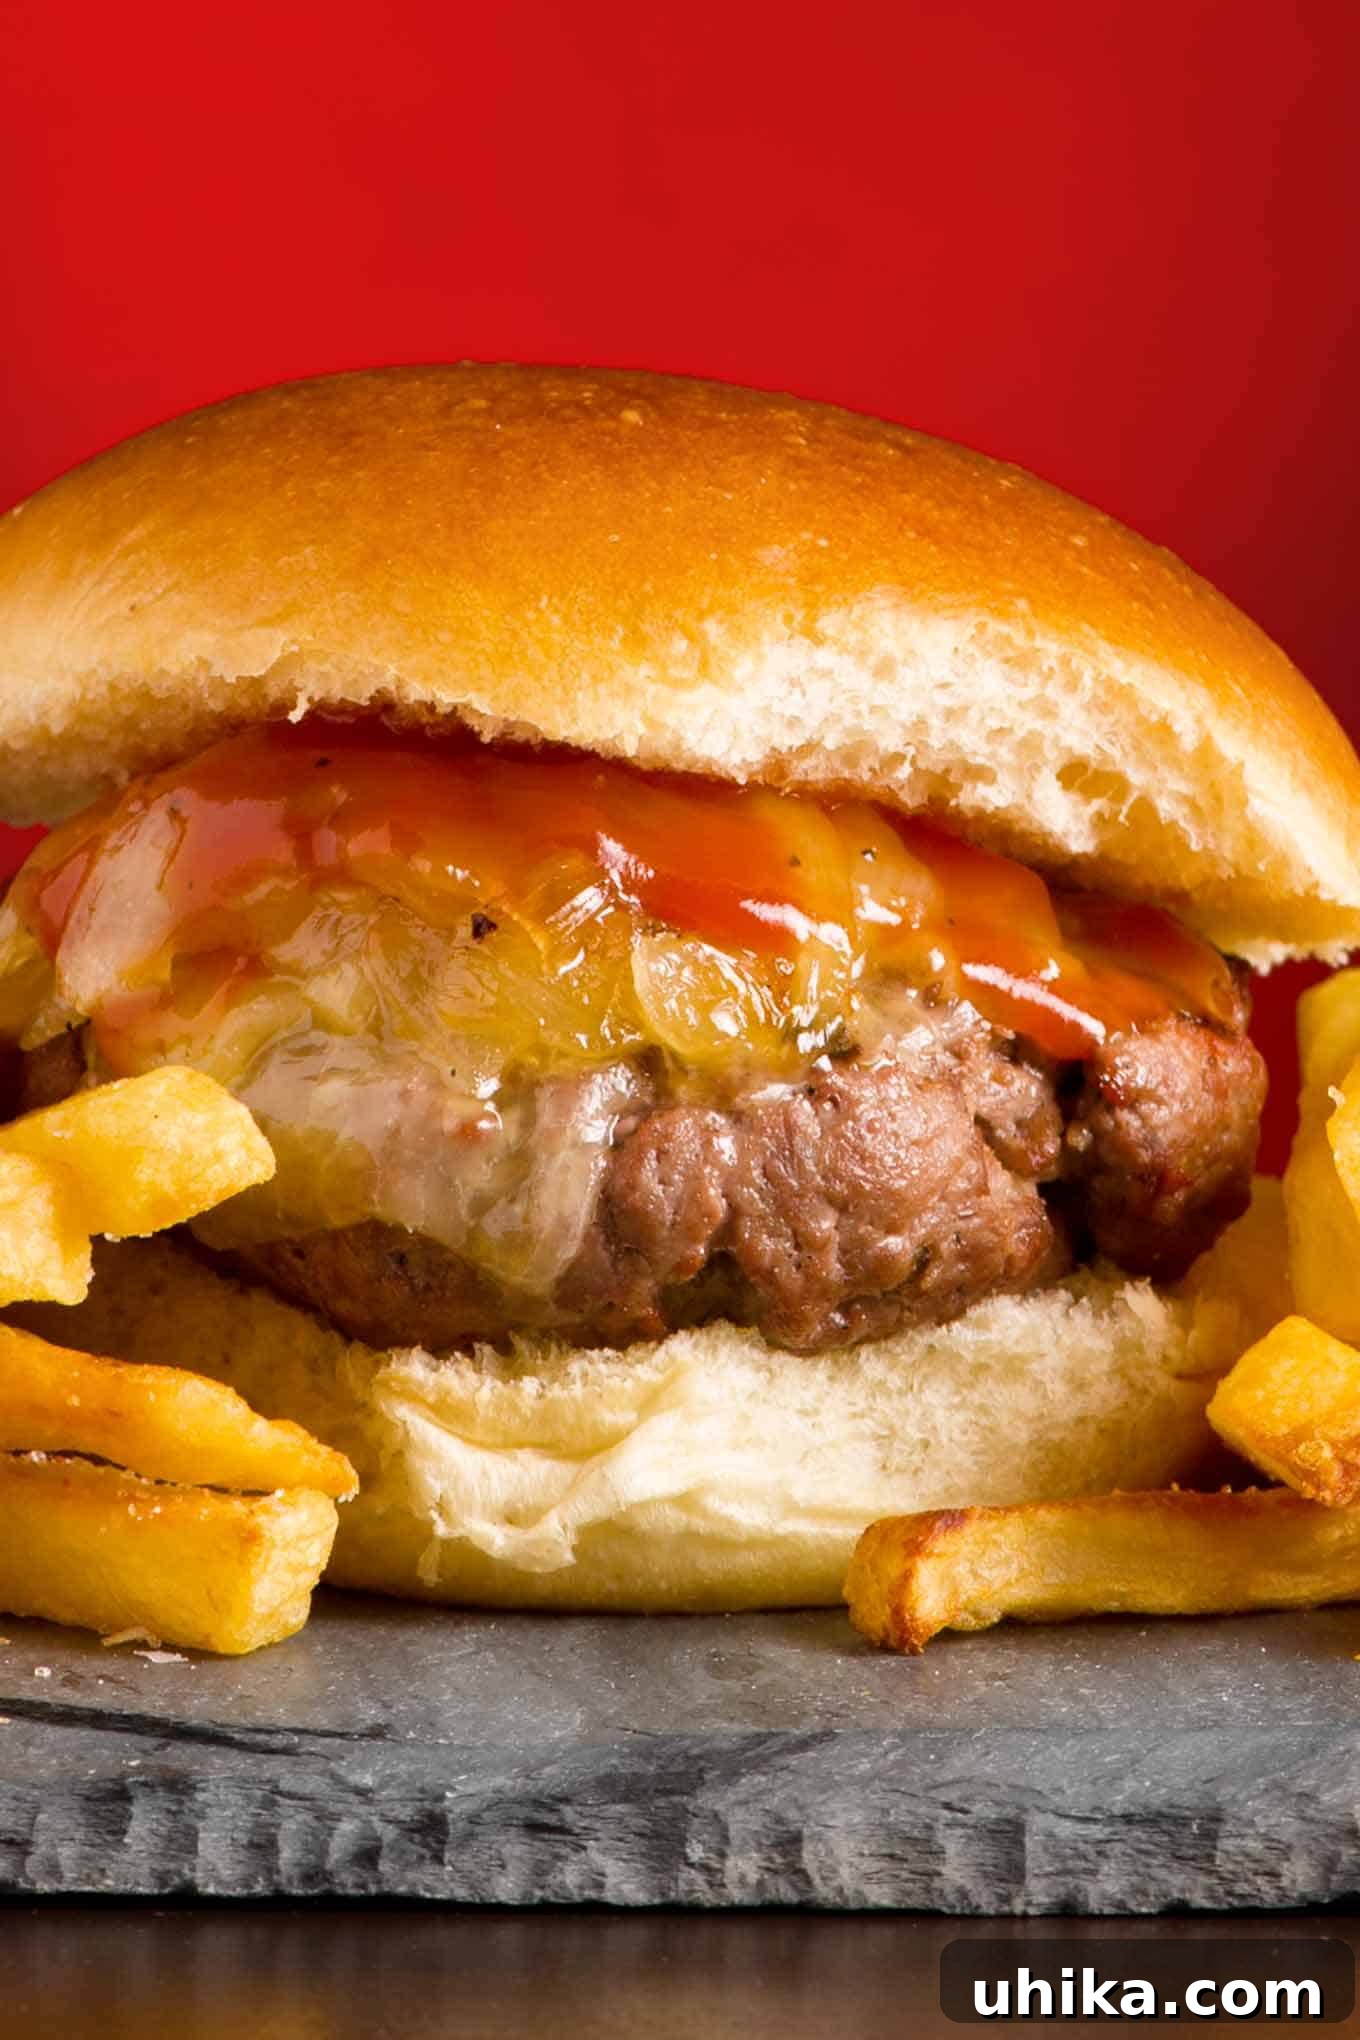
Pictured above: Our delectable Vermont Cheddar Burger, generously topped with sharp white cheddar cheese and sweet maple-glazed onions – a true testament to homemade burger perfection.
Master the Art of the Perfect Homemade Burger: Grilling, Broiling & Skillet Techniques
Are you craving that irresistible taste of a perfectly cooked, juicy, and intensely flavorful burger? Forget the takeout and embark on a culinary journey to create the ultimate homemade burger right in your kitchen or backyard. There’s an unmatched satisfaction that comes from biting into a burger crafted with care, tailored precisely to your preferences. This comprehensive guide will walk you through our time-tested methods for crafting sensational burgers, whether you prefer them grilled to smoky perfection, expertly broiled for a quick indoor option, or seared to a beautiful crust in a hot skillet. Get ready to elevate your burger game, impress your taste buds, and become a master of the perfect patty!
Choosing the Best Ground Beef for Unbeatable Burgers
The foundation of an exceptional burger lies squarely in the quality and type of ground beef you select. Starting with fresh, high-quality meat is non-negotiable for achieving that desired flavor, succulent juiciness, and perfect texture. Making the right choice here is the first step towards burger greatness.
- The Ideal Fat-to-Lean Ratio for Juicy Burgers: When it comes to crafting truly delicious burgers, a common misconception is that leaner is always better. However, for maximum flavor and moisture, fat is your friend! We enthusiastically recommend choosing ground chuck with an 80% lean / 20% fat ratio. This specific balance is crucial because the fat renders down during cooking, basting the meat from within, which prevents your patties from drying out and becoming tough. It also carries much of the rich, beefy flavor. While other ratios exist, the 80/20 blend is widely considered the gold standard for classic, satisfying burgers.
- Freshness is Paramount: Ground meat has a tendency to lose moisture, flavor, and its vibrant color quite rapidly after grinding. For the freshest possible burgers, always check the grinding date if you’re purchasing pre-ground beef from the store. Ideally, it should have been ground that very day. If you can’t find a recent grind, consider asking your butcher to grind a fresh batch for you. For the ultimate control over freshness, texture, and even custom blends, consider grinding your own beef at home. This simple step, while requiring a bit more effort, can significantly elevate your burger experience, giving you unparalleled flavor and juiciness that store-bought options rarely match.
- Exploring Beef Cuts Beyond Chuck: While chuck is an excellent, versatile choice for burgers, don’t hesitate to experiment with other cuts or creative blends if you have access to a meat grinder or a good butcher. Brisket offers a rich, beefy flavor and good fat content, while short rib can add incredible depth and tenderness. A popular gourmet option is a blend of chuck, brisket, and short rib for a truly complex and juicy burger. However, regardless of the cuts you choose, always aim to maintain that crucial 80/20 fat-to-lean balance for optimal results.
Grinding Your Own Beef at Home for Superior Flavor and Texture
For maximum freshness, to ensure the purest ingredients, and to customize your beef blend precisely, grinding your own meat at home is a game-changer. It’s surprisingly easy, and various equipment options are available for every budget, from dedicated meat grinders to a standard food processor you likely already own.
- Selecting Your Beef for Home Grinding: To confidently achieve our recommended 80:20 fat-to-lean ratio, a small chuck roast, typically weighing between 2 to 2-1/2 pounds, is an excellent and readily available choice. Its inherent marbling and balance of lean meat and fat make it perfect for grinding into burger patties.
- Preparing the Meat for Optimal Grinding: Begin by cutting the chuck roast into approximately 1/2-inch to 1-inch cubes. It’s absolutely crucial not to trim away any of the visible fat at this stage, as this fat directly contributes to the burger’s juiciness, flavor, and overall texture. Place these beef cubes into a plastic bag or spread them on a baking sheet, and then freeze them for about 30 minutes. This deep chilling step is vital: it firms up the fat, preventing it from smearing or turning into a paste during grinding, and helps maintain the meat’s structure, resulting in a less dense, more tender patty.
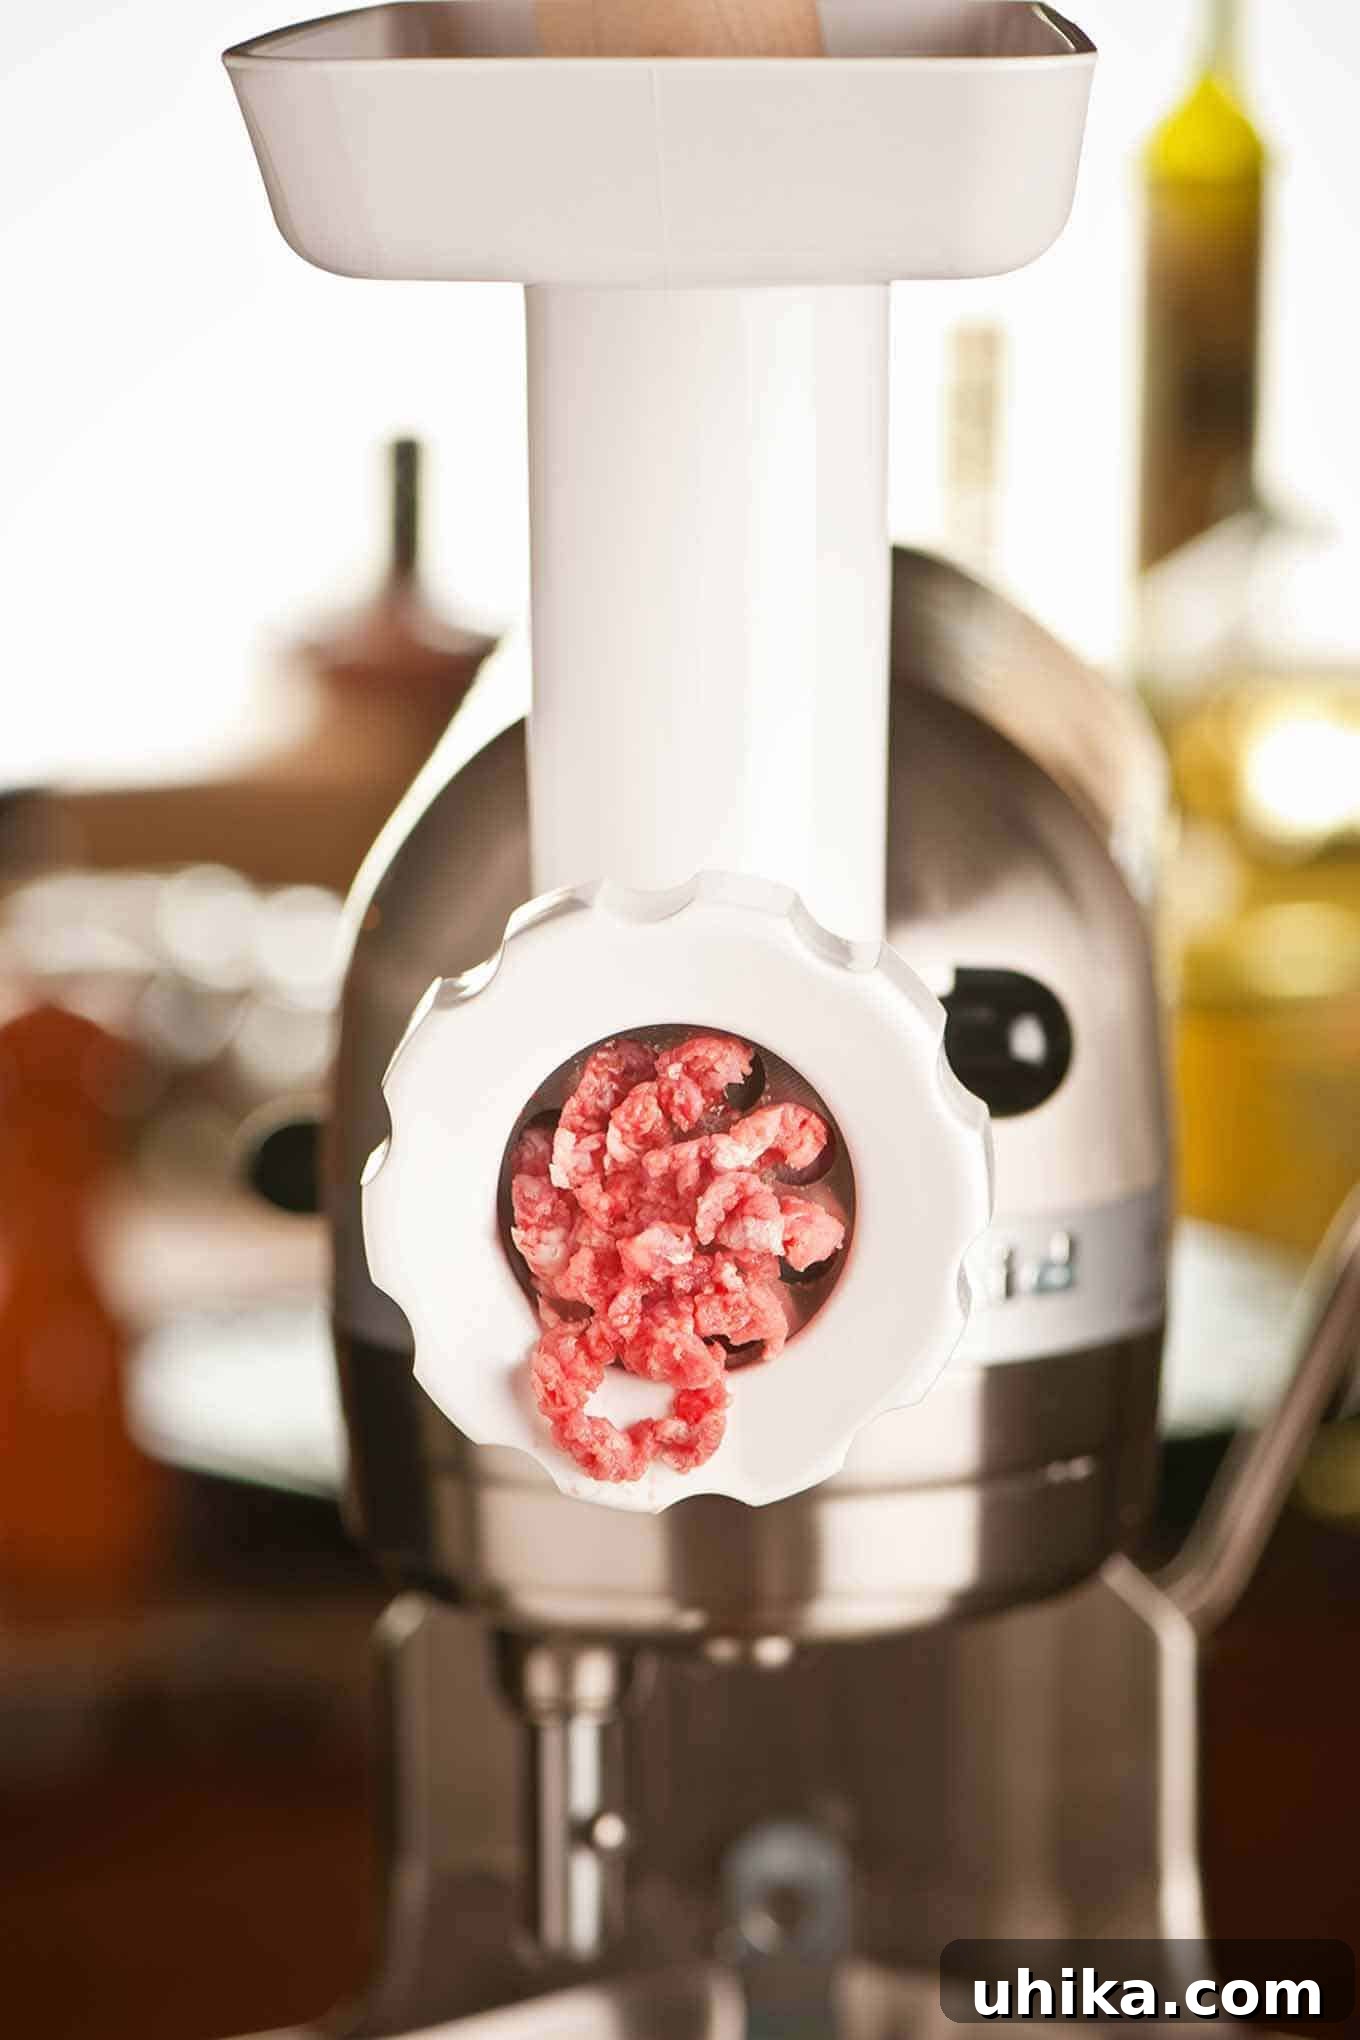
- Using a Standalone Meat Grinder (or Attachment): If you’re using a dedicated meat grinder or a stand mixer attachment, select a grinding blade with 1/4-inch holes for a classic burger texture. For best results, also chill the grinding blade, auger, and any other metal components of your grinder in the freezer alongside the meat. This keeps all elements as cold as possible, further preventing fat smearing and maintaining a clean, distinct grind. Process the beef according to your specific grinder’s instructions, ensuring a smooth and efficient operation.
- Using a Food Processor for Easy Grinding: A food processor can also be used effectively for grinding beef, making it accessible for most home cooks. Similar to using a meat grinder, freeze the food processor blade along with the meat cubes for about 15-20 minutes. Process the beef in small batches – about 1/4 to 1/3 of a pound at a time – using short, quick pulses. Your goal is to mince the meat into pieces that are slightly larger than grains of rice. Be very careful not to overprocess; if you run the food processor for too long, it can turn the meat into a dense, sticky paste, which will result in a tough, chewy burger. Pulsing ensures a texture similar to traditionally ground beef.
For our recipes, we successfully used a small chuck roast (around 2-1/4 lbs), cubed it, and ground it using a stand mixer attachment, yielding fantastic results every time. The difference in freshness and texture compared to pre-packaged ground beef is truly noticeable.
Crafting the Perfect Burger Patties for Cooking
Once you have your freshly chosen or ground beef, the next crucial step is to prepare the patties with care and precision. Proper patty formation is key to preventing misshapen, dry, or overcooked burgers, ensuring they cook evenly and fit perfectly on your bun.
- Forming and Seasoning the Patties Gently: Divide your ground beef into equal portions, typically about 6 ounces (1/3 pound) per patty for a standard burger, or adjust according to your preference. Gently form each portion into a loosely packed ball. The key word here is “gently” – avoid overworking or compacting the meat excessively, as this can squeeze out juices and make your burgers tough and dense. Then, gently flatten each ball into a patty about 3/4-inch thick.
- Creating the Essential Indentation (The “Burger Dimple”): Have you ever noticed how grilled burgers often shrink inward, become dry around the edges, and puff up dramatically in the center, making them difficult to eat and visually unappealing? This common issue occurs because the meat’s proteins contract rapidly when exposed to heat, causing the edges to cook and tighten faster, which then pushes the center of the patty upwards. The ingenious solution is to create a deliberate indentation, or “burger dimple,” in the center of the patty. While many recipes suggest a simple thumbprint, this often isn’t large enough to counteract the contraction effectively. Instead, use two or three fingertips to gently make a wider, shallower depression in the center, leaving the edges slightly thicker. Your finished patties should resemble a shallow saucer. This technique helps the burger cook more evenly, prevents excessive puffing, and ensures it maintains a consistent shape on the bun.
- Chilling for Optimal Juiciness and Structure: After forming your patties, it is a critical, often overlooked step to chill them in the refrigerator for at least 30 minutes before cooking. This isn’t just about convenience; it’s about physics! The colder the patty is when it hits the hot cooking surface, the more resistance it has to the sudden heat, allowing the exterior to sear quickly and effectively seal in the flavorful juices before the interior overcooks. This critical step results in a significantly juicier burger with better structural integrity. It also allows time for any added seasonings to meld beautifully with the meat, enhancing the overall flavor.
How to Grill Burgers for That Authentic Smoky Flavor
Grilling is arguably the most classic and beloved method for cooking burgers, imparting a delicious smoky char and irresistible flavor. Follow these expert tips for grilling perfect burgers every time, whether you’re using a gas or charcoal grill. If weather or equipment prevents grilling, don’t worry – we’ve included equally effective instructions for broiling and skillet cooking below!
- Preheat and Prepare the Grates Thoroughly: Always start with a thoroughly preheated grill. For burgers, aim for a medium-high heat, which typically falls between 400 to 425°F (200-220°C). Allowing your grill to preheat fully ensures even cooking and a good sear. Once hot, clean the grates with a grill brush, then liberally oil them using tongs and a paper towel dipped in high-smoke-point oil (like vegetable or canola). This prevents sticking and helps create those coveted, beautiful grill marks.
- Season Just Before Grilling: Lightly season your burger patties with a generous amount of salt and freshly ground black pepper just before placing them on the hot grill. Place them indentation side up. Avoid seasoning too far in advance, as salt can draw moisture out of the meat, potentially drying out your burgers.
- The Art of the Single Flip: Patience is truly key when grilling burgers. Resist the temptation to constantly poke, prod, or flip your burgers too soon. Keep a careful eye on them; when you start to see small beads of flavorful juice accumulating on the top surface, and the edges begin to firm up and show char, typically after 2 to 4 minutes depending on thickness, it’s time for the first and only flip. Flipping only once allows for the best crust formation and minimizes moisture loss.
- Testing for Perfect Doneness with Precision: Continue grilling on the second side. After about 1 minute on the second side, begin checking the internal temperature of your burgers with an instant-read thermometer. Insert the thermometer horizontally into the thickest part of the patty. This is the most accurate and reliable way to achieve your desired doneness:
- Medium-Rare: 125°F (52°C)
- Medium: 135°F (57°C)
- Medium-Well: 145°F (63°C)
- Adding the Cheese (Optional, But Recommended): If you’re a cheese lover (and who isn’t?), add a slice of your favorite cheese as soon as your burgers reach their target internal temperature, usually in the last minute of cooking. Close the grill lid (if applicable) and continue cooking just long enough for the cheese to melt into a gooey, delightful topping, usually 20 to 30 seconds.
- Crucial Resting Time for Juiciness: Just like a fine steak, burgers benefit immensely from resting after they come off the heat. Transfer your grilled burgers to a clean plate or cutting board and allow them to rest for 5 minutes before serving. This allows the meat fibers to relax and reabsorb their flavorful juices, ensuring a maximally tender and juicy bite with every mouthful. Skipping this step can lead to juices running out onto your bun.
- Buns and Toppings Ready for Immediate Assembly: While your burgers are resting, take the opportunity to lightly toast your hamburger buns on the grill or in a pan. Have all your favorite condiments, crisp lettuce, fresh tomatoes, onions, and other toppings ready and organized so you can assemble and serve your perfect burgers immediately once rested, ensuring a hot and delicious experience.
How to Broil Burgers for an Indoor Alternative
No outdoor grill? No problem at all! Broiling offers a fantastic indoor alternative to achieve a delicious char and a perfectly cooked burger, mimicking some of the high-heat intensity of grilling. This method is quick, efficient, and yields excellent results when done correctly. Here’s how to broil your way to burger bliss:
- Prepare and Preheat the Broiler Systematically: Position an oven rack about 3 inches below the broiler element (or flame). This close proximity ensures intense, direct heat for searing. Preheat your broiler on high for a minimum of 10 minutes to ensure it’s intensely hot and ready to cook. Line a broiler pan with heavy-duty aluminum foil for easy cleanup – this will catch any drippings and prevent smoking.
- Broil the Patties with Precision: Arrange your chilled burger patties on the foil-lined broiler pan, making sure they are not overcrowded. Place them indentation side up. Season generously with salt and freshly ground black pepper. Broil for 3 minutes on the first side to achieve a good sear, then carefully flip them over using tongs.
- Monitor for Doneness with a Thermometer: Continue broiling on the second side. After an additional 1-1/2 minutes, begin checking the internal temperature with an instant-read thermometer, inserting it horizontally into the thickest part of the patty. Remove the burgers from the broiler once they reach your desired doneness:
- Medium-Rare: 125°F (52°C)
- Medium: 135°F (57°C)
- Medium-Well: 145°F (63°C)
- Melting the Cheese for Gooey Perfection: If adding cheese, place a slice on each burger immediately after removing them from the broiler, or return the pan to the broiler just long enough for the cheese to melt and become bubbly and slightly golden, typically 20 to 30 seconds. Watch closely to prevent the cheese from burning under the intense heat.
- Essential Resting Period: Transfer the broiled burgers to a plate or cutting board and let them rest for 5 minutes. This allows the juices to redistribute throughout the meat, guaranteeing a moist and tender result and preventing them from running out when you take that first bite.
- Serve Promptly and Enjoy: While the burgers rest, lightly toast your buns in the oven or a toaster. Prepare all your favorite fixings, such as crisp lettuce, sliced tomatoes, onions, pickles, and condiments, so you can assemble and serve your delicious broiled burgers without delay.
How to Cook Burgers in a Skillet for a Perfect Sear
Skillet-cooked burgers are every bit as delicious and satisfying as their grilled or broiled counterparts, offering a fantastic, flavorful crust (thanks to the Maillard reaction) and a beautifully juicy interior. This method is perfect for a quick and easy weeknight meal, delivering superb results with minimal fuss.
- Preheat the Skillet for Optimal Searing: Add about 2 teaspoons of high-smoke-point vegetable oil (such as canola, grapeseed, or avocado oil) to a sturdy 12-inch skillet, preferably cast iron or another heavy-bottomed, oven-safe pan. Swirl the oil to coat the bottom evenly. Preheat the skillet over medium-high heat until the oil just begins to smoke lightly. This is your cue that the pan is hot enough to create that coveted, crispy sear on your burgers.
- Cook the Burgers for a Beautiful Crust: Carefully transfer your chilled burger patties to the hot skillet, placing them indentation side up. Make sure not to overcrowd the pan; cook in batches if necessary to maintain consistent heat. Season immediately and generously with salt and freshly ground black pepper. Cook undisturbed until the bottom is beautifully browned and a rich crust has formed, typically about 3 minutes. Resist the urge to press down on the burgers.
- Flip, Add Cheese, and Check Doneness: Flip the patties once. If you’re adding cheese, place a slice on top of each burger immediately after flipping, allowing it to melt as the second side cooks. Continue cooking on the second side, using an instant-read thermometer to monitor the internal temperature until your preferred doneness is reached. Insert the thermometer horizontally into the thickest part of the patty:
- Medium-Rare: 125°F (52°C)
- Medium: 135°F (57°C)
- Medium-Well: 145°F (63°C)
- Crucial Resting Time for Juiciness: Once the burgers reach their ideal temperature, immediately transfer them to a clean plate or platter. Allow them to rest for 5 minutes before serving. This vital step helps the meat reabsorb its juices, ensuring a supremely moist and tender burger that won’t dry out your bun.
- Prepare for Immediate Serving: While the burgers are resting, lightly toast your hamburger buns in the skillet (if space allows) or a separate toaster. Gather all your desired condiments and toppings so everything is ready for immediate assembly and enjoyment. A hot, freshly assembled burger is always the best burger!
Pro Tips for Cooking the Best Burgers Every Time
Beyond the specific cooking methods, these overarching professional tips will consistently help you achieve burger perfection, no matter how you choose to cook them.
- Never Flatten the Patties – The Golden Rule: This is perhaps the most critical rule for cooking truly exceptional burgers. No matter which method you use for cooking – grilling, broiling, or skillet searing – resist the irresistible urge to press or flatten your burger patties with a spatula. This seemingly innocent action squeezes out all the precious, flavorful juices and renders fat, leading to a dry, dense, and ultimately less enjoyable burger. It also increases the possibility of flare-ups on the grill due to dripping fat. Let the burger cook naturally; the indentation method already addresses any puffing.
- Trust Your Thermometer, Not Just Your Eyes: Cooking times are highly variable and depend on numerous factors, including the specific size and thickness of your burgers, the heat intensity of your grill, broiler, or skillet, and your personal taste regarding doneness. The only truly accurate and consistent way to determine doneness and achieve your perfect internal temperature is by using an instant-read thermometer. As a general rule of thumb, a 3/4-inch thick burger cooked over medium-high heat will take approximately 5 to 7 minutes total to cook. Always verify with a thermometer by inserting it horizontally into the center of the patty:
- Rare: 120-125°F (49-52°C) – Very red, cool center.
- Medium-Rare: 125-130°F (52-54°C) – Red, warm center.
- Medium: 135-140°F (57-60°C) – Pink, warm center.
- Medium-Well: 145-150°F (63-66°C) – Slightly pink, hot center.
- Well-Done: 160°F (71°C) – No pink, hot center.
- Food Safety Note: While we provide internal temperatures for various levels of doneness for culinary preference, it is vitally important to be aware of food safety guidelines. The U.S. Department of Agriculture (USDA) and the Centers for Disease Control and Prevention (CDC) recommend that consumers cook ground beef to a minimum internal temperature of 160°F (71°C) to ensure it is safe for consumption and to minimize the risk of foodborne illness. Please prioritize your health and safety when preparing ground beef.
Classic Burger Recipe: The Ultimate Homemade Burger
How to Cook the Perfect Burger
By Lynne Webb
This recipe combines all our expert tips to help you create tender, juicy, and incredibly flavorful burgers every time. Whether you choose to grill, broil, or cook in a skillet, these guidelines will lead you to burger perfection.
Prep Time: 20 mins
Cook Time: 10 mins
Chilling Time: 30 mins (recommended)
Total Time: Approximately 1 hour (including chilling)
Servings: 4 burgers
Ingredients
- 1-1/2 lbs ground beef, preferably fresh ground chuck (80% lean / 20% fat)
- Salt and freshly ground black pepper, to taste
- 4 slices cheese (e.g., cheddar, American, Swiss), optional
- 4 hamburger buns, lightly toasted
- Your favorite condiments and toppings (lettuce, tomato, onion, pickles, ketchup, mustard, mayo, etc.)
Instructions
- Divide the ground beef into four equal portions, about 6 ounces each. Gently form each portion into a loosely packed ball. Avoid overworking the meat.
- Gently flatten each ball into a 3/4-inch thick patty. Using two or three fingertips, create a large, shallow indentation in the center of each patty, making them resemble a saucer shape.
- Chill the formed patties in the refrigerator for at least 30 minutes before cooking. This crucial step helps the burgers retain their shape and juiciness. Use this time to prepare your desired condiments and toppings.
Grilling Instructions:
- Preheat a gas or charcoal grill to medium-high heat (400 to 425°F / 200-220°C). Clean and liberally oil the grill grates.
- Lightly season the chilled burgers with salt and pepper on both sides. Place them on the hot grill, indentation side up.
- Grill until you start seeing small beads of juice appearing on the top surface, typically 2 to 4 minutes. Then, flip the burgers over.
- Continue cooking. If using cheese, place a slice on each patty after 1 minute on the second side. Close the grill lid to help melt the cheese.
- Use an instant-read thermometer to check the internal temperature. Continue grilling to your desired doneness: 125-130°F (52-54°C) for medium-rare, 135-140°F (57-60°C) for medium, and 145-150°F (63-66°C) for medium-well.
- Transfer the cooked burgers to a plate and allow them to rest for 5 minutes.
- Serve immediately on toasted buns with your favorite condiments and toppings.
Broiling Instructions:
- Position an oven rack 3 inches below the broiler element. Preheat your broiler on high for at least 10 minutes. Line a broiler pan with heavy-duty aluminum foil.
- Arrange the chilled burgers on the foil-lined pan, indentation side up. Season with salt and pepper.
- Broil for 3 minutes, then carefully flip the burgers.
- Continue broiling. After 1-1/2 minutes on the second side, begin checking the internal temperature with an instant-read thermometer. Remove the burgers once they reach your desired doneness (as per grilling temperatures above).
- If adding cheese, place a slice on each burger and return the pan to the broiler just long enough for the cheese to melt (20 to 30 seconds). Watch closely to prevent burning.
- Transfer the burgers to a plate and let them rest for 5 minutes.
- Serve immediately on toasted buns with your preferred toppings.
Skillet Instructions:
- Add about 2 teaspoons of vegetable oil (like canola or grapeseed) to a 12-inch cast iron or heavy-bottomed skillet. Swirl to coat and preheat on medium-high heat until the oil just begins to smoke lightly.
- Carefully transfer the chilled burger patties to the hot skillet, indentation side up. Season with salt and pepper. Cook until browned and a crust forms on the bottom, about 3 minutes.
- Flip the patties. If using cheese, top with a slice immediately after flipping. Use an instant-read thermometer to monitor doneness (as per grilling temperatures above).
- Once the burgers reach the desired temperature, transfer them to a platter to rest for 5 minutes.
- Serve immediately on toasted buns with your favorite condiments and toppings.
Notes
Important Food Safety Note: The U.S. Department of Agriculture (USDA) and the Centers for Disease Control and Prevention (CDC) recommend that consumers cook ground beef to an internal temperature of 160°F (71°C) to ensure it is safe for consumption and to minimize the risk of foodborne illness.
Nutrition Information
Nutrition information is automatically calculated based on the primary ingredients and should only be used as an approximation. Actual values may vary based on exact ingredients and preparation.
- Serving: 1 burger
- Calories: 552
- Total Fat: 36g
- Cholesterol: 121mg
- Sodium: 326mg
- Carbohydrates: 22g
- Fiber: 1g
- Sugar: 3g
- Protein: 33g
Explore More Delicious Burger Recipes
Ready to broaden your burger horizons and experiment with new flavor combinations? The world of homemade burgers is vast and exciting! Check out these other fantastic burger recipes for more culinary inspiration, perfect for any occasion:
- Vermont Cheddar Burgers: A gourmet twist with maple ketchup.
- Grilled Hawaiian Burger: Sweet and savory with pineapple and teriyaki.
- Chimichurri Burger: A vibrant, herbaceous delight with Argentinian flair.