
Broiling fish is a culinary secret weapon for busy home cooks and gourmet enthusiasts alike. It’s a wonderfully simple and incredibly fast method for preparing fish, consistently delivering delicious results with minimal fuss. Often overlooked, broiling serves as an excellent alternative to grilling, especially when outdoor grilling isn’t an option. In fact, nearly any recipe designed for grilled fish can be effortlessly adapted for your broiler, opening up a world of quick, healthy, and flavorful meal possibilities right in your kitchen.
Why Choose Broiling? The Ultimate Fast and Flavorful Fish Cooking Method
Broiling utilizes direct, high heat from above, cooking food rapidly and creating a beautiful, slightly caramelized crust while keeping the interior moist and tender. This technique is particularly well-suited for fish due to its delicate structure and quick cooking time. Unlike other methods that might dry out fish, broiling seals in juices, resulting in a succulent finish. It’s also a remarkably healthy cooking option, typically requiring minimal added fats. The intense heat allows for quick weeknight dinners, transforming simple fillets into restaurant-quality dishes in mere minutes.
Whether you’re aiming for a light, healthy meal or a quick culinary delight, broiling offers versatility. From flaky white fish like sole and cod to robust, fatty fish such as salmon and mackerel, the broiler can handle a wide variety of seafood, making it an indispensable tool in any kitchen.
Essential Equipment for Perfect Broiled Fish
Achieving perfectly broiled fish doesn’t require a lot of specialized gear, but having the right tools on hand can make the process smoother and more successful:
- Broiler Pan: This two-piece pan usually consists of a slotted top pan that allows fat to drip away into a solid bottom pan. This design prevents flare-ups and keeps your oven cleaner. If you don’t have one, a baking sheet lined with foil and topped with an oven-safe wire rack works just as well.
- Aluminum Foil: A true savior for easy cleanup! Lining your broiler pan or baking sheet with heavy-duty foil before cooking will catch any drips and prevent sticking.
- Heat-Safe Tongs or Spatula: Essential for carefully flipping fish without breaking it, especially delicate fillets.
- Pastry Brush: Useful for basting your fish with butter, oil, or marinades during cooking, adding flavor and moisture.
- Instant-Read Thermometer: While not strictly essential for broiling fish (visual cues often suffice), an instant-read thermometer is the most accurate way to ensure your fish is cooked to a safe internal temperature (typically 145°F or 63°C) without overcooking.
- Oil Sprayer or Brush: For evenly coating your fish and the pan.
10 Expert Tips for Making Perfect Broiled Fish Every Time
Many types of fish are suitable for broiling, and by following these few simple guidelines, you’re sure to get delicious, perfectly cooked results every time:
- Always Preheat the Broiler Thoroughly: Think of broiling like searing; you need high, consistent heat right from the start. Preheating your broiler for 7 to 10 minutes ensures the heating element is glowing hot and the oven cavity is warmed, promoting even cooking and a beautiful crust. Skipping this step can lead to unevenly cooked fish or a lack of desired browning.
- Prepare Your Broiler Pan for Success: Always broil fish in the bottom half of a broiler pan. For significantly easier cleanup and to prevent sticking, line the pan with aluminum foil. Then, lightly oil the foil or use a nonstick cooking spray. This creates a non-stick surface that keeps the fish intact when flipping and serving.
- Oil Both Sides of the Fish: Even if your plan includes basting with butter or a flavorful marinade, always apply a light coating of oil to both sides of your fish fillet. Extra virgin olive oil, avocado oil, or grapeseed oil work wonderfully. This step is crucial for preventing sticking, promoting even browning, and adding moisture and flavor to the fish.
- Mind the Weight for Whole Fish: When broiling whole fish, ensure its total weight does not exceed 2 pounds. Larger fish cook less evenly under the direct, intense heat of a broiler, making it difficult to achieve thorough cooking without scorching the exterior. For larger whole fish, consider baking or grilling instead.
- Prick the Skin of Whole Fish: To prevent the skin of a whole fish from curling excessively and blistering unattractively during broiling, gently prick it in several places with a skewer or a sharp knife before cooking. This allows steam to escape, keeping the fish flat and promoting a more even, crisp skin.
- Slash Skin-On Fillets: Similar to whole fish, if you are broiling skin-on fillets, make a few shallow slashes (about 1/4 inch deep) through the skin side. This helps prevent shrinkage, keeps the fillet from curling, and ensures the skin cooks evenly and crisps up nicely. Always broil skin-side up first to achieve a desirable crispy texture.
- Determine Distance from Heat by Thickness: The distance between your fish and the broiler’s heating element is critical. A good rule of thumb is to allow approximately 2 inches of distance from the heat source for every 1/2-inch of fish thickness. Thinner fillets (like sole or tilapia) can be closer, while thicker cuts require more distance to cook through without burning the surface.
- Adjust for Thicker Fish Fillets: For thicker fish fillets (such as swordfish steaks, tuna, or salmon portions), it’s advisable to move them further from the heat. This prevents the surface from over-cooking and potentially burning before the center is cooked completely. Placing thicker fish 5-7 inches from the heat allows for more gentle, even cooking.
- Master Broiling Times with a General Rule: A simple guideline for broiling times is to allow approximately 2 minutes per side for each 1/2-inch of fish thickness. This means a 1-inch thick fillet would cook for about 4 minutes per side. However, remember this is a guideline; always check for doneness. Fish is done when it flakes easily with a fork and reaches an internal temperature of 145°F (63°C).
- Choose the Right Fish: Not all fish are created equal for broiling. Good fish choices for broiling include those that are firm and relatively thick, with a moderate to high-fat content which helps them stay moist under high heat. Excellent options include: Salmon, Halibut, Sole, Swordfish, Mahi-Mahi, and Trout. These varieties hold up well to the intense heat and develop beautiful flavor and texture.
Tip for Home Broilers: Don’t try to achieve the deep, golden-brown exterior you often find on broiled fish from a restaurant by cooking it longer than the times recommended above. Commercial broilers operate at significantly higher temperatures than standard home broilers. Attempting to match that level of browning at home will likely result in overcooking and drying out your fish. Focus on achieving proper doneness and a light golden crust.
Common Mistakes to Avoid When Broiling Fish
Even with the best tips, it’s easy to fall into common pitfalls. Avoiding these will elevate your broiling game:
- Not Preheating: As mentioned, a cold broiler leads to uneven cooking and less browning.
- Overcrowding the Pan: Give your fish room to breathe. Overcrowding lowers the pan’s temperature and steams the fish instead of broiling it, preventing a good crust. Cook in batches if necessary.
- Incorrect Distance from Heat: Too close, and it burns; too far, and it just bakes. Refer to tip #7 for guidance.
- Forgetting to Oil: Un-oiled fish will stick to the pan, leading to torn fillets and frustration.
- Guessing Doneness: While visual cues are helpful, an instant-read thermometer is your best friend for perfectly cooked fish without guesswork, ensuring it’s neither raw nor overcooked.
- Not Monitoring Closely: Broiling is fast! Don’t walk away from your oven. Fish can go from perfectly cooked to overcooked in a matter of seconds.
Safety First: Broiling Best Practices
Working with high heat always requires caution. Ensure good ventilation by turning on your kitchen fan. Always use oven mitts when handling hot broiler pans. Keep a close eye on your food to prevent burning and minimize the risk of smoke. Never leave your broiler unattended while in use.
Featured Recipe: Butter-Basted Broiled Halibut Fillets – A Classic Delight
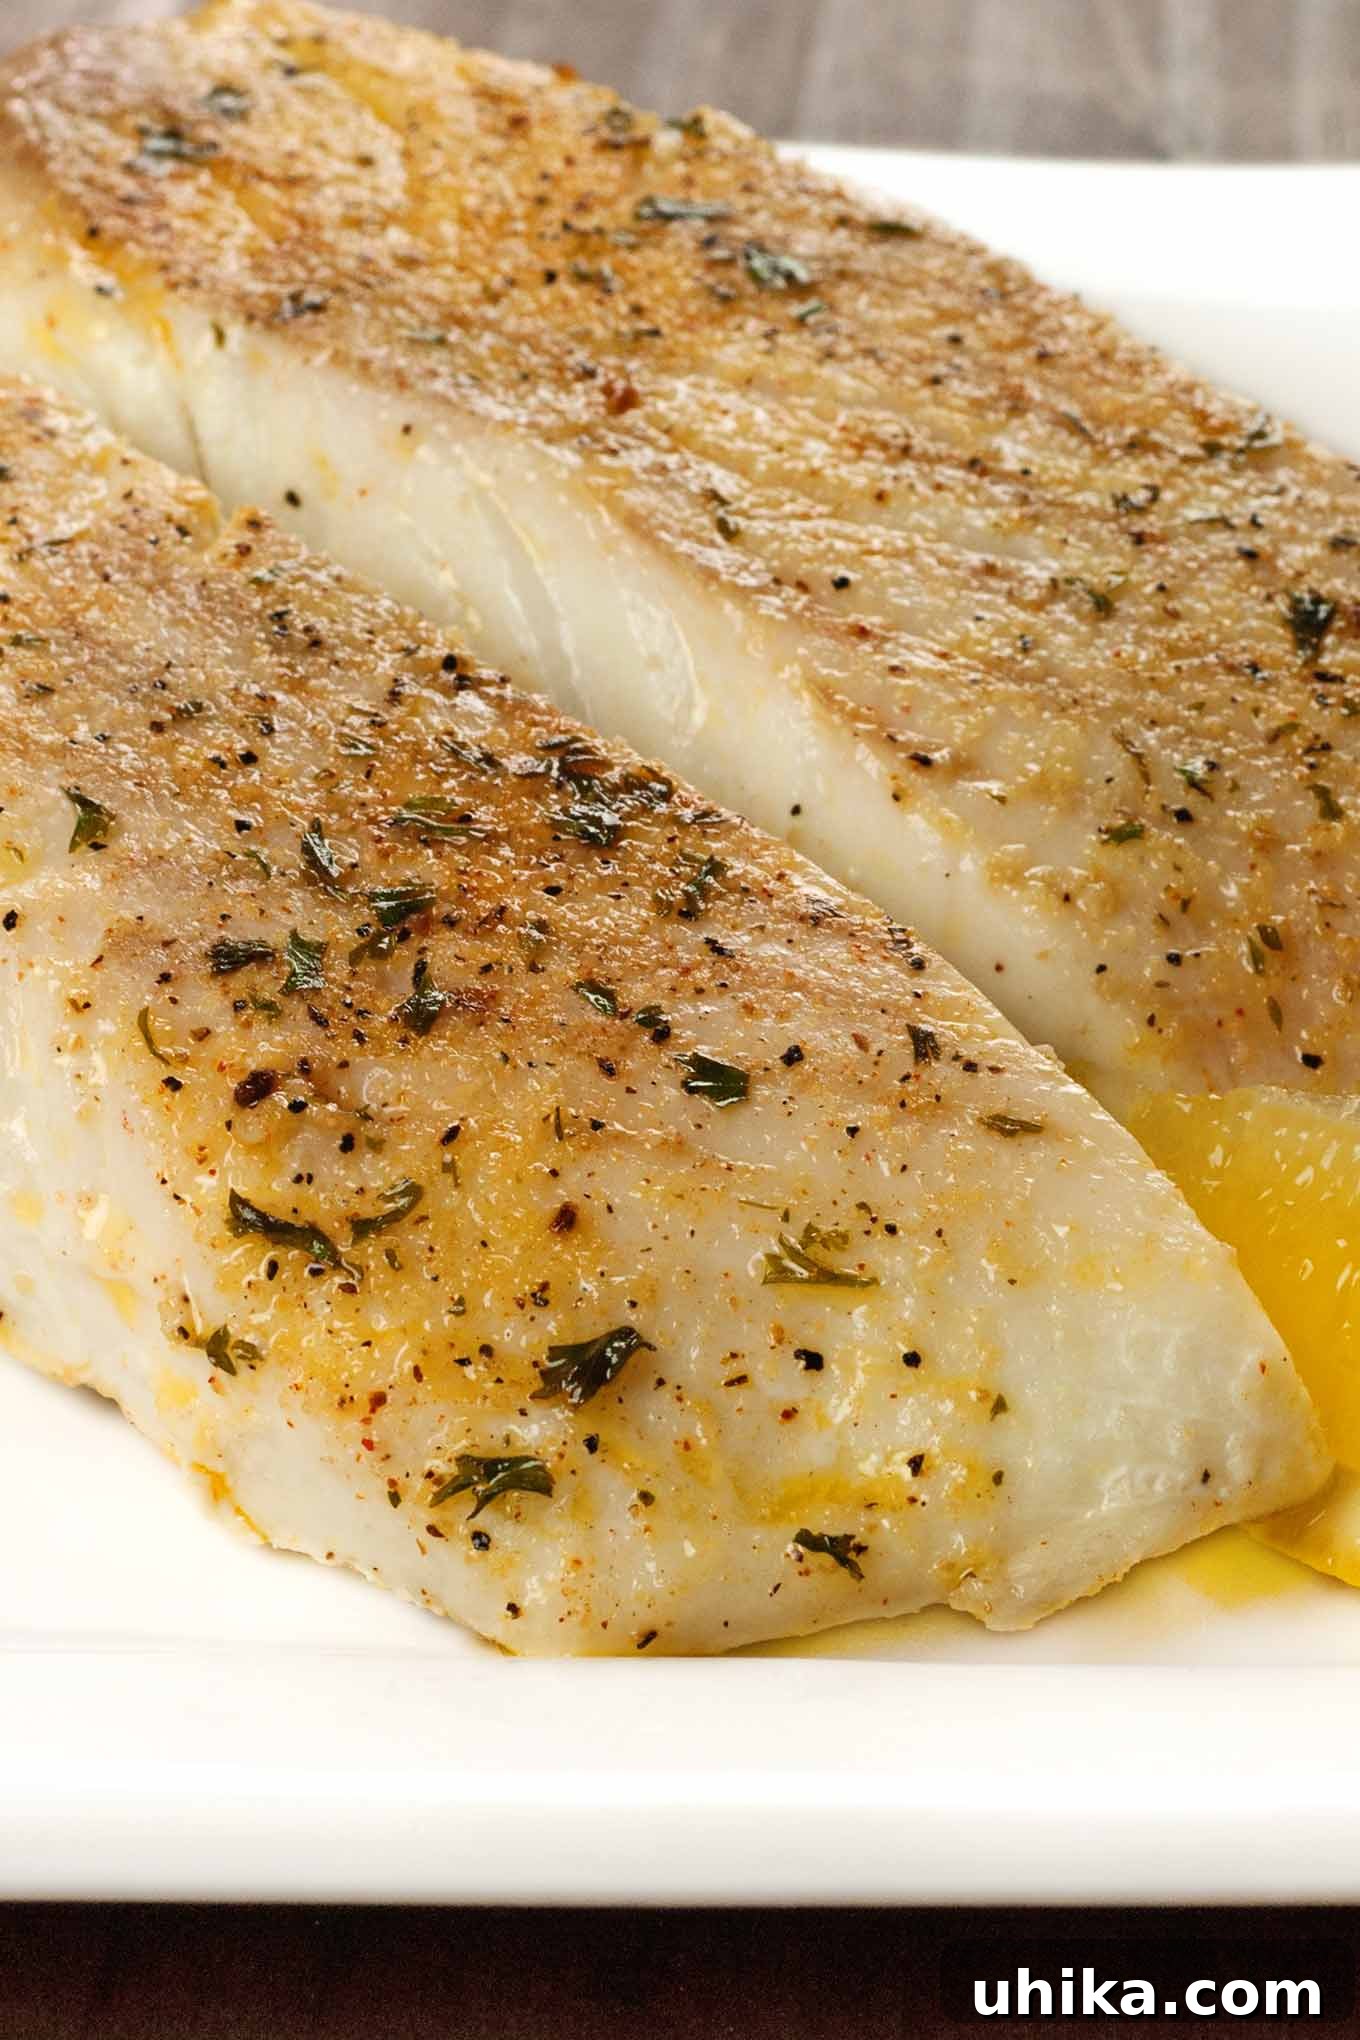
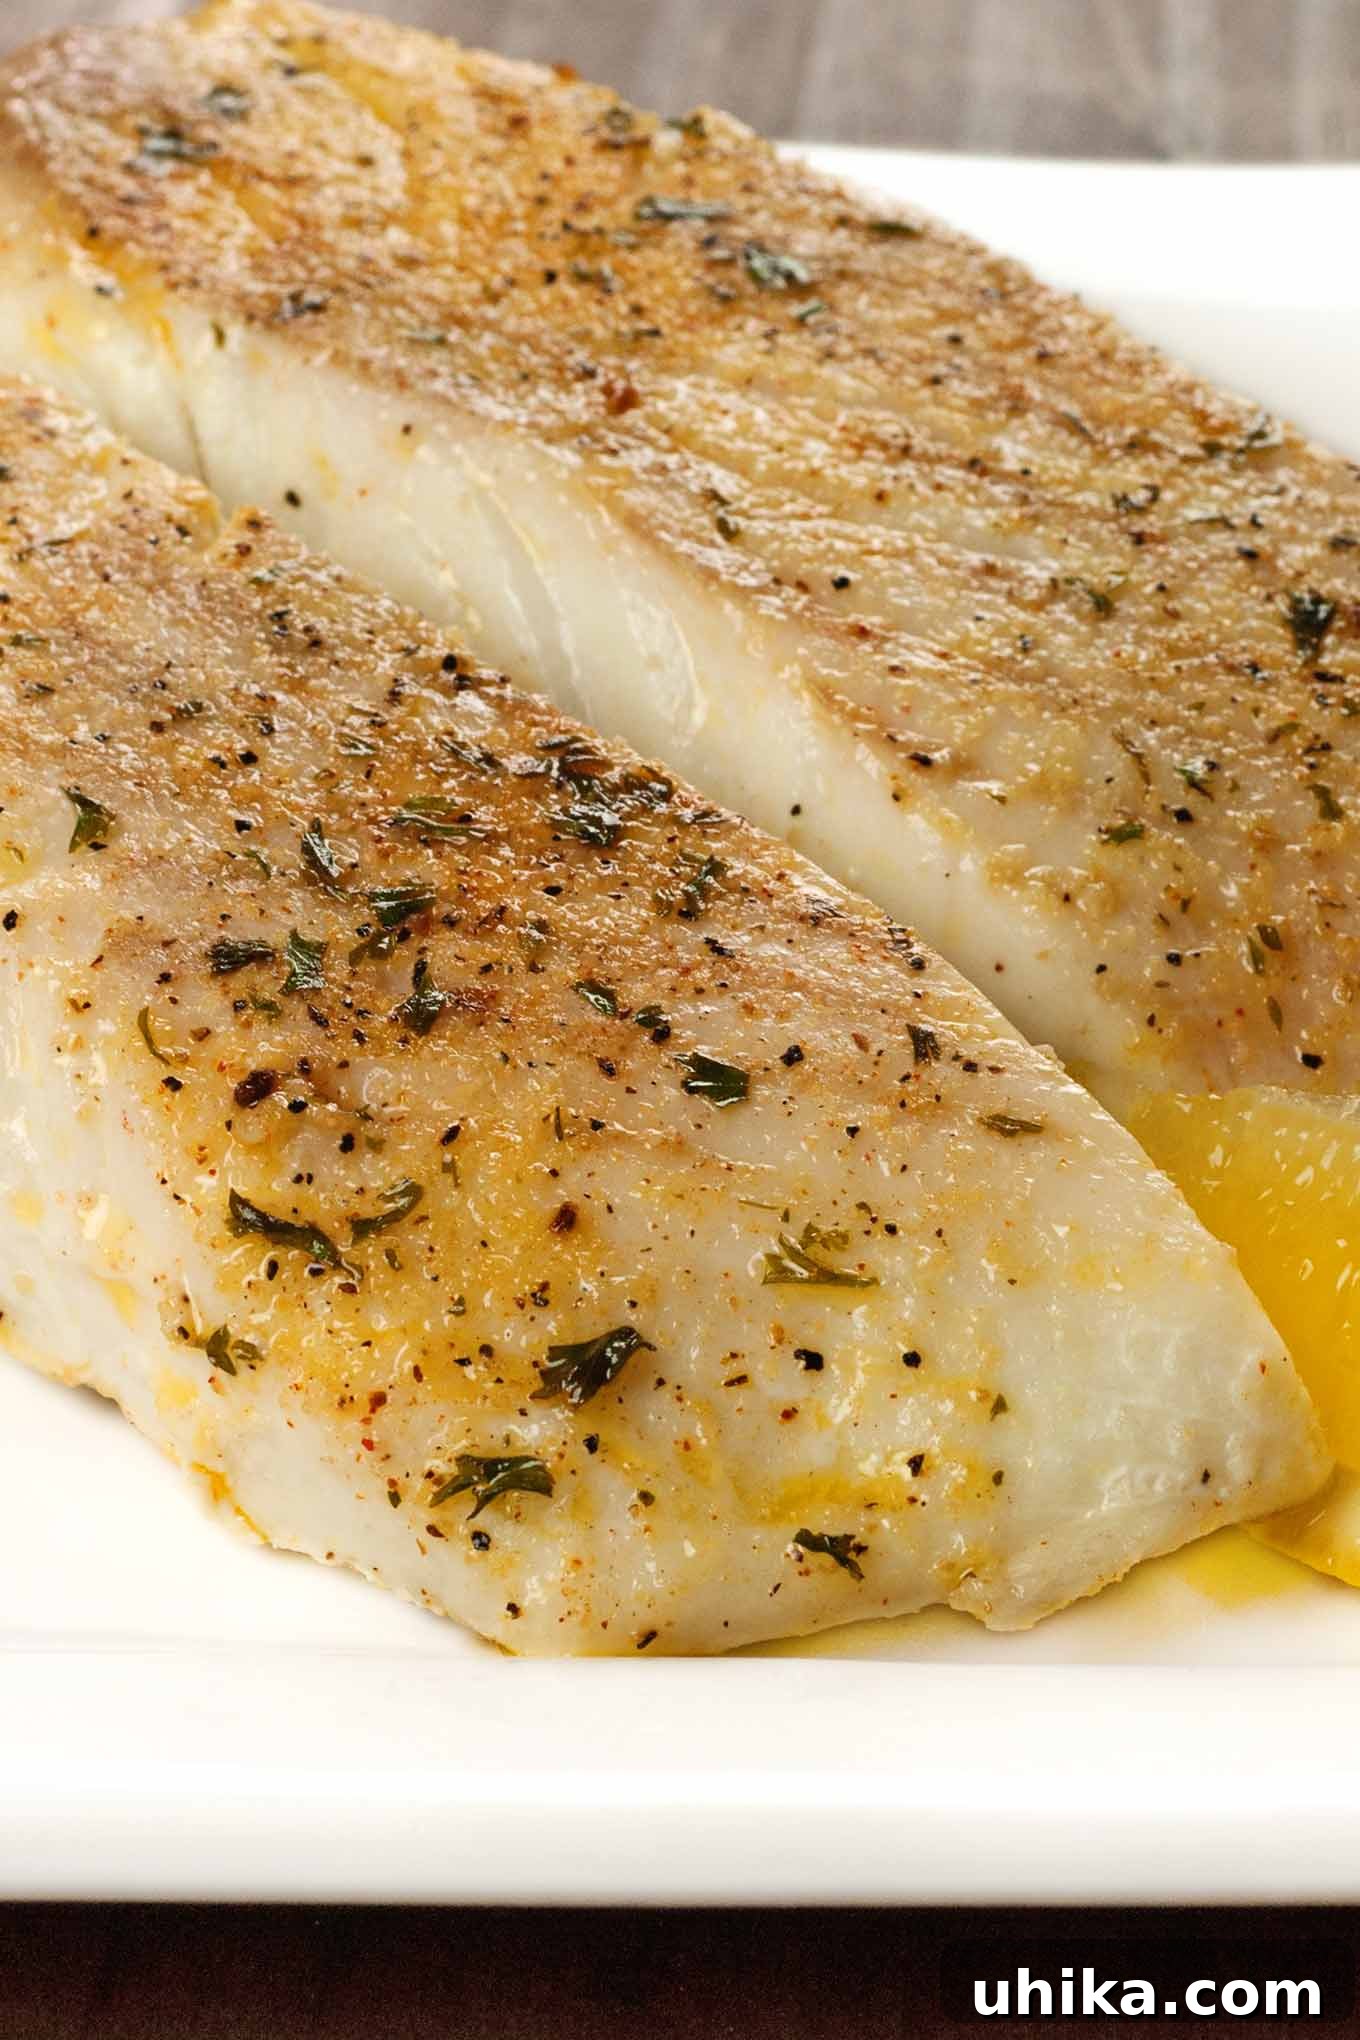
Halibut is renowned for its firm, flaky texture and mild, sweet flavor, making it an ideal candidate for broiling. This butter-basted recipe enhances its natural richness, resulting in a tender, flavorful fillet that’s sure to impress. (Pictured above).
Ingredients:
- 2 Halibut fillets (approx. 6 oz each, about 1-inch thick)
- 1 tablespoon extra-virgin olive oil
- Salt, to taste
- Freshly ground black pepper, to taste
- 2 tablespoons unsalted butter, divided (1 tbsp for fillets, 1 tbsp for basting)
- Lemon wedges, for serving
- Optional: Fresh parsley or dill, chopped, for garnish
Instructions:
- Step 1. Prepare the Broiler and Pan: Begin by preheating your broiler for 7-10 minutes to ensure it’s thoroughly hot. Position an oven rack about 4 inches from the heating element. Line a broiler pan (or a baking sheet with a wire rack) with heavy-duty aluminum foil for easy cleanup, then generously coat the foil with nonstick cooking spray or a light layer of oil.
- Step 2. Prepare the Halibut: If your halibut fillets have skin on, gently remove it using a sharp knife if desired, or leave it on if you prefer. Cut the fillets into serving-sized pieces if they are too large. Pat the fish dry with paper towels; this step helps in achieving better browning.
- Step 3. Seasoning and Buttering: Drizzle or rub some extra-virgin olive oil into both sides of each halibut fillet. Season generously with salt and freshly ground black pepper on both sides. Place one small pat (about 1/2 tablespoon) of unsalted butter on top of each piece of halibut. The oil helps with even cooking and prevents sticking, while the butter adds incredible richness and aids in browning.
- Step 4. Initial Broiling: Carefully place the prepared halibut pieces on your broiler pan. Slide the pan under the preheated broiler, ensuring the fish is about 4 inches from the heat source. Broil for exactly 4 minutes. Watch closely as broilers can vary in intensity.
- Step 5. Flip, Baste, and Finish: With caution, using heat-safe tongs or a spatula, carefully turn the fish fillets over. Quickly brush or spoon some of the melted butter and pan juices over the cooked side of the fish. Return the pan to the broiler and cook for an additional 4 minutes, or until the fish is opaque throughout and flakes easily with a fork. The internal temperature should reach 145°F (63°C).
- Step 6. Serve Immediately: As soon as the halibut is perfectly cooked, remove it from the broiler. Transfer the fillets to serving plates. Garnish with fresh lemon wedges and a sprinkle of chopped parsley or dill, if using. The fish is best enjoyed piping hot, right off the broiler.
Serving Suggestions for Broiled Halibut
This simple yet elegant halibut recipe pairs wonderfully with a variety of sides. Consider serving it alongside:
- Roasted asparagus or green beans
- A light quinoa or couscous salad
- Steamed broccoli with a squeeze of lemon
- Creamy mashed potatoes or a flavorful rice pilaf
- A crisp garden salad with a vinaigrette dressing
Beyond Halibut: Explore More Easy Weeknight Fish Dinners
Broiling is just one fantastic way to enjoy fish on any night of the week. These additional recipes demonstrate the versatility and ease of preparing delicious fish meals without extensive effort:
- Broiled Catfish with Fresh Corn and Tomato Salsa: This vibrant dish combines flaky broiled catfish with a zesty, fresh salsa, offering a burst of summer flavors perfect for a light and healthy meal.
- Oven-Fried Fish with Lemon-Basil Butter: Achieve that satisfying crispiness without deep-frying! This recipe delivers a healthier “fried” fish experience, enhanced by a fragrant lemon-basil butter that melts into every bite.
- Honey Garlic Salmon Bowl: A wholesome and flavorful complete meal. Succulent salmon glazed with a sweet and savory honey-garlic sauce, served over nutritious quinoa, makes for a perfect balanced dinner.
- Orange and Bourbon Glazed Salmon: Elevate your salmon game with this sophisticated glaze. The citrusy brightness of orange combined with the subtle warmth of bourbon creates an irresistible flavor profile that’s surprisingly easy to achieve.
- Grilled Swordfish with Lemon-Basil Butter: Though primarily for grilling, this recipe can be easily adapted for the broiler. Swordfish’s firm texture holds up beautifully, and the zesty lemon-basil butter provides a fresh, aromatic finish.
Why These Recipes Work for Weeknights:
These selections prioritize speed, flavor, and minimal cleanup. Many are “one-pan” or “one-bowl” wonders, cutting down on dishwashing. They are also rich in lean protein and healthy fats, making them excellent choices for maintaining a balanced diet without sacrificing taste or spending hours in the kitchen.
Conclusion: Embrace the Broiler for Healthy, Delicious Meals
Broiling fish is an incredibly versatile, healthy, and fast cooking method that every home cook should master. With its ability to deliver tender, flaky fish with a beautifully crusted exterior in just minutes, it truly is a game-changer for weeknight dinners and special occasions alike. By following these expert tips—from proper preheating and pan preparation to understanding fish thickness and distance from the heat—you’re well on your way to culinary success.
Don’t let the thought of cooking fish intimidate you. Embrace the simplicity and efficiency of your broiler. Experiment with different fish types, marinades, and seasonings. The Butter-Basted Broiled Halibut Fillets recipe is an excellent starting point, promising a dish that’s both comforting and elegant. So, preheat that broiler, grab your favorite fillet, and discover the joy of perfectly broiled fish tonight!