
Table of Contents
- Introduction: The Secret to Mouthwatering Oven-Baked Ribs
- Why Choose Oven Baked Baby Back Ribs?
- Key Ingredients & Substitutions for Perfect Ribs
- Mastering Oven Baked Baby Back Ribs: Step-by-Step Guide
- Tips for Flawless Oven Baked Ribs
- Serving Suggestions: What to Pair with Your Ribs
- More Delicious BBQ Recipes From the Oven
- Oven Baked Baby Back Ribs Recipe (Printable)
- Conclusion: Your Go-To Recipe for Easy BBQ
Introduction: The Secret to Mouthwatering Oven-Baked Ribs
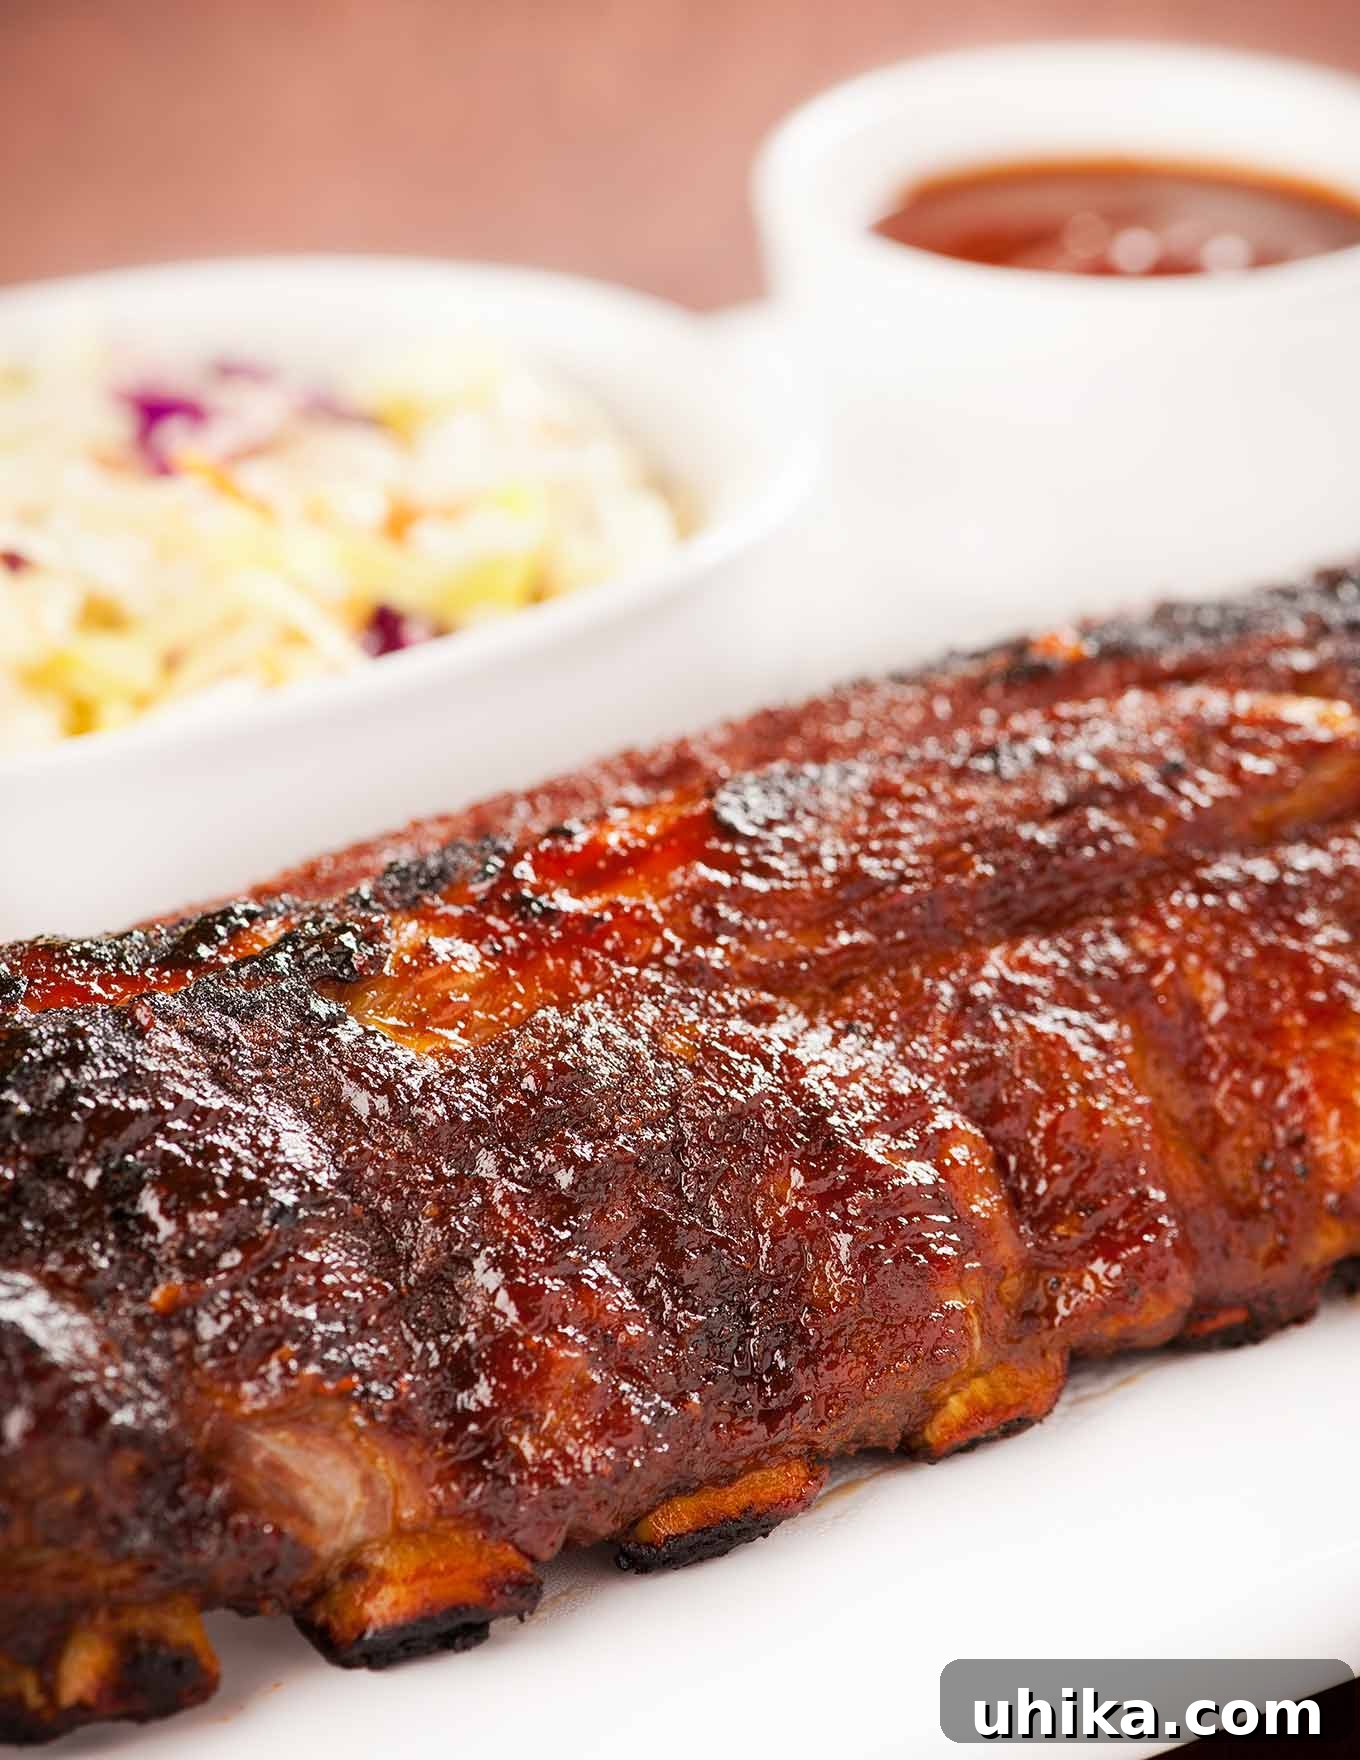
Imagine tender, fall-off-the-bone pork ribs coated in a rich, sweet, and smoky barbecue sauce. The kind of flavor explosion that usually requires hours over a smoker, careful temperature management, and the dedication of a true BBQ pitmaster. But what if we told you that you could achieve that same incredible taste right in your kitchen oven, with minimal fuss and maximum flavor? Welcome to the world of oven baked baby back ribs – a culinary revelation for anyone craving authentic BBQ goodness without the need for specialized equipment.
For many home cooks, the idea of making ribs at home can seem daunting. Smoked ribs, while undeniably delicious, are often reserved for seasoned grill enthusiasts or special occasions due to their complex process. But with this easy two-step method, preparing succulent baby back ribs becomes an achievable and highly rewarding task. Our oven baked baby back ribs recipe focuses on simplicity and flavor, delivering a satisfying meal that captures the essence of classic barbecue. While we might not claim to replicate the exact traditions of a competitive smokehouse, we absolutely promise to bring incredible barbecue flavors directly to your dinner table with surprising ease and impressive results.
Why Choose Oven Baked Baby Back Ribs?
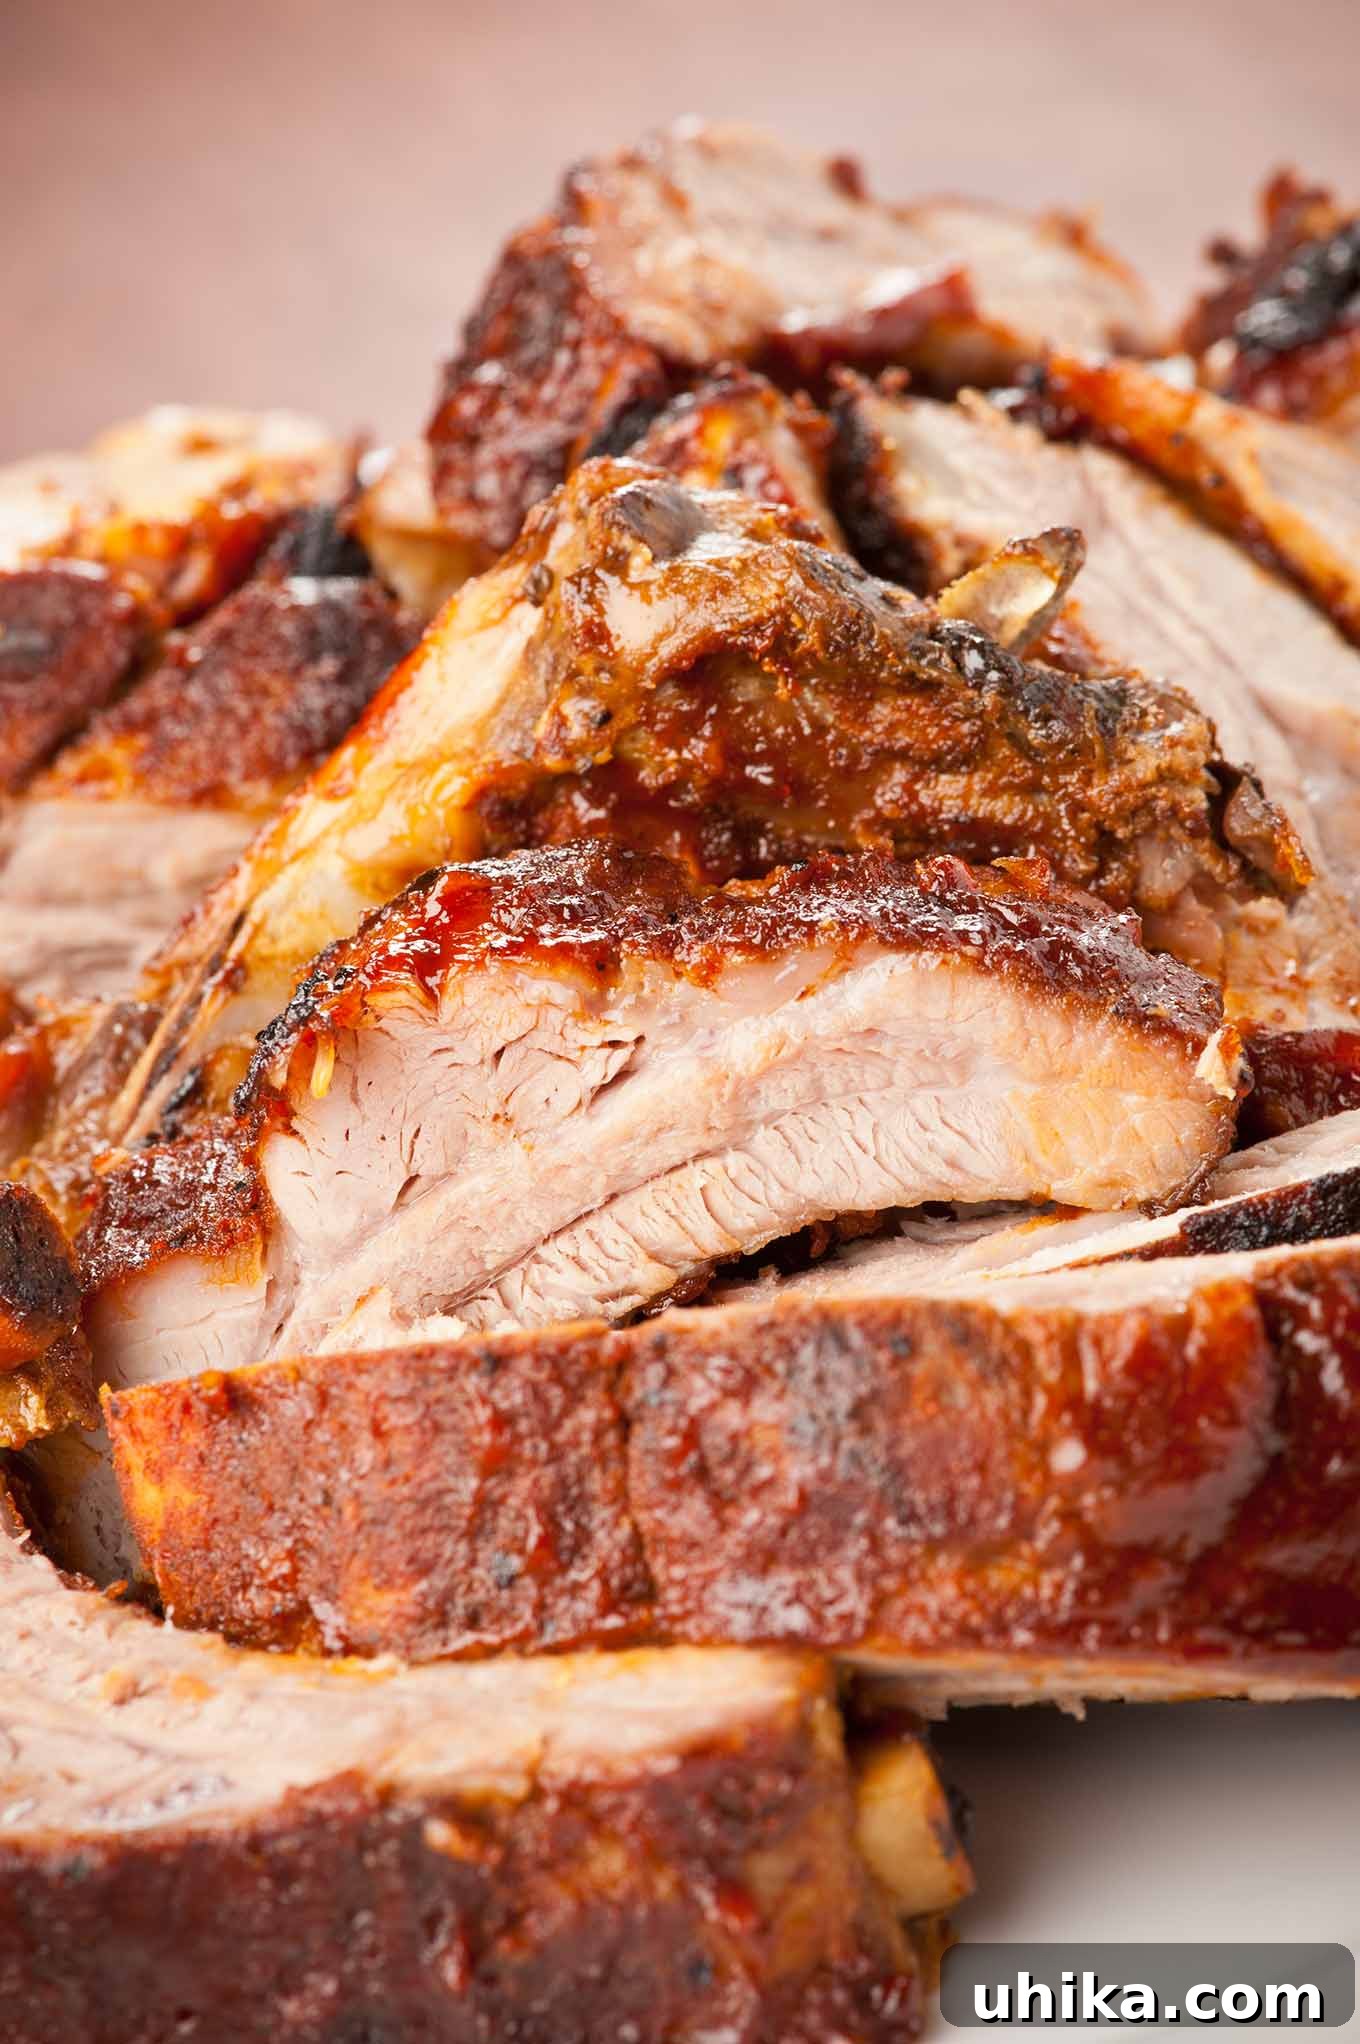
The beauty of cooking baby back ribs in the oven lies in its sheer convenience and consistent results. Unlike grilling, which can be weather-dependent and require constant supervision, oven baking allows for a controlled, even cooking environment. This “low and slow” approach is crucial for breaking down the tough connective tissues in the ribs, resulting in meat that is incredibly tender and moist. You’ll achieve that coveted “fall-off-the-bone” texture every time, making this an ideal method for both novice and experienced cooks alike.
Furthermore, the oven method makes it easy to infuse the ribs with deep, smoky flavor even without a smoker. By first coating the ribs generously with a homemade or store-bought dry rub and then slowly baking them, the spices have ample time to penetrate the meat. The final step of glazing with your favorite BBQ sauce under the broiler or on the grill adds a caramelized, sticky exterior that is simply irresistible. This method not only simplifies the cooking process but also ensures a consistently delicious outcome, making it perfect for weeknight dinners or casual weekend gatherings.
Pair these delectable oven baked baby back ribs with classic sides like creamy coleslaw, fluffy cornbread, or hearty baked beans, and you’ve got a complete, satisfying dinner that truly hits all the right notes. It’s a barbecue feast made accessible, enjoyable, and utterly delicious, proving that you don’t need a fancy smoker to create amazing ribs at home.
Key Ingredients & Substitutions for Perfect Ribs
Understanding your ingredients is the first step to creating truly outstanding oven baked baby back ribs. Here’s what you need to know about the key components of this recipe. The complete list, including precise quantities, is conveniently located in the printable recipe card below.
- BABY BACK RIBS: Also known as pork loin back ribs, baby back ribs are a fantastic choice for oven baking due to their inherent tenderness and leaner profile compared to spareribs. They cook faster and absorb flavors beautifully. When selecting your ribs, look for racks with a consistent thickness across the entire length, which ensures even cooking. Opt for ribs that have a good meat-to-bone ratio and, if possible, avoid those that have been “enhanced” with a brining solution, as this can affect the flavor absorption of your dry rub. A typical rack weighs between 1.5 to 2 pounds and usually contains 10-13 bones.
- BBQ SPICE RUB: A high-quality dry rub is the backbone of any great rib recipe, infusing the meat with a complex layer of flavor even before the sauce is applied. We highly recommend our homemade BBQ rub blend. It’s incredibly easy to make from scratch, takes just a few minutes, and can be stored in an airtight jar in your pantry for up to 6 months, making it perfect for spontaneous BBQ cravings. A good rub typically includes a blend of sweet, savory, and spicy notes from ingredients like brown sugar, paprika (smoked paprika for extra depth), garlic powder, onion powder, chili powder, and a touch of cayenne pepper for heat. If time is short, a store-bought rib rub of your preference is a perfectly acceptable substitution. Just ensure it’s fresh and complements the barbecue sauce you plan to use.
- BBQ SAUCE: The perfect barbecue sauce ties all the flavors together, adding a glossy finish and a burst of tang and sweetness. Our bourbon BBQ sauce is a personal favorite, offering a wonderful balance of sweet, savory, and a hint of smoky whiskey depth that elevates the entire dish. However, the beauty of this recipe is its versatility. Feel free to use your absolute favorite barbecue sauce, whether it’s a classic tangy Kansas City style, a vinegar-based North Carolina sauce, a mustard-based South Carolina sauce, or a sweet and spicy store-bought brand. The key is to choose a sauce you love, as it will significantly define the final taste profile of your oven baked baby back ribs.
Prep & Cook Overview
Mastering Oven Baked Baby Back Ribs: Step-by-Step Guide
Preparing these delicious oven baked baby back ribs is a straightforward process, delivering amazing results with minimal effort. Here’s a quick overview of the steps involved, designed to make your cooking experience enjoyable and successful. For detailed, step-by-step instructions with exact measurements, please refer to the comprehensive printable recipe card provided further down the page.
STEP 1: GETTING STARTED WITH PREPARATION
Before you even touch the ribs, begin by setting your oven to preheat to a steady 325°F (160°C). This ensures the oven is at the correct temperature for even cooking. Next, prepare your baking sheets: line two large baking sheets with heavy-duty aluminum foil. The heavy-duty foil is crucial here as it helps contain the juices and prevents tears during the long cooking process. Finish by coating the foil-lined sheets generously with a nonstick cooking spray to prevent the ribs from sticking.
STEP 2: PREPPING THE RIBS FOR FLAVOR
The most critical step in preparing the ribs themselves is removing the membrane from the back. This thin, silverskin layer can become tough and chewy when cooked, hindering both tenderness and flavor penetration. To remove it, gently slip the tip of a sharp knife under the edge of the membrane on one end of the rack. Loosen it just enough to grab with your fingers. Using a paper towel for a better grip (it can be slippery!), firmly pull the membrane off the entire rack. Discard the membrane. Once the membrane is removed, sprinkle approximately two-thirds of your chosen dry rub mixture evenly over the meaty side of the ribs. Use your fingertips to gently massage the rub into the meat, ensuring it adheres well and coats every crevice for maximum flavor. Flip the racks over and repeat the seasoning process on the bone side with the remaining rub.
STEP 3: THE SLOW ROAST TO TENDERNESS
Carefully place the seasoned ribs on the prepared baking pans, ensuring the meaty side is facing down. This helps protect the seasoned surface and allows the fat to render and baste the meat from above. Cover the pans tightly with another layer of heavy-duty foil, creating a sealed environment that steams the ribs as they bake. Bake for approximately 2 hours. The ribs are ready when the meat is incredibly tender and easily pulls away from the bone when tested with a fork. Once tender, remove the ribs from the oven and carefully drain off any accumulated excess juices from the pans. This prevents the ribs from stewing and prepares them for the next step.
STEP 4: THE SAUCY FINISH
Now, it’s time to add that glorious caramelized barbecue sauce. Preheat your broiler or, if you prefer, light your outdoor grill to medium-high heat. If using a broiler, position the oven rack about 6 inches below the heating element to prevent scorching. Generously brush both sides of the oven-baked ribs with your favorite barbecue sauce. Place the sauced ribs under the broiler or on the hot grill. Cook for 5 to 7 minutes, flipping them once halfway through. Watch them closely during this step, as barbecue sauce can burn quickly due to its sugar content. You’re looking for a beautiful, sticky, and slightly caramelized glaze, not charring.
STEP 5: REST AND SERVE
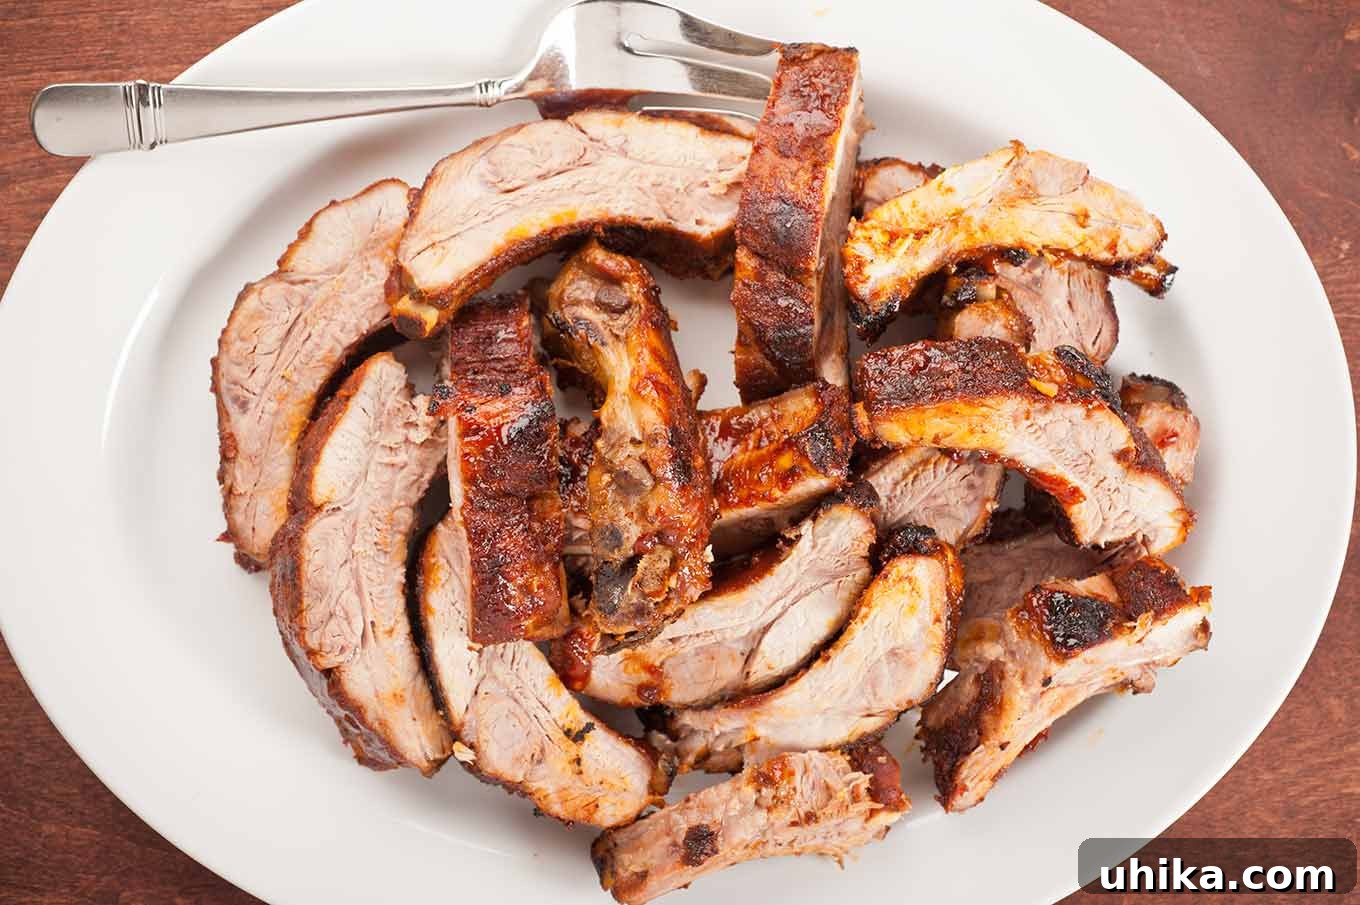
Once beautifully glazed, transfer the ribs to a cutting board and let them rest for about 10 minutes. This resting period is crucial as it allows the juices within the meat to redistribute, ensuring every bite is moist and flavorful. After resting, slice the ribs between the bones into individual portions. Arrange them artfully on a large platter and serve them family-style, with extra barbecue sauce on the side for dipping or for those who love an extra coating of flavor. Enjoy your perfectly tender and flavorful oven baked baby back ribs!
Tips for Flawless Oven Baked Ribs
- Don’t Skip the Membrane Removal: This step is often overlooked, but it’s vital for achieving truly tender ribs and allowing the rub to penetrate deeper. If you’re struggling, try using pliers for a firmer grip once lifted.
- Season Generously: Don’t be shy with the dry rub. It’s where a lot of the initial flavor comes from. Ensure the ribs are completely covered on both sides for an even taste.
- Seal Tightly: When baking, ensure the foil cover is very tight. This creates a steamy environment, crucial for tenderizing the meat. A loose cover will allow moisture to escape, leading to drier ribs.
- Test for Doneness: The “2 hours” baking time is a guideline. Ribs are done when the meat is easily pierced with a fork and shows signs of pulling away from the bone. Cooking times can vary slightly based on the thickness of your ribs.
- Watch the Broiler Closely: BBQ sauce contains sugar, which caramelizes quickly under high heat. Stay by the oven and turn the ribs frequently to get a beautiful glaze without burning. The goal is caramelization, not charring.
- Let Them Rest: Just like with any cooked meat, resting the ribs for 10 minutes after glazing allows the juices to redistribute, resulting in a more succulent and flavorful final product.
- Experiment with Flavors: While our recommended rub and sauce are fantastic, don’t hesitate to experiment! Try different spice blends or regional BBQ sauces to customize the flavor to your liking.
Serving Suggestions: What to Pair with Your Ribs
Oven baked baby back ribs are the star of any meal, but pairing them with the right sides can elevate your barbecue experience to a whole new level. Here are some classic and creative suggestions to complete your feast:
- Classic Coleslaw: A cool, crisp, and creamy coleslaw provides a refreshing counterpoint to the rich, smoky ribs. Its tangy crunch helps cleanse the palate. Our light and creamy coleslaw is an excellent choice.
- Homemade Cornbread: Sweet or savory, warm cornbread is perfect for soaking up every last bit of delicious BBQ sauce. It adds a comforting, homely touch to your meal. Try our simple cornbread recipe.
- Hearty Baked Beans: A staple at any barbecue, baked beans offer a sweet, savory, and robust side dish that complements the ribs beautifully. Our speedy stovetop baked beans are a quick and flavorful option.
- Potato Salad: Whether you prefer a classic creamy potato salad or a lighter, vinegar-based one, it’s always a crowd-pleaser and a great accompaniment to ribs.
- Grilled Vegetables: For a lighter side, serve up some grilled corn on the cob, asparagus, or bell peppers. Their natural sweetness and char flavor pair wonderfully with the ribs.
- Macaroni and Cheese: Indulgent and comforting, a rich baked macaroni and cheese is always a hit and provides a satisfying texture contrast.
- Pickles and Onions: A simple platter of dill pickles, pickled onions, or even some bread and butter pickles can add a bright, acidic zing that cuts through the richness of the ribs.
More Delicious BBQ Recipes From the Oven
If you’ve fallen in love with the ease and flavor of oven-baked barbecue, you’re in luck! The oven is a surprisingly versatile tool for recreating your favorite BBQ dishes without the need for a smoker. Here are some more fantastic recipes that bring authentic barbecue taste right to your indoor kitchen:
- Just like ribs, oven-roasted pulled pork is another traditional barbecue favorite that’s incredibly easy to make in the oven and turns out wonderfully tender and flavorful, perfect for sandwiches.
- We love pulled pork, but when you want quicker results and smaller quantities, BBQ pulled chicken sliders deliver all the smoky, saucy goodness in a fraction of the time, ideal for appetizers or quick meals.
- For a fun and unique twist on classic comfort food, try our ground chicken meatloaf with BBQ flavors. It’s a family-friendly dish that combines the best of both worlds.
- Indulge in a delightful combo of pasta, crispy bacon, and creamy Gouda cheese in our decadent barbecue chicken and pasta casserole – a hearty and flavorful meal perfect for any occasion.
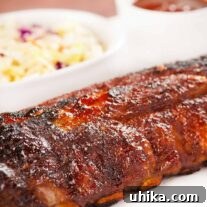
Oven Baked Baby Back Ribs
Rate Recipe
Print Recipe
Ingredients
- ▢ 3 racks baby back ribs, (5 to 6 lbs)
- ▢ 3/4 cup Easy BBQ Spice Rub, (or store-bought rib rub)
- ▢ 1-1/2 cups Bourbon BBQ Sauce, (or bottled barbecue sauce)
Instructions
-
Preheat your oven to 325°F (160°C). Line two baking sheets with heavy-duty aluminum foil and coat them generously with nonstick cooking spray.
-
If the membrane is still on the back side of your ribs, it’s essential to peel it off for optimal tenderness. Start at one end of a rack and slide the tip of a sharp knife underneath the membrane to loosen a piece large enough to grip. Use a paper towel to get a firm hold, then gently but firmly peel the entire membrane away and discard it.
-
Sprinkle about two-thirds of your chosen rub mixture evenly over the meaty side of the ribs. Use your fingertips to massage the rub thoroughly into the meat, ensuring every part is coated. Flip the ribs over and season the bone side with the remaining rub.
-
Arrange the seasoned ribs on the prepared pans, placing them meaty side down. Cover the pans tightly with another layer of heavy-duty foil, creating a secure seal. Bake for 2 hours, or until the meat is fork-tender and easily pulls away from the bone.
-
Once the ribs are tender, remove them from the oven. Carefully drain off any juices that have accumulated in the pan.
-
Preheat your broiler or prepare a gas or charcoal grill. If using a broiler, position the oven rack at least 6 inches below the heating element. If grilling, preheat to medium-high heat and lightly oil the grates.
-
Brush both sides of the ribs liberally with barbecue sauce. Place them under the broiler or on the grill for 5 to 7 minutes to caramelize the sauce. For the best results and to prevent burning, turn them over midway through and keep a very close eye on them.
-
Allow the ribs to rest for approximately 10 minutes before slicing. Then, cut between the bones to create individual portions and arrange them family-style on a platter. Serve with extra BBQ sauce on the side for those who want more.
Nutrition
Nutrition information is automatically calculated, so should only be used as an approximation.
Conclusion: Your Go-To Recipe for Easy BBQ
You’ve now unlocked the secret to creating incredibly delicious and tender baby back ribs right in your own oven. This recipe proves that you don’t need a professional smoker or endless hours to enjoy the rich, smoky, and sweet flavors of authentic barbecue. Our oven baked baby back ribs offer a fuss-free, reliable method to achieve fall-off-the-bone perfection every single time.
From the careful selection of baby back ribs and the generous application of a savory dry rub to the slow, tenderizing bake and the final irresistible glaze, each step is designed for maximum flavor and ease. Whether you’re planning a casual weeknight dinner, hosting a backyard gathering, or simply craving that unmistakable barbecue taste, these oven ribs are a guaranteed crowd-pleaser. So, fire up your oven, gather your ingredients, and get ready to impress your family and friends with a barbecue feast that tastes like it came straight from a pitmaster, but with all the comfort and convenience of your home kitchen. Enjoy this truly simple yet profoundly satisfying way to enjoy BBQ!