
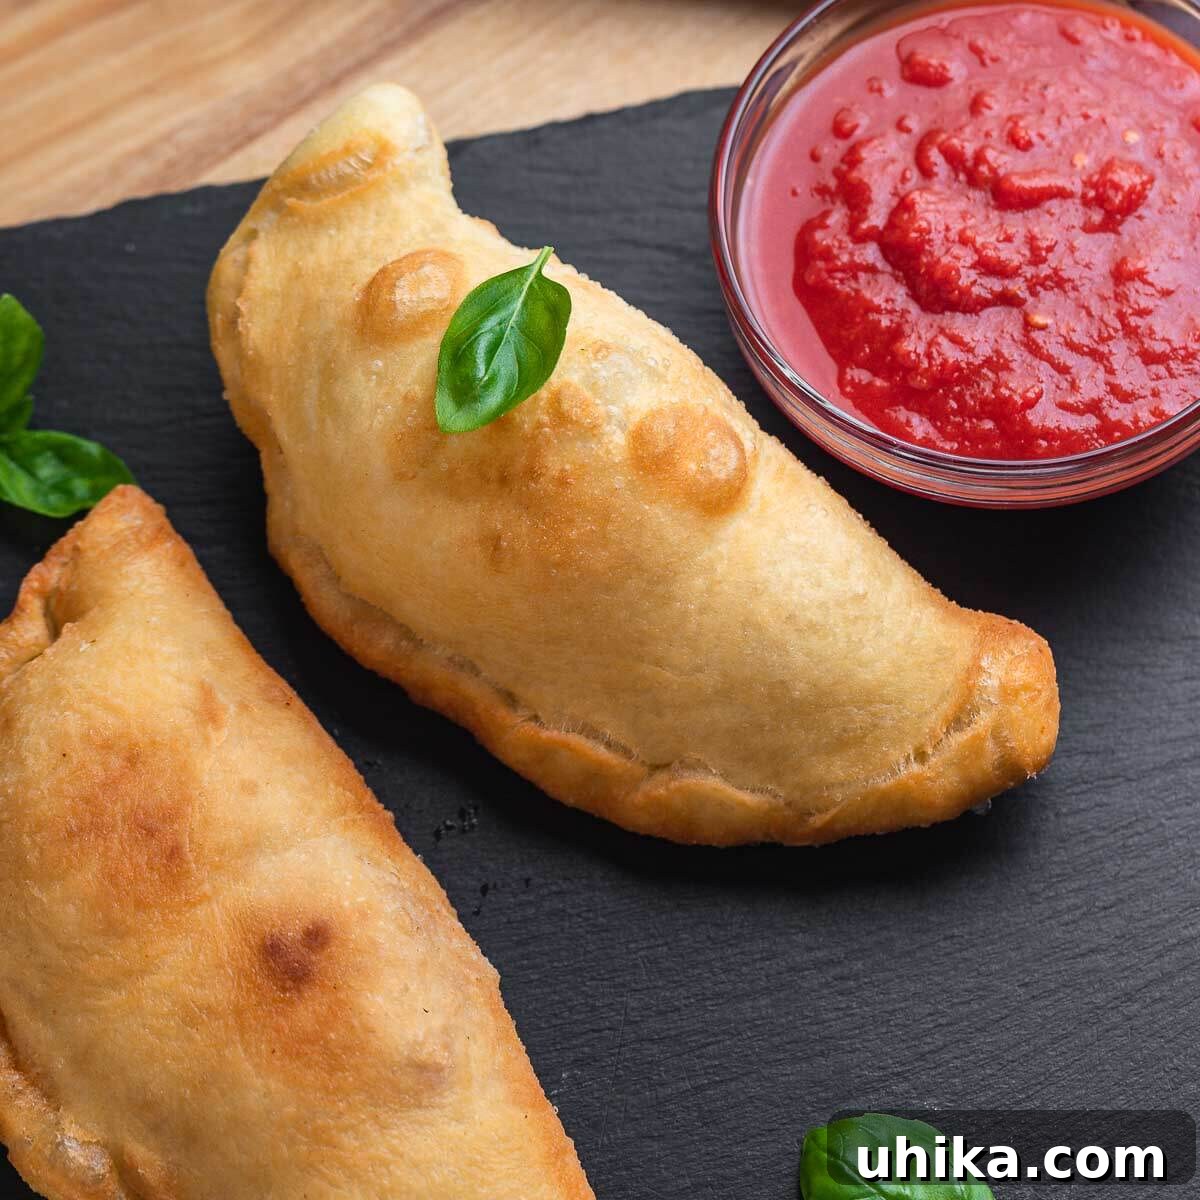
Delicious Homemade Panzerotti: Fried Pizza Pockets You’ll Love
Discover the joy of panzerotti, delightful fried pockets of pizza dough generously stuffed with savory fillings. This comprehensive guide will walk you through creating perfect tomato and mozzarella, or prosciutto and mozzarella panzerotti. Ideal as an appetizer with a side of marinara for dipping, or simply enjoyed on their own as a satisfying snack!
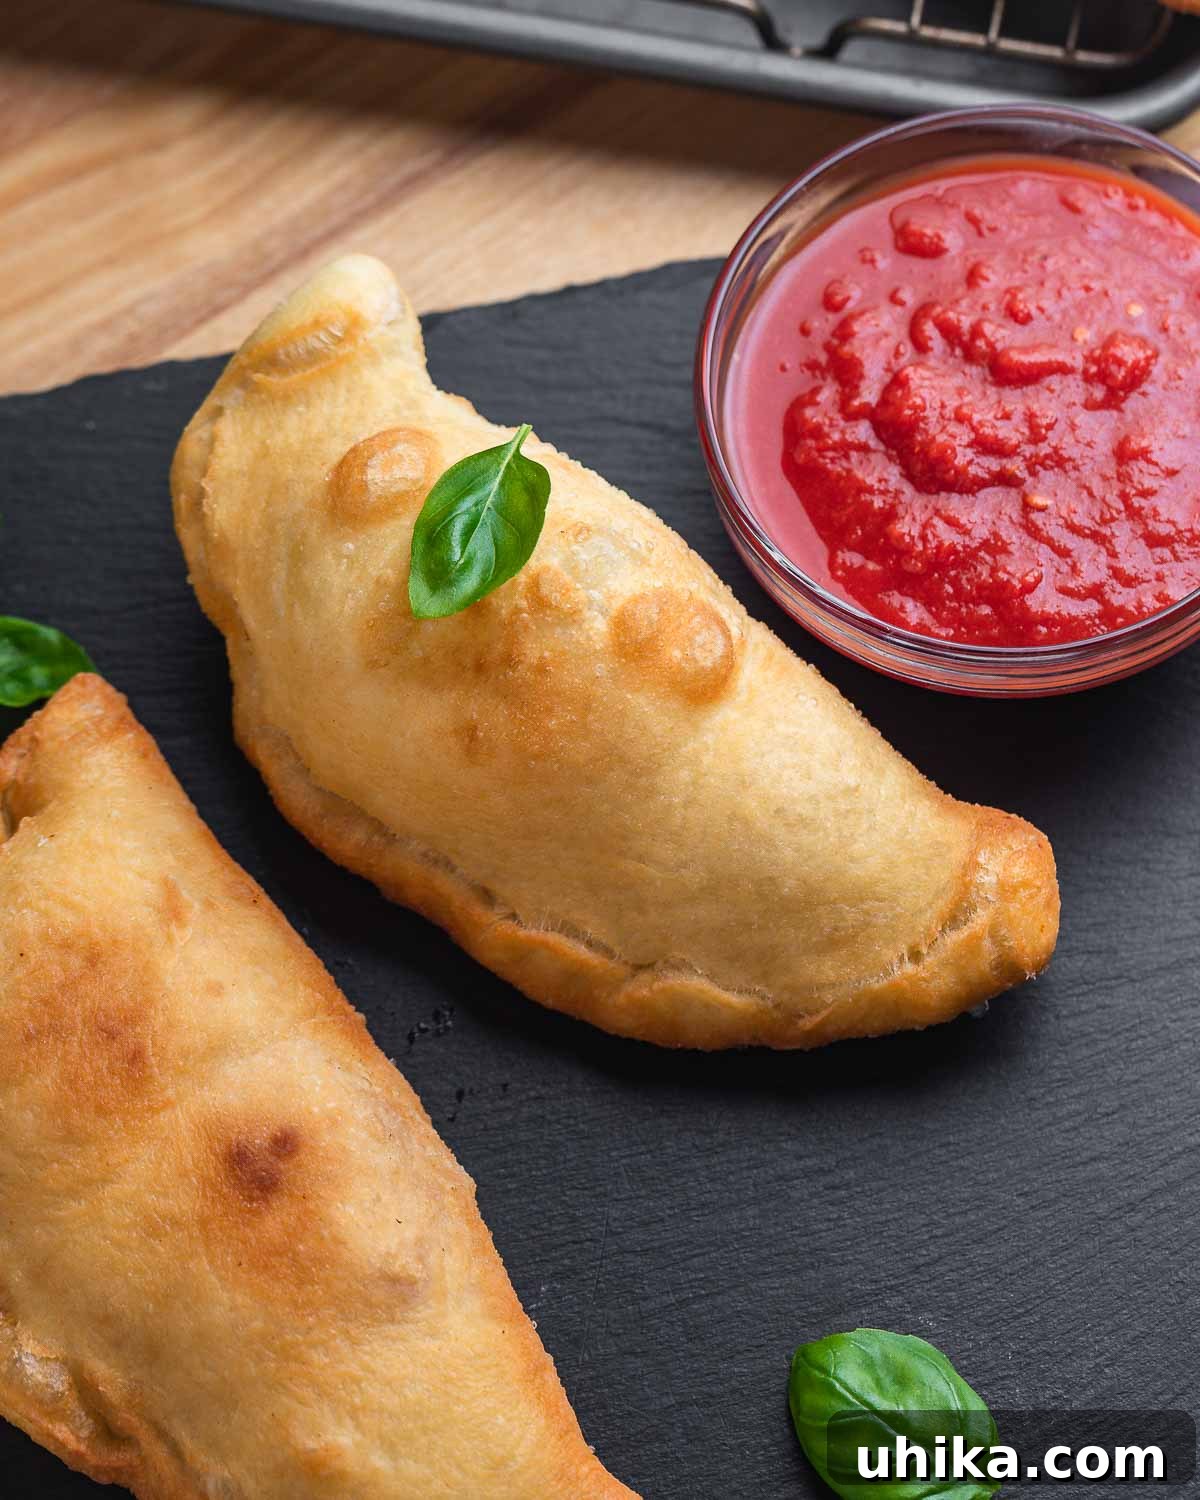
While our affection for traditional pizza runs deep, we constantly explore the incredible versatility of homemade pizza dough, transforming it into a myriad of other delicious Italian treats. Among our absolute favorites are panzerotti, a beloved culinary gem from Southern Italy that truly shines as a testament to the simple yet profound flavors of Italian cooking.
What Are Panzerotti? An Italian Culinary Delight
Think of panzerotti as the charming, deep-fried cousins to the larger, often baked calzone. Hailing predominantly from the Puglia region of Italy, these savory pockets are essentially miniature calzones, traditionally filled with tomato and mozzarella, then fried to a beautiful golden crisp. The name “panzerotti” itself is thought to derive from “panza,” meaning belly, referring to their puffed-up appearance when fried – a delightful sight that promises a burst of flavor with every bite.
Unlike our popular calzone recipe, which features a rich ricotta cheese filling and is baked to perfection, these fried panzerotti offer a different texture and intensity. Our recipe guides you through two classic filling variations: the timeless combination of sweet crushed tomatoes, rich mozzarella, and a hint of Pecorino Romano, and a simpler yet equally irresistible blend of savory prosciutto and creamy mozzarella. Whether you prefer the tangy notes of tomato or the salty goodness of prosciutto, these panzerotti are sure to captivate your palate.
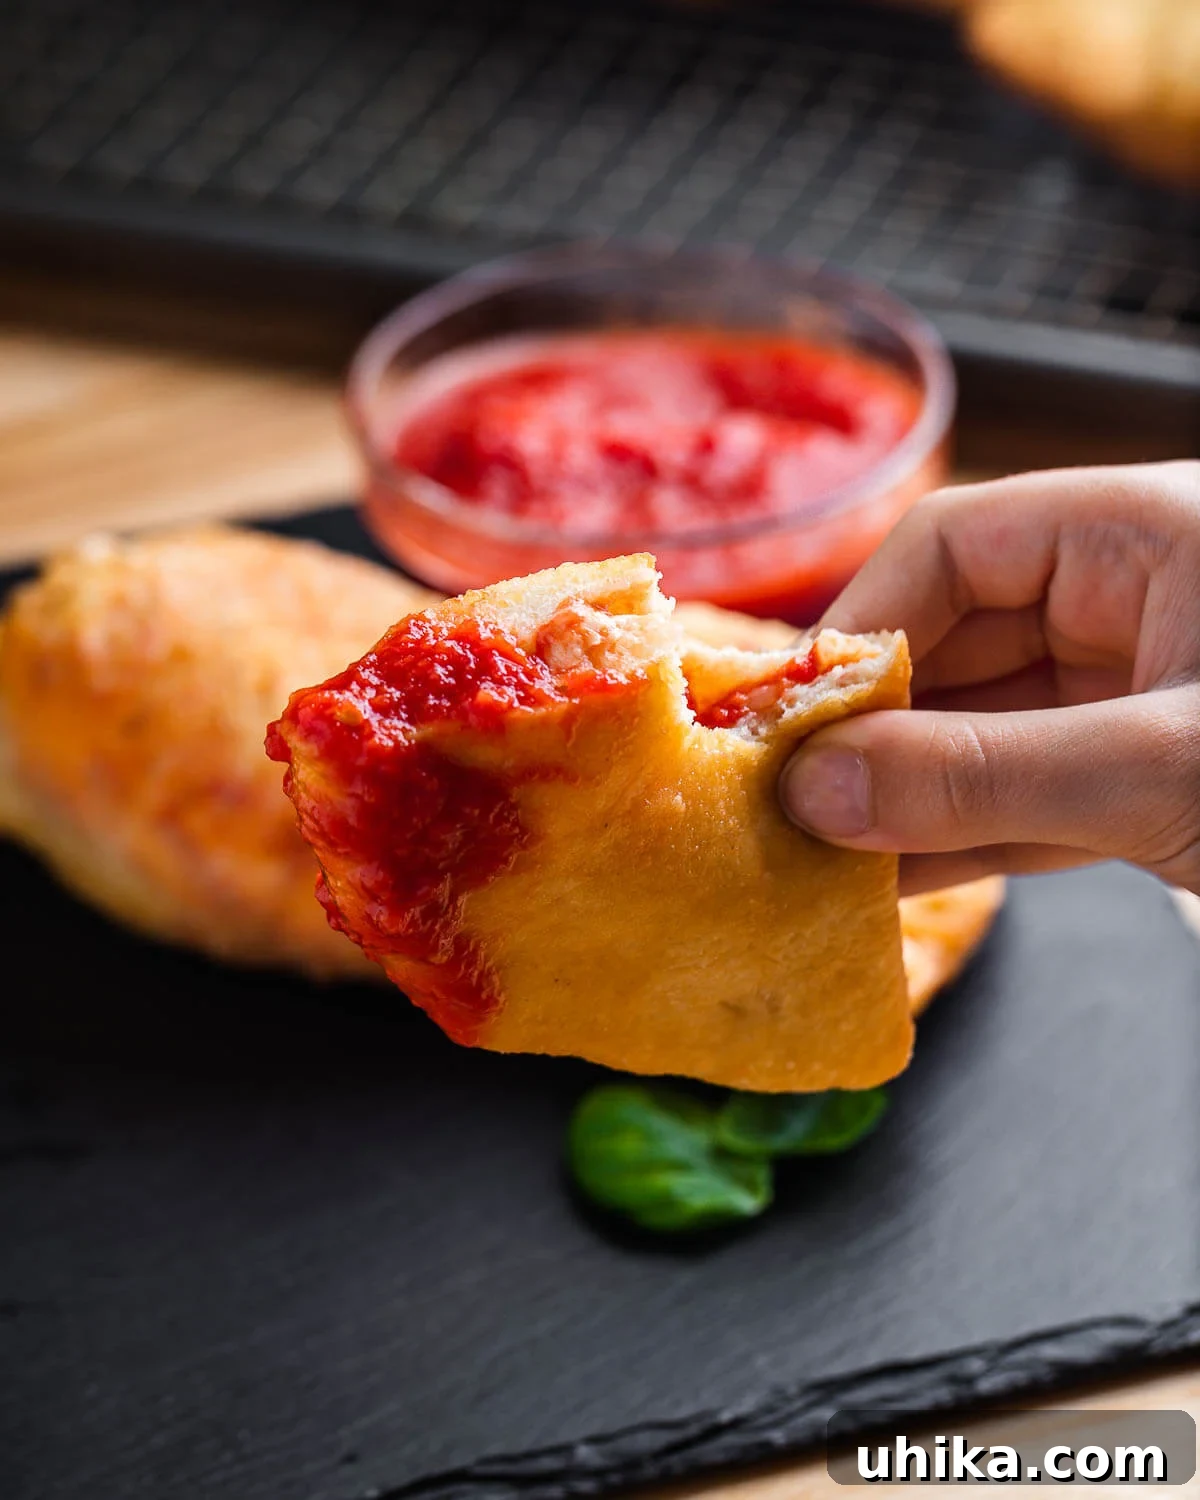
While they are absolutely divine served alongside a warm bowl of homemade marinara sauce for dipping, their robust flavors and satisfying texture mean they are equally fantastic enjoyed on their own. They make for a perfect party appetizer, a quick lunch, or a comforting family dinner.
Crafting Your Panzerotti: A Step-by-Step Guide
The secret to exceptional panzerotti lies in two key components: a perfectly prepared dough and carefully balanced fillings. Follow these detailed steps to create your own batch of these irresistible Italian treats.
Part 1: Mastering the Dough
A great panzerotti starts with a fantastic dough. Our recipe utilizes a cold fermentation process, which significantly enhances flavor and improves texture. Patience is key here, as the overnight rest allows the dough to develop complex flavors that are simply unmatched.
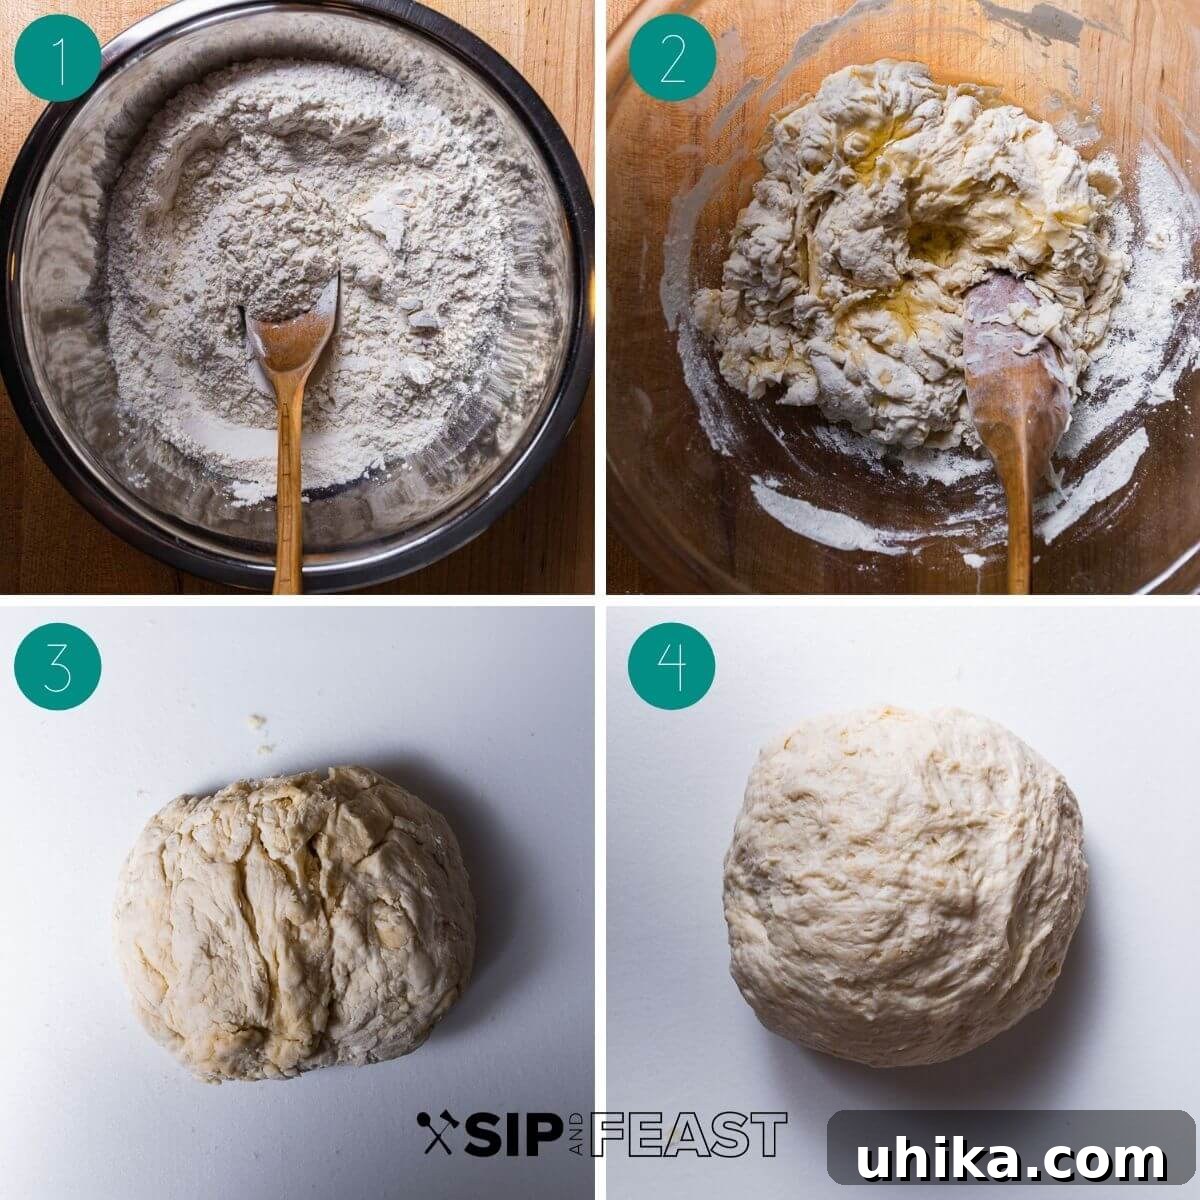
- Combine Dry Ingredients: In a medium bowl, whisk together 3 ¼ cups (406g) of bread flour, ½ teaspoon (2g) of instant dry yeast, 1 ½ teaspoons (8g) of fine sea salt, and 1 teaspoon (6g) of granulated sugar. Ensure these are thoroughly combined.
- Introduce Wet Ingredients: In a separate, larger bowl, pour 9 ounces (260g) of cold water. Gradually add the dry ingredient mixture to the water, mixing continuously with a spoon or your hand until a shaggy, rough mass of dough forms. Once mostly combined, drizzle 1 tablespoon (14g) of olive oil over the dough and mix again briefly.
- Knead to Perfection: Transfer the rough dough onto a clean, lightly floured work surface. Knead the dough for 5-7 minutes. The dough should become smoother and more elastic. If it feels too sticky at any point, simply place a clean, inverted bowl over it and let it rest for 30-45 minutes before resuming kneading. This resting period allows the gluten to relax, making the dough easier to handle. Ensure you knead for a total of 5-7 minutes.
- First Rise & Portioning: After kneading, place the inverted bowl over the dough once more and let it rest for another 30-40 minutes at room temperature. This brief rest helps the dough warm up slightly, making it easier to portion. After 40 minutes, divide the dough into 10 equal-sized portions, each weighing approximately 2 ½ ounces (70g). Roll each portion into a smooth ball.
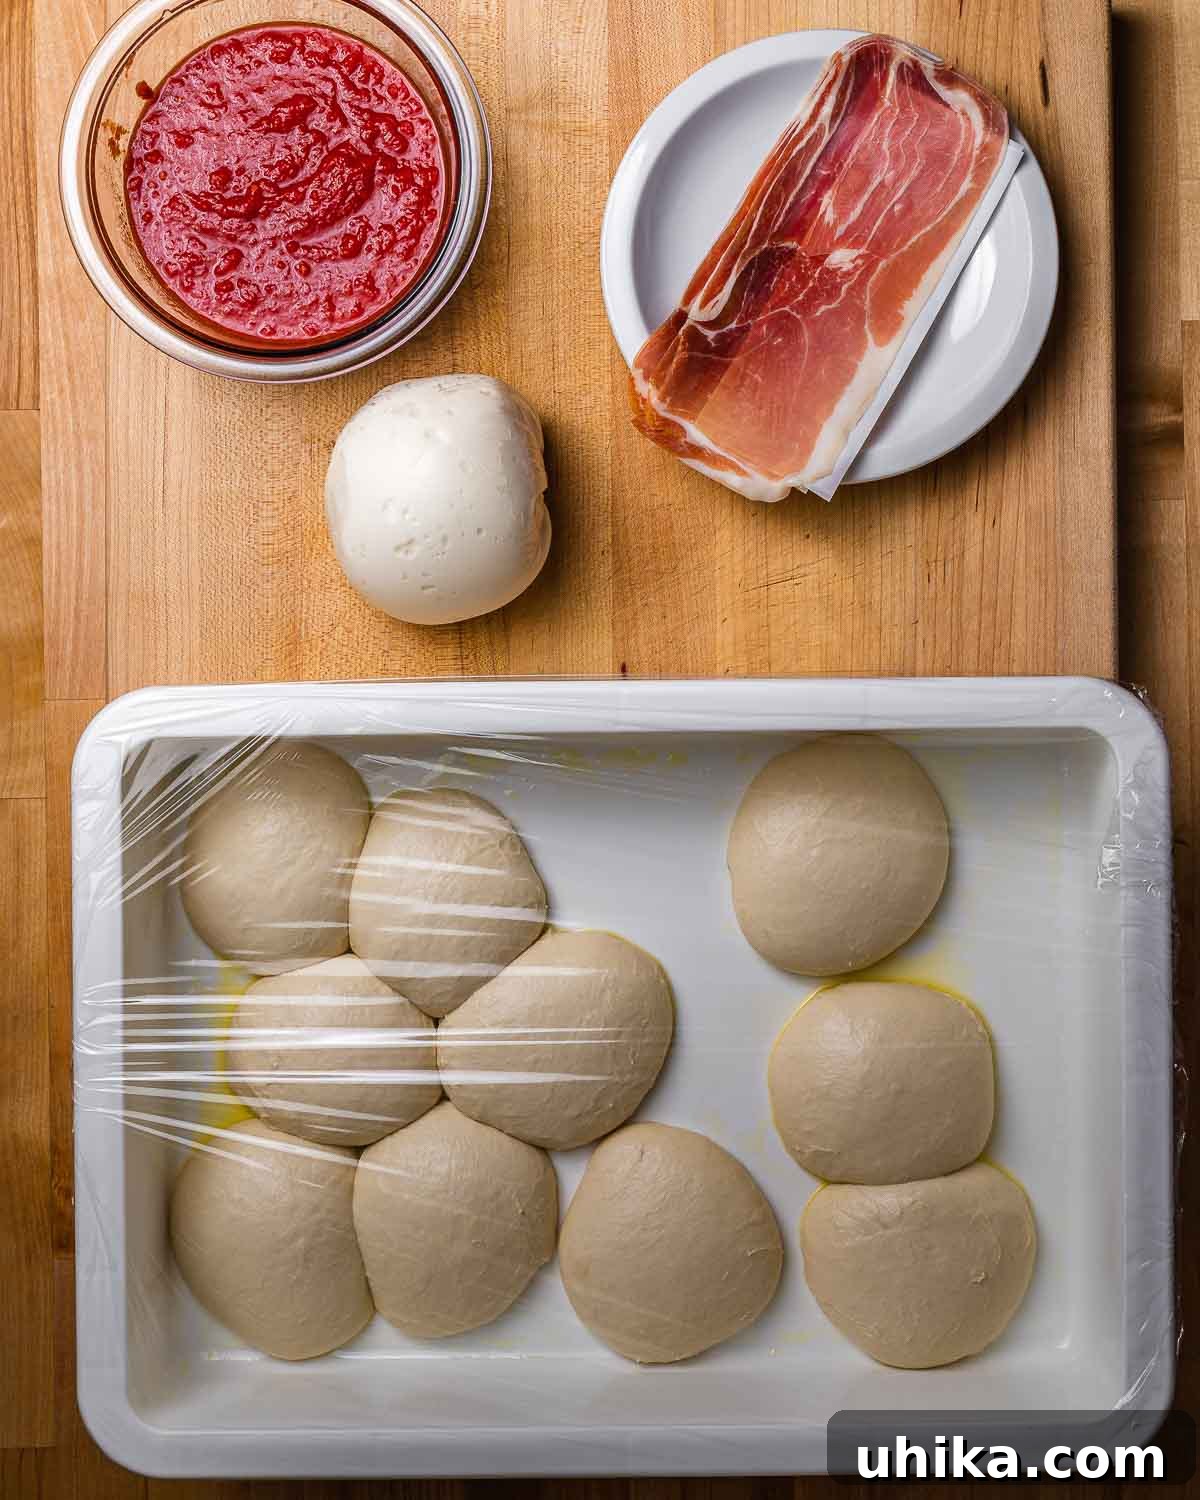
- Cold Fermentation: Arrange the dough balls in a lightly oiled proofing box or onto an oiled baking sheet. Cover them tightly with plastic wrap to prevent drying and refrigerate overnight. This crucial step of cold fermentation allows the yeast to work slowly, developing incredible flavor and a superior texture for your panzerotti. You can ferment it for up to 72 hours for an even deeper flavor profile.
Part 2: Assembling and Frying the Panzerotti
The next day, it’s time to bring your panzerotti to life! Prepare your fillings and get ready for the satisfying process of assembly and frying.
- Dough Preparation: Approximately 90 minutes before you plan to make the panzerotti, remove the dough balls from the refrigerator and let them come to room temperature. This makes them more pliable and easier to roll.
- Prepare Tomato Filling: While the dough rests, drain 1 cup of crushed plum tomatoes thoroughly to remove any excess water. Season the drained tomatoes with kosher salt to taste and ½ teaspoon of Sicilian oregano (or your preferred Italian oregano). Set aside.
- Prepare Mozzarella: Cube 10 ounces of fresh mozzarella cheese. If the cheese is particularly wet, gently pat the cubes dry with a paper towel to remove excess moisture. This prevents the panzerotti from becoming soggy during frying.
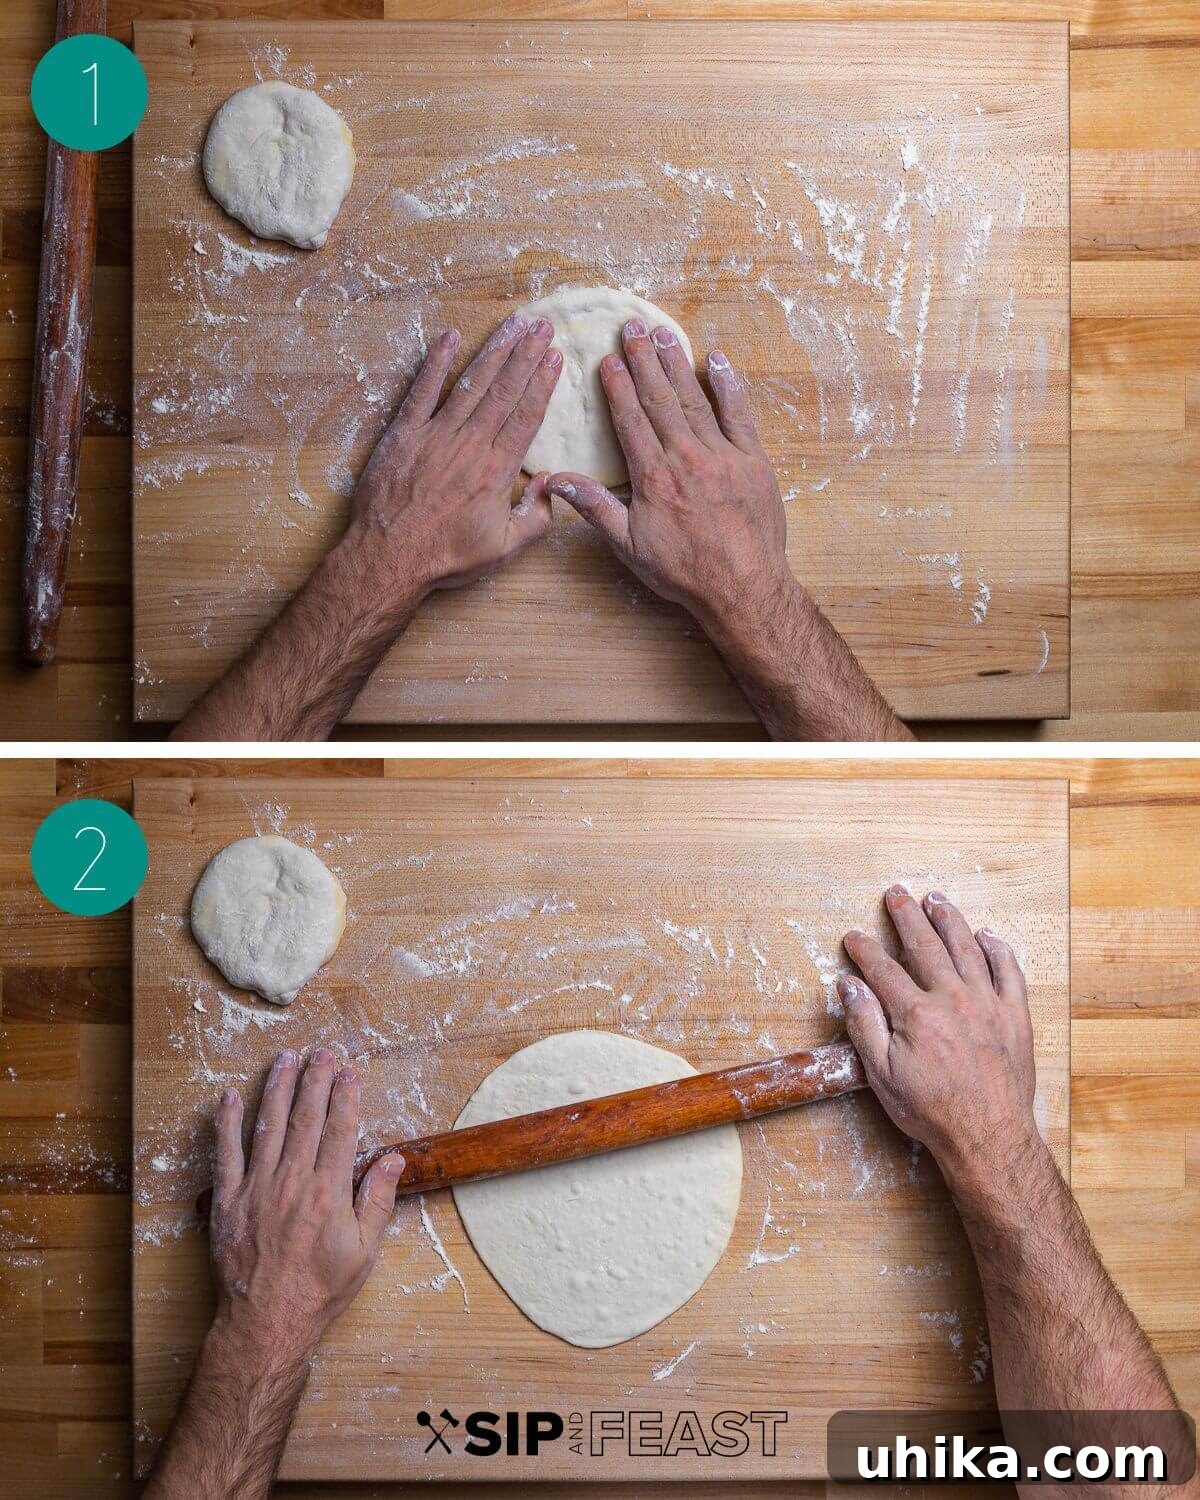
- Roll the Dough: Lightly flour a large, clean work surface. Using your fingertips, gently press down on one dough ball to start flattening it. Then, use a rolling pin to roll the dough into a small, roughly 4-inch diameter circle. Repeat this for 5 of your dough balls.
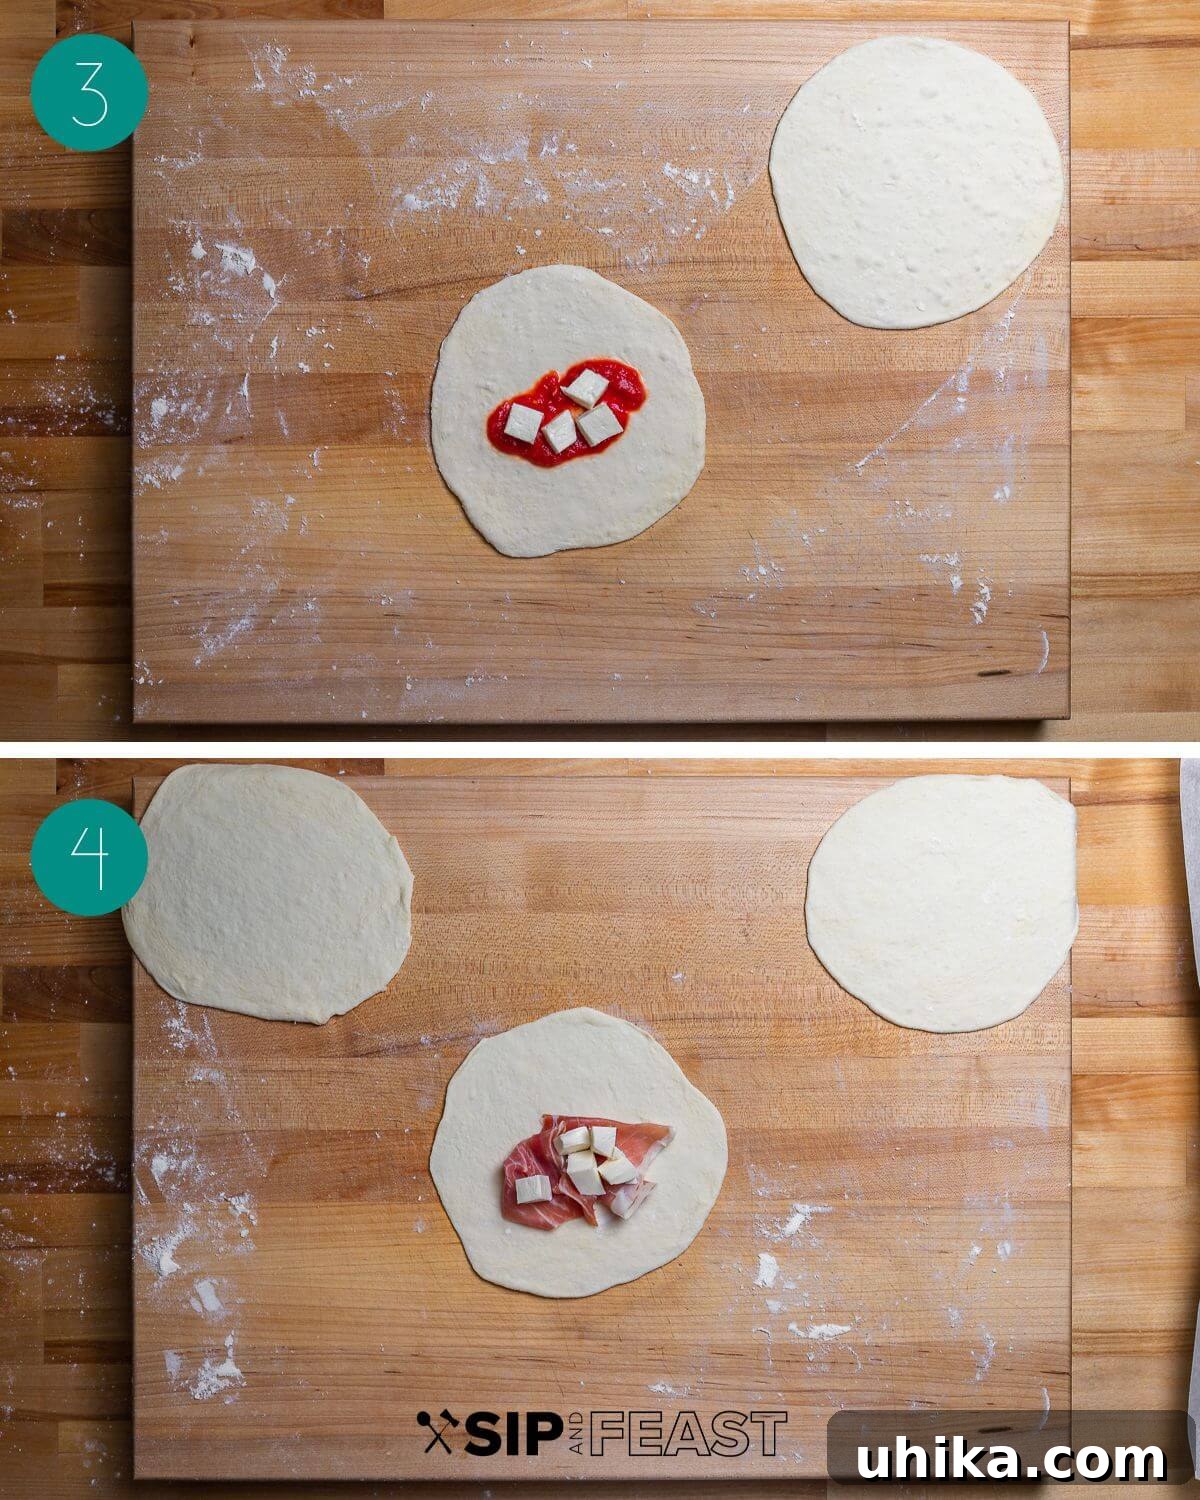
- Fill Tomato & Mozzarella Panzerotti: For these first 5 circles, spread a thin layer of the seasoned crushed tomato sauce onto each, leaving at least a 1-inch border uncovered around the edges. Place 3-4 small cubes of mozzarella and a light sprinkle of grated Pecorino Romano in the center of the sauce.
- Fill Prosciutto & Mozzarella Panzerotti: For the remaining 5 dough balls, repeat the rolling process to create 4-inch circles. For these, place 1 slice of prosciutto in the middle of each circle, then top with 3-4 cubes of mozzarella. Remember, feel free to customize your fillings!
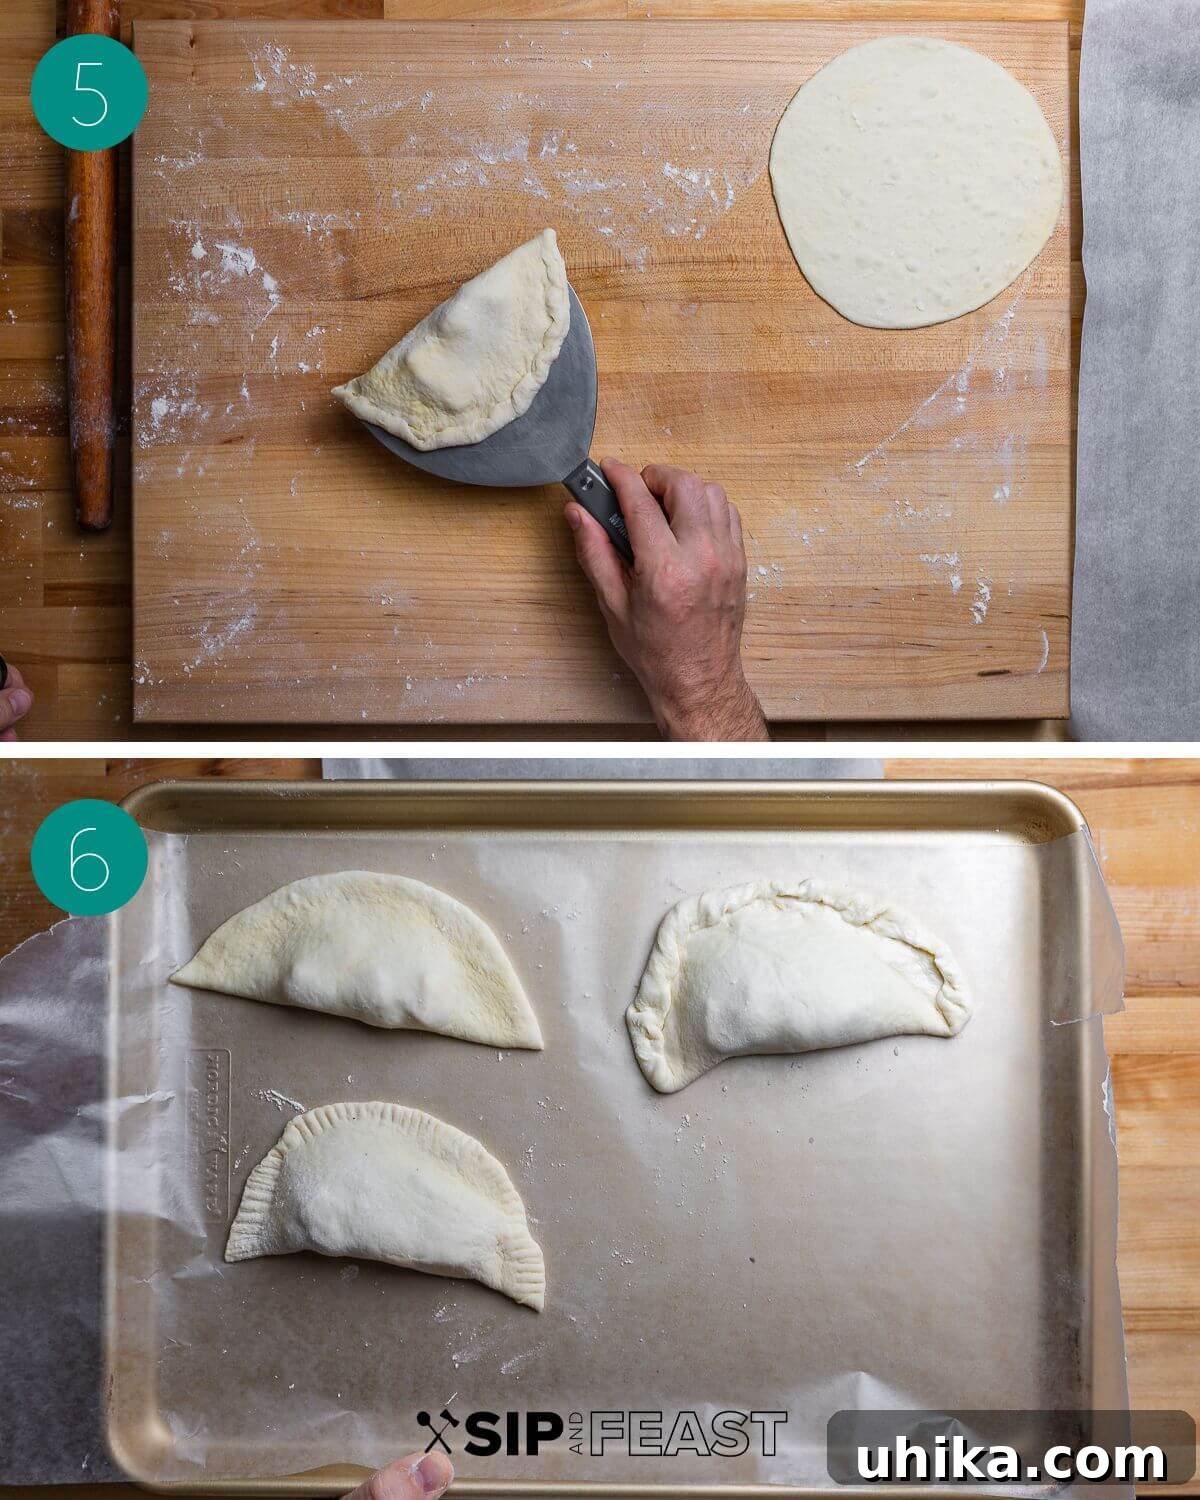
- Seal the Panzerotti: For all 10 filled dough circles, carefully fold the dough over to create a half-moon shape, encasing the filling. Pinch the edges shut with a fork, or by folding the edge of the dough back onto itself (creating a crimped effect). If the dough seems too dry and isn’t sticking, lightly moisten the edges with a thin layer of water. This is a crucial step: take your time to ensure each panzerotti is completely sealed to prevent filling from leaking out during frying. A clean spackle knife, lightly floured, can be a handy tool to gently lift the sealed panzerotti without tearing.
- Chill Before Frying: Once all panzerotti are sealed, arrange them on a baking tray and transfer them to the freezer for a short while. This helps them firm up slightly, preventing them from losing their shape when they hit the hot oil.
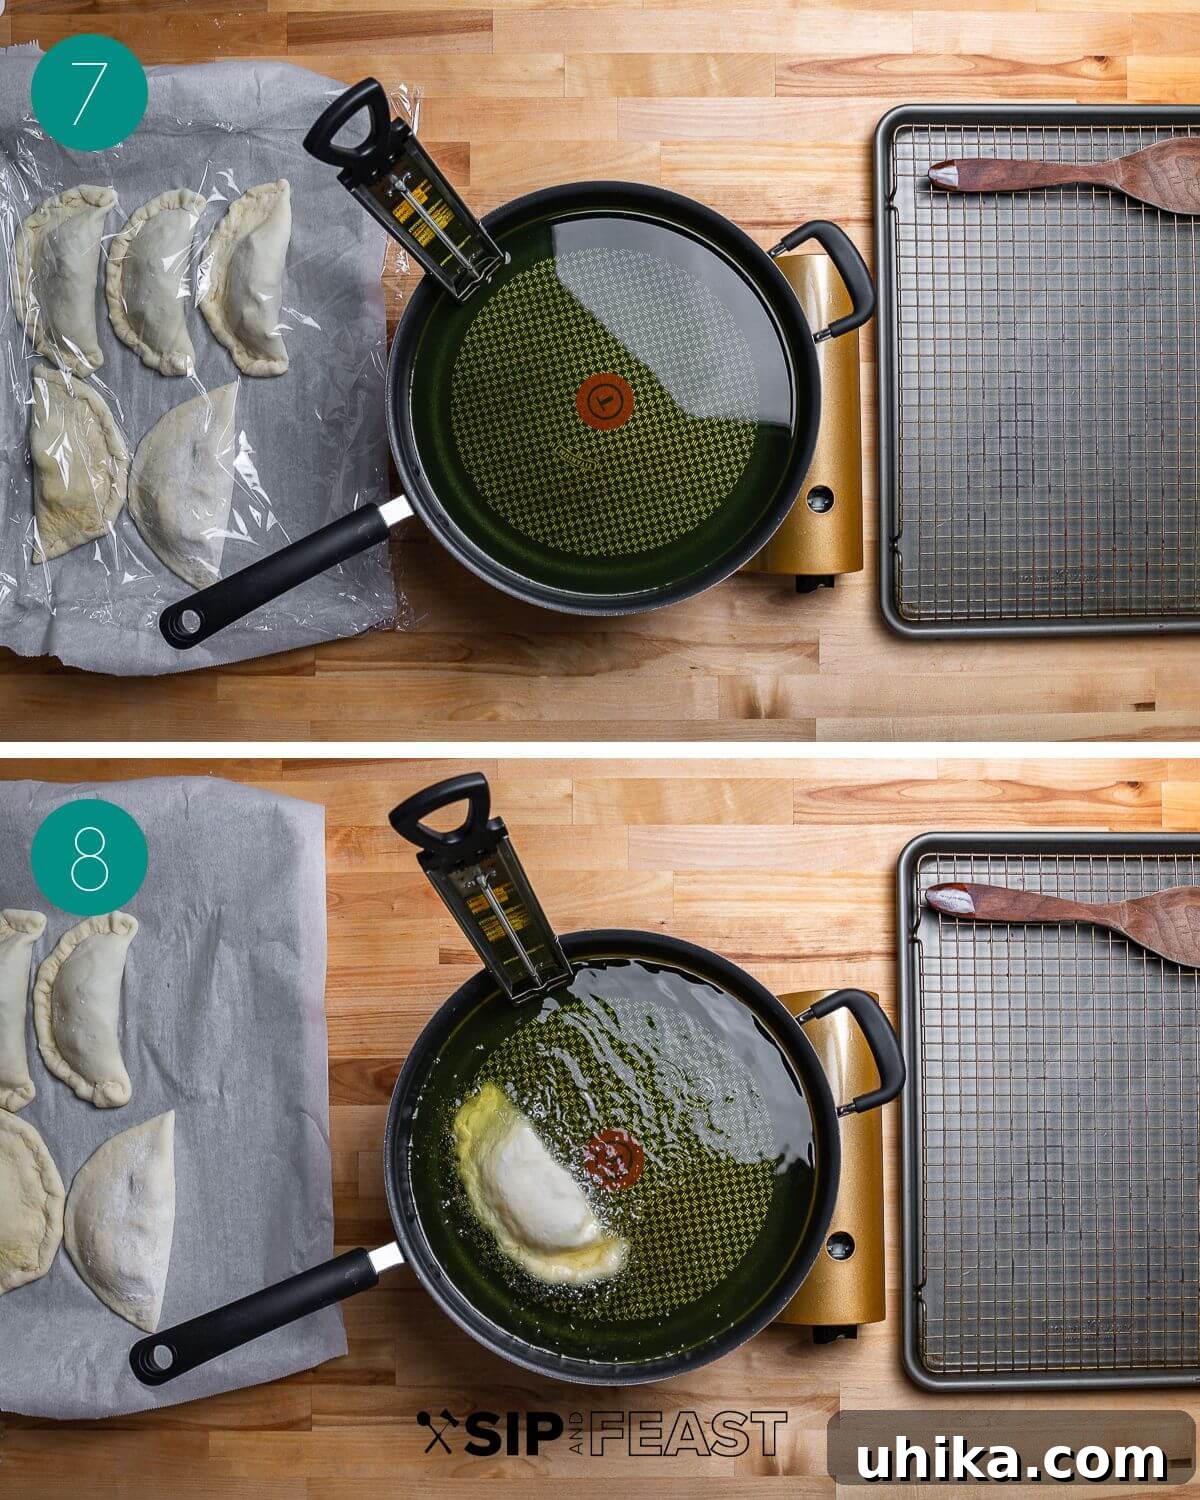
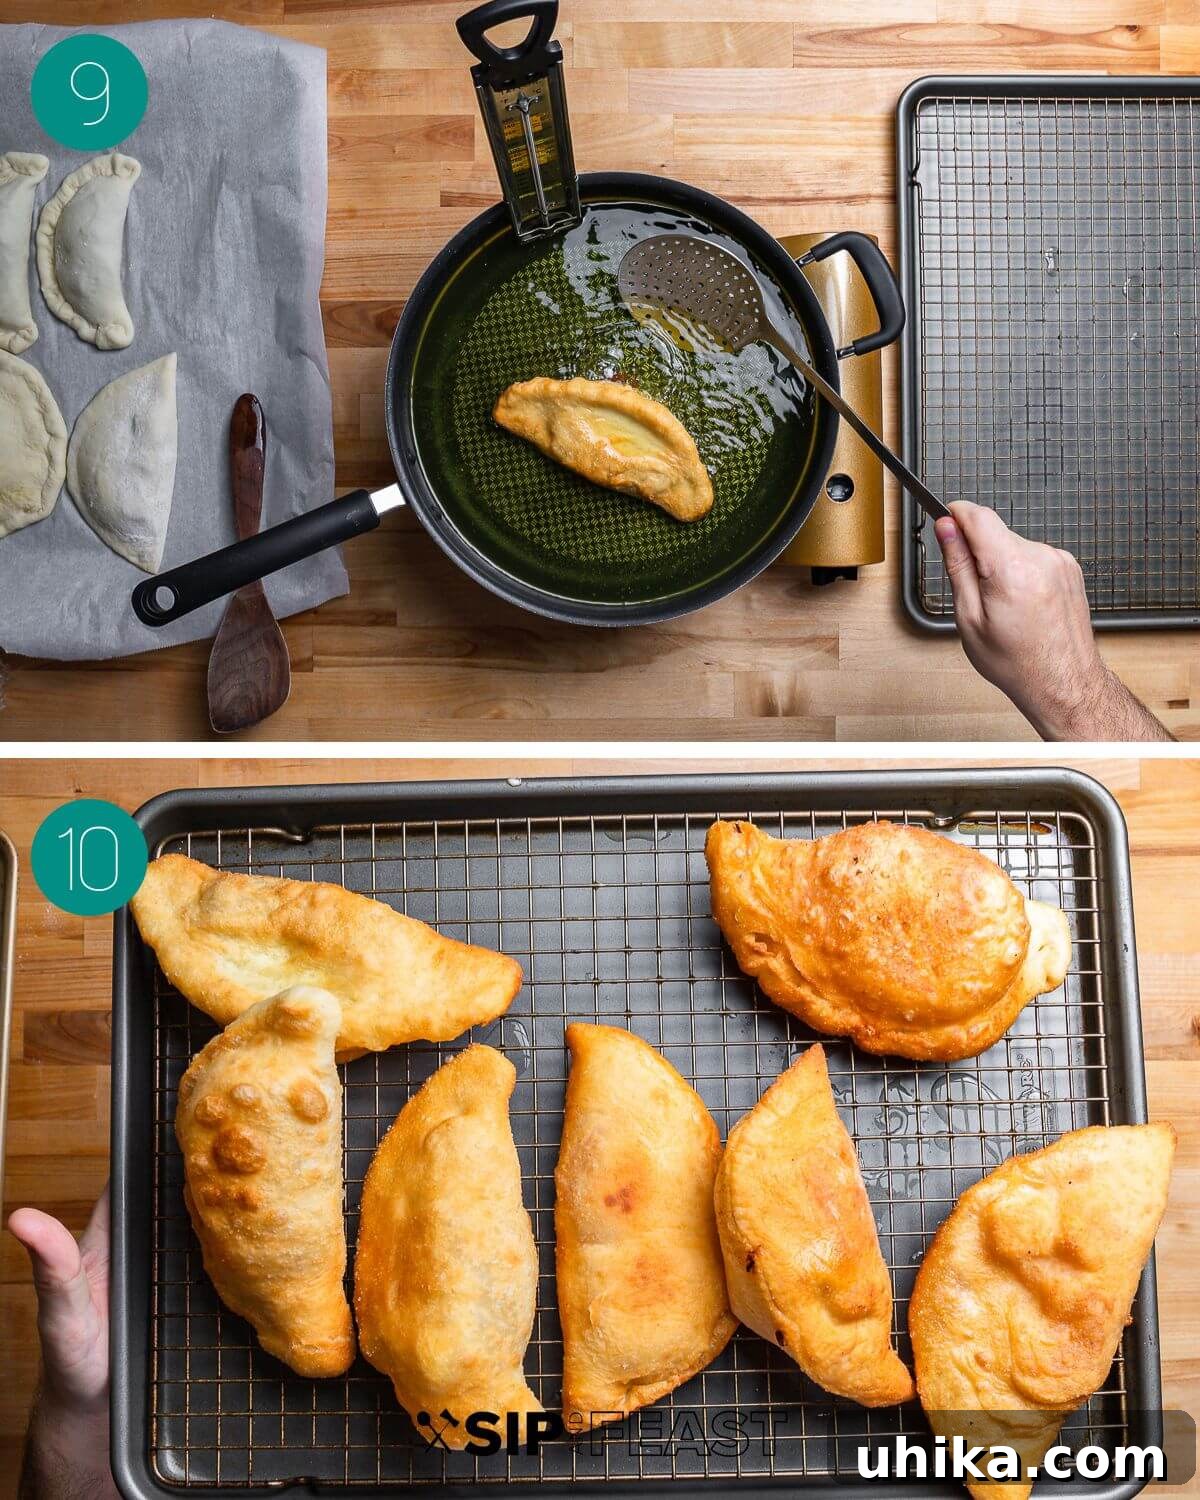
- Set Up Frying Station: While the panzerotti chill, heat a deep, heavy pot or pan with at least 3 inches of vegetable oil. Aim for a temperature of 370°F (188°C). For accurate temperature control, we highly recommend using a candy or oil thermometer. Maintaining the correct oil temperature is vital for perfectly cooked panzerotti.
- Fry the Panzerotti: Once the oil reaches 370°F, carefully and gently place 2-3 panzerotti into the hot oil. Avoid overcrowding the pan, as this will lower the oil temperature and result in greasy panzerotti.
- Achieve Golden Perfection: Fry the panzerotti until they are golden brown and puffed up, which usually takes about 3-4 minutes in total. Make sure to flip them halfway through the cooking time to ensure even browning on both sides. You can also gently baste the tops with hot oil while they fry to achieve a consistent color.
- Drain and Serve: Using a slotted spoon or spider, remove the golden panzerotti from the oil and place them on a plate lined with paper towels or on a wire rack to drain any excess oil. If you are frying in batches, you can keep the cooked panzerotti warm in a 300°F (150°C) oven while you finish the remaining batches. Serve immediately with your favorite marinara sauce for dipping, and savor every bite!
Top Tips for Perfect Panzerotti Every Time
- Embrace Cold Fermentation: While the dough can be cold fermented for as little as 12 hours, allowing it to rest in the fridge for 24 to 72 hours will yield significantly superior flavor and texture. This slow fermentation process develops more complex notes in the dough, making your panzerotti truly exceptional. If time is short, you can opt for quality store-bought pizza dough or dough from a local pizzeria, but aim for a dough that has had some time to ferment.
- Precision with Ingredients: For consistent results, especially with homemade dough, always weigh your ingredients using a kitchen scale. This ensures accuracy that volume measurements can’t always provide, leading to a perfectly balanced dough every time. Similarly, weigh your individual dough balls (~2.5 ounces or 70g) to ensure uniform size for even cooking.
- Stand Mixer Convenience: If you prefer to use a stand mixer, attach the dough hook and knead the dough on low speed for approximately 5 minutes until it becomes smooth and elastic. Then proceed with the resting and balling steps.
- Temperature is Key for Frying: Never guess your oil temperature. A candy or oil thermometer is an indispensable tool for deep frying. Maintaining a consistent 370°F (188°C) prevents the panzerotti from becoming greasy (if the oil is too cool) or burning on the outside while remaining raw inside (if the oil is too hot).
- Unleash Your Creativity with Fillings: Our recipe features classic tomato and mozzarella, and prosciutto and mozzarella. However, panzerotti are incredibly versatile! Experiment with different cheeses (like provolone or ricotta), add sautéed vegetables (spinach, mushrooms, bell peppers), or even try some spicy Calabrian chili paste. For a heartier option, use cooked ragu, crumbled sausage, or salami. You can even explore sweet panzerotti with fillings like Nutella, ricotta and chocolate chips, or fruit preserves for a delightful dessert!
- Seal with Care: The most common issue with panzerotti is leakage during frying. Ensure the edges are firmly pressed and crimped. A little water on the edges can help if the dough is dry. If using a fork, press down firmly to create a tight seal.
More Irresistible Pizza Dough Creations
Once you master homemade pizza dough, a world of culinary possibilities opens up! Beyond panzerotti, calzones, and classic New York style pizza, here are a few more of our favorite recipes that utilize this versatile dough:
- Sausage and Broccoli Rabe Rolls – Savory rolls filled with flavorful sausage and bitter broccoli rabe, baked until golden and often topped with sesame seeds for added texture.
- Pizza Fritta – A Neapolitan street food staple, this fried pizza dough can be topped with either savory ingredients like tomato and cheese, or sweet toppings for a unique dessert.
- Stromboli – A hearty Italian-American turnover, typically rolled with layers of ham, pepperoni, and provolone cheese, then baked until beautifully golden and crisp.
If you’ve enjoyed making this panzerotti recipe or any other delightful dish from our site, please consider leaving a 5-star rating and a review. Your feedback is invaluable and helps us continue to share our passion for authentic Italian cooking.
For those who prefer visual learning, many of our recipes, including this one, are available on our YouTube channel and our Facebook Page. We strive to cater to various learning styles, ensuring everyone can find joy in cooking.
Panzerotti Recipe
By: James Delmage
Prep Time: 2 hours
Cook Time: 40 minutes
Cold Fermenting Time: 1 day
Total Time: 1 day 2 hours 40 minutes
Yields: 10 panzerotti
Panzerotti are pockets of pizza dough stuffed with mozzarella and tomatoes, or prosciutto and mozzarella, and fried until golden. These are great with a side of marinara for dipping but equally good on their own!
Ingredients
For the Dough
- 3 1/4 cups (406 grams) bread flour
- 1/2 teaspoon (2 grams) instant dry yeast (SAF brand recommended)
- 1 1/2 teaspoons (8 grams) fine sea salt
- 1 teaspoon (6 grams) granulated sugar
- 9 ounces (260 grams) cold water
- 1 tablespoon (14 grams) olive oil, plus a touch more for proofing container
For the Panzerotti
- 10 (2 1/2 ounce / 70 grams) dough balls from above recipe
- 1 cup crushed plum tomatoes, drained
- Kosher salt to taste
- 1/2 teaspoon Sicilian dried oregano or Italian oregano
- 3 tablespoons Pecorino Romano, grated
- 10 ounces fresh mozzarella, cubed
- 5 slices prosciutto
- Vegetable oil for frying
Instructions
For the Dough
- Place cold water into a large bowl. In a separate bowl, mix together bread flour, instant dry yeast, fine sea salt, and granulated sugar.
- Begin to add the dry ingredients gradually to the water, mixing thoroughly to form a dry, rough mass. Pour the olive oil over the dough, mix again, and transfer the shaggy dough onto a work surface.
- Knead the dough for 5-7 minutes until smooth and elastic. If the dough is too sticky, cover it with an inverted bowl and let it rest for 30-45 minutes before resuming kneading. Ensure a total of 5-7 minutes of kneading.
- Place the bowl over the dough once more and let it sit for 30-40 minutes to warm up.
- After 40 minutes, divide the dough into 10 equal-sized portions (approximately 2 1/2 ounces or 70g each) and roll each one into a ball. Place the balls in a lightly oiled proofing box or onto an oiled baking sheet. Cover tightly with plastic wrap and refrigerate overnight for cold fermentation.
For the Panzerotti
- Remove the dough from the fridge 90 minutes before use to allow it to come to room temperature.
- Season the drained crushed tomatoes with oregano and kosher salt to taste. Cube the fresh mozzarella.
- Flour a large work surface. Roll 5 of the dough balls into small circles, roughly 4 inches in size.
- Spread a thin layer of the seasoned tomato sauce onto each of these 5 circles, leaving at least a 1-inch border uncovered. Add 3-4 small cubes of mozzarella and a sprinkle of Pecorino Romano. Fold the dough over to form a half-moon and pinch the panzerotti shut with a fork or by crimping the edges. If the dough is dry, moisten the edges with a thin layer of water to ensure a complete seal.
- Repeat the dough rolling process for the remaining 5 dough balls. Fill these with 3-4 cubes of mozzarella and 1 slice of prosciutto each, keeping the filling centered. Seal them securely as described in the previous step. Place all finished panzerotti on a baking tray and put them in the freezer to set while you prepare the oil.
- Heat a deep, heavy pot or pan with at least 3 inches of vegetable oil to 370°F (188°C). A candy or oil thermometer is recommended for accuracy.
- When the oil reaches 370°F, gently place 2-3 panzerotti into the oil, avoiding overcrowding. Fry until golden brown, about 3-4 minutes total, flipping them halfway through to ensure even browning on both sides.
- Remove the fried panzerotti with a slotted spoon and place them on paper towels or a wire rack to drain. Keep them warm in a 300°F (150°C) oven while you finish frying the remaining batches. Serve immediately and enjoy!
Notes
- The dough can be cold fermented for a minimum of 12 hours, but 24 to 72 hours is highly recommended for superior flavor development.
- Feel free to use any fillings you like! Just ensure they are tightly closed and fried until golden.
- Leftovers can be stored in the fridge for up to 3 days. Reheat panzerotti on a baking sheet at 350°F (175°C) for about 10 minutes, or until hot.
Baker’s Percentages: 64% hydration, 0.4% yeast, 2% salt, 3.4% oil, 1.2% sugar
Nutrition Information (Approximate, per serving)
Calories: 267kcal |
Carbohydrates: 34.7g |
Protein: 13.4g |
Fat: 8.7g |
Saturated Fat: 4.2g |
Cholesterol: 25mg |
Sodium: 680mg |
Potassium: 60mg |
Fiber: 2g |
Sugar: 1.9g |
Calcium: 238mg |
Iron: 2mg
Nutrition information is automatically calculated and should be used as an approximation only.
Like this? Leave a comment below!
Check us out on Instagram at @sipandfeast or tag #sipandfeast!